
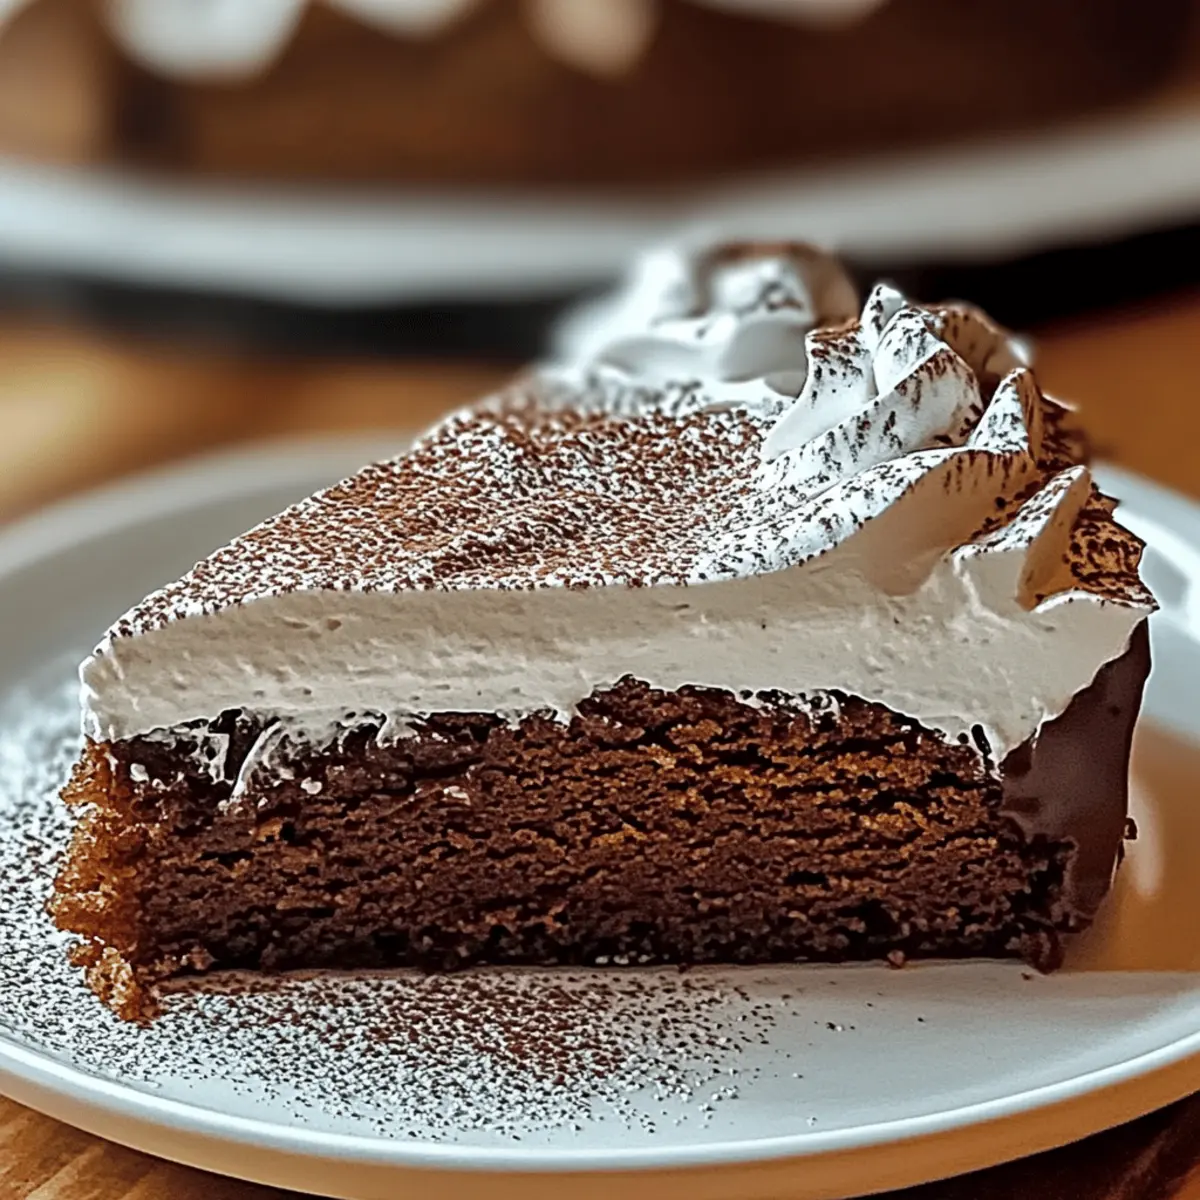
The scent of gingerbread wafted through my kitchen as I fumbled with ingredients, momentarily distracted by a cozy holiday memory. That’s when I stumbled upon the gem of a recipe known as Gingerbread Crazy Cake. This delightful cake takes the traditional flavors we adore and simplifies them into an easy, egg-free delight—perfect for both baking novices and seasoned chefs. With minimal fuss and prep, you’ll create a joyfully moist cake that brings the nostalgia of festive gatherings right to your table. Plus, its versatility allows for fun variations like adding chocolate chips or crunchy nuts, making it a crowd-pleaser at any event. Are you ready to embrace the cozy flavors of the season? Let’s get baking!
Why is Gingerbread Crazy Cake a must-try?
Comforting and Nostalgic: This cake brings back memories of cozy family gatherings during the holidays, wrapping you in warmth with every bite.
Simplicity at its core: With no eggs or complicated steps required, even beginner bakers will shine in the kitchen!
Versatile delights: Shake things up by adding chocolate chips or nuts, customizing the flavor to suit any palate, just like our delightful Cinnamon Roll Cake.
Time-saving magic: This quick recipe bakes in just 30-35 minutes, perfect for when you need a last-minute dessert!
Vegan-Friendly options: Enjoy delicious flavors without eggs, making it accessible for all dietary preferences, much like our scrumptious Lemon Velvet Cake.
Transform your dessert table with Gingerbread Crazy Cake, where every slice is a happiness bomb waiting to be shared!
Gingerbread Crazy Cake Ingredients
Discover the magic of baking with this Gingerbread Crazy Cake recipe!
For the Cake Base
- All-Purpose Flour – Provides structure to the cake; consider using a gluten-free blend for a gluten-free option.
- Brown Sugar – Adds sweetness and moisture; dark brown sugar enhances the flavor profile beautifully.
- Baking Soda – Acts as a leavening agent, helping the cake rise perfectly.
- Ground Ginger – Delivers that signature gingerbread flavor; increase the amount for a spicier kick.
- Cinnamon – Complements the ginger for warmth and depth in flavor; feel free to adjust according to taste.
- Nutmeg – Adds a subtle, warm spice; a pinch goes a long way!
For the Wet Ingredients
- Vegetable Oil – Keeps the cake moist; can be swapped with coconut oil for a delightful twist.
- Warm Water – Helps blend all the ingredients smoothly, ensuring a light and fluffy cake.
- Vinegar – Reacts with baking soda for a fluffy texture; essential for making this cake vegan.
Optional Add-ins
- Chocolate Chips – Fold in 1 cup for a rich contrast to the spiced cake; a delightful treat for chocolate lovers!
- Chopped Nuts – Stir in ½ cup of walnuts or pecans for added crunch and flavor variety.
Embrace the cozy spirit of baking with this Gingerbread Crazy Cake—your new go-to recipe for any occasion!
Step‑by‑Step Instructions for Gingerbread Crazy Cake
Step 1: Preheat and Prepare
Start by preheating your oven to 350°F (175°C). Grease a 9×13 inch baking pan with a light coat of vegetable oil or use parchment paper for easy removal. This setup will ensure a smooth baking process, preventing the Gingerbread Crazy Cake from sticking to the pan.
Step 2: Mix Dry Ingredients
In a large mixing bowl, whisk together the all-purpose flour, brown sugar, baking soda, ground ginger, cinnamon, and nutmeg. Make sure to blend these dry ingredients well, as this combination creates the heart of the Gingerbread Crazy Cake. Aim for an even distribution of spices, which will infuse the cake with its fragrant flavor.
Step 3: Combine Wet Ingredients
In a separate bowl, whisk together the vegetable oil, warm water, and vinegar. This mixture will be the key to achieving a moist and fluffy Gingerbread Crazy Cake. As you combine these wet ingredients, take note of the smooth consistency, ensuring that the oil fully integrates into the water and vinegar blend.
Step 4: Create Wells for Wet Ingredients
Make three wells in the dry mix of the flour and spices. Pour the wet mixture into each well, allowing the ingredients to start reacting. This step helps in gradually blending the flavors, leading to a deliciously moist cake. It’s crucial not to skip this, as it enhances the overall texture of the cake.
Step 5: Gently Combine Ingredients
Using a spatula, gently mix the batter until just combined. Be careful not to overmix; a few lumps are perfectly fine! This gentle folding will keep the Gingerbread Crazy Cake light and fluffy, ensuring a delightful mouthfeel without becoming dense or tough.
Step 6: Pour and Bake
Pour the batter into your prepared baking pan, spreading it evenly with the spatula. Place the pan in the preheated oven and bake for 30-35 minutes. Check for doneness by inserting a toothpick into the center; it should come out clean or with a few moist crumbs attached.
Step 7: Cool and Enjoy
Once baked, remove the Gingerbread Crazy Cake from the oven and let it cool in the pan for about 10 minutes. This resting time allows the cake to firm up slightly. After that, transfer it to a wire rack to cool completely, ready for slicing and serving your delicious creation!
Gingerbread Crazy Cake Variations
Feel free to personalize your Gingerbread Crazy Cake with these delicious variations that will delight your senses!
-
Add Chocolate: Stir in 1 cup of semi-sweet or dark chocolate chips for a rich, indulgent twist. The warmth of gingerbread pairs perfectly with sweet, melted chocolate, creating blissful bites.
-
Nutty Delight: Incorporate ½ cup of chopped walnuts or pecans for that satisfying crunch. The added texture enhances each slice, giving it a fantastic contrast to the tender cake.
-
Spice It Up: Experiment with spices such as cardamom or allspice for a unique flavor profile. A twist on the classic ginger and cinnamon can surprise and delight your taste buds.
-
Fruit Fusion: Fold in ¾ cup of finely diced apples or pears for natural sweetness and moisture. The fruit adds a lovely burst of flavor and pairs beautifully with holiday spices.
-
Gluten-Free Option: Substitute all-purpose flour with a gluten-free flour blend to cater to dietary preferences. Enjoy the same scrumptious taste without missing out!
-
Maple Magic: Drizzle in a few tablespoons of maple syrup for a touch of sweetness and a hint of earthiness. The combination with gingerbread is simply magical.
-
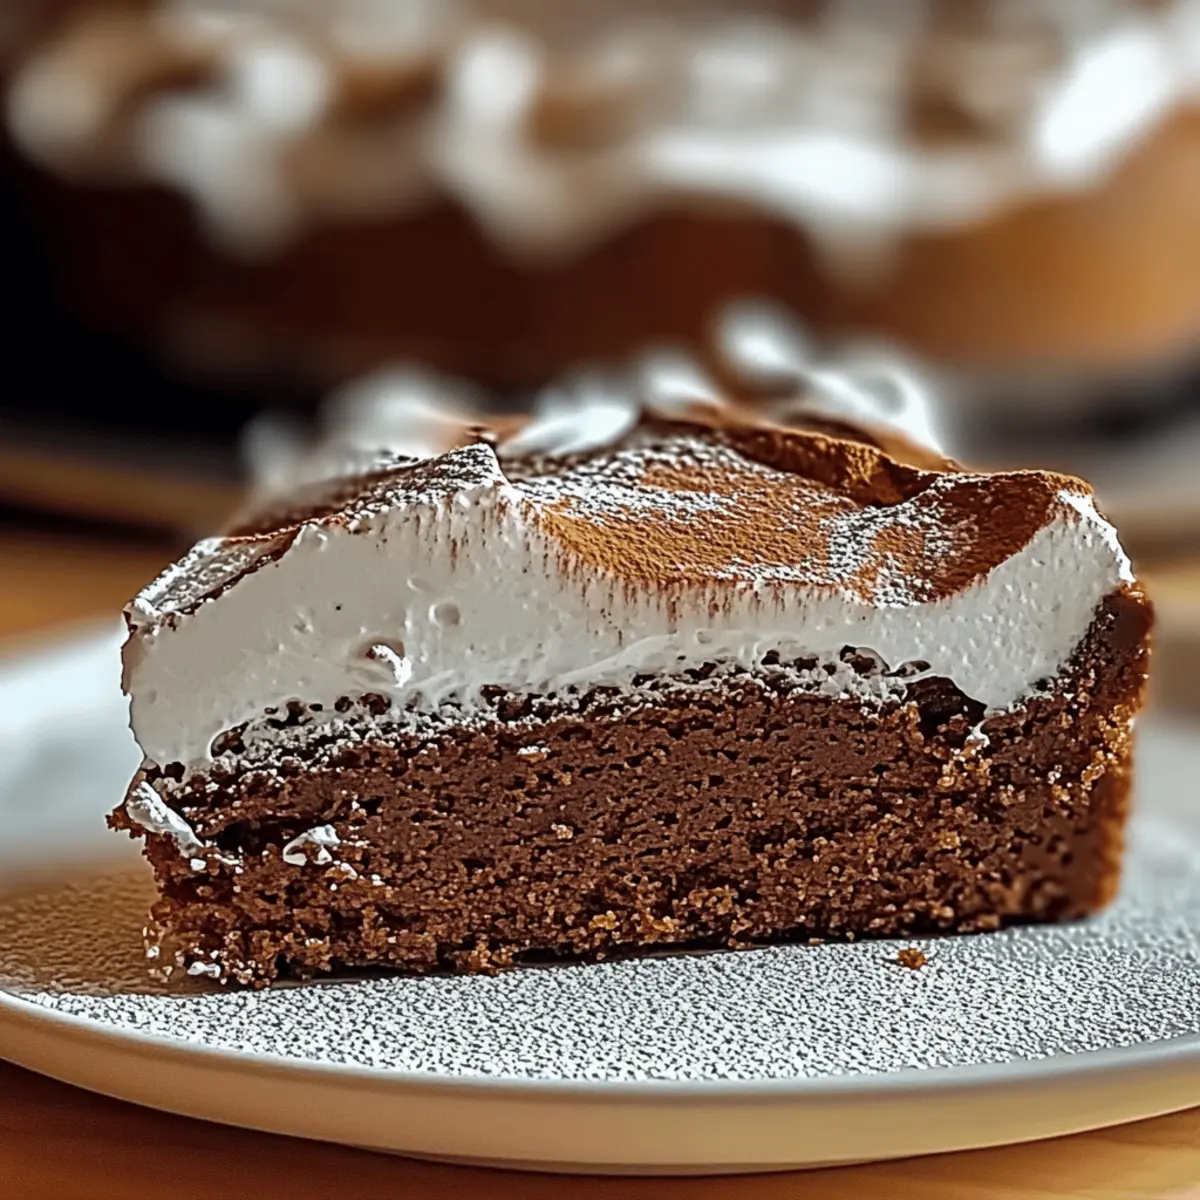
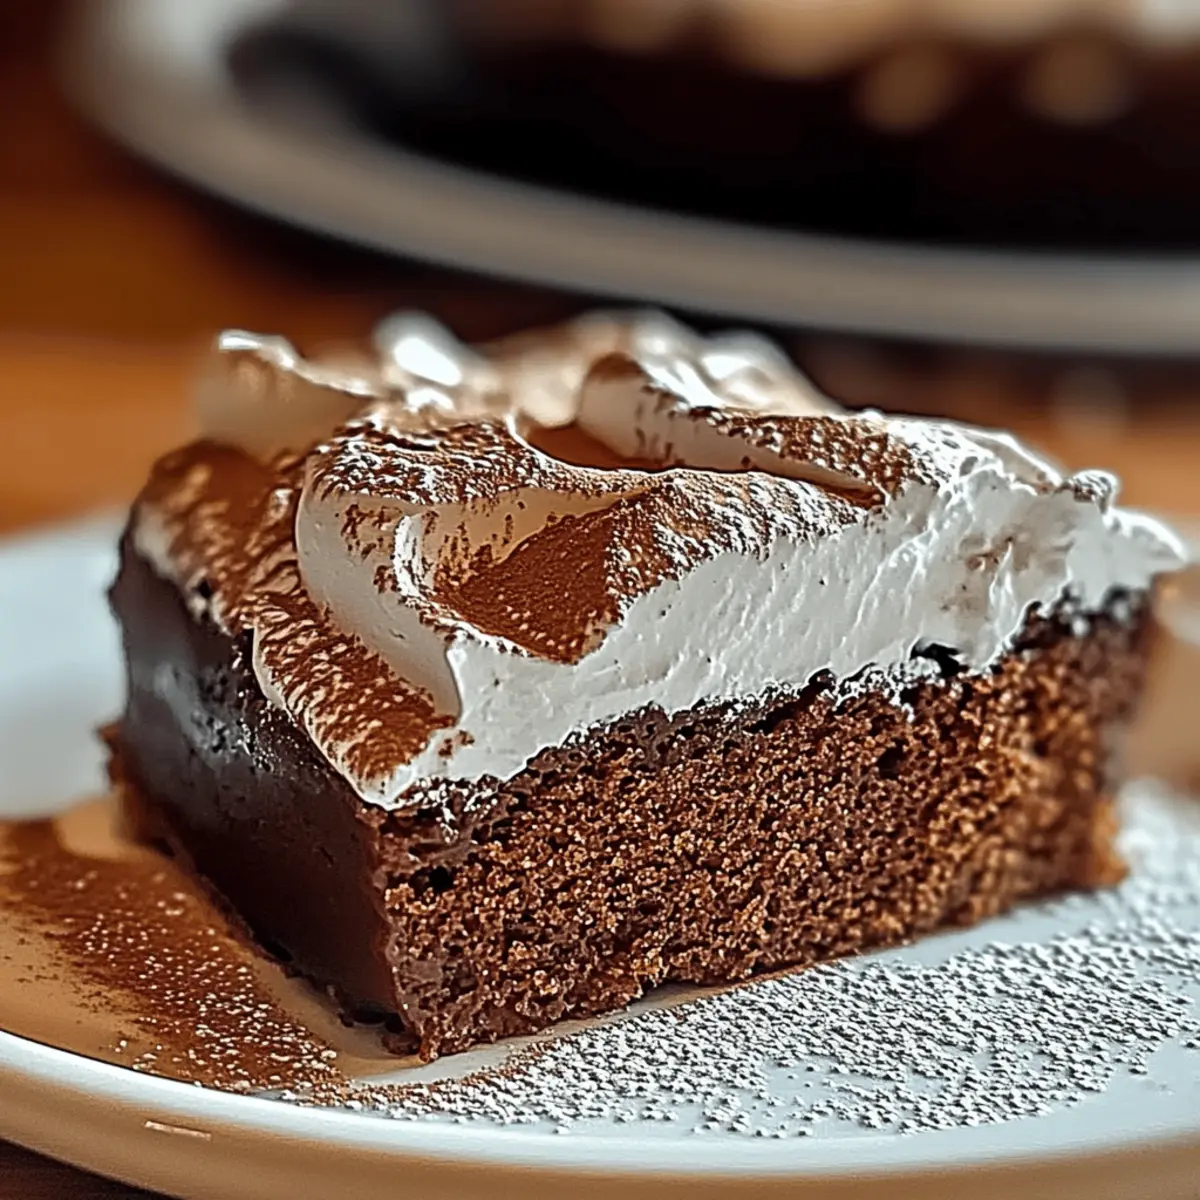
Frosting Finish: Top with a simple cream cheese frosting or a dusting of powdered sugar. It elevates the cake to dessert status, creating a perfect sweet finish.
-
Chia Seed Surprise: Add 2 tablespoons of chia seeds to your batter for a nutritional boost. It also enhances the cake’s moisture and gives it a slight nutty flavor, reminiscent of a more wholesome dessert!
Explore these variations to make this Gingerbread Crazy Cake uniquely yours, and consider pairing your slice with a delightful cup of tea or coffee for that homely feel, just like our cozy Coffee Caramel Cake or a slice of refreshing Strawberry Shortcake Cake. Happy baking!
Expert Tips for Gingerbread Crazy Cake
- Gentle Mixing: Avoid overmixing the batter, as it can lead to a tough texture. Mix until just combined for a light, airy cake.
- Accurate Oven Temperature: Preheat your oven properly to ensure even baking. An oven thermometer can help you avoid undercooked or overbaked results.
- Vinegar Importance: Don’t skip the vinegar! It reacts with baking soda to provide the fluffy texture that makes this Gingerbread Crazy Cake so delightful.
- Experiment with Spices: Feel free to adjust the spice levels to your liking. More ginger or even a hint of cardamom can elevate the flavor!
- Storage Tips: Store the cake in an airtight container once cooled to keep it moist. It remains delicious for days and is great for sharing!
Make Ahead Options
These Gingerbread Crazy Cake preparations are perfect for busy home cooks seeking time-saving solutions! You can mix the dry ingredients (flour, sugars, spices, and baking soda) up to 3 days in advance and store them in an airtight container at room temperature to maintain their freshness. Additionally, the wet ingredients (oil, warm water, and vinegar) can be combined 24 hours ahead; just keep them in the refrigerator, ensuring they reach room temperature before mixing. When you’re ready to enjoy your cake, simply create wells in the dry mix, pour in the wet ingredients, and bake as instructed. This approach allows you to enjoy the warm, comforting flavors of Gingerbread Crazy Cake with minimal effort on busy days!
How to Store and Freeze Gingerbread Crazy Cake
Airtight Container: Store the cooled Gingerbread Crazy Cake in an airtight container at room temperature for up to 5 days to keep it fresh and moist.
Refrigeration: If you plan to keep it longer, refrigerate the cake, where it can last for up to 1 week without losing its delightful flavor.
Freezing: For extended storage, wrap individual slices of the Gingerbread Crazy Cake tightly in plastic wrap and then place them in a freezer-safe bag. Freeze for up to 3 months.
Reheating: When ready to enjoy, thaw at room temperature or microwave for a few seconds to warm it up gently, restoring its moist texture and inviting aroma.
What to Serve with Gingerbread Crazy Cake
The warm, spiced notes of this delightful cake are just begging to be paired with some equally comforting accompaniments.
-
Creamy Whipped Topping: Light and airy, whipped cream adds a touch of sweetness that beautifully balances the spiced cake.
-
Vanilla Ice Cream: A scoop of vanilla ice cream melts perfectly against the warm cake, creating a decadent contrast of textures.
-
Spiced Hot Apple Cider: This seasonal drink enhances the gingerbread flavors, making it a cozy pairing for fall and winter gatherings.
-
Fresh Berries: A handful of tart raspberries or strawberries adds freshness and a pop of color, brightening each slice.
-
Maple Glaze: Drizzling a warm maple glaze over the cake accentuates its sweetness, inviting a luxurious finish.
-
Candied Ginger Pieces: For an extra punch of flavor, top the cake with chopped candied ginger, adding a zingy twist that complements the spices.
-
Milk Coffee: Sip on a cup of rich coffee or a latte to round out your dessert experience, enhancing the cake’s warm, inviting aromas.
These delightful pairings will make your Gingerbread Crazy Cake a highlight of any festive gathering!
Gingerbread Crazy Cake Recipe FAQs
What type of flour is best for Gingerbread Crazy Cake?
I recommend using all-purpose flour for this recipe as it gives the cake the right structure. If you need a gluten-free option, opt for a gluten-free flour blend, which works beautifully while maintaining the cake’s moist texture.
How should I store Gingerbread Crazy Cake?
Store the cooled Gingerbread Crazy Cake in an airtight container at room temperature for up to 5 days. This helps preserve its moistness and delicious flavor. For prolonged freshness, refrigerate it, where it can last for about a week.
Can I freeze Gingerbread Crazy Cake?
Absolutely! To freeze, wrap individual slices of the Gingerbread Crazy Cake tightly in plastic wrap, then place them in a freezer-safe bag. You can freeze the cake for up to 3 months. When ready to enjoy, simply thaw at room temperature or microwave for a few seconds to warm it up.
What can I do if my Gingerbread Crazy Cake is too dense?
If your cake comes out dense, it might have been overmixed or baked too long. Always mix until just combined and keep an eye on the baking time. Use a toothpick to check for doneness—it should come out clean or with a few moist crumbs, not wet batter.
Are there any dietary considerations for the Gingerbread Crazy Cake?
Yes, this recipe is vegan due to the use of vinegar and oil instead of eggs. It’s great for anyone following a vegan diet. However, always check for allergies related to specific ingredients, such as nuts if you decide to add them.

Gingerbread Crazy Cake: A Cozy Egg-Free Delight
Ingredients
Equipment
Method
- Preheat your oven to 350°F (175°C). Grease a 9x13 inch baking pan with vegetable oil or use parchment paper.
- In a large mixing bowl, whisk together the all-purpose flour, brown sugar, baking soda, ground ginger, cinnamon, and nutmeg.
- In a separate bowl, whisk together the vegetable oil, warm water, and vinegar until smooth.
- Make three wells in the dry mix and pour the wet mixture into each, allowing ingredients to react.
- Gently mix the batter until just combined, being careful not to overmix.
- Pour the batter into the prepared baking pan and spread it evenly. Bake for 30-35 minutes.
- Let the cake cool in the pan for about 10 minutes before transferring it to a wire rack to cool completely.