
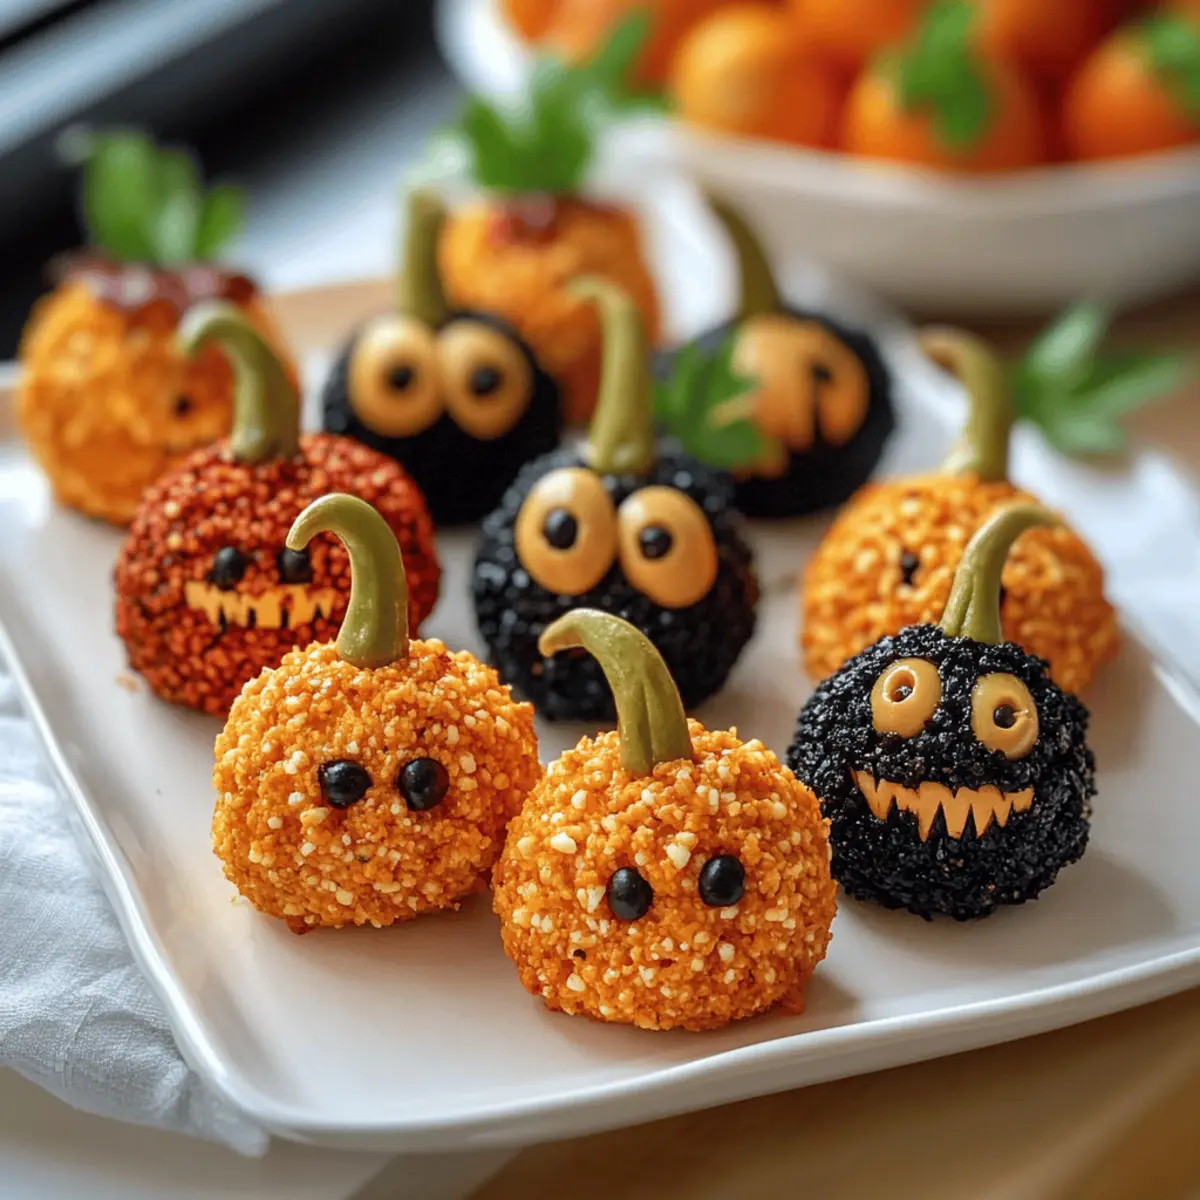
The witching hour is upon us, and it’s the perfect time to conjure up some fun in the kitchen! As we gear up for Halloween festivities, why settle for ordinary when you can whip up these Creepy & Crunchy Salty Halloween Snacks? Featuring delightful Mini Pumpkin Cheese Balls, these snacks are not only easy to prepare but also guaranteed crowd-pleasers at any gathering, pleasing both adults and kids alike. Imagine a savory cheese ball transformed into a spooky pumpkin, pairing perfectly with your favorite dips. Whether you’re hosting a Halloween bash or looking to add a festive flair to your snack table, these treats will evoke smiles and surprises. Are you ready to elevate your Halloween snacking game? Let’s dive into this deliciously fun creation!
Why Are Mini Pumpkin Cheese Balls Perfect?
Mini Pumpkin Cheese Balls bring creativity to your Halloween table!
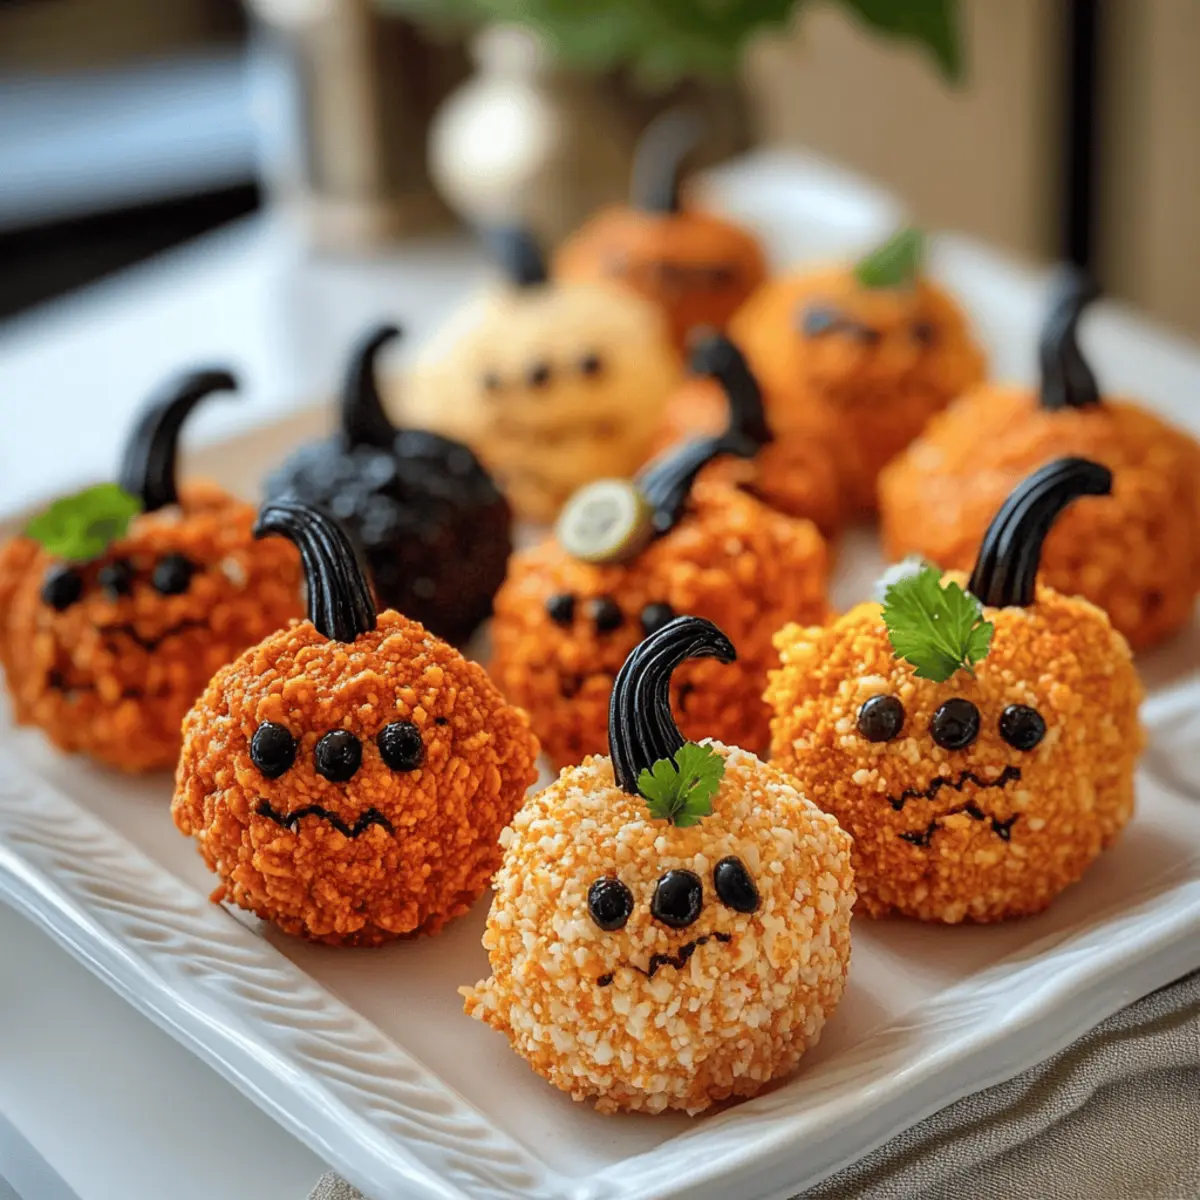
- Irresistibly Adorable: Their pumpkin shape is perfect for the spooky season, offering a playful twist that delights guests of all ages.
- Easy Preparation: With just a few ingredients, whipping these up is a breeze, allowing you more time to enjoy the festivities.
- Versatile Pairing: These cheese balls shine when served with a range of dips—think spicy salsa or creamy ranch, perfect for flavor exploration!
- Make-Ahead Magic: Prepare them in advance and just pop them on your serving tray, saving you time during the party.
- Crowd-Pleasing Flavor: Rich and creamy cheese blended with fun spices will keep everyone coming back for more. If you adore creative presentations, also try making Cheesecake Stuffed Strawberries for a unique dessert option!
Mini Pumpkin Cheese Balls Ingredients
• Get ready to whip up these delightfully spooky treats!
For the Cheese Mix
- Cream Cheese – the base for creaminess; let it soften at room temperature for easier mixing.
- Cheddar Cheese – adds a sharp and rich flavor; feel free to substitute with your favorite cheese.
- Pumpkin Puree – gives the cheese balls their festive orange color and moisture; for a twist, add some spice or nutmeg.
For the Coating
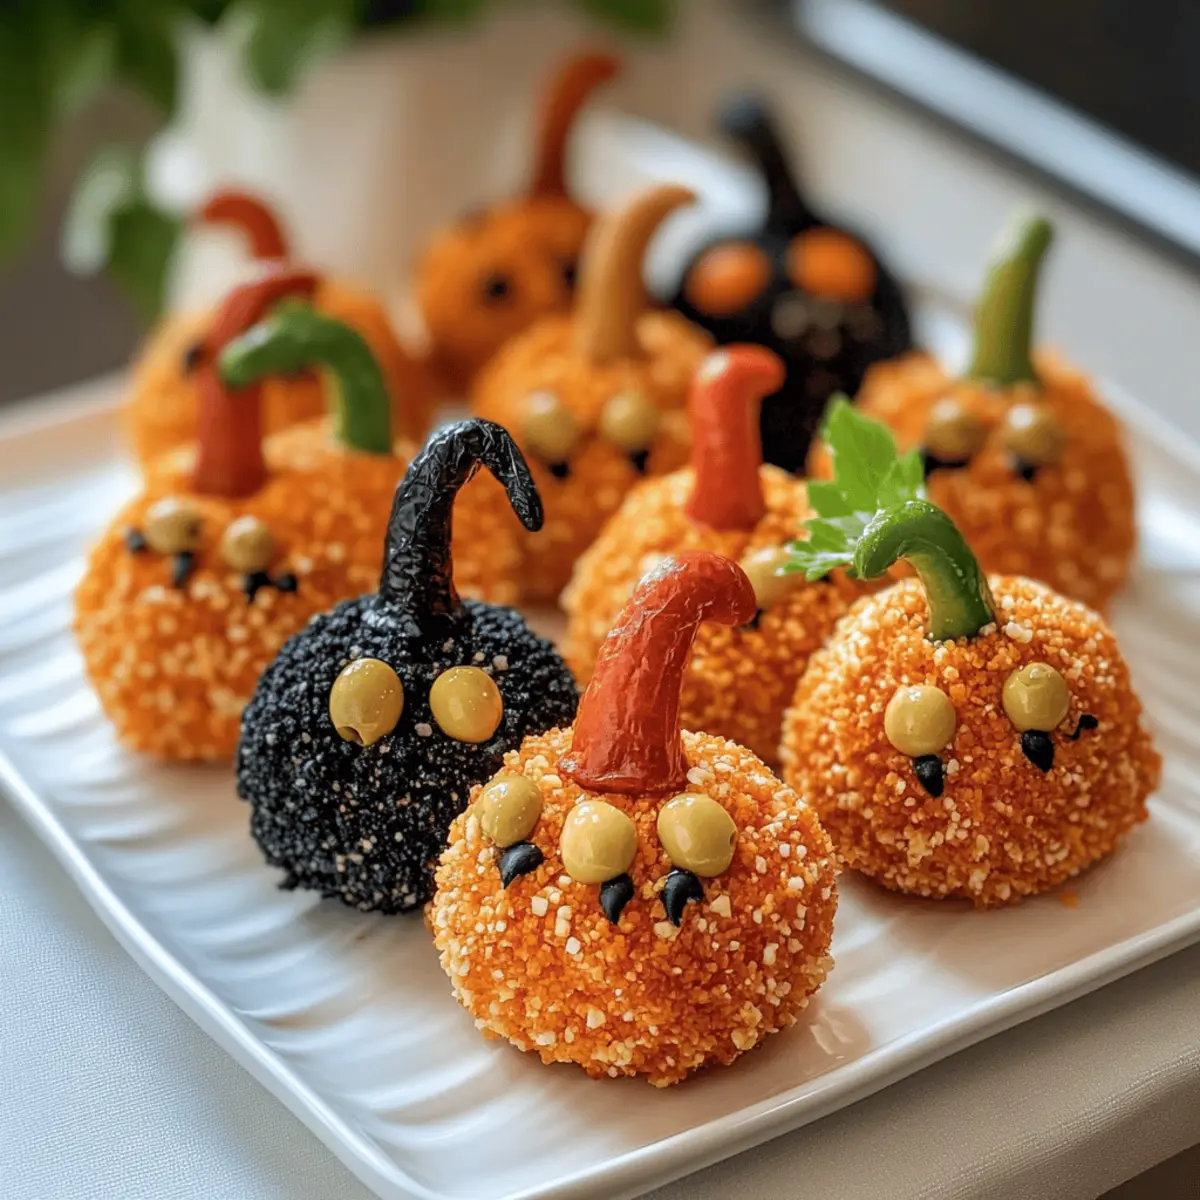
- Bell Pepper (green for stems) – adds a pop of color and a crunchy contrast; use carrot sticks for a fun and different look.
- Chopped Herbs (like parsley) – perfect for garnishing and providing freshness; don’t skip this for an added flavor burst.
- Pretzel Crumbs – a crunchy coating that enhances the texture; crushed tortilla chips can be used for a unique flavor.
Optional Dips
- Spicy Salsa – pairs well with the creamy cheese balls, giving your guests a kick; choose mild or hot depending on your crowd’s preference.
- Creamy Ranch Dressing – offers a cool, tangy counterpoint to the savory snacks; ranch complements the flavors beautifully.
Get ready to wow your guests with these Mini Pumpkin Cheese Balls that are as delicious as they are adorable!
Step‑by‑Step Instructions for Mini Pumpkin Cheese Balls
Step 1: Prepare the Cheese Mixture
Start by softening 8 ounces of cream cheese at room temperature for about 30 minutes, making it easier to blend. In a mixing bowl, combine the cream cheese with 1 cup of shredded cheddar cheese and 1/2 cup of pumpkin puree. Mix thoroughly until the ingredients are well combined and the mixture is smooth and creamy, resembling a thick batter.
Step 2: Form the Cheese Balls
Using a small scoop or your hands, portion out the cheese mixture into 1-inch balls. Roll each portion gently between your palms until smooth. Aim to create an eye-catching round shape that resembles mini pumpkins. Place the formed cheese balls on a parchment-lined baking sheet as you go, ensuring they’re spaced evenly apart.
Step 3: Chill for Firmness
Cover the baking sheet with plastic wrap and refrigerate the cheese balls for at least 30 minutes. Chilling helps the Mini Pumpkin Cheese Balls firm up, making them easier to handle and decorate. When they are ready, the cheese balls should feel slightly firm to the touch but still soft enough to enjoy.
Step 4: Prepare the Coatings
While the cheese balls chill, finely chop green bell pepper or prepare carrot sticks to use as stems for your pumpkin cheese balls. In a separate bowl, place crushed pretzel crumbs or tortilla chips. This crunchy coating will add texture and flavor to your delightful snack, making them irresistibly fun.
Step 5: Coat the Cheese Balls
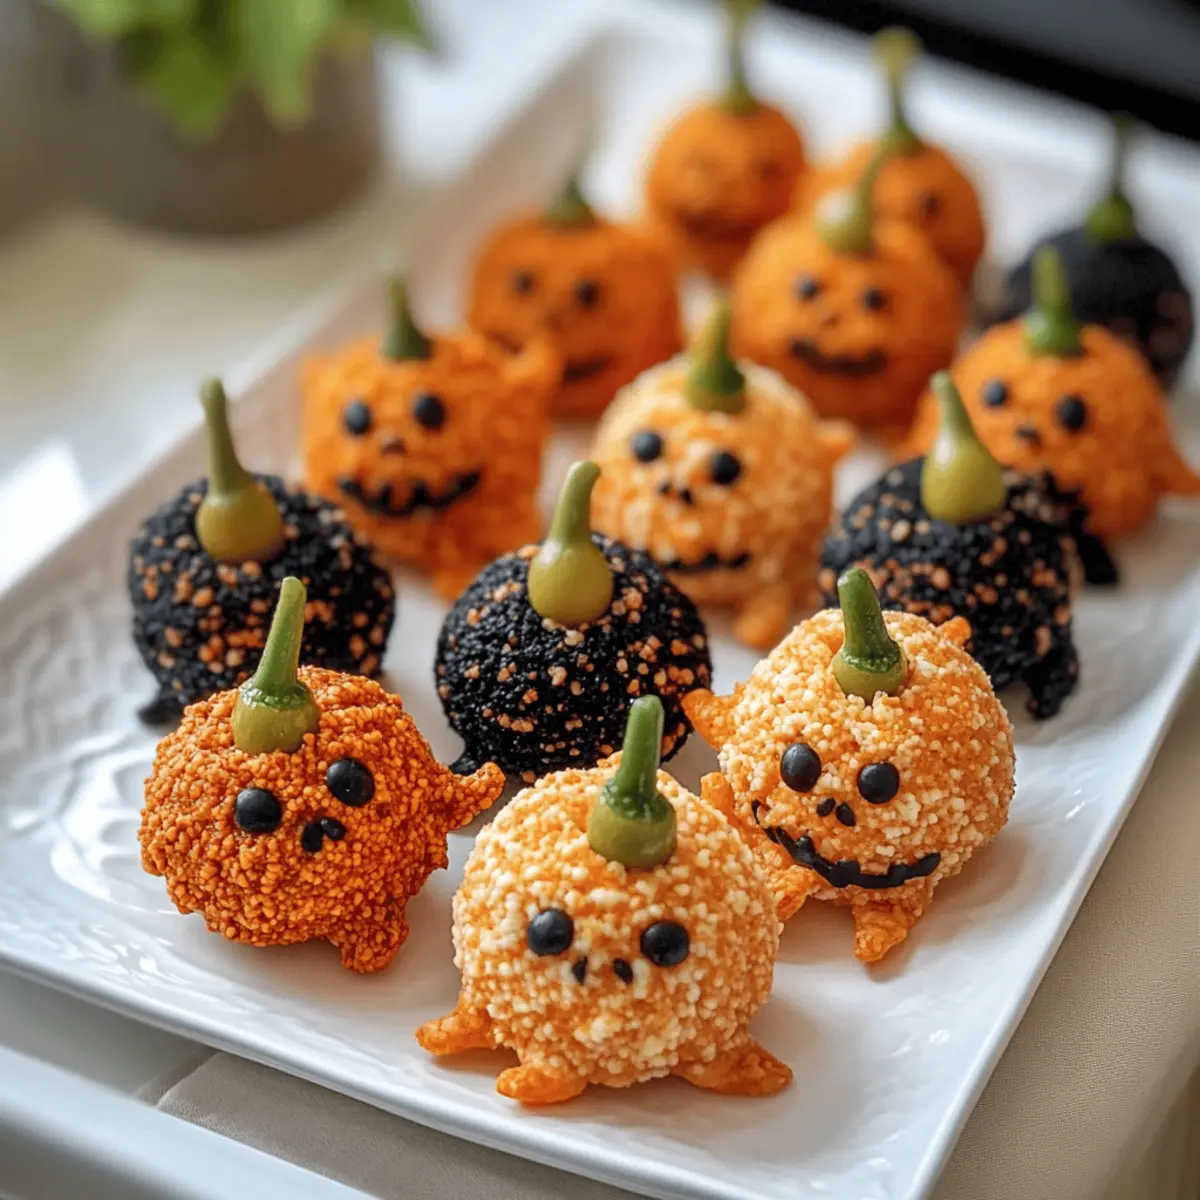
Remove the cheese balls from the refrigerator and roll each one first in the crushed pretzel crumbs to coat thoroughly. Make sure every surface is well-covered for that perfect crunchy finish. Then, gently press a piece of green bell pepper or a carrot stick into the top of each cheese ball, resembling a pumpkin stem, for that festive Halloween touch.
Step 6: Garnish and Serve
Arrange your Mini Pumpkin Cheese Balls on a festive serving platter, making them the centerpiece of your Halloween spread. Optionally, sprinkle chopped herbs like parsley around the cheese balls for added freshness and color. Pair with your favorite dips like spicy salsa or creamy ranch for a delightful snacking experience at your spooky gathering!
What to Serve with Creepy & Crunchy Salty Halloween Snacks
Elevate your Halloween gathering with these charming and tasty snacks, perfect for both kids and adults!
- Spicy Salsa: The kick from the salsa adds a zesty contrast that balances the creamy richness of the cheese balls, creating a lively flavor explosion.
- Creamy Ranch Dressing: This classic dip provides a cool, tangy touch, perfect for dipping those Mini Pumpkin Cheese Balls and enhancing their savory goodness.
- Vegetable Platter: A colorful assortment of crispy peppers and cucumbers adds freshness and a crunchy texture, countering the richness of the silky cheese balls.
- Crunchy Pretzel Bites: For extra crunch, serve pretzel bites alongside; their saltiness will enhance the flavors of your Halloween spread.
- Festive Cocktails: Consider mixing up some pumpkin spice cocktails or a witchy green drink that adds a festive vibe while catering to adult guests.
- Spiced Apple Cider: Warm, spiced apple cider creates an inviting atmosphere and pairs beautifully with the savory snacks, making for a cozy gathering.
- Chocolate-Covered Pretzels: For a sweet touch, these delightful treats provide a sweet-and-salty combination that guests will find irresistible.
- Mini Quesadillas: Adding mini quesadillas into the mix gives a savory, cheesy option that’s easy to grab and goes perfectly with any dip.
- Gourmet Popcorn: Seasoned popcorn offers a crunchy bite that complements the cheese balls, making guests reach for just one more handful.
- Halloween-Themed Desserts: Consider spooky sugar cookies or mini cupcakes to round out your spread, keeping with the festive theme.
Make Ahead Options
These Mini Pumpkin Cheese Balls are perfect for meal prep, making your Halloween party planning a breeze! You can prepare the cheese mixture and form the balls up to 24 hours in advance; simply store them in an airtight container in the refrigerator. To maintain their delightful freshness, roll the cheese balls in the pretzel crumbs and add the pepper stems only right before serving. When you’re ready to impress your guests, just take them out of the fridge, arrange them on a platter, and pair with your favorite dips. This way, you’ll be able to enjoy all the fun without any last-minute stress!
How to Store and Freeze Mini Pumpkin Cheese Balls
Fridge: Store your Mini Pumpkin Cheese Balls in an airtight container for up to 2 days. They taste best when fresh, so enjoy them soon after making!
Freezer: If you want to prepare ahead, freeze the cheese balls before coating them. Once firm, wrap individually in plastic wrap and store in a freezer-safe bag for up to 1 month.
Reheating: There’s no need to reheat these snacks! Simply allow them to thaw in the fridge overnight before serving.
Make-Ahead Tip: Preparing your Mini Pumpkin Cheese Balls a day in advance helps enhance their flavors, making them a delightful addition to any Halloween party!
Tips for the Best Mini Pumpkin Cheese Balls
-
Use Room Temperature Ingredients: Let your cream cheese soften before mixing; this ensures a smooth, creamy texture in your Mini Pumpkin Cheese Balls.
-
Chill for Firmness: Refrigerating the cheese balls for at least 30 minutes helps them firm up, making them easier to handle and coat.
-
Coating Variety: Experiment with different coatings! While pretzel crumbs add crunch, crushed tortilla chips can offer a unique twist to your cheesy treats.
-
Creative Garnishes: Add visual flair by using colorful bell peppers or carrot sticks as stems. A sprinkle of chopped herbs not only looks great but enhances flavor!
-
Portion Control: Use a small scoop for uniform sizing; this ensures that each Mini Pumpkin Cheese Ball is equally adorable and easy to serve at your Halloween gathering.
-
Prepare Ahead: Make the cheese balls a day in advance; they can be stored in the fridge, saving you time on party day while keeping their fresh taste.
Mini Pumpkin Cheese Balls Variations
Feel free to get creative and make these Mini Pumpkin Cheese Balls your own!
- Spicy Kick: Add diced jalapeños or a dash of hot sauce to the cheese mixture for a fiery twist that adults will love.
- Herb-Infused: Substitute plain cream cheese with herbed cream cheese for an extra flavor boost. This light twist will surprise your taste buds!
- Nutty Crunch: Roll the cheese balls in finely chopped nuts like pecans or almonds for a delightful crunch and a nutty flavor contrast.
- Vegetarian Delight: Swap out cheddar cheese for a vegan alternative and use nutritional yeast to maintain that cheesy flavor loved by all.
- Sweet & Savory: Mix in a touch of maple syrup or honey for a sweet surprise in every bite—this works wonders when paired with spicy salsa.
- Cheesy Trio: Use a blend of cheeses such as cream cheese, cheddar, and goat cheese for a more complex flavor profile. The variety will keep your guests guessing!
- Colorful Coating: Instead of pretzel crumbs, try crushed colorful tortilla chips for a fun, vibrant look on your snack table, echoing Halloween’s playful spirit.
- Serve with Style: Complement your snacks with unique dips! For a themed twist, create a pumpkin-spiced yogurt dip to pair with your Mini Pumpkin Cheese Balls.
With these fun variations, you can easily personalize your treats. For a beautifully themed dessert, consider serving alongside Cheesecake Stuffed Strawberries to round out your festive menu!
Mini Pumpkin Cheese Balls Recipe FAQs
What ripeness of ingredients should I use for Mini Pumpkin Cheese Balls?
Absolutely! Ensure your cream cheese is softened to room temperature for easy mixing—let it sit out for about 30 minutes before you start. For the pumpkin puree, use canned puree without added sugar for a smooth, flavorful base.
How should I store Mini Pumpkin Cheese Balls, and for how long?
Store your Mini Pumpkin Cheese Balls in an airtight container in the fridge for up to 2 days. They’re best enjoyed fresh, so try to consume them within this timeframe. If you have extras, place them in a single layer to avoid sticking.
Can I freeze Mini Pumpkin Cheese Balls?
Very! To freeze, prepare the cheese balls up to the chilling step, but skip the coating. Once firm, wrap each ball individually in plastic wrap and place them in a freezer-safe bag. They can be frozen for up to 1 month. When you’re ready to serve, thaw them in the fridge overnight and then coat and garnish.
What if my cream cheese mixture is too soft to form into balls?
If you find your cheese mixture is too soft, try chilling it for an extra 15-30 minutes in the fridge. This will help firm up the mixture, making it easier to roll into shapes. Alternatively, you can add a bit more shredded cheese or a spoonful of cornstarch to help bind the mixture.
Are Mini Pumpkin Cheese Balls suitable for people with dairy allergies?
You can absolutely adjust this recipe for dietary needs! Substitute regular cheese with vegan cheese and ensure your pumpkin puree is free from allergens. This way, everyone can enjoy these delightful treats at your Halloween gathering!
Can I customize the flavors of the Mini Pumpkin Cheese Balls?
Definitely! Feel free to mix in herbs, spices, or even a dash of hot sauce into the cheese mixture for a personal touch. For a unique twist, try incorporating sun-dried tomatoes or olives for an extra burst of flavor!
Delicious Mini Pumpkin Cheese Balls for a Spooky Treat
Ingredients
Equipment
Method
- Start by softening cream cheese at room temperature for about 30 minutes.
- In a mixing bowl, combine cream cheese, cheddar cheese, and pumpkin puree. Mix until smooth.
- Portion out the cheese mixture into 1-inch balls and roll them smooth.
- Cover and refrigerate the cheese balls for at least 30 minutes to firm up.
- Prepare bell pepper or carrot sticks for stems and crushed pretzels for coating.
- Roll chilled cheese balls in pretzel crumbs, then press in a stem.
- Arrange on a platter, garnish with herbs, and serve with dips.