
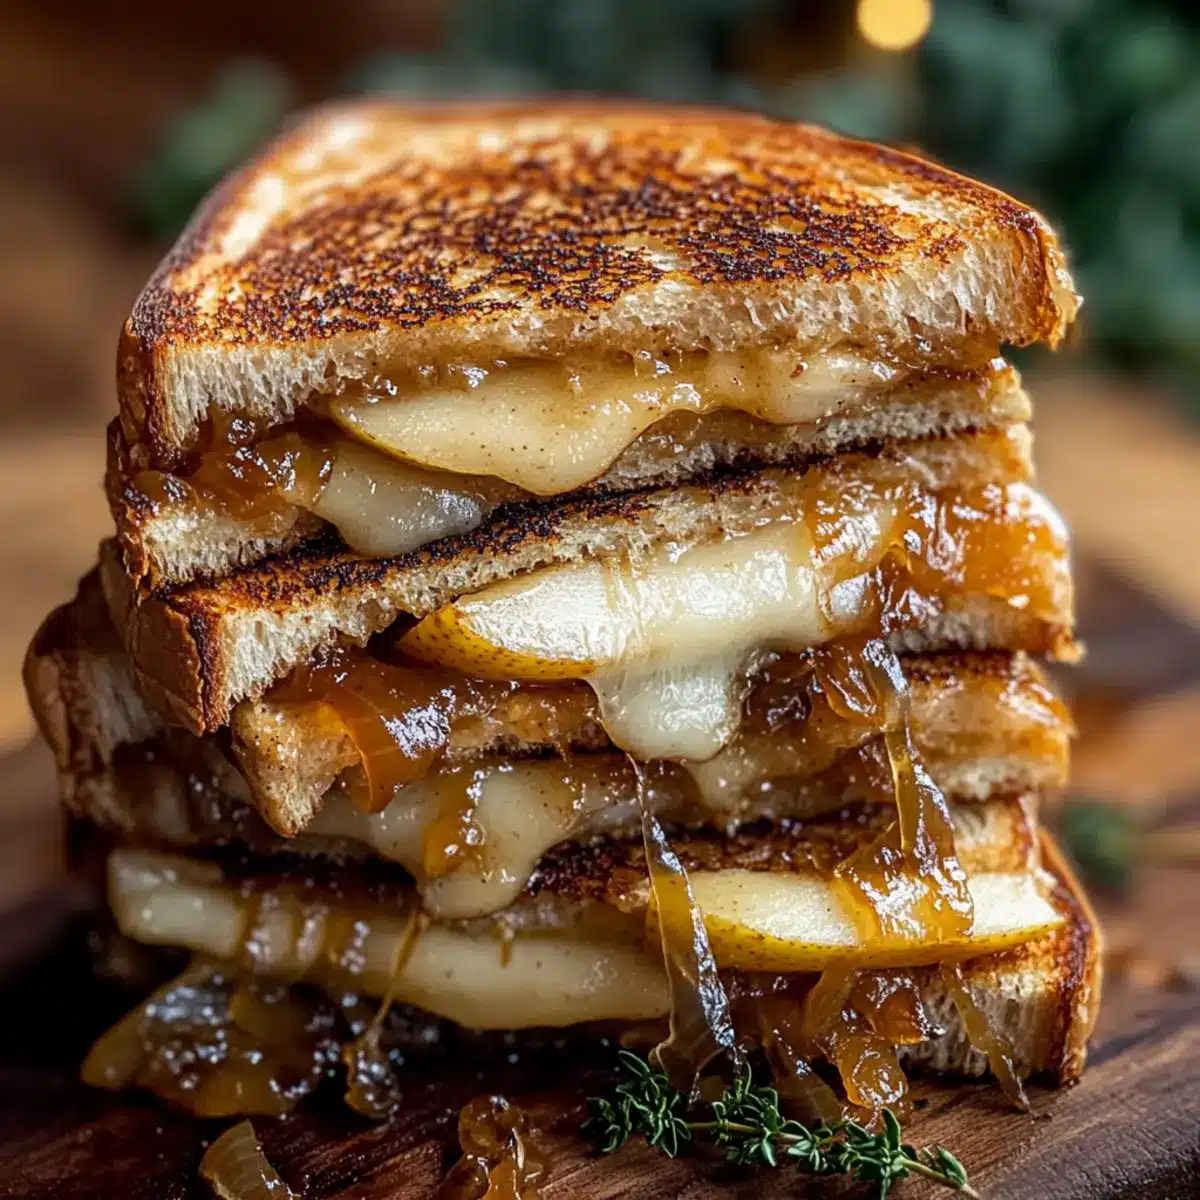
As I stood in the kitchen, the sweet aroma wafting from the sautéing onions made my stomach rumble with anticipation. Today, I’m excited to share my Pear & Apple Grilled Cheese with Caramelized Onions—a delightful twist on a classic comfort food. Perfect for a quick meal or a leisurely lunch, this recipe combines the tartness of apples and the sweetness of pears, all enveloped in gooey cheddar and nestled between crispy sourdough bread. Not only is it incredibly easy to make, but it also transforms simple ingredients into a dish that feels special. Ready to elevate your grilled cheese game and indulge in a comforting bite that celebrates seasonal flavors? Let’s dive into this scrumptious creation!
Why Is This Grilled Cheese Irresistible?
Unforgettable Flavor: The sweet combination of pears and apples blended with caramelized onions creates a unique taste profile that elevates the traditional grilled cheese sandwich into a gourmet experience.
Quick & Easy: With just a handful of simple ingredients, this recipe is perfect for busy weeknights or a last-minute lunch.
Versatile Pairing: Enjoy it on its own or serve it alongside a fresh salad or a warm bowl of soup. Pairing your sandwich with a refreshing side, like a crisp green salad, enhances the meal beautifully!
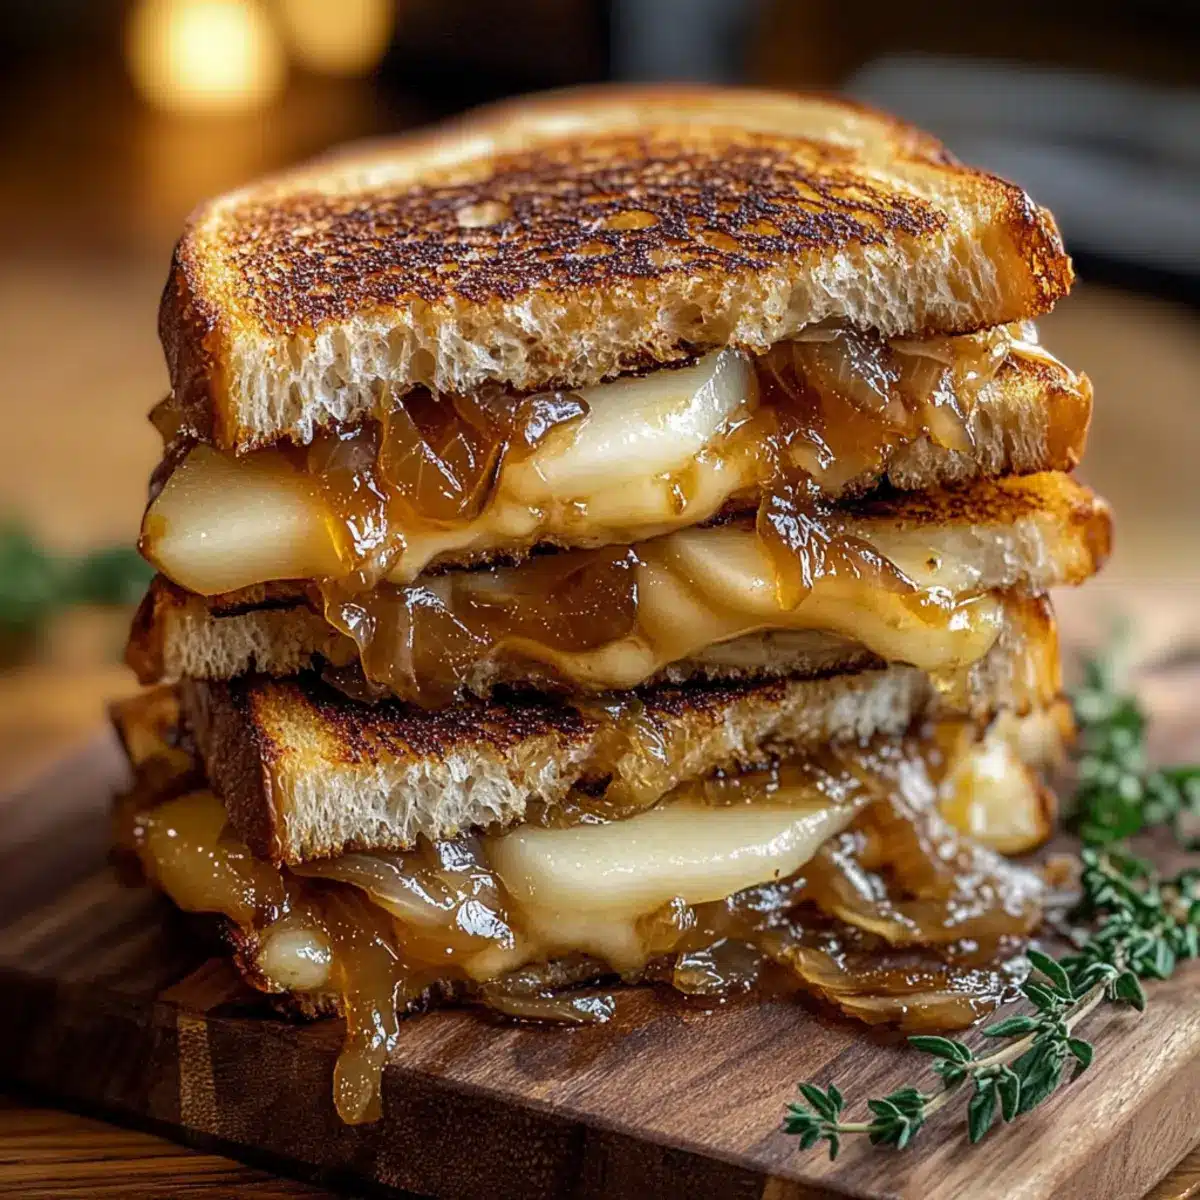
Comfort in Every Bite: The gooey cheddar envelops the fruity filling, ensuring that each bite is satisfying and comforting. It’s the essence of cozy, homemade food!
Ready to take your comfort food game to the next level? Try my Chicken Mac Cheese or indulge in some Lemon Velvet Cake for a sweet finish!
Pear & Apple Grilled Cheese Ingredients
For the Sandwich
- Sourdough Bread – A sturdy choice that adds great flavor and texture. Substitution: Whole grain or rye are excellent alternatives.
- Unsalted Butter – Provides richness and helps in achieving a golden-brown crust. Substitution: Use olive oil for a dairy-free option.
- Medium Pear (thinly sliced) – Adds a delightful sweetness and freshness. Note: Any sweet pear variety, such as Bartlett or Bosc, will work beautifully.
- Medium Apple (thinly sliced) – Contributes a zesty tartness and lovely crunch. Note: Stick with a sweet-tart apple like Honeycrisp or Fuji for best results.
- Medium Onion (thinly sliced) – Essential for caramelization, giving depth and sweetness to the mix. Note: Yellow or sweet onions are recommended for maximum flavor.
- Shredded Sharp Cheddar Cheese – Brings a creamy, salty contrast to the sweet components. Substitution: Mixing cheeses like mozzarella or gouda can add unexpected layers of flavor.
- Balsamic Vinegar – Enhances the onions’ natural sweetness during cooking. Substitution: In a pinch, red wine vinegar can serve as a decent substitute.
- Salt & Black Pepper – Key seasonings to harmonize everything in the sandwich. Note: Taste and adjust according to your preferences for the perfect balance.
Elevate your culinary repertoire today with my Pear & Apple Grilled Cheese with Caramelized Onions recipe—a cozy, irresistible delight that promises comfort in every bite!
Step‑by‑Step Instructions for Pear & Apple Grilled Cheese With Caramelized Onions
Step 1: Caramelize the Onions
In a skillet, melt 1 tablespoon of unsalted butter over medium heat. Add the thinly sliced onion along with a pinch of salt. Stir frequently and cook for about 10 minutes, allowing the onions to turn golden brown and soft. To enhance their sweetness, stir in 1 tablespoon of balsamic vinegar and cook for an additional 2-3 minutes until coated. Remove the onions from the skillet and set them aside.
Step 2: Assemble the Sandwich
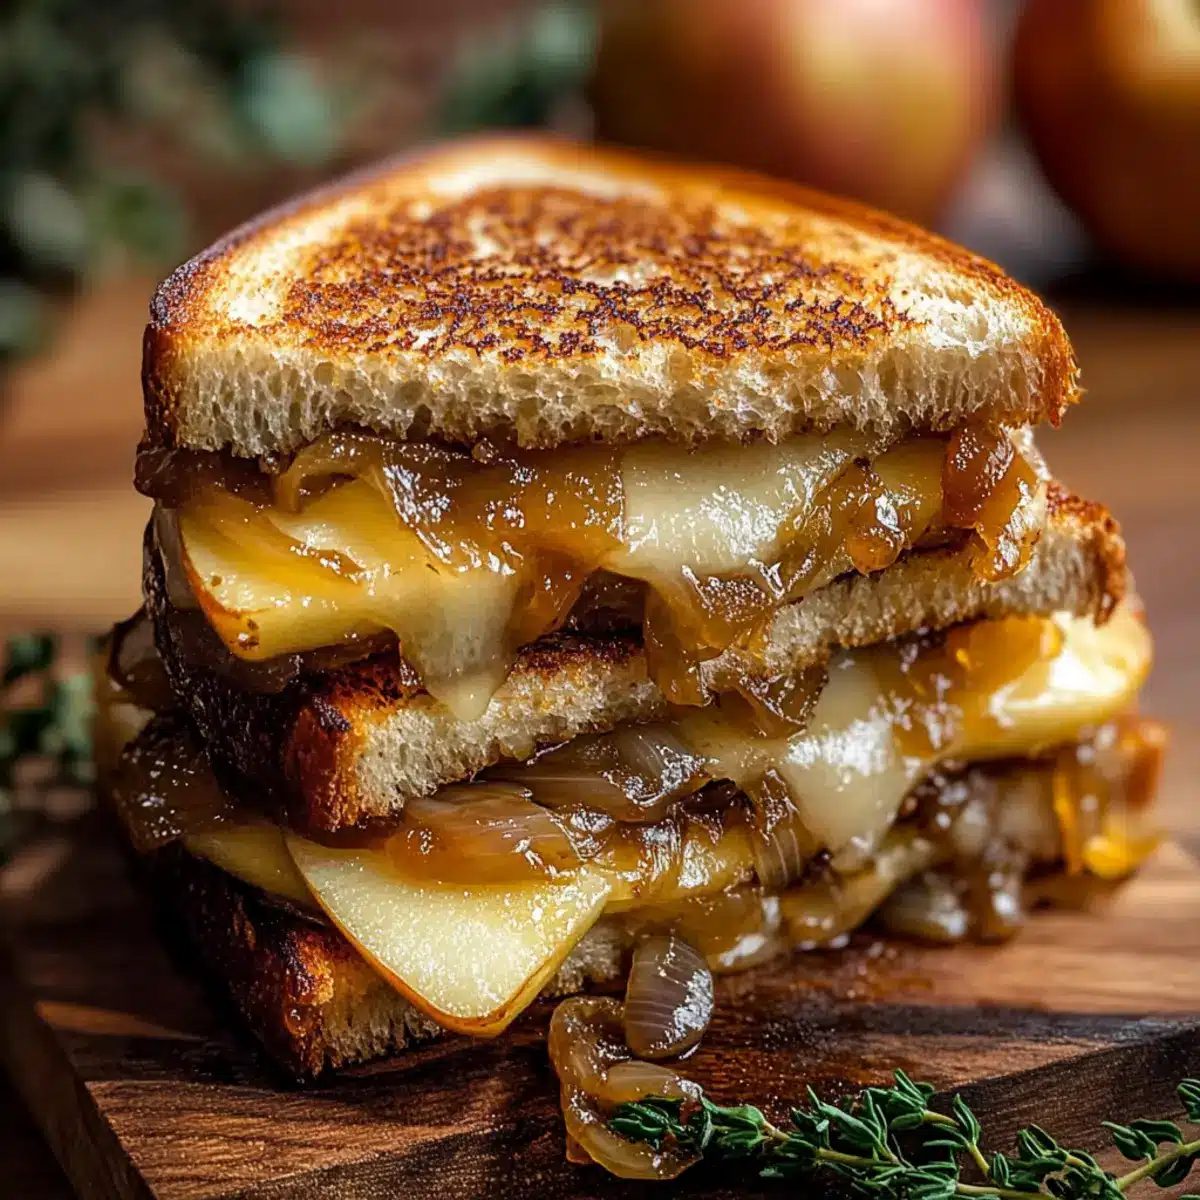
In the same skillet, lower the heat slightly and add another tablespoon of butter. Lay two slices of sourdough bread in the skillet, and distribute half of the shredded sharp cheddar evenly on each. Next, layer the caramelized onions, followed by slices of medium apple and pear, and finish with the remaining cheddar on top. Place another slice of bread on each to complete the assembly.
Step 3: Grill the Sandwich
Increase the heat to medium and grill the assembled sandwiches for about 4-5 minutes, checking for a golden brown crust. Carefully flip the sandwiches using a spatula, pressing down gently to ensure even grilling. Continue cooking for another 4-5 minutes until the cheese is melted and both sides are golden brown, ensuring that every bite of your Pear & Apple Grilled Cheese with Caramelized Onions is perfectly crispy.
Step 4: Serve
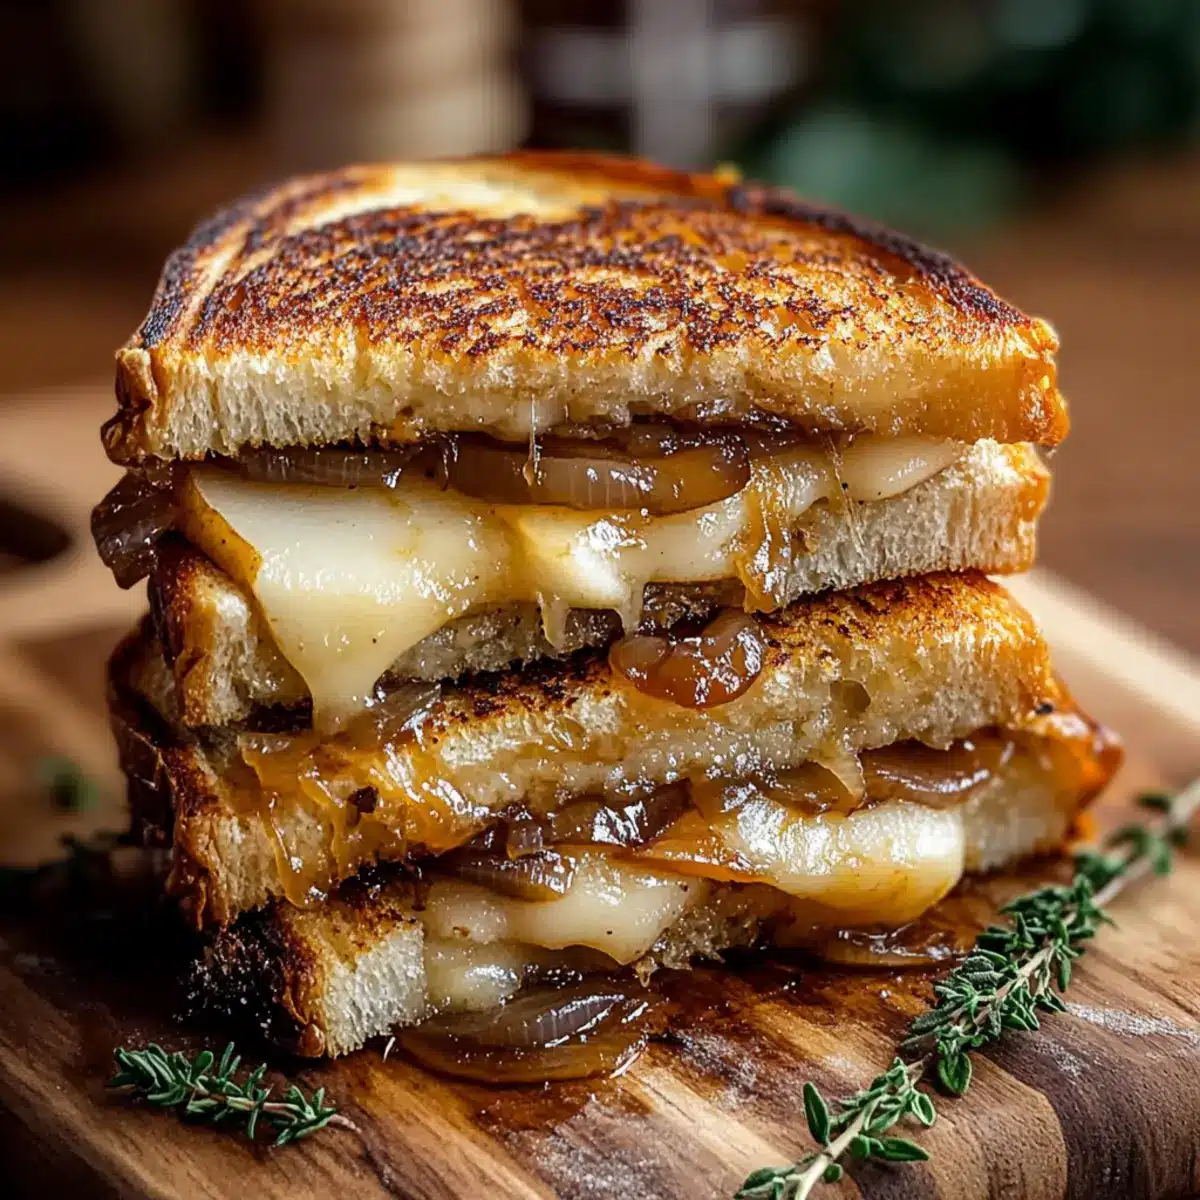
Once grilled to perfection, remove the sandwiches from the skillet and let them cool slightly for easier handling. Slice each sandwich in half on a diagonal to showcase the melted cheese and vibrant filling. Serve warm alongside a fresh salad or a bowl of comforting soup for a delightful meal that embraces the essence of homemade goodness.
Make Ahead Options
These Pear & Apple Grilled Cheese with Caramelized Onions are perfect for meal prep, making weeknight dinners a breeze! You can prepare the caramelized onions up to 3 days in advance. Just store them in an airtight container in the refrigerator to lock in their rich flavor. Additionally, slice the pears and apples and toss them with a little lemon juice to prevent browning; they can also be prepared 24 hours ahead. When you’re ready to enjoy your grilled cheese, simply assemble the sandwich with the prepped ingredients and grill as instructed. This way, you’ll have a delicious, comforting meal with minimal effort!
What to Serve with Pear & Apple Grilled Cheese with Caramelized Onions
For a truly satisfying meal, consider delightful pairings that enhance the scrumptious flavors of this gourmet grilled cheese.
-
Crispy Side Salad: A refreshing mix of greens with a tangy vinaigrette brightens each bite of the sandwich and provides a crunchy texture contrast.
-
Tomato Basil Soup: The rich, creamy soup complements the sweetness of the sandwich beautifully, creating that classic comfort food duo everyone loves.
-
Sweet Potato Fries: These crispy, slightly sweet fries add heartiness alongside the sandwich while maintaining a vibrant visual appeal. Perfect for dipping in your favorite sauce!
-
Fruit Chutney: The tangy-sweet flavors of apple-pear chutney elevate the whole experience, harmonizing with the sandwich while introducing additional fruitiness.
-
Herbal Lemonade: A refreshing drink like herbal lemonade offers a bright, zesty contrast that balances the richness of the cheese and caramelized onions, leaving you feeling invigorated.
-
Chocolate Chip Cookies: Finish off your meal with a homemade cookie, providing a delicious sweet ending that lingers in your memory long after the last bite of grilled cheese.
Indulging in these pairings will elevate your dining experience, transforming a simple sandwich into a heartwarming feast!
Pear & Apple Grilled Cheese Variations
Get ready to make this delightful grilled cheese even more personal and special to your palate!
-
Dairy-Free: Substitute the cheddar with a dairy-free cheese alternative. Enjoy the same melty goodness without the dairy!
-
Bacon Lover: Add crispy bacon slices into your sandwich for a savory crunch that’s hard to resist. The combination of sweet fruit and salty bacon is pure bliss!
-
Herbed Delight: Sprinkle fresh herbs like thyme or rosemary on the caramelized onions for an aromatic twist. The herbs elevate the flavor profile beautifully!
-
Spicy Kick: Layer in a slice of pepper jack cheese for a delightful heat that contrasts perfectly with the sweet pears and apples. Spice it up your way!
-
Nutty Crunch: Add a handful of crushed walnuts or pecans for an extra layer of texture. The nutty crunch perfectly complements the soft fruits and melty cheese.
-
Cinnamon Touch: Dust the apple slices with a sprinkle of cinnamon before grilling. It adds a warm sweetness that pairs fantastically with the cheese.
-
Pesto Spread: Try spreading a thin layer of pesto on the bread. The herbaceous flavors will create an exciting depth to your grilled cheese experience!
For even more delicious twists on comfort food, check out our Cajun Grilled Salmon or treat yourself with our delightful Cheesecake Stuffed Strawberries. Each variation gives you the chance to experiment while making this classic your own!
Expert Tips for Pear & Apple Grilled Cheese
-
Cheese Choices: Experiment with different cheeses like gouda or mozzarella for a unique twist on the classic Pear & Apple Grilled Cheese. Mixing cheeses can enhance flavor complexity.
-
Perfectly Caramelized Onions: Avoid burning the onions by keeping the heat at medium and stirring regularly. Patience is key for achieving that beautiful golden color and sweet depth.
-
Temperature Check: Make sure your skillet is preheated properly. A hot skillet helps achieve a crispy exterior without burning the bread, ensuring the perfect grilled cheese experience.
-
Fruit Preparation: To prevent sogginess, slice apples and pears thinly and consider tossing them with a dash of lemon juice. This keeps them fresh and vibrant.
-
Storage Secrets: If you have leftovers, store them in an airtight container and reheat in a skillet or toaster oven to maintain crispiness, allowing you to enjoy your Pear & Apple Grilled Cheese at its best!
How to Store and Freeze Pear & Apple Grilled Cheese
Fridge: Store any leftovers in an airtight container for up to 3 days to maintain freshness and flavor.
Freezer: If you’d like to prepare ahead, freeze the assembled but ungrilled sandwiches wrapped tightly in plastic wrap for up to 2 months.
Reheating: To enjoy your Pear & Apple Grilled Cheese again, reheat in a skillet over medium heat for a few minutes on each side until warmed through and crispy.
Tip: Avoid microwaving, as it can make the sandwich soggy; the skillet or toaster oven method keeps that delightful crunch intact!
Pear & Apple Grilled Cheese with Caramelized Onions Recipe FAQs
What type of bread works best for this grilled cheese?
Sourdough bread is an excellent choice for this recipe as it provides great structure and flavor. If you prefer alternatives, any sturdy bread like whole grain or rye will work just as well!
How should I store leftovers from the Pear & Apple Grilled Cheese?
Absolutely! Store any leftovers in an airtight container in the fridge for up to 3 days. This keeps the sandwich fresh and ready to enjoy again.
Can I freeze the Pear & Apple Grilled Cheese sandwiches?
Yes, you can! Assemble the ungrilled sandwiches, wrap them tightly in plastic wrap, and store in the freezer for up to 2 months. This way, you can enjoy a quick meal anytime.
What’s the best way to reheat these sandwiches?
To reheat and maintain that delightful crunch, I recommend using a skillet over medium heat. On each side, warm the sandwich for a few minutes until it’s heated through and crispy. This avoids sogginess, which can happen with microwaving.
Are there any dietary considerations for this recipe?
This recipe is vegetarian-friendly! If you’re avoiding dairy, simply substitute unsalted butter with olive oil and choose dairy-free cheese alternatives. Also, adjust the balsamic vinegar if you have any sensitivities; red wine vinegar works well, too.
How do I know when the onions are caramelized perfectly?
Caramelizing onions requires patience! Cook them over medium heat for about 10 minutes until they turn golden brown and soft. Add balsamic vinegar and stir for another 2-3 minutes; they should be deep golden with a delicious sweet aroma. Perfectly caramelized onions add depth and sweetness to your Pear & Apple Grilled Cheese!
Irresistible Pear & Apple Grilled Cheese With Caramelized Onions
Ingredients
Equipment
Method
- In a skillet, melt 1 tablespoon of unsalted butter over medium heat. Add the thinly sliced onion along with a pinch of salt. Stir frequently and cook for about 10 minutes until golden brown and soft. Stir in 1 tablespoon of balsamic vinegar and cook for another 2-3 minutes until coated. Remove the onions from the skillet and set aside.
- In the same skillet, lower the heat slightly and add another tablespoon of butter. Lay two slices of sourdough bread in the skillet, and distribute half of the shredded sharp cheddar evenly on each. Layer the caramelized onions, followed by slices of medium apple and pear, then finish with the remaining cheddar on top. Place another slice of bread on each to complete the assembly.
- Increase the heat to medium and grill the assembled sandwiches for about 4-5 minutes, checking for a golden brown crust. Carefully flip the sandwiches using a spatula, pressing down gently to ensure even grilling. Continue cooking for another 4-5 minutes until the cheese is melted and both sides are golden brown.
- Remove the sandwiches from the skillet and let them cool slightly. Slice each sandwich in half diagonally to showcase the melted cheese and vibrant filling. Serve warm alongside a fresh salad or a bowl of comforting soup.