
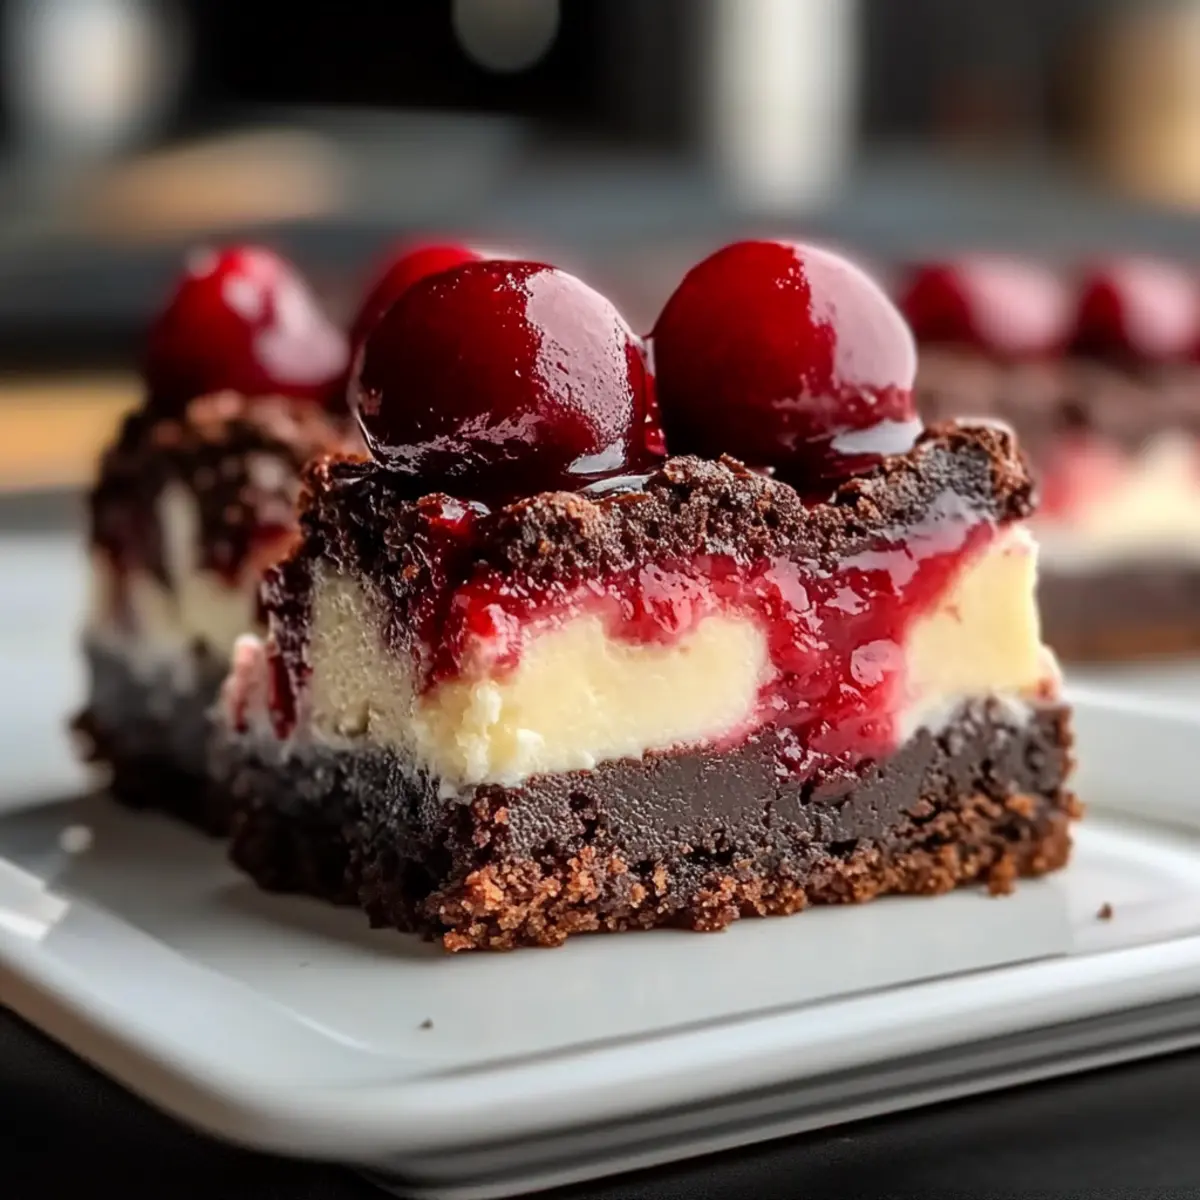
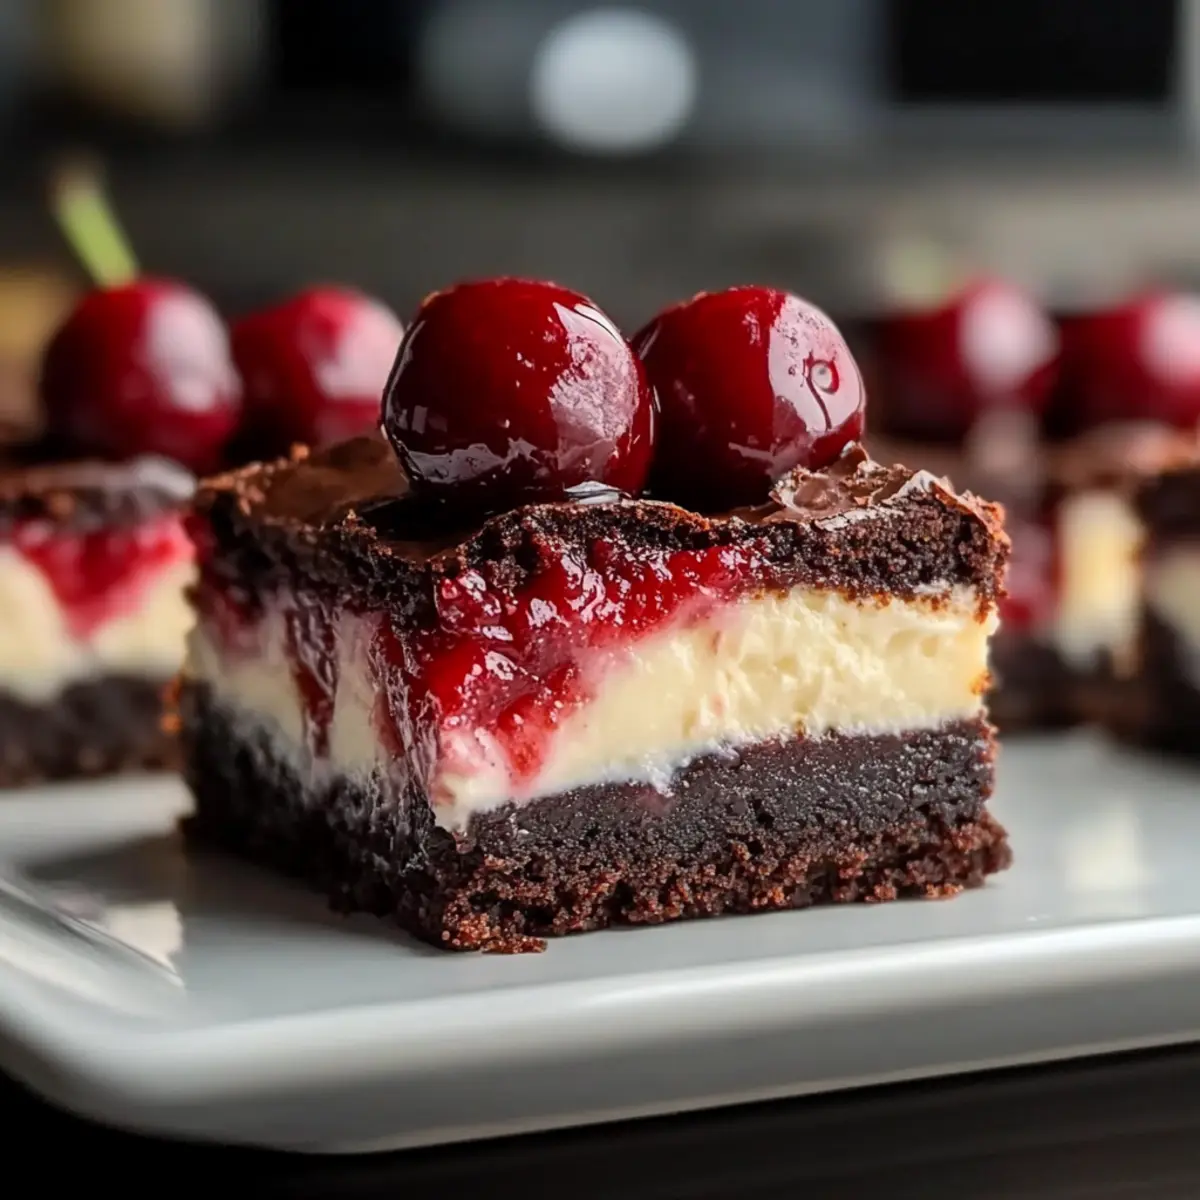
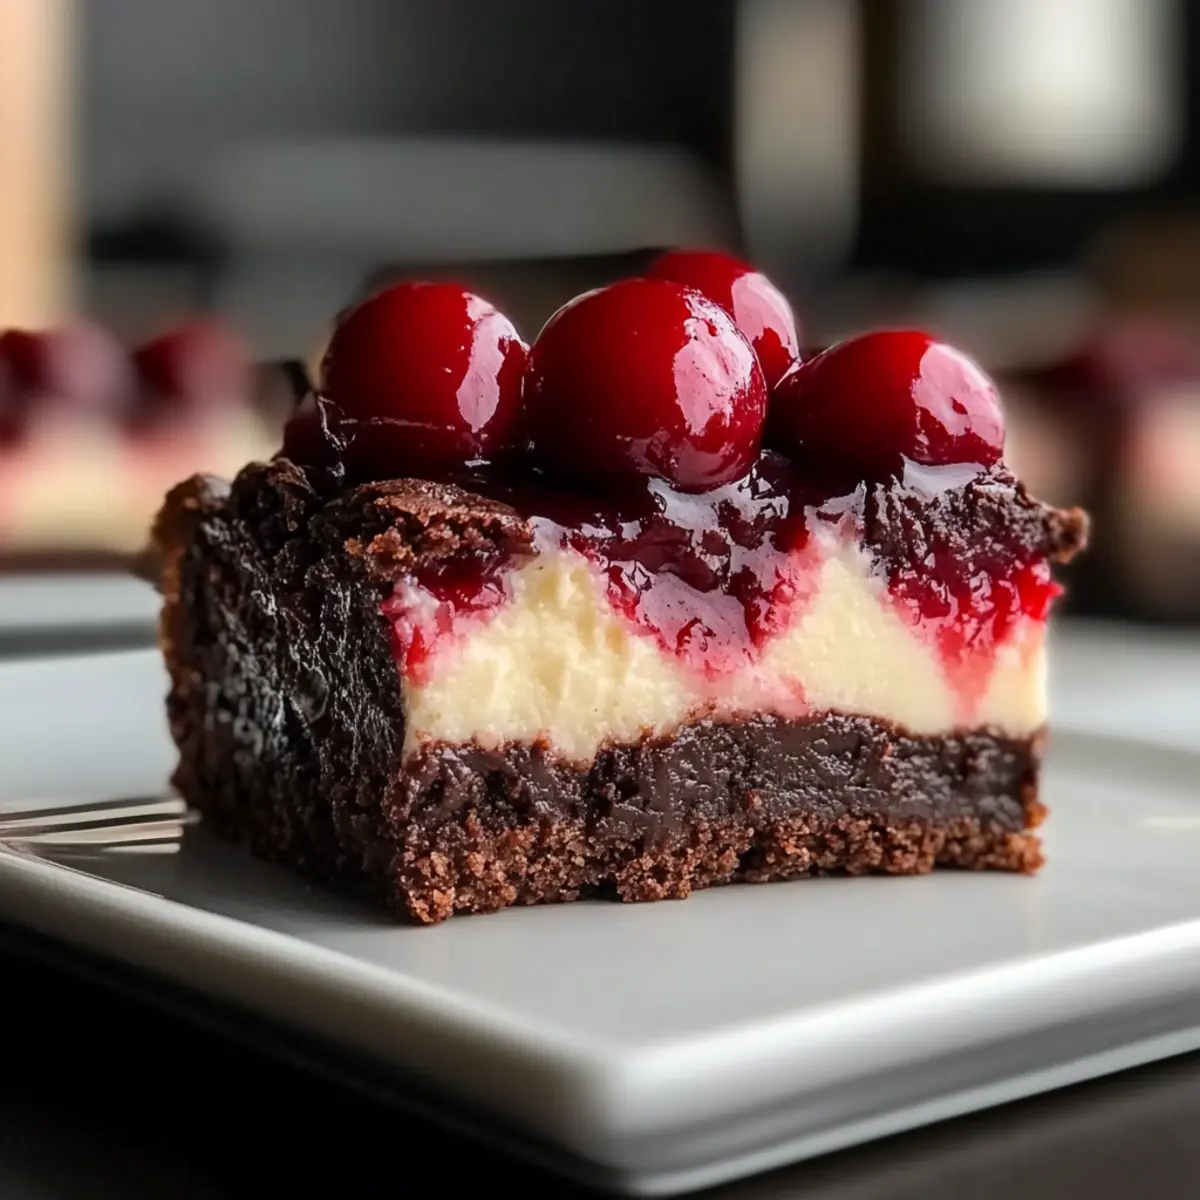
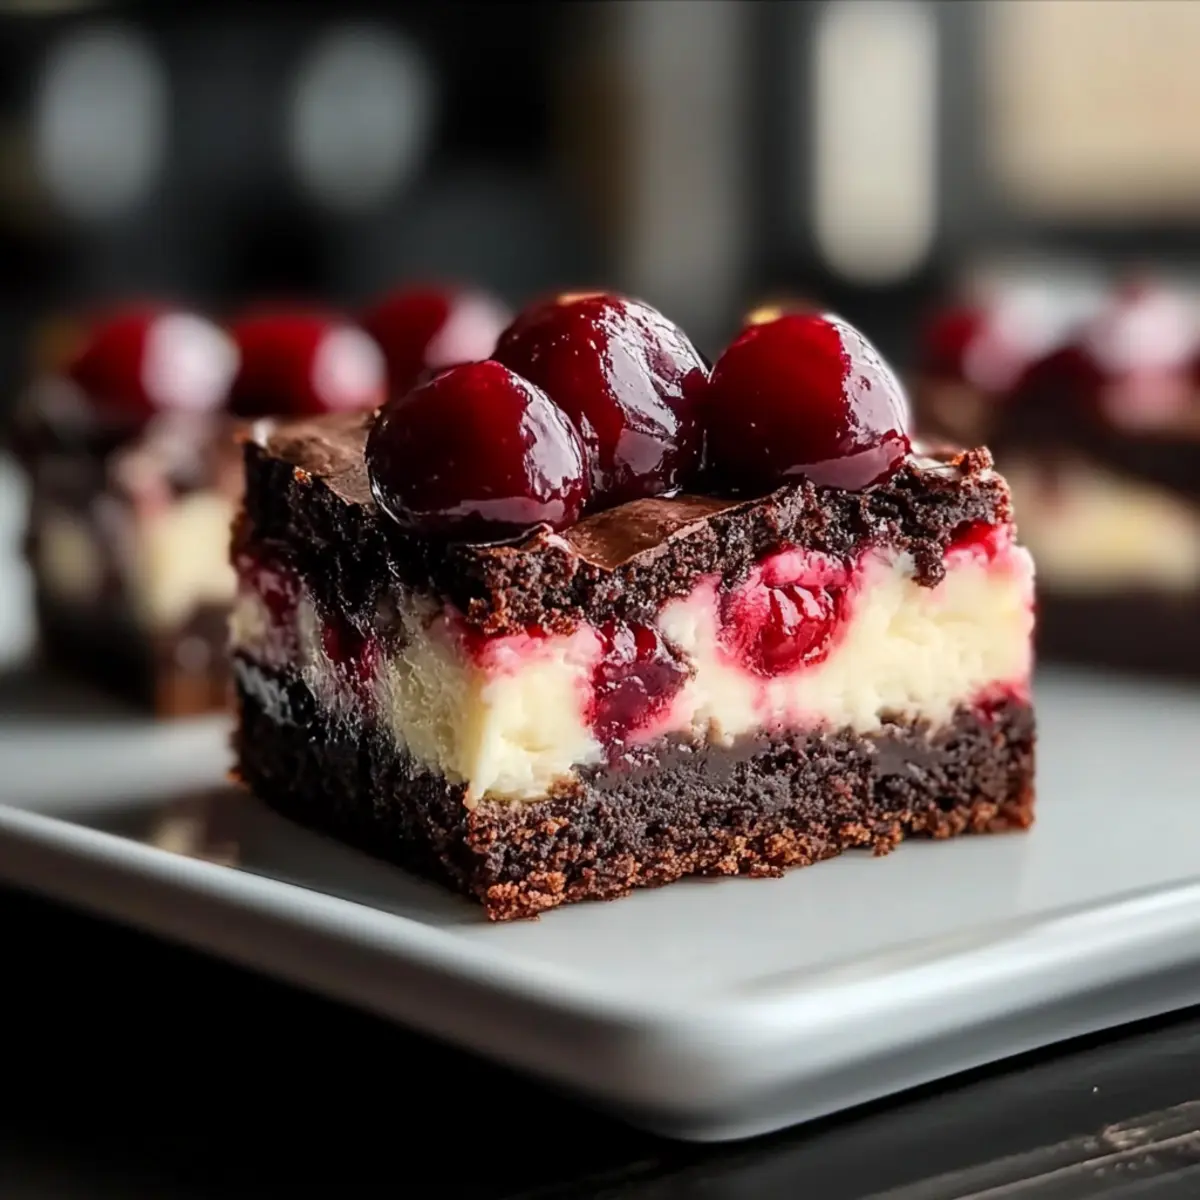
There’s something uniquely comforting about combining two beloved desserts into one irresistible treat. My Cherry Cheesecake Brownie Bars bring together a fudgy chocolate brownie and a creamy cheesecake layer, all topped with sweet cherry surprises. This recipe is perfect for satisfying those afternoon cravings or impressing guests at your next gathering. With just 50 minutes of prep, you’ll have a stunning dessert that’s not only quick and easy to make, but also a crowd-pleaser for anyone tired of the usual baked goods. The layers create a delightful contrast in texture, leaving each bite as indulgent as it is satisfying. Ready to whip up a dessert that will have everyone asking for seconds? Let’s dive in!
Why Are These Brownie Bars Irresistible?
Unbeatable Flavor: The luscious combination of rich chocolate, creamy cheesecake, and sweet cherries creates a tantalizing flavor explosion in every bite.
Quick and Easy: With just 50 minutes of total prep time, these bars are perfect for a last-minute dessert that doesn’t compromise on taste.
Versatile Options: Feel free to swap cherries for blueberries or raspberries, or even add chocolate chips for an extra decadent treat.
Perfect for Any Occasion: Whether it’s a cozy night in or a special gathering, these bars are sure to impress – they’re a sweet delight everyone will love!
If you enjoy easy yet indulgent desserts, consider trying my Cheesecake Stuffed Strawberries for a fresh twist or my Brownie Mix Cookies for even more chocolatey goodness!
Cherry Cheesecake Brownie Bars Ingredients
For the Brownie Layer
- Butter – Adds richness and moisture to the brownies; margarine can be used as a quick substitute.
- Sugar – Sweetens and helps achieve a chewy texture; coconut sugar provides a unique flavor twist.
- Eggs – Essential for binding ingredients; flax eggs work well for a vegan variation.
- Vanilla Extract – Enhances the overall flavor; try almond extract for a fun change.
- All-Purpose Flour – Gives structure to the brownie; gluten-free 1:1 flour can be a great alternative.
- Cocoa Powder – Imparts that deep chocolate flavor; using dark cocoa can elevate the taste.
- Salt – Balances sweetness; no substitutes needed for salt.
For the Cheesecake Layer
- Cream Cheese – Creates a smooth, creamy layer; make sure it’s at room temperature to prevent lumps.
- Cherry Pie Filling – Adds delightful sweetness and tartness; fresh cherries mixed with cornstarch and sugar can be used instead for that homemade feel.
These Cherry Cheesecake Brownie Bars are not only a treat for the taste buds but also a delightful visual experience sure to impress everyone!
Step‑by‑Step Instructions for Cherry Cheesecake Brownie Bars
Step 1: Preheat and Prepare the Pan
Begin your adventure by preheating the oven to 350°F (175°C) and greasing a 9×13 inch baking pan with butter or non-stick spray. This crucial step ensures that your Cherry Cheesecake Brownie Bars will release easily once baked. As the oven warms up, it’s time to gather your ingredients to create that luscious brownie base.
Step 2: Make the Brownie Batter
In a large mixing bowl, whisk together the melted butter and sugar until the mixture is smooth and glossy, which should take about 2 minutes. Then, add the eggs one by one, beating them into the mix followed by the vanilla extract. This combination is key for flavor and texture. Next, gently fold in the flour, cocoa powder, and salt until just combined—be careful not to overmix for that perfect fudgy brownie texture.
Step 3: Spread the Brownie Base
Pour the prepared brownie batter into the greased baking pan, using a spatula to spread it evenly across the bottom. Aim for an even layer that reaches the corners of the pan. This layer will provide a rich chocolatey base for your Cherry Cheesecake Brownie Bars. Once done, set aside as you prepare the dreamy cheesecake layer.
Step 4: Prepare the Cheesecake Filling
In a separate bowl, beat the softened cream cheese with sugar until it’s smooth and creamy, which takes about 2-3 minutes. Then gently add in one egg and the vanilla extract, mixing just until everything is combined. Avoid overmixing to keep your cheesecake layer light and fluffy. This velvety mixture will perfectly complement the brownie base.
Step 5: Assemble the Layers
Pour the cheesecake mixture over the brownie layer, spreading it gently to cover the chocolate base evenly. Take spoonfuls of the cherry pie filling and dollop them on top of the cheesecake layer. Use a knife to swirl the cherry filling through the cheesecake, creating a beautiful marbled effect. This step adds both visual appeal and flavor to your Cherry Cheesecake Brownie Bars.
Step 6: Bake to Perfection
Carefully place the assembled pan in the preheated oven and bake for 30 minutes. You’ll know they are ready when the edges are set but the center still has a slight jiggle. This ensures a fudgy brownie base and creamy cheesecake topping. Keep an eye on them as oven temperatures can vary; you want that perfect balance of textures.
Step 7: Cool and Slice
Once baked, remove the pan from the oven and allow it to cool completely in the pan for approximately 2 hours. This step is essential for achieving well-defined bars. Once cooled, slice into squares or rectangles as desired. For even cleaner edges, consider chilling the bars in the fridge for an hour before serving. Your delightful Cherry Cheesecake Brownie Bars are now ready to impress!
What to Serve with Cherry Cheesecake Brownie Bars
Indulging in these luscious bars is just the beginning; let’s create a full spread that delights every palate.
-
Fresh Fruit Salad: A medley of seasonal fruits provides a refreshing contrast, balancing the richness of the brownies with bright, juicy flavors.
-
Ice Cream (Vanilla or Cherry): The creamy texture and cold temperature of ice cream complement the warm, fudgy brownie bars perfectly, creating a delightful treat.
-
Whipped Cream: Light and airy homemade whipped cream adds a luxurious touch, enhancing the dessert while being a classic pairing with any cheesecake.
-
Chocolate Sauce: Drizzling warm chocolate sauce on top of the bars elevates them to another level of indulgence, perfect for chocolate lovers.
-
Coffee (Espresso or Cold Brew): A cup of rich coffee accentuates the chocolate notes in the brownie while offering a cozy contrast to the sweet cheesecake layer.
-
Digestif (Amaretto or Hazelnut Liqueur): Sipping on a smooth liqueur after dessert rounds out the meal and adds an elegant touch to any gathering.
With these complementing flavors and textures, your Cherry Cheesecake Brownie Bars will shine even brighter at your next gathering!
How to Store and Freeze Cherry Cheesecake Brownie Bars
Fridge: Store your Cherry Cheesecake Brownie Bars in an airtight container for up to 5 days. This keeps them fresh and ready for a sweet bite whenever you desire!
Freezer: For longer storage, wrap the bars tightly in plastic wrap or foil, then place them in a freezer-safe bag. They can be frozen for up to 3 months.
Thawing: When ready to enjoy, thaw the frozen bars in the refrigerator overnight for a gentle transition back to their deliciously creamy state.
Reheating: If you love them warm, pop them in the microwave for 10-15 seconds before serving to revive that fudgy brownie texture!
Cherry Cheesecake Brownie Bars Variations
Feel free to get creative with these delightful brownie bars, adding your own twist to make them truly your own!
-
Fruit Swaps: Replace cherry pie filling with blueberries or raspberries for a fresh, fruity flavor that’s equally delicious. Each fruit brings a unique burst of brightness to every bite!
-
Chocolate Lover’s Upgrades: Fold in chocolate chips into the brownie batter for an extra chocolatey punch. This little addition takes your bars to a whole new level of indulgence!
-
Cheesecake Twists: Incorporate flavored extracts like almond, lemon, or orange into the cheesecake mixture for a unique taste experience. The subtle hints of flavor will surprise and delight everyone!
-
Nutty Texture: Add chopped walnuts or pecans to the brownie layer for that satisfying crunch. The nuts provide a beautiful contrast to the creamy cheesecake above, enhancing both texture and taste.
-
Vegan Option: Swap traditional eggs for flax eggs and use vegan cream cheese. You still get the creamy goodness without the dairy, making this dessert accessible to various dietary needs!
-
Marble Effect: Instead of swirling cherry filling, use caramel sauce or chocolate ganache. A lovely marble pattern can elevate the visual appeal even further while adding rich sweetness!
If you love delicious desserts but want something simple yet delightful, you might also enjoy these Cheesecake Stuffed Strawberries for a fresh and fun treat or my easy Brownie Mix Cookies for equally satisfying cocoa goodness. Enjoy customizing your Cherry Cheesecake Brownie Bars!
Expert Tips for Cherry Cheesecake Brownie Bars
-
Softened Cream Cheese: Ensure your cream cheese is at room temperature to avoid lumps and achieve a silky cheesecake layer.
-
Mix Gently: Combine the brownie batter until just incorporated; overmixing can lead to tough brownies instead of that desired fudgy texture.
-
Cooling Time: Let the bars cool completely in the pan to ensure clean slicing. For extra finesse, chill in the fridge for an hour after cooling.
-
Room Temperature Eggs: Use room temperature eggs to prevent the batter from seizing, ensuring a smooth blend of flavors in your Cherry Cheesecake Brownie Bars.
-
Swirling Technique: When adding cherry pie filling, gently swirl it through the cheesecake layer for beautiful marbling and enhanced flavor in every bite.
Make Ahead Options
These Cherry Cheesecake Brownie Bars are perfect for meal prep, allowing you to enjoy this delicious treat with minimal last-minute hassle! You can prepare the brownie base and cheesecake layer up to 24 hours in advance and refrigerate them separately. Simply bake the brownie base and let it cool completely. Once cooled, layer the cheesecake mixture on top, add the cherry pie filling, and bake as directed. Critical tips include ensuring the cream cheese is at room temperature to maintain a smooth texture. When you’re ready to serve, just slice and go — your dessert will taste just as fresh as when you made it!
Cherry Cheesecake Brownie Bars Recipe FAQs
How do I choose ripe cherries for the filling?
Absolutely! When selecting cherries, look for ones that are firm and shiny with no dark spots or blemishes. If you’re using fresh cherries, they should be deep red and have a sweet aroma. For the pie filling, choose a well-known brand with a thick consistency, or make your own by cooking down fresh cherries with a bit of sugar and cornstarch.
How should I store the leftover Cherry Cheesecake Brownie Bars?
Store your Cherry Cheesecake Brownie Bars in an airtight container in the refrigerator. They’ll stay fresh for up to 5 days. If you’re like me and enjoy them chilled, just grab one whenever that sweet tooth strikes!
Can I freeze these brownie bars? If so, how?
Yes, you can! To freeze, wrap the bars tightly in plastic wrap or aluminum foil to prevent freezer burn, then place them in a freezer-safe bag. They can be stored in the freezer for up to 3 months. To enjoy, just thaw them overnight in the refrigerator. If you crave a warm treat, heat them in the microwave for 10-15 seconds!
What should I do if my cheesecake layer cracks while baking?
Very! Cracking can happen if the cheesecake gets too hot. To prevent this, ensure you bake the bars just until the edges are set and the center remains slightly jiggly. If you do end up with cracks, don’t worry – a dollop of whipped cream or a sprinkle of powdered sugar can hide any imperfections beautifully!
Are these brownie bars suitable for people with gluten intolerance?
Absolutely! You can make your Cherry Cheesecake Brownie Bars gluten-free by substituting all-purpose flour with a gluten-free 1:1 baking mix. Just be sure to check all ingredient labels, including the cherry pie filling, as some might contain gluten. Enjoy every bite worry-free!
Delicious Homemade Cherry Cheesecake Brownie Bars to Love
Ingredients
Equipment
Method
- Preheat the oven to 350°F (175°C) and grease a 9x13 inch baking pan.
- In a large mixing bowl, whisk together the melted butter and sugar until smooth and glossy.
- Add eggs one by one, then mix in vanilla extract.
- Gently fold in the flour, cocoa powder, and salt until just combined.
- Pour the brownie batter into the greased baking pan, spreading it evenly.
- In a new bowl, beat softened cream cheese with sugar until smooth and creamy.
- Add one egg and vanilla extract to the cheesecake mix, combining gently.
- Pour the cheesecake mixture over the brownie layer and dollop with cherry pie filling.
- Swirl the cherry filling through the cheesecake layer.
- Bake for 30 minutes until edges are set and center has a slight jiggle.
- Cool completely in the pan for about 2 hours before slicing.