

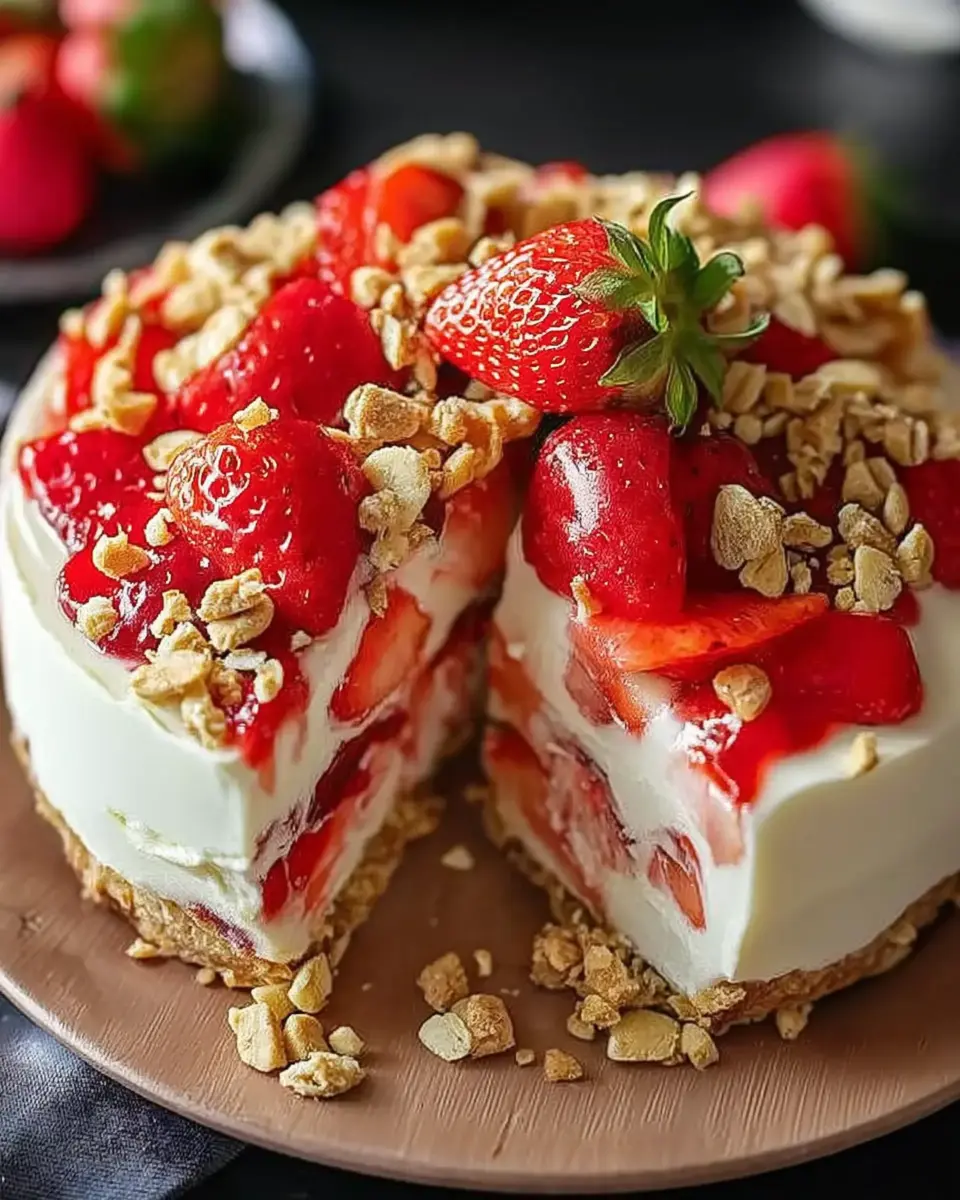
Introduction to Berrylicious Strawberry Crunch Cheesecake
There’s something magical about a dessert that brings back memories of summer picnics and family gatherings. The Berrylicious Strawberry Crunch Cheesecake is just that—a creamy, dreamy delight that’s perfect for any occasion. Whether you’re looking to impress your friends at a barbecue or simply want to treat yourself after a long day, this cheesecake is a quick solution that doesn’t skimp on flavor. With fresh strawberries and a crunchy graham cracker crust, it’s a dessert that feels special without requiring hours in the kitchen. Let’s dive into this delicious adventure together!
Why You’ll Love This Berrylicious Strawberry Crunch Cheesecake
This Berrylicious Strawberry Crunch Cheesecake is a game-changer for dessert lovers. It’s incredibly easy to whip up, making it perfect for busy weeknights or last-minute gatherings. The combination of creamy cheesecake and fresh strawberries creates a flavor explosion that will have everyone asking for seconds. Plus, the crunchy graham cracker crust adds that satisfying texture, making each bite a delightful experience. Trust me, this cheesecake will quickly become a favorite!
Ingredients for Berrylicious Strawberry Crunch Cheesecake
Gathering the right ingredients is the first step to creating your Berrylicious Strawberry Crunch Cheesecake. Here’s what you’ll need:
- Graham cracker crumbs: These form the base of your cheesecake, providing that classic crunch. You can crush whole graham crackers if you prefer.
- Unsalted butter: This adds richness to the crust. Make sure it’s melted for easy mixing.
- Granulated sugar: Sweetens both the crust and the filling. You can adjust the amount based on your taste.
- Cream cheese: The star of the show! Softened cream cheese gives the cheesecake its creamy texture. Low-fat options work too.
- Vanilla extract: A splash of vanilla enhances the flavor, making it even more delightful.
- Heavy whipping cream: Whipped to perfection, it adds lightness to the filling. You can substitute with a non-dairy option if needed.
- Fresh strawberries: These juicy gems not only add flavor but also a pop of color. Feel free to use other berries for a twist!
- Strawberry preserves: This gives a sweet, fruity layer on top. You can swap it for other fruit preserves if you like.
- Salt: Just a pinch balances the sweetness and enhances the flavors.
For exact measurements, check the bottom of the article where you can find everything listed for easy printing. Now, let’s get ready to create this delicious masterpiece!
How to Make Berrylicious Strawberry Crunch Cheesecake
Creating your Berrylicious Strawberry Crunch Cheesecake is a delightful journey. Follow these simple steps, and you’ll have a stunning dessert that’s sure to impress. Let’s get started!
Step 1: Preheat the Oven
First things first, preheat your oven to 325°F. This ensures that your crust bakes evenly and gets that perfect golden color. Trust me, a well-preheated oven is key to a great cheesecake!
Step 2: Prepare the Crust
In a medium bowl, combine graham cracker crumbs, melted butter, and ¼ cup of sugar. Mix until everything is well combined. The mixture should resemble wet sand. This is the foundation of your cheesecake, so make sure it’s mixed thoroughly!
Step 3: Bake the Crust
Now, press the mixture firmly into the bottom of a 9-inch springform pan. This creates a solid crust that holds everything together. Bake for 10 minutes, then remove it from the oven and let it cool. The aroma of baking graham crackers will fill your kitchen—enjoy it!
Step 4: Make the Cream Cheese Filling
In a large mixing bowl, beat the softened cream cheese with the remaining ¾ cup of sugar and a pinch of salt until smooth and creamy. Add the vanilla extract and mix until well incorporated. This filling is where the magic happens, so make sure it’s nice and fluffy!
Step 5: Whip the Cream
In a separate bowl, whip the heavy cream until stiff peaks form. This step adds lightness to your cheesecake. When you lift the whisk, the cream should hold its shape. It’s like a cloud of deliciousness!
Step 6: Combine Mixtures
Gently fold the whipped cream into the cream cheese mixture until fully combined. Be careful not to deflate the whipped cream; you want to keep that airy texture. This is what makes your cheesecake so creamy and dreamy!
Step 7: Assemble the Cheesecake
Pour the cream cheese mixture over the cooled crust, smoothing the top with a spatula. Spoon the strawberry preserves over the cheesecake and swirl gently with a knife to create a marbled effect. Finally, arrange the sliced strawberries on top for that beautiful finish.
Step 8: Refrigerate
Refrigerate the cheesecake for at least 4 hours, or overnight for the best results. This allows the flavors to meld together and the cheesecake to set perfectly. Patience is key here, but it’s worth the wait!
Step 9: Serve
Before serving, carefully remove the sides of the springform pan. Slice the cheesecake into wedges, and get ready for the compliments to roll in. Each slice is a piece of heaven!
Tips for Success
- Make sure your cream cheese is at room temperature for easy mixing.
- Use a rubber spatula to fold in the whipped cream gently.
- For a cleaner slice, use a hot knife to cut through the cheesecake.
- Chill the cheesecake overnight for the best flavor and texture.
- Experiment with different fruit toppings for a unique twist!
Equipment Needed
- 9-inch springform pan: Essential for easy removal. A regular pie dish works too, but slicing will be trickier.
- Mixing bowls: Use at least two—one for the crust and one for the filling.
- Electric mixer: A hand mixer or stand mixer makes beating the cream cheese a breeze.
- Rubber spatula: Perfect for folding and scraping down the sides of bowls.
- Whisk: Handy for whipping cream and mixing ingredients.
Variations
- Mixed Berry Twist: Add a layer of fresh blueberries or raspberries along with the strawberries for a colorful and flavorful mix.
- Chocolate Drizzle: Drizzle melted chocolate over the top before serving for a decadent touch that chocolate lovers will adore.
- Nutty Crunch: Sprinkle crushed nuts or granola on top for an extra layer of crunch and flavor.
- Low-Fat Option: Substitute low-fat cream cheese and Greek yogurt for a lighter version without sacrificing taste.
- Vegan Version: Use dairy-free cream cheese and coconut cream to whip up a vegan-friendly cheesecake that everyone can enjoy.
Serving Suggestions
- Pair your cheesecake with a dollop of whipped cream for added indulgence.
- Serve alongside fresh mint leaves for a pop of color and freshness.
- Complement with a scoop of vanilla ice cream for a delightful contrast.
- Drizzle with extra strawberry preserves for an eye-catching presentation.
- Enjoy with a glass of sweet iced tea or sparkling water for a refreshing drink.
FAQs about Berrylicious Strawberry Crunch Cheesecake
Can I make this cheesecake ahead of time?
Absolutely! In fact, making the Berrylicious Strawberry Crunch Cheesecake a day in advance allows the flavors to meld beautifully. Just keep it covered in the fridge until you’re ready to serve.
How do I store leftovers?
Store any leftover cheesecake in an airtight container in the refrigerator. It should stay fresh for up to five days, but trust me, it won’t last that long!
Can I use frozen strawberries instead of fresh?
Yes, you can! Just make sure to thaw and drain them well before using. Fresh strawberries do add a nice texture, but frozen ones can work in a pinch.
What can I substitute for cream cheese?
If you’re looking for a substitute, try using mascarpone cheese or a dairy-free cream cheese alternative. Both will give you a creamy texture, though the flavor may vary slightly.
Is this cheesecake suitable for a gluten-free diet?
To make the Berrylicious Strawberry Crunch Cheesecake gluten-free, simply use gluten-free graham cracker crumbs for the crust. The rest of the ingredients are naturally gluten-free!
Final Thoughts
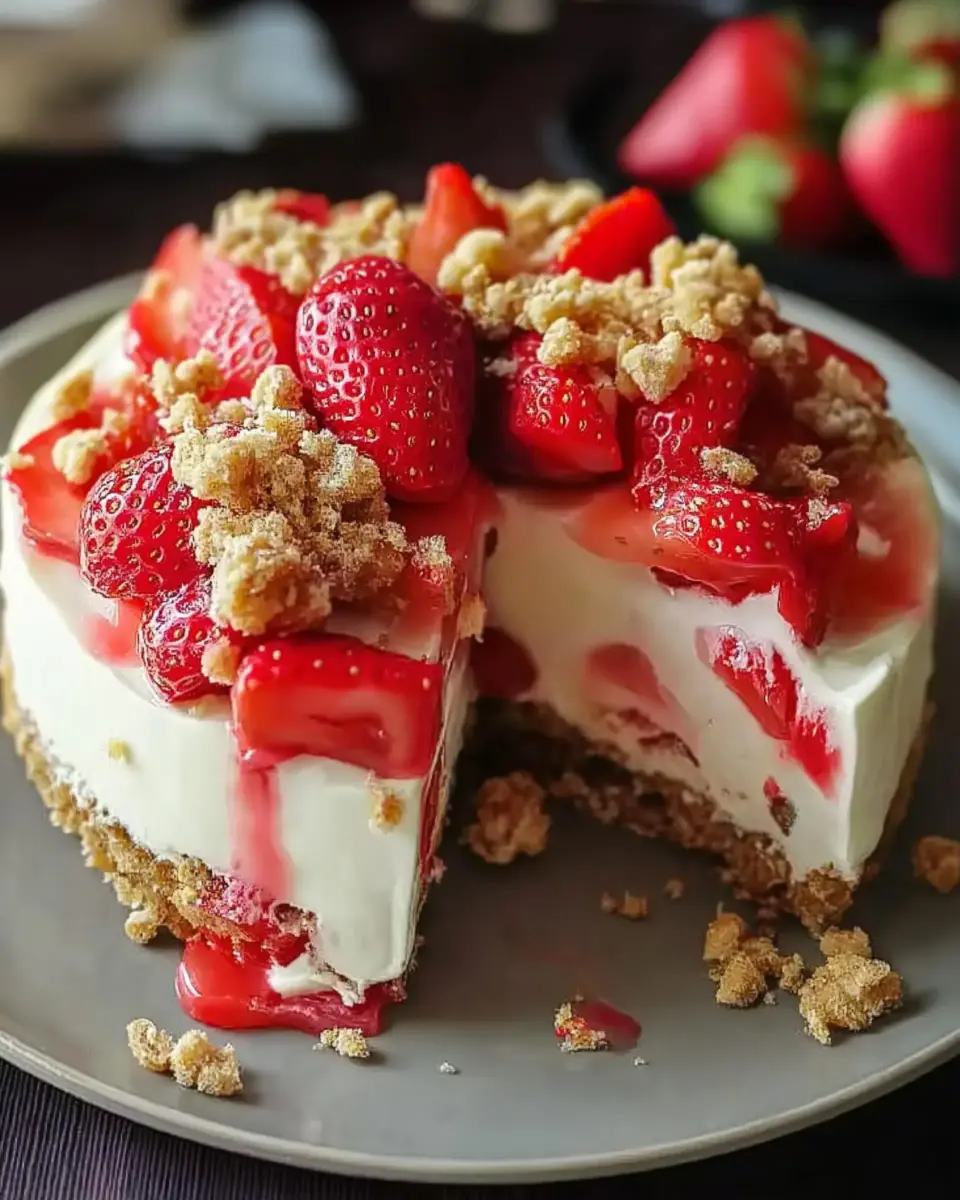
Creating the Berrylicious Strawberry Crunch Cheesecake is more than just baking; it’s about crafting memories. Each slice is a celebration of flavors, from the creamy filling to the crunchy crust, and the vibrant strawberries on top. This cheesecake is perfect for gatherings, family dinners, or simply treating yourself after a long day. The joy it brings is palpable, as friends and family gather around, savoring every bite. So, roll up your sleeves, embrace the process, and let this delightful dessert become a cherished part of your culinary repertoire. Trust me, it’s a journey worth taking!
Berrylicious Strawberry Crunch Cheesecake: A Dreamy Delight!
Ingredients
Method
- Preheat your oven to 325°F.
- In a medium bowl, combine graham cracker crumbs, melted butter, and ¼ cup of sugar. Mix until well combined.
- Press the mixture firmly into the bottom of a 9-inch springform pan to form the crust.
- Bake for 10 minutes, then remove from the oven and let cool.
- In a large mixing bowl, beat the softened cream cheese with the remaining ¾ cup of sugar and salt until smooth and creamy.
- Add the vanilla extract and mix until well incorporated.
- In a separate bowl, whip the heavy cream until stiff peaks form.
- Gently fold the whipped cream into the cream cheese mixture until fully combined.
- Pour the cream cheese mixture over the cooled crust, smoothing the top with a spatula.
- Spoon the strawberry preserves over the cheesecake and swirl gently with a knife to create a marbled effect.
- Arrange the sliced strawberries on top.
- Refrigerate the cheesecake for at least 4 hours, or overnight for best results.
- Before serving, remove the sides of the springform pan and slice the cheesecake into wedges.
Nutrition
Notes
- For a lighter version, substitute low-fat cream cheese and reduce the sugar by half.
- You can also add a layer of fresh blueberries or raspberries for a mixed berry twist.
- For extra crunch, sprinkle crushed nuts or granola on top before serving.