
Introduction to Salmon Crispy Rice – Much Butter
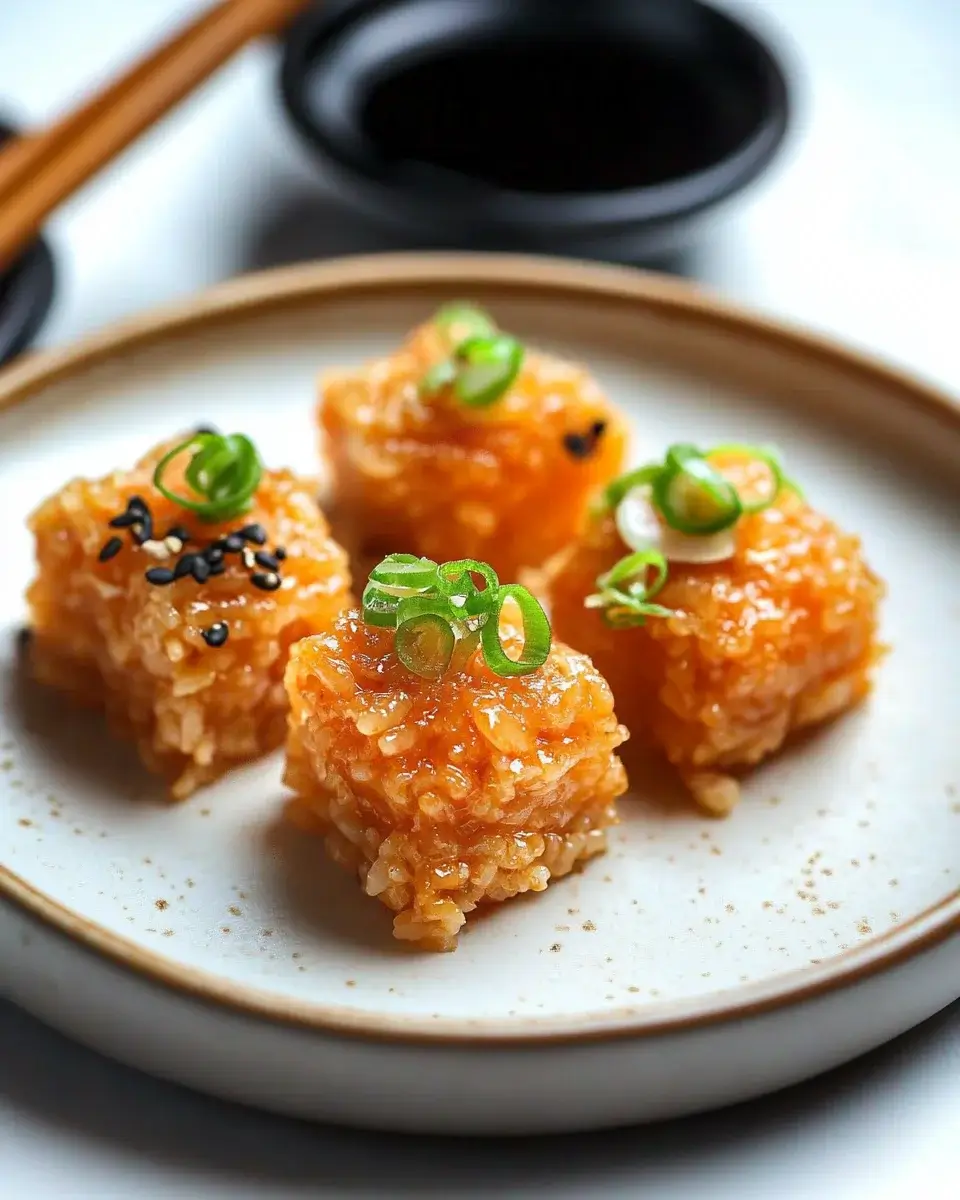
When I think of comfort food, Salmon Crispy Rice – Much Butter always comes to mind. This dish is like a warm hug on a plate, perfect for those busy weeknights when you want something delicious without spending hours in the kitchen.
The crispy texture of the rice paired with tender salmon creates a delightful contrast that’s hard to resist. Whether you’re looking to impress your loved ones or simply treat yourself, this recipe is a fantastic choice. It’s quick, satisfying, and bursting with flavor, making it a go-to for any occasion.
Why You’ll Love This Salmon Crispy Rice – Much Butter
This Salmon Crispy Rice – Much Butter is a game-changer for your dinner routine.
It’s incredibly easy to whip up, taking just about 50 minutes from start to finish.
The combination of crispy rice and succulent salmon is a flavor explosion that will have your taste buds dancing.
Plus, it’s versatile enough to adapt to your preferences, making it a dish you’ll want to make again and again.
Ingredients for Salmon Crispy Rice – Much Butter
To create this mouthwatering Salmon Crispy Rice – Much Butter, you’ll need a handful of simple yet flavorful ingredients. Here’s what you’ll gather:
- Sushi Rice: This short-grain rice is sticky and perfect for holding together your crispy base.
- Water: Essential for cooking the rice to fluffy perfection.
- Rice Vinegar: Adds a tangy kick that balances the richness of the dish.
- Sugar: Just a touch to enhance the flavor of the rice.
- Salt: A must for seasoning the rice and bringing out all the flavors.
- Fresh Salmon Fillet: The star of the show! Choose a high-quality fillet for the best taste.
- Soy Sauce: Adds depth and umami to the salmon, making it even more delicious.
- Sesame Oil: This fragrant oil gives a nutty flavor that complements the dish beautifully.
- Unsalted Butter: For that rich, crispy finish on the rice.
- Avocado: Creamy slices add a fresh contrast to the crispy rice and salmon.
- Green Onions: Finely chopped for a pop of color and a mild onion flavor.
- Sesame Seeds: These little seeds add a delightful crunch and nutty taste.
- Wasabi and Pickled Ginger: Optional, but they bring an extra zing to your plate.
For exact measurements, check the bottom of the article where you can find everything listed for easy printing. Enjoy gathering these ingredients, as they’ll come together to create a dish that’s not just a meal, but an experience!
How to Make Salmon Crispy Rice – Much Butter
Making Salmon Crispy Rice – Much Butter is a straightforward process that yields delicious results. Follow these steps, and you’ll have a stunning dish ready to impress.
Step 1: Prepare the Sushi Rice
Start by rinsing the sushi rice under cold water. This removes excess starch and helps achieve that perfect sticky texture.
Once the water runs clear, combine the rinsed rice and water in a medium saucepan. Bring it to a boil, then reduce the heat to low. Cover and let it simmer for 18-20 minutes until the rice is tender and the water is absorbed.
After cooking, remove it from heat and let it sit, covered, for 10 minutes. This resting period is crucial for fluffy rice.
Step 2: Season the Rice
In a small bowl, mix rice vinegar, sugar, and salt until dissolved.
Gently fold this mixture into the cooked rice. Be careful not to mash the rice; you want to keep those grains intact.
Once mixed, spread the rice on a baking sheet to cool to room temperature. This step helps the rice firm up, making it easier to crisp later.
Step 3: Cook the Salmon
While the rice cools, heat sesame oil in a skillet over medium-high heat.
Season the fresh salmon fillet with a pinch of salt. Sear it for about 3-4 minutes on each side until it’s cooked through and flakes easily.
Once done, remove the salmon from the skillet and let it rest for a few minutes. Then, flake it into bite-sized pieces. This will be the star topping for your crispy rice.
Step 4: Crisp the Rice
In the same skillet, melt the unsalted butter over medium heat.
Once melted, add the cooled rice and press it down firmly into an even layer.
Cook for about 5-7 minutes until the bottom is golden and crispy. Carefully flip the rice to crisp the other side for another 5-7 minutes.
This double-crisping technique ensures you get that satisfying crunch in every bite.
Step 5: Assemble the Dish
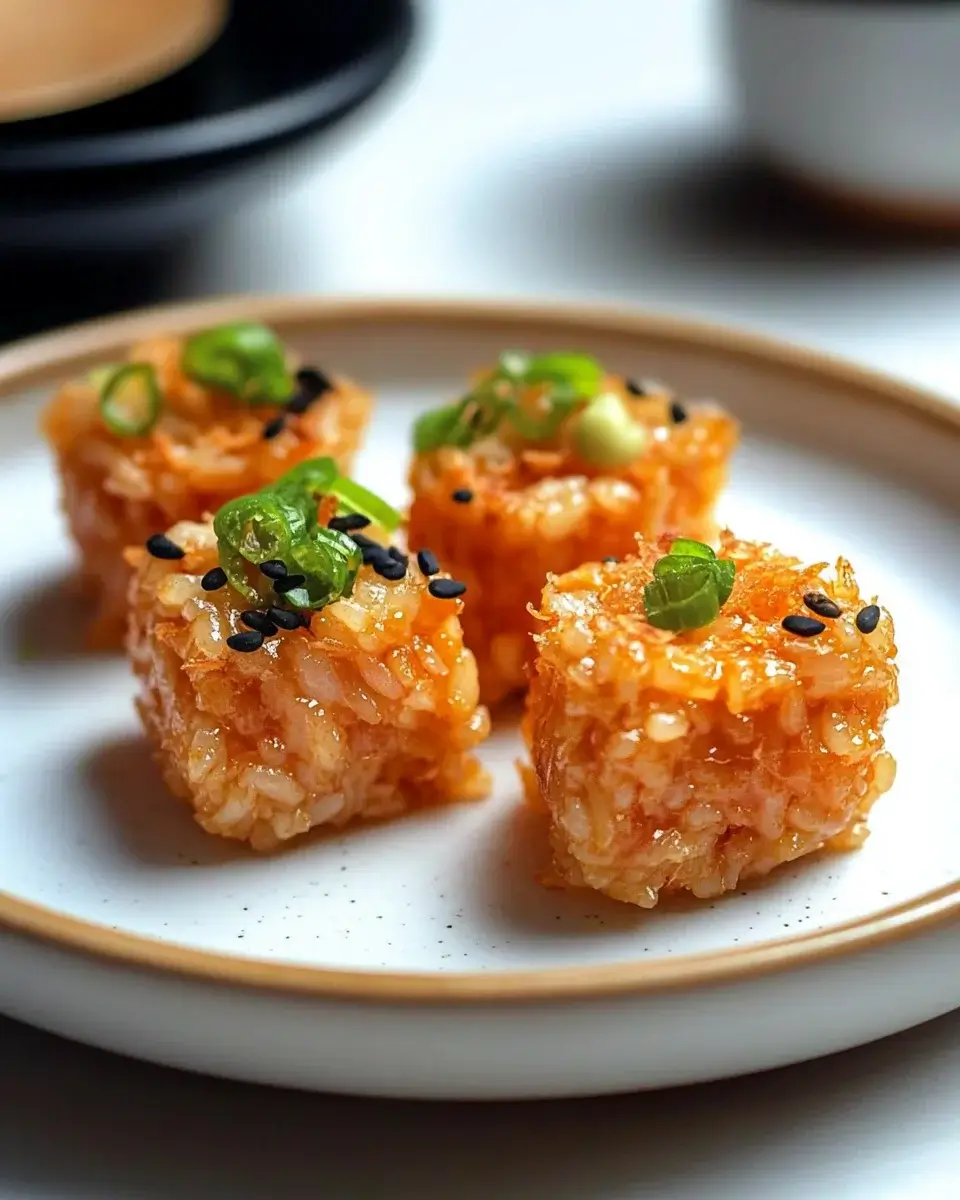
Once both sides of the rice are crispy, remove it from the skillet. Cut it into squares or rectangles for serving.
Top each piece with the flaked salmon, avocado slices, and a sprinkle of green onions and sesame seeds.
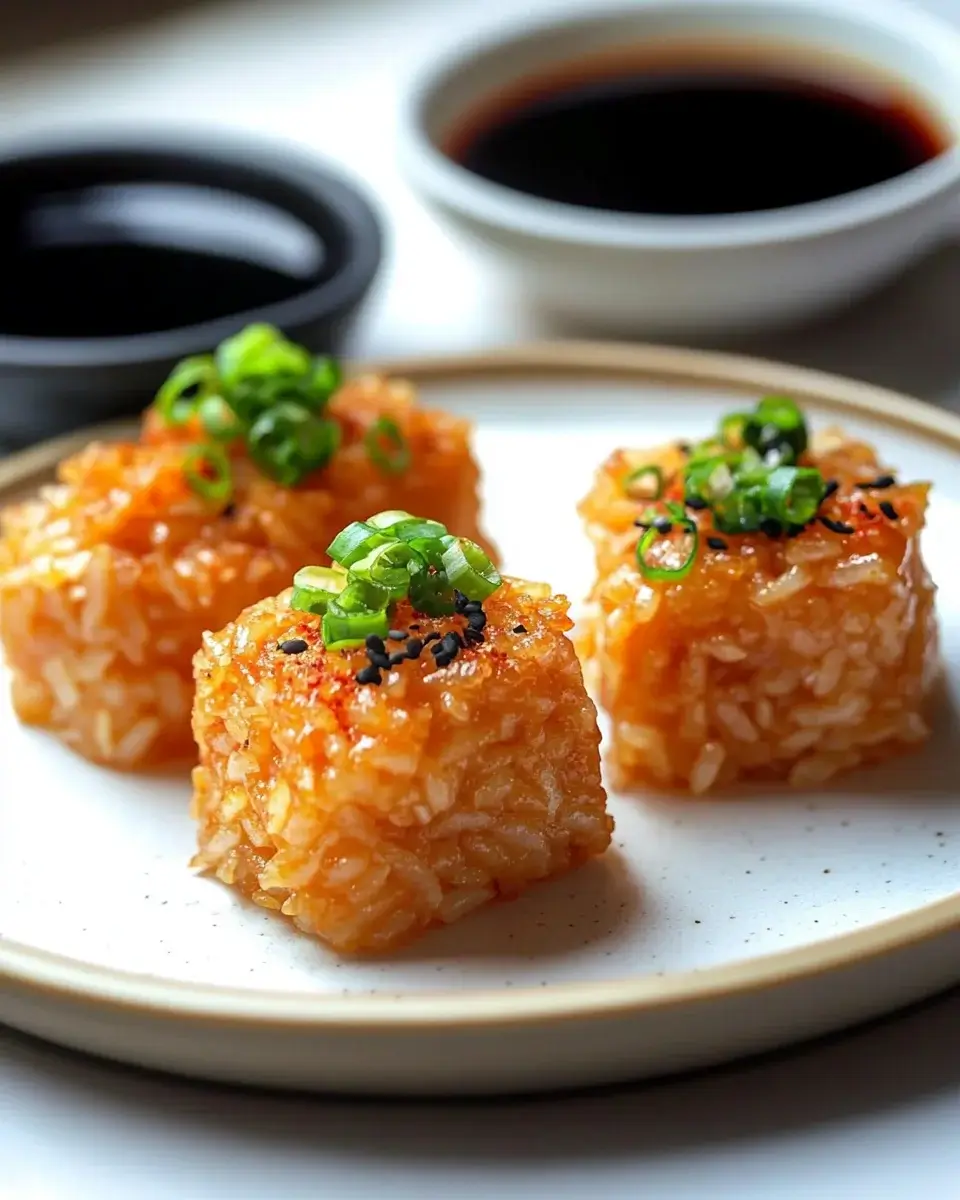
For an extra kick, serve with wasabi and pickled ginger on the side. This adds a delightful zing that complements the dish beautifully.
Tips for Success
- Rinse the sushi rice thoroughly to achieve the perfect sticky texture.
- Let the rice rest after cooking; it makes a big difference in fluffiness.
- Use a non-stick skillet to prevent the rice from sticking while crisping.
- Don’t rush the crisping process; patience leads to that golden crunch.
- Feel free to customize toppings based on your taste preferences.
Equipment Needed
- Medium Saucepan: For cooking the sushi rice. A pot with a lid works too.
- Skillet: A non-stick skillet is ideal for crisping the rice. Any frying pan will do.
- Baking Sheet: To cool the rice. A large plate can be a substitute.
- Spatula: For flipping the rice and serving. A wooden spoon can work as well.
Variations
- Spicy Salmon: Add a drizzle of sriracha or a sprinkle of chili flakes to the salmon for a spicy kick.
- Vegetarian Option: Substitute the salmon with marinated tofu or grilled vegetables for a plant-based delight.
- Different Proteins: Try using cooked shrimp or seared scallops for a seafood twist.
- Flavorful Rice: Mix in some chopped herbs like cilantro or basil into the rice for an aromatic touch.
- Asian-Inspired Toppings: Add pickled vegetables or seaweed salad for an extra layer of flavor and texture.
Serving Suggestions
- Side Salad: Pair with a light cucumber and seaweed salad for a refreshing contrast.
- Drink Pairing: Enjoy with a crisp, cold sake or a light lager to complement the flavors.
- Presentation: Serve on a wooden board for a rustic touch, garnished with extra sesame seeds.
FAQs about Salmon Crispy Rice – Much Butter
Can I use frozen salmon for this recipe?
Absolutely! Just make sure to thaw it completely before cooking. Frozen salmon can be just as delicious when prepared properly.
What can I substitute for sushi rice?
If you can’t find sushi rice, short-grain rice or even jasmine rice can work in a pinch. Just keep in mind that the texture may vary slightly.
How do I store leftovers?
Store any leftovers in an airtight container in the fridge for up to two days. Reheat in a skillet for the best texture.
Can I make this dish ahead of time?
You can prepare the rice and salmon in advance, but I recommend crisping the rice just before serving for that perfect crunch.
Is this dish gluten-free?
Yes, as long as you use gluten-free soy sauce, this Salmon Crispy Rice – Much Butter is a great gluten-free option!
Final Thoughts
Cooking Salmon Crispy Rice – Much Butter is more than just preparing a meal; it’s about creating a moment of joy.
The satisfying crunch of the rice, the tender salmon, and the fresh avocado come together to form a dish that’s both comforting and exciting.
Whether you’re sharing it with family or enjoying it solo, each bite is a reminder of the simple pleasures in life.
This recipe invites you to explore your culinary creativity while delivering a delightful experience.
So, roll up your sleeves, gather your ingredients, and let the flavors transport you to a happy place!
Salmon Crispy Rice – Much Butter: A Flavorful Delight!
Ingredients
Method
- Rinse the sushi rice under cold water until the water runs clear. Combine the rinsed rice and water in a medium saucepan. Bring to a boil, then reduce heat to low, cover, and simmer for 18-20 minutes or until the rice is tender and water is absorbed. Remove from heat and let it sit, covered, for 10 minutes.
- In a small bowl, mix the rice vinegar, sugar, and salt until dissolved. Gently fold this mixture into the cooked rice. Spread the rice on a baking sheet to cool to room temperature.
- While the rice cools, heat the sesame oil in a skillet over medium-high heat. Season the salmon fillet with salt and sear for about 3-4 minutes on each side until cooked through. Remove from heat and let it rest for a few minutes before flaking it into bite-sized pieces.
- In the same skillet, melt the butter over medium heat. Once melted, add the cooled rice and press it down firmly into an even layer. Cook for about 5-7 minutes until the bottom is golden and crispy. Carefully flip the rice to crisp the other side for another 5-7 minutes.
- Once both sides are crispy, remove the rice from the skillet and cut it into squares or rectangles. Top each piece with flaked salmon, avocado slices, and a sprinkle of green onions and sesame seeds.
- Serve with wasabi and pickled ginger on the side, if desired.
Nutrition
Notes
- For added flavor, marinate the salmon in soy sauce and a splash of lime juice for 30 minutes before cooking.
- Substitute the salmon with cooked shrimp or tofu for a different protein option.