
Introduction to Coffee Cookies
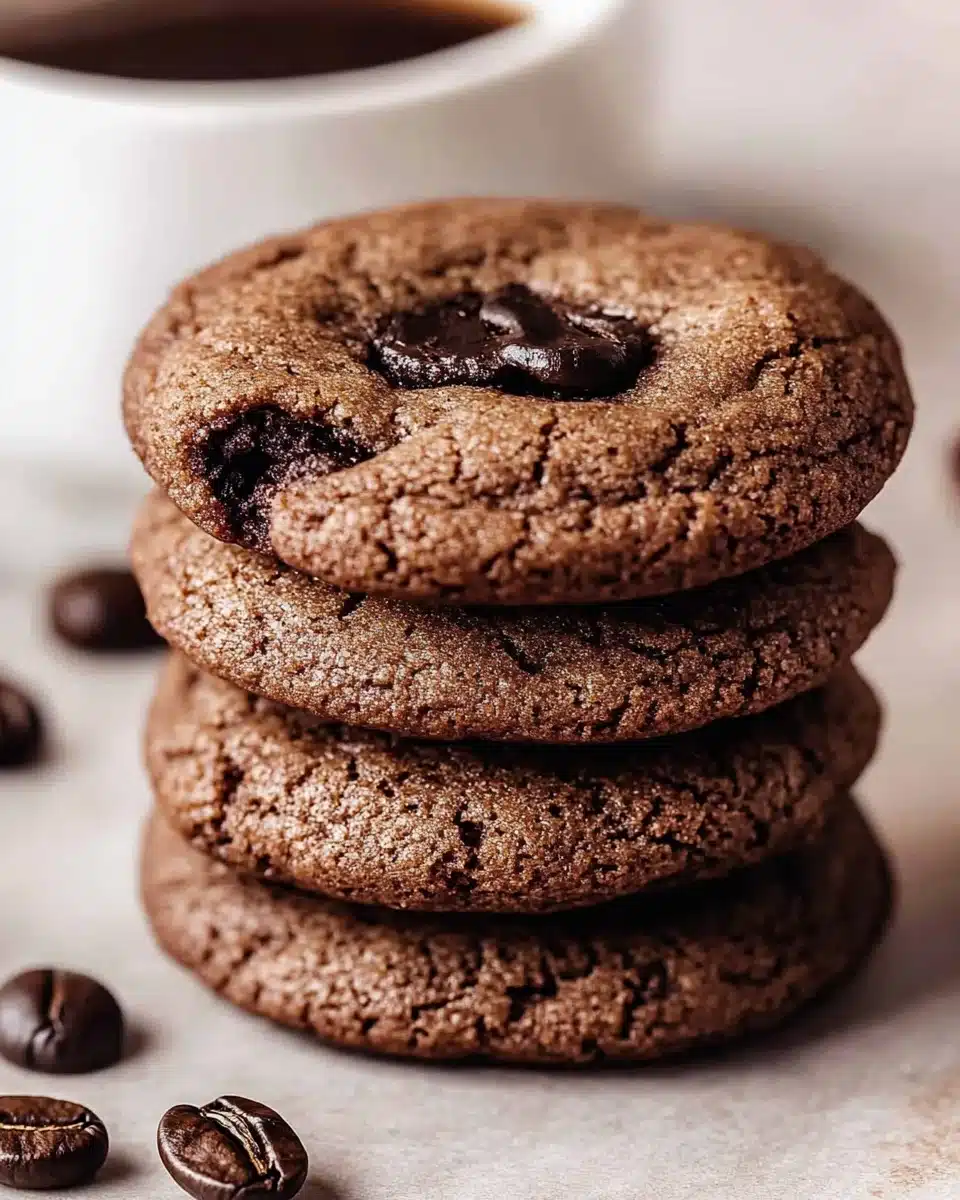
There’s something magical about the aroma of freshly baked cookies wafting through the house, especially when they’re coffee cookies. As a coffee lover, I can’t resist the idea of combining my two favorite indulgences into one delightful treat. These cookies are not just a quick solution for a busy day; they’re a way to impress your loved ones with minimal effort. Whether you’re looking for a sweet pick-me-up during a hectic afternoon or a cozy dessert to share after dinner, this recipe is sure to hit the spot. Let’s dive into the world of coffee cookies!
Why You’ll Love This Coffee Cookies
These coffee cookies are a dream come true for anyone who craves a quick and delicious treat. They come together in just 27 minutes, making them perfect for those busy days when you need a little pick-me-up. The rich coffee flavor combined with a hint of chocolate creates a taste sensation that’s hard to resist. Plus, they’re easy to make, so you can whip up a batch anytime you need a sweet escape!
Ingredients for Coffee Cookies
Gathering the right ingredients is the first step to creating these delightful coffee cookies. Here’s what you’ll need:
- All-purpose flour: The backbone of any cookie, providing structure and texture.
- Unsweetened cocoa powder: Adds a rich chocolate flavor that complements the coffee beautifully.
- Baking soda: This leavening agent helps the cookies rise, giving them a light texture.
- Salt: Just a pinch enhances the flavors and balances the sweetness.
- Unsalted butter: Softened butter creates a creamy base, making the cookies tender and rich.
- Granulated sugar: Sweetens the cookies and contributes to their chewy texture.
- Large egg: Binds the ingredients together and adds moisture.
- Vanilla extract: A classic flavor enhancer that adds depth to the cookie’s taste.
- Brewed coffee: The star ingredient! It infuses the cookies with that beloved coffee flavor.
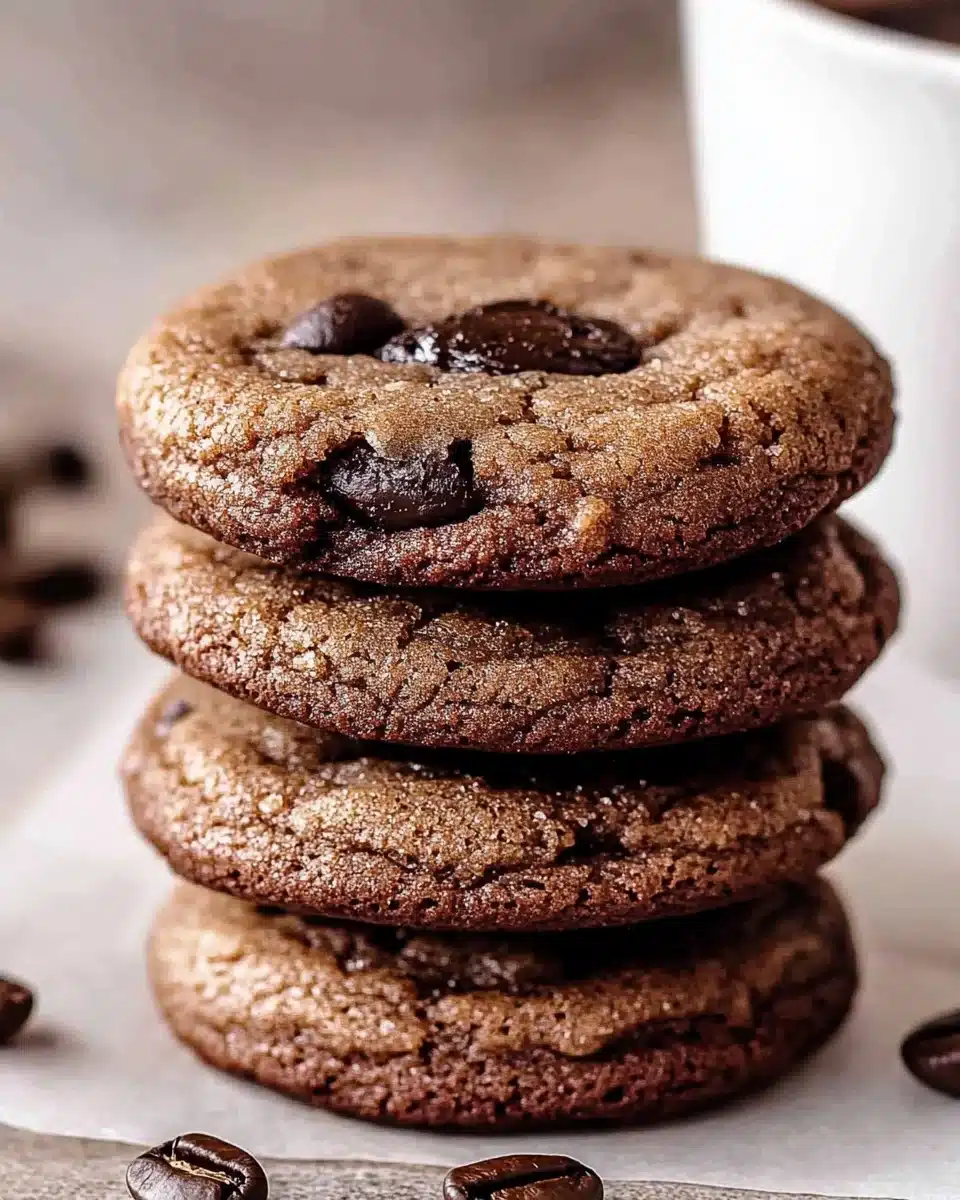
- Chocolate chips (optional): For those who can’t resist a little extra sweetness and texture.
For those looking to experiment, consider adding a touch of espresso powder to the dry mix for an even bolder coffee flavor. You can also swap half of the granulated sugar with brown sugar for a chewier cookie. The exact quantities for these ingredients are listed at the bottom of the article, ready for you to print and take to the kitchen!
How to Make Coffee Cookies
Now that you have your ingredients ready, it’s time to bring these coffee cookies to life! Follow these simple steps, and you’ll have a batch of delicious cookies in no time. Let’s get started!
Step 1: Preheat the Oven
First things first, preheat your oven to 350°F (175°C). This ensures that your cookies bake evenly. While the oven warms up, line a baking sheet with parchment paper. This will prevent the cookies from sticking and make cleanup a breeze.
Step 2: Mix Dry Ingredients
In a medium bowl, whisk together the all-purpose flour, unsweetened cocoa powder, baking soda, and salt. This step is crucial as it combines the dry ingredients evenly. Set this mixture aside for now; it will come into play shortly.
Step 3: Cream Butter and Sugar
In a large bowl, cream the softened butter and granulated sugar together until the mixture is light and fluffy. This should take about 2-3 minutes. The fluffiness is key to achieving that perfect cookie texture. You’ll know it’s ready when it looks pale and airy.
Step 4: Combine Wet Ingredients
Next, beat in the large egg, vanilla extract, and brewed coffee until everything is well combined. The coffee is what makes these cookies truly special, infusing them with that rich flavor we all love. Don’t rush this step; make sure everything is mixed thoroughly.
Step 5: Combine Wet and Dry Ingredients
Gradually add the dry ingredients to the wet mixture. Mix until just combined; overmixing can lead to tough cookies. If you’re feeling adventurous, fold in the chocolate chips at this stage for an extra layer of sweetness.
Step 6: Shape the Cookies
Using a tablespoon, drop balls of dough onto the prepared baking sheet. Make sure to space them about 2 inches apart. This allows room for the cookies to spread as they bake. You want them to have their own space to shine!
Step 7: Bake the Cookies
Pop the baking sheet into the oven and bake for 10-12 minutes. Keep an eye on them; the edges should be set, but the centers will still be soft. This is the secret to a chewy cookie that melts in your mouth!
Step 8: Cool the Cookies
Once baked, allow the cookies to cool on the baking sheet for about 5 minutes. This helps them firm up a bit. After that, transfer them to a wire rack to cool completely. The aroma will be irresistible, so be prepared for some eager taste testers!
Tips for Success
- Use room temperature ingredients for better mixing and texture.
- Don’t skip the parchment paper; it makes for easy removal and cleanup.
- For a more intense coffee flavor, add espresso powder to the dry mix.
- Keep an eye on the baking time; cookies can go from perfect to overbaked quickly.
- Let the cookies cool completely for the best texture before storing.
Equipment Needed
- Baking sheet: A standard baking sheet works well, but a silicone mat can be a great alternative.
- Parchment paper: If you don’t have this, greasing the baking sheet is a good substitute.
- Mixing bowls: Use any size, but a large bowl is ideal for creaming butter and sugar.
- Whisk: A fork can work in a pinch for mixing dry ingredients.
- Measuring cups and spoons: Essential for accuracy; you can use a kitchen scale if you prefer.
Variations of Coffee Cookies
- Nutty Delight: Add chopped walnuts or pecans for a crunchy texture and nutty flavor.
- Gluten-Free Option: Substitute all-purpose flour with a gluten-free blend for a delicious alternative.
- Vegan Version: Replace the egg with a flaxseed meal mixture and use vegan butter for a plant-based treat.
- Spiced Coffee Cookies: Incorporate a pinch of cinnamon or nutmeg for a warm, spiced flavor.
- Minty Fresh: Add a few drops of peppermint extract for a refreshing twist on the classic coffee flavor.
Serving Suggestions for Coffee Cookies
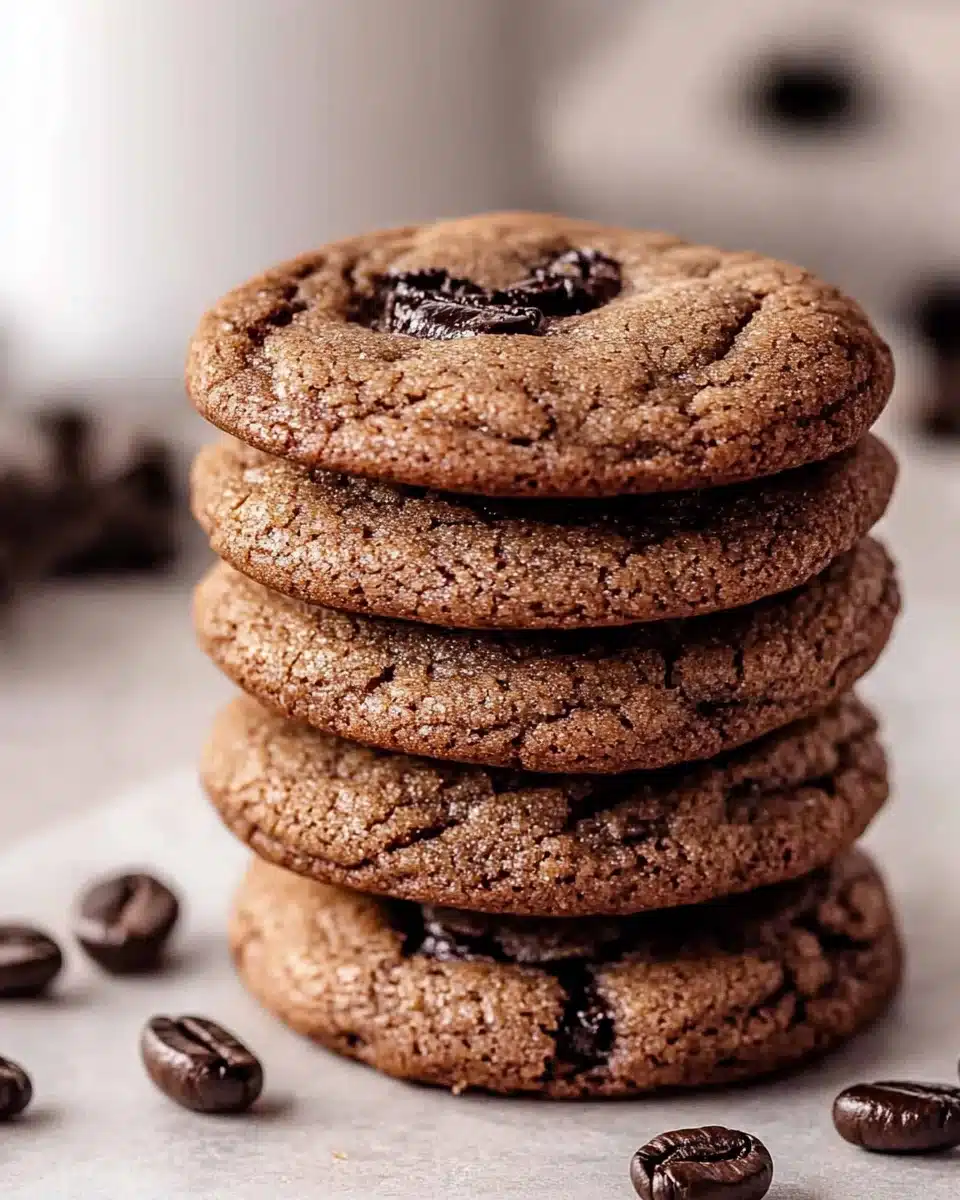
- Pair your coffee cookies with a steaming cup of your favorite brew for the ultimate coffee experience.
- Serve them alongside a scoop of vanilla ice cream for a delightful dessert.
- For a fun twist, drizzle melted chocolate over the cookies before serving.
- Present them on a rustic wooden platter for a charming touch.
FAQs about Coffee Cookies
As you embark on your coffee cookie journey, you might have a few questions. Here are some common queries that can help you along the way:
Can I use decaf coffee in this recipe?
Absolutely! If you prefer a milder flavor or want to avoid caffeine, decaf coffee works just as well. The taste will still be delightful!
How should I store my coffee cookies?
To keep your cookies fresh, store them in an airtight container at room temperature. They’ll stay delicious for about a week. If you want to keep them longer, consider freezing them!
Can I make the dough ahead of time?
Yes! You can prepare the dough and refrigerate it for up to 3 days. Just let it sit at room temperature for a few minutes before baking.
What can I substitute for butter?
If you’re looking for a dairy-free option, coconut oil or a vegan butter substitute can work well. Just ensure it’s softened for easy mixing.
Are there any gluten-free alternatives for coffee cookies?
Definitely! You can use a gluten-free flour blend in place of all-purpose flour. Just make sure it’s a 1:1 substitute for the best results.
Final Thoughts
Creating these coffee cookies is more than just baking; it’s about crafting moments of joy. The rich aroma fills your kitchen, inviting everyone to gather around. Each bite offers a delightful blend of coffee and chocolate, making it a perfect treat for any occasion. Whether you’re enjoying them solo with a cup of joe or sharing them with friends, these cookies bring a sense of warmth and comfort. So, roll up your sleeves, embrace the process, and let the magic of coffee cookies brighten your day. Trust me, you’ll be glad you did!
Coffee Cookies: Indulge in a Perfect Recipe Today!
Ingredients
Method
- Preheat your oven to 350°F (175°C) and line a baking sheet with parchment paper.
- In a medium bowl, whisk together the flour, cocoa powder, baking soda, and salt. Set aside.
- In a large bowl, cream the softened butter and granulated sugar together until light and fluffy, about 2-3 minutes.
- Beat in the egg, vanilla extract, and brewed coffee until well combined.
- Gradually add the dry ingredients to the wet ingredients, mixing until just combined. If using, fold in the chocolate chips.
- Drop tablespoon-sized balls of dough onto the prepared baking sheet, spacing them about 2 inches apart.
- Bake for 10-12 minutes, or until the edges are set but the centers are still soft.
- Allow the cookies to cool on the baking sheet for 5 minutes before transferring them to a wire rack to cool completely.
Nutrition
Notes
- For a richer flavor, try adding 1/4 teaspoon of espresso powder to the dry ingredients.
- You can also substitute half of the granulated sugar with brown sugar for a chewier texture.
- Enjoy your coffee cookies with a glass of milk or a cup of coffee!