
Introduction to Cheesy Garlic Chicken Wraps
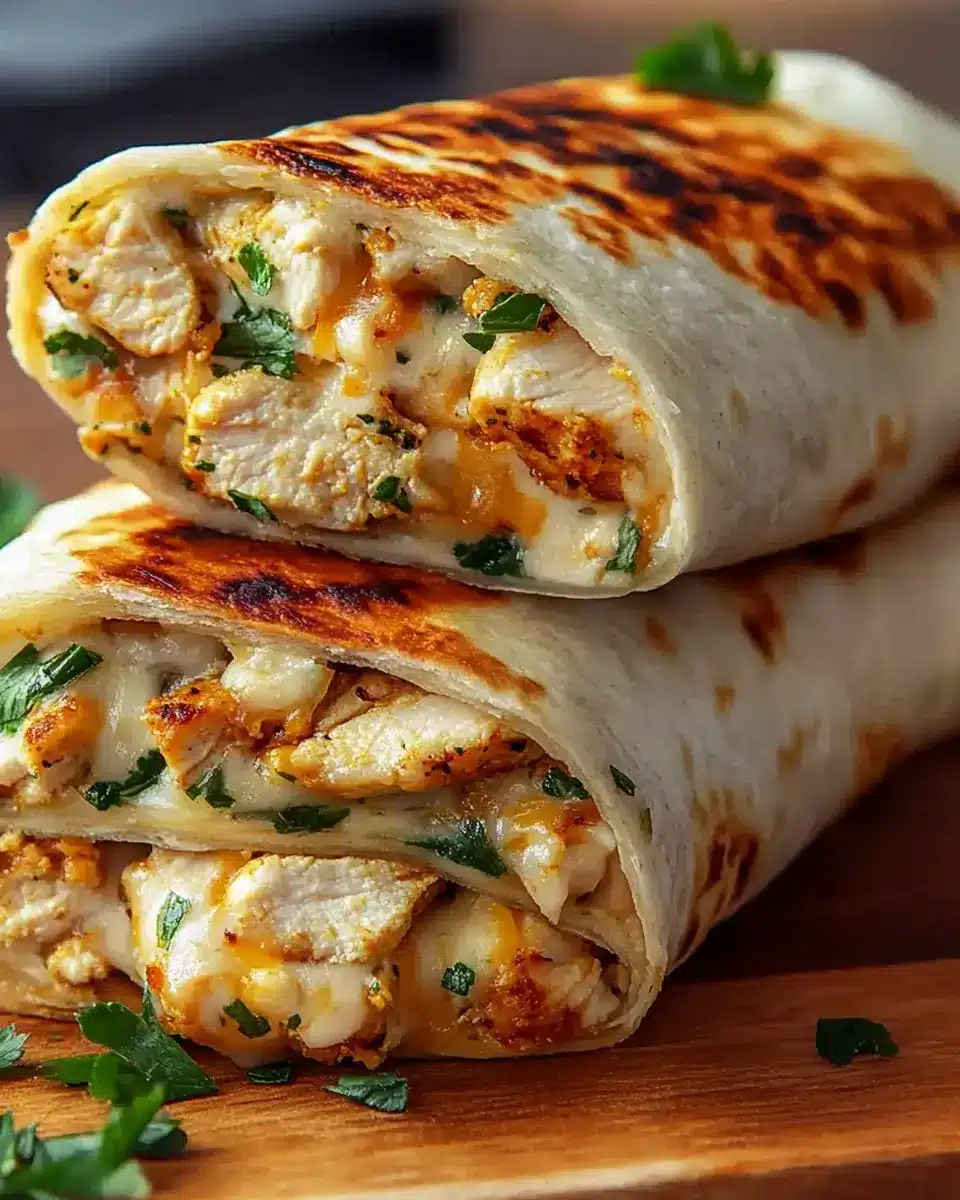
There’s something magical about a warm wrap filled with cheesy goodness, especially when it’s a Cheesy Garlic Chicken Wrap.
I remember the first time I made these for my family. The aroma of garlic wafting through the kitchen had everyone gathering around, eager to dig in.
These wraps are not just a quick solution for a busy day; they’re a delightful way to impress your loved ones.
With gooey cheese and tender chicken, they’re sure to become a favorite. Let’s dive into this delicious recipe that’s as easy to make as it is to enjoy!
Why You’ll Love This Cheesy Garlic Chicken Wraps
These Cheesy Garlic Chicken Wraps are a game-changer for any home cook.
They come together in just 35 minutes, making them perfect for those hectic weeknights.
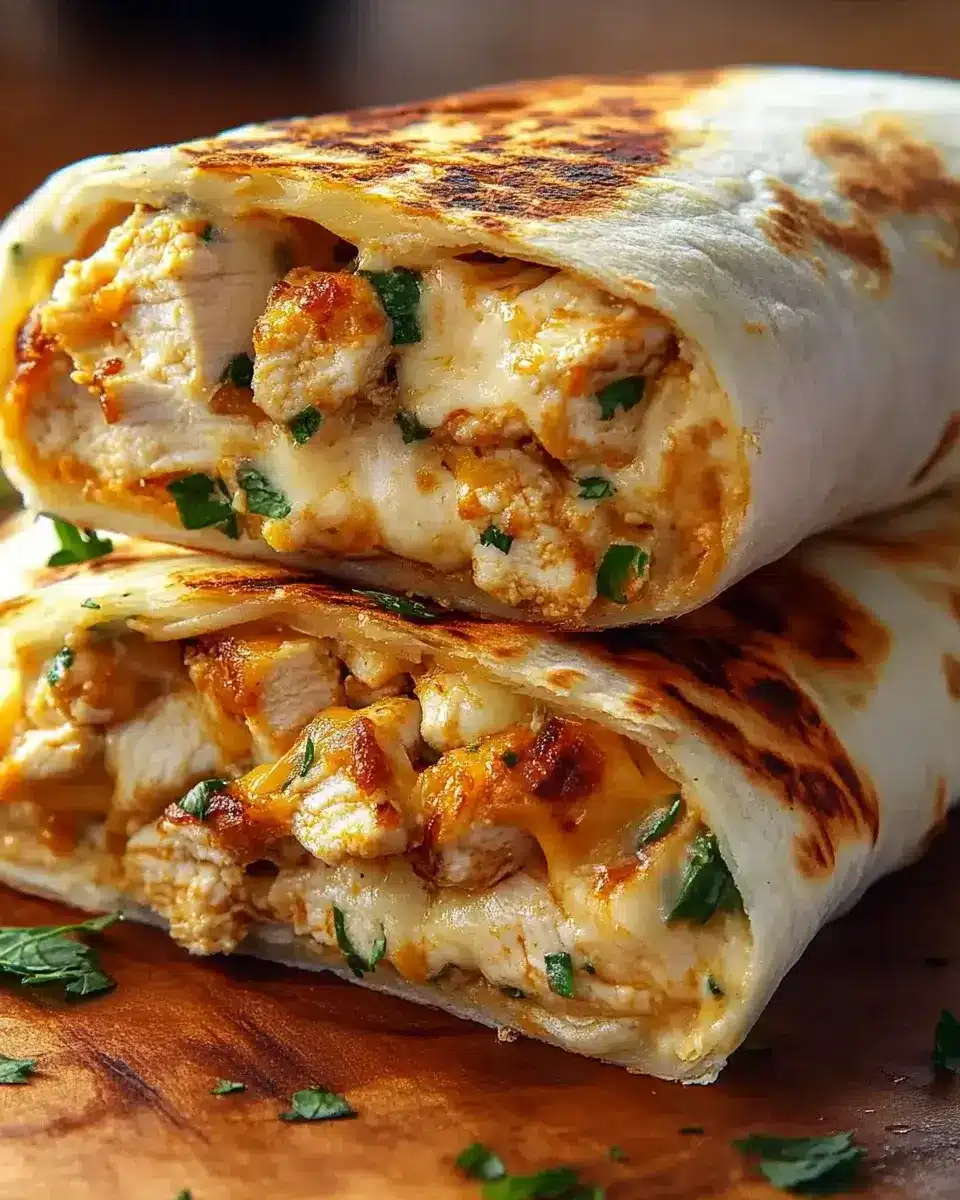
The combination of creamy cheeses and savory chicken creates a flavor explosion that’s hard to resist.
Plus, they’re versatile! You can customize them to suit your taste or dietary needs.
Trust me, once you try these wraps, they’ll quickly become a staple in your kitchen!
Ingredients for Cheesy Garlic Chicken Wraps
Creating these Cheesy Garlic Chicken Wraps is a breeze, especially with the right ingredients.
Here’s what you’ll need:
- Cooked chicken, shredded: This is the star of the show! Use leftover chicken or rotisserie for convenience.
- Shredded mozzarella cheese: Adds that ooey-gooey texture we all crave. Feel free to mix in other cheeses for a twist.
- Cream cheese, softened: This gives the filling a rich, creamy consistency that binds everything together.
- Grated Parmesan cheese: A sprinkle of this adds a nutty flavor that elevates the dish.
- Minced garlic: Fresh garlic brings a punch of flavor. You can use garlic powder in a pinch, but fresh is best!
- Italian seasoning: A blend of herbs that complements the chicken beautifully. You can also use your favorite herbs.
- Salt and black pepper: Essential for enhancing the flavors. Adjust to your taste.
- Flour tortillas: These are the perfect wrap for all that cheesy goodness. Whole wheat or gluten-free options work too!
- Chopped fresh parsley (optional): Adds a pop of color and freshness. It’s not necessary, but it’s a nice touch.
- Olive oil: Used for pan-frying the wraps to achieve that crispy, golden exterior.
For exact measurements, check the bottom of the article where you can find everything listed for easy printing.
Gather these ingredients, and you’re on your way to a delicious meal that’s sure to impress!
How to Make Cheesy Garlic Chicken Wraps
Making Cheesy Garlic Chicken Wraps is a straightforward process that anyone can master.
Follow these simple steps, and you’ll have a delicious meal ready in no time!
Step 1: Preheat the Oven
Start by preheating your oven to 375°F.
This step is crucial because it ensures that your wraps cook evenly and the cheese melts perfectly.
A hot oven will give your wraps that golden, bubbly finish we all love!
Step 2: Prepare the Chicken Mixture
In a large mixing bowl, combine the shredded chicken, mozzarella, cream cheese, Parmesan, minced garlic, Italian seasoning, salt, and black pepper.
Mix everything until it’s well combined and creamy.
You want a smooth consistency that holds together but isn’t too thick.
This mixture is the heart of your wraps, so make sure it’s flavorful!
Step 3: Assemble the Wraps
Lay out your flour tortillas on a clean surface.
Spoon an equal amount of the chicken mixture onto the center of each tortilla.
If you’re feeling fancy, sprinkle some chopped parsley on top for added flavor.
Now, fold in the sides of each tortilla and roll them up tightly from the bottom to the top.
This will keep all that cheesy goodness inside!
Step 4: Cook the Wraps
In a large skillet, heat the olive oil over medium heat.
Carefully place the wraps seam-side down in the skillet.
Cook for about 2-3 minutes on each side until they’re golden brown and crispy.
This step adds a delightful crunch to your wraps, making them even more irresistible!
Step 5: Bake for Perfection
Transfer the wraps to a baking dish and pop them in the preheated oven.
Bake for 10-15 minutes, or until the cheese is melted and bubbly.
You’ll know they’re done when the tops are golden and the aroma fills your kitchen.
Let them cool for a few minutes before slicing in half.
Serve warm and enjoy every cheesy bite!
Tips for Success
- Use leftover or rotisserie chicken for a quick meal.
- Don’t skip preheating the oven; it’s key for perfect cheese melt.
- Experiment with different cheeses for unique flavors.
- For extra crunch, let the wraps cool slightly before slicing.
- Keep an eye on the wraps while baking to avoid over-browning.
Equipment Needed
- Mixing bowl: A large bowl for combining ingredients. A sturdy pot can work in a pinch.
- Skillet: A non-stick skillet is ideal for frying. Any frying pan will do.
- Baking dish: Use a glass or metal dish for baking. A cookie sheet can also work.
- Spatula: For flipping the wraps. A pair of tongs can be handy too.
Variations
- Spicy Kick: Add 1/4 teaspoon of red pepper flakes to the chicken mixture for a fiery twist.
- Vegetarian Option: Substitute chicken with sautéed mushrooms, spinach, or roasted vegetables for a meatless delight.
- Cheese Lovers: Mix in some cheddar or pepper jack cheese for an extra cheesy experience.
- Gluten-Free: Use gluten-free tortillas to make this dish suitable for those with gluten sensitivities.
- Herb Infusion: Experiment with fresh herbs like basil or cilantro for a fresh flavor boost.
Serving Suggestions
- Fresh Salad: Pair your wraps with a crisp garden salad for a refreshing contrast.
- Dipping Sauce: Serve with marinara or ranch dressing for an extra flavor boost.
- Cold Beverages: Enjoy with iced tea or a light beer to complement the meal.
- Presentation: Slice the wraps in half and arrange on a platter for a beautiful display.
FAQs about Cheesy Garlic Chicken Wraps
Can I use different types of cheese in these wraps?
Absolutely! While mozzarella is a classic choice, feel free to mix in cheddar, pepper jack, or even gouda for a unique twist. The more cheese, the better!
How can I make these wraps healthier?
To lighten them up, use low-fat cream cheese and opt for whole wheat or gluten-free tortillas. You can also load them with veggies like spinach or bell peppers for added nutrition.
Can I prepare the filling ahead of time?
Yes! You can make the chicken mixture a day in advance and store it in the fridge. Just assemble and cook the wraps when you’re ready to eat.
What can I serve with Cheesy Garlic Chicken Wraps?
These wraps pair wonderfully with a fresh salad, some crispy fries, or a side of marinara sauce for dipping. They’re versatile enough to complement any side!
How do I store leftovers?
Store any leftover wraps in an airtight container in the fridge for up to three days. Reheat them in the oven or skillet to maintain that crispy texture!
Final Thoughts
Creating Cheesy Garlic Chicken Wraps is more than just cooking; it’s about bringing joy to the table.
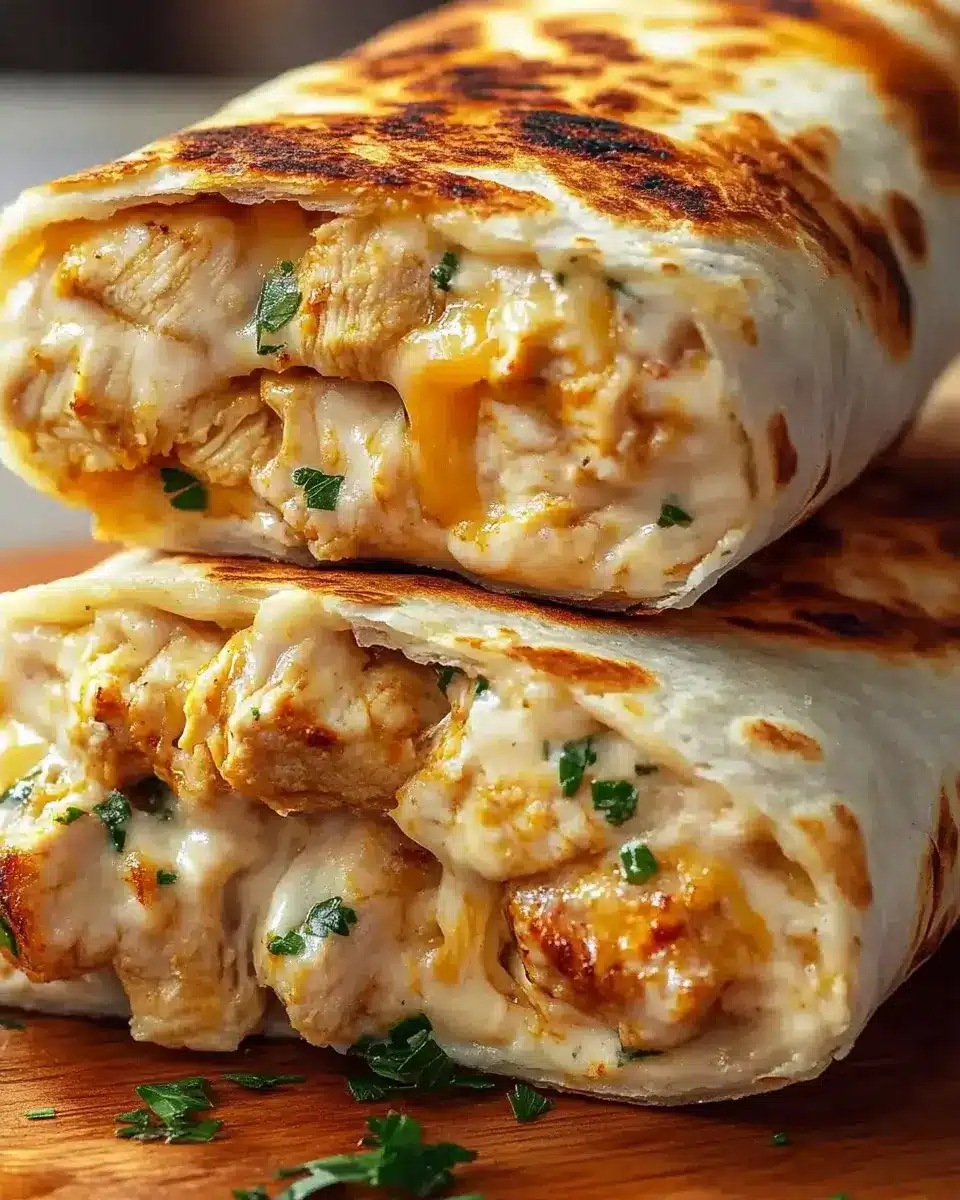
The moment you pull those golden, cheesy wraps from the oven, the anticipation builds.
Each bite is a delightful blend of flavors and textures that warms the heart.
Whether it’s a busy weeknight or a casual gathering, these wraps are sure to impress.
They’re easy to make, customizable, and utterly satisfying.
So, gather your ingredients, roll up your sleeves, and enjoy the deliciousness that awaits.
Trust me, once you try them, you’ll be hooked!
Cheesy Garlic Chicken Wraps You Can’t Resist!
Ingredients
Method
- Preheat your oven to 375°F.
- In a large mixing bowl, combine the shredded chicken, mozzarella cheese, cream cheese, Parmesan cheese, minced garlic, Italian seasoning, salt, and black pepper. Mix until well combined and creamy.
- Lay out the flour tortillas on a clean surface. Spoon an equal amount of the chicken mixture onto the center of each tortilla. If desired, sprinkle with chopped parsley for added flavor.
- Fold in the sides of each tortilla and then roll them up tightly from the bottom to the top to create wraps.
- In a large skillet, heat the olive oil over medium heat. Place the wraps seam-side down in the skillet and cook for about 2-3 minutes on each side until golden brown and crispy.
- Transfer the wraps to a baking dish and bake in the preheated oven for 10-15 minutes, or until the cheese is melted and bubbly.
- Remove from the oven and let cool for a few minutes before slicing in half. Serve warm.
Nutrition
Notes
- For a spicy kick, add 1/4 teaspoon of red pepper flakes to the chicken mixture.
- You can also substitute the chicken with shredded rotisserie chicken for a quicker option.