

As the crisp air of fall sweeps in, my kitchen transforms into a cozy haven filled with the scent of sweet cinnamon and warm apples. I recently discovered a delightful shortcut to a classic favorite: 2-Ingredient Apple Pie Cups. These mini desserts are not only incredibly easy to whip up, but they also bring the nostalgic flavors of homemade apple pie to your table in a fun, bite-sized form. Perfect for busy weekdays or last-minute gatherings, this recipe features soft cinnamon rolls cradling a gooey apple filling that’s simply irresistible. Trust me, these little cups will be a hit with friends and family alike! Ready to indulge in a charming fall treat that takes hardly any time at all? Let’s dive in!
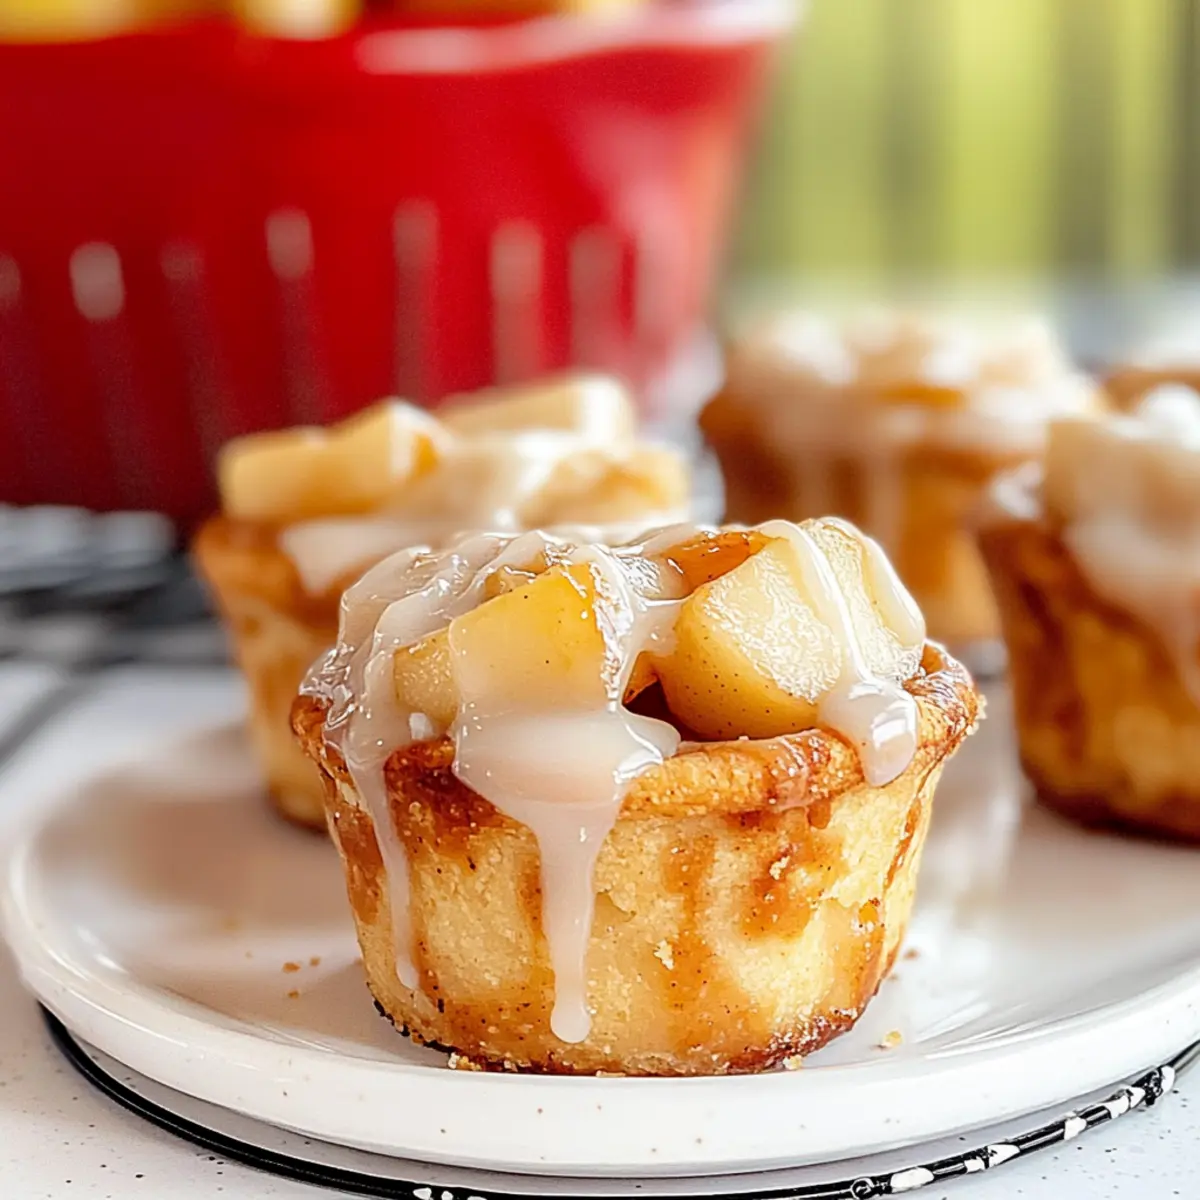
Why are Apple Pie Cups so irresistible?
Simplicity at Its Best: These 2-ingredient apple pie cups are incredibly easy to make, requiring just two main ingredients, which means less time in the kitchen and more time enjoying them with your family.
Perfect for Fall Gatherings: Their delightful mini size makes them the ideal dessert for any autumn celebration, from casual get-togethers to cozy family dinners.
Deliciously Versatile: While the base recipe is a crowd pleaser, feel free to get creative! Try adding a drizzle of caramel sauce or substitute fresh sautéed apples for a homemade touch.
Time-Saving Treat: With just a few minutes of prep and quick baking time, these apple pie cups come together effortlessly, proving that you don’t have to sacrifice flavor even on a busy day.
Elevate your dessert game with these adorable bites, and for another twist on comfort food, check out my Shrimp Pineapple Fried rice recipe! Everyone will keep coming back for seconds!
Apple Pie Cups Ingredients
For the Dough
• Cinnamon Rolls – This soft dough creates a perfect cup and is a quick alternative to traditional pie crust.
For the Filling
• Apple Pie Filling – Offers a sweet, spiced flavor that gives these mini desserts their classic apple pie taste; homemade filling can be used for a personal touch.
These ingredients come together to create unforgettable apple pie cups that capture the essence of fall in every delicious bite.
Step‑by‑Step Instructions for Apple Pie Cups
Step 1: Preheat and Prepare
Preheat your oven to 375°F and lightly grease a muffin pan with nonstick spray to prevent the dough from sticking. This step is crucial for ensuring that your 2-Ingredient Apple Pie Cups come out smoothly. As the oven warms, take a moment to gather your ingredients and prepare your workspace for an enjoyable cooking experience.
Step 2: Shape the Cinnamon Roll Cups
Separate the cinnamon roll dough into individual pieces, and gently press each piece into the greased muffin tin, creating a cup shape. Make sure to press the dough evenly into the sides and bottom to avoid overflow during baking. This initial shaping is key to achieving that perfect cup for your delicious apple filling, so take your time to get it right!
Step 3: Fill with Apple Delight
Spoon approximately 2 tablespoons of apple pie filling into each cinnamon roll cup, ensuring not to overfill. The filling should sit snugly within the dough, providing a gooey center as it bakes. The aroma of the sweet apples mixed with cinnamon will begin to fill your kitchen, teasing your senses and hinting at the delights to come!
Step 4: Bake to Perfection
Place the muffin pan into the preheated oven and bake for 15 to 18 minutes, or until the cinnamon roll cups turn golden brown and firm to the touch. Keep an eye on them as they bake; you want a lovely golden hue and a slightly puffed appearance. The transformation from dough to delightful cup is genuinely satisfying.
Step 5: Cool and Drizzle
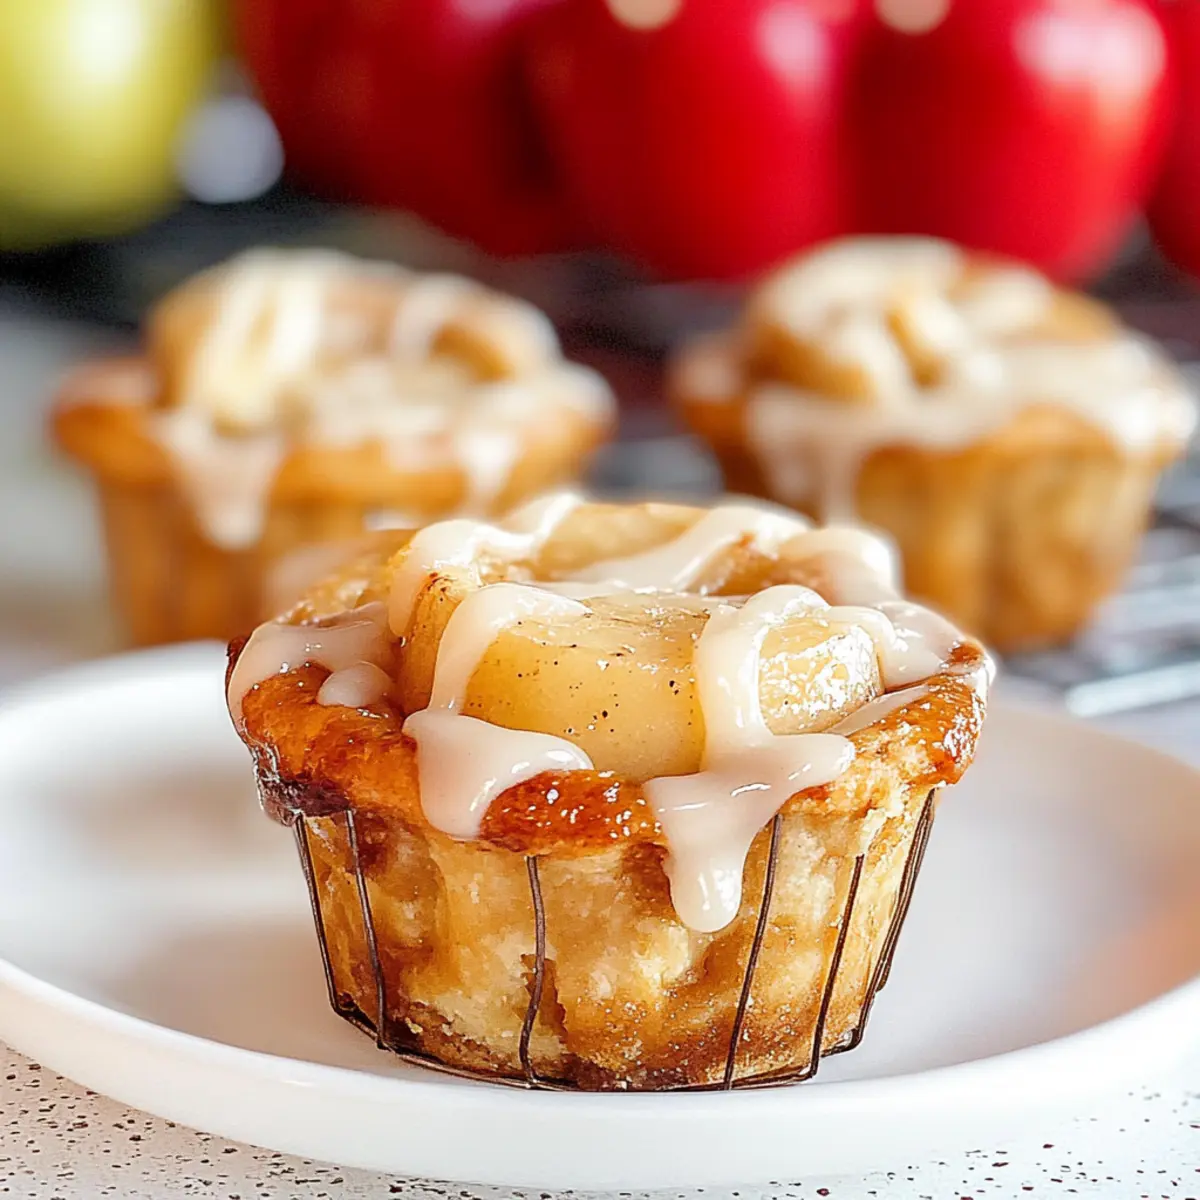
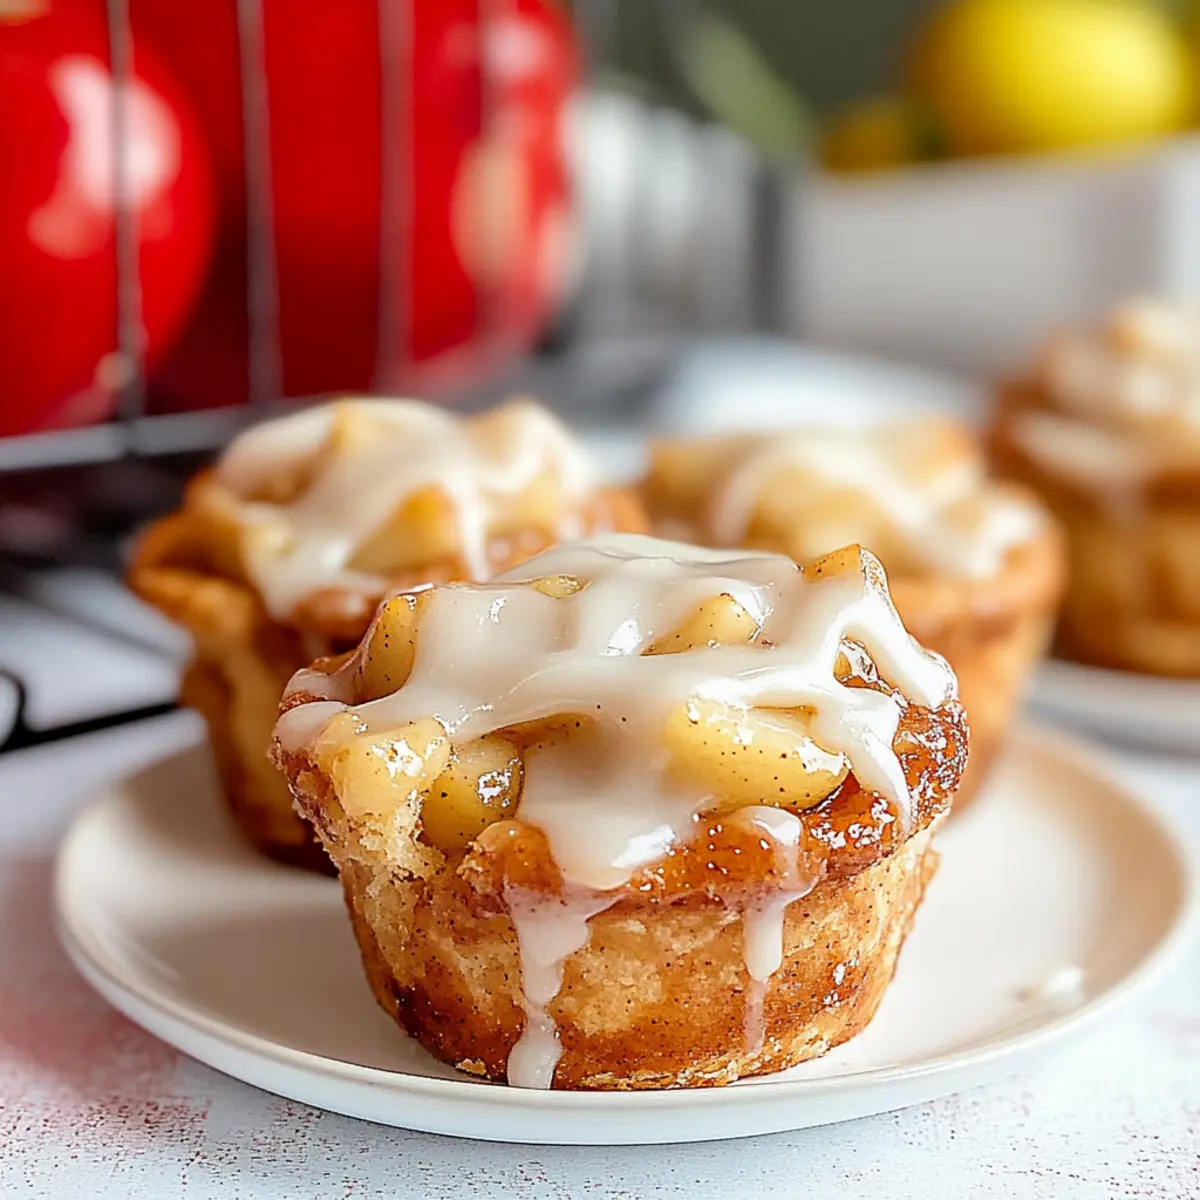
Once baked, carefully remove the muffin pan from the oven and allow the apple pie cups to cool for about 5 minutes. This cooling period allows the cups to set without falling apart. After cooling, drizzle the provided icing from the cinnamon rolls on top for an added touch of sweetness, making these bites even more tempting and irresistible!
Make Ahead Options
These 2-Ingredient Apple Pie Cups are a fantastic choice for meal prep! You can prepare the cinnamon roll cups and fill them with the apple pie filling up to 24 hours in advance. Simply follow steps 1 and 2 from the recipe, then cover the muffin pan tightly with plastic wrap and refrigerate. To maintain their quality, make sure the dough is securely pressed against the sides to prevent overbaking when you’re ready to bake. When it’s time to enjoy your apple pie cups, just remove the pan from the fridge, bake them as instructed, and relish the cozy flavors with minimal effort!
What to Serve with 2-Ingredient Apple Pie Cups
As you indulge in these delightful treats, consider some scrumptious companions to create a full-bellied experience!
-
Vanilla Ice Cream: A scoop of creamy vanilla ice cream adds a rich contrast and enhances the warm, spiced flavors of the apple pie cups.
-
Whipped Cream: Light and fluffy, whipped cream is a classic companion that brings a touch of sweetness and texture to each bite.
-
Caramel Sauce: Drizzle warm caramel sauce over the cups for extra indulgence. The sweet, buttery flavor perfectly complements the apple filling.
-
Cinnamon Sugar Donuts: Serve these for added fun! The sweet donut flavor ties beautifully into the fall vibe and makes the overall dessert experience a hit.
-
Hot Cider: A cozy glass of spiced apple cider lets your taste buds celebrate fall as you savor each adorable pie cup.
-
Coffee or Tea: A warm cup of coffee or soothing herbal tea balances the sweetness and offers a comforting drink to sip while enjoying your dessert.
Apple Pie Cups Variations & Substitutions
Elevate your apple pie cups with delightful twists and tweaks that cater to your unique taste.
-
Caramel Drizzle: Top with a warm caramel sauce for added richness and a touch of indulgence.
-
Nutty Surprise: Add chopped pecans or walnuts for a delightful crunch and nutty flavor that perfectly complements the sweet filling.
-
Sugar-Free Option: Swap out the apple pie filling for a sugar-free version to create a guilt-free dessert that everyone can enjoy.
-
Fresh Apple Twist: Use fresh, sautéed apple chunks mixed with cinnamon instead of the canned filling for a homemade touch bursting with freshness. This variation captures the essence of apple pie while keeping the flavors light.
-
Gluten-Free Dough: Opt for gluten-free cinnamon rolls to accommodate those with dietary restrictions, making everyone feel included at the dessert table.
-
Spiced Up Filling: Enhance your filling by adding a pinch of nutmeg or ginger for a delightful warmth that dances on your taste buds, transforming your apple pie cups into a cozy fall treat.
-
Heat it Up: For a spicy kick, add a dash of cayenne pepper to your apple filling; the heat will contrast beautifully with the sweetness, offering a unique flavor experience.
-
Mini Frosting Boats: Instead of drizzling icing, use it as a dip on the side. This option invites playful interaction and keeps the cups visually appealing, just like my Shrimp Pineapple Fried rice recipe—fun and flavorful!
Feel free to mix and match these variations and substitutions to make these apple pie cups uniquely yours!
Expert Tips
• Perfect Dough Pressing: Ensure you press the dough firmly into the muffin tin; this creates the perfect cup shape for your apple pie cups.
• Watch the Bake Time: Each oven can vary, so keep an eye on your cups during the last few minutes to prevent over-baking.
• Cooling Period: Allowing the cups to cool for 5 minutes is crucial; it helps them set properly and prevents them from falling apart.
• Filling Control: Fill each cup with just 2 tablespoons of filling to avoid overflow during baking, keeping your apple pie cups intact.
• Icing Timing: Drizzle the icing after cooling slightly; this prevents it from sliding off and ensures a beautiful presentation for your treats.
Storage Tips for Apple Pie Cups
Room Temperature: Store uneaten apple pie cups at room temperature for up to 2 days in a cool, dry place. Keep them covered to maintain freshness.
Fridge: For longer storage, place the apple pie cups in an airtight container in the refrigerator for up to 3 days. Reheat gently in the microwave before serving.
Freezer: If you want to keep them for longer, freeze the apple pie cups in a freezer-safe container for up to 2 months. Thaw in the fridge overnight before reheating.
Reheating: Reheat chilled or thawed apple pie cups in the microwave for 10-15 seconds, or in a preheated oven at 350°F for about 5 minutes for the best texture.
Apple Pie Cups Recipe FAQs
How do I choose ripe apples for the filling?
Absolutely! If you’re opting for a homemade apple filling, select apples that are firm and slightly sweet. Varieties like Granny Smith and Honeycrisp work wonderfully. Look for apples that are free of bruises and have a vibrant color. Avoid apples with dark spots or a dull appearance, as these can indicate overripeness.
What’s the best way to store leftover apple pie cups?
Very! To keep your apple pie cups fresh, store them in an airtight container. You can keep them at room temperature for up to 2 days. If you’d like them to last a bit longer, refrigerate them for up to 3 days. Just remember to cover them well to maintain their delightful texture!
Can I freeze the apple pie cups?
Absolutely! Freezing is a great way to preserve these treats. To do this, allow the apple pie cups to cool completely, then place them in a freezer-safe container. They can be frozen for up to 2 months. When you’re ready to enjoy them, simply thaw them in the fridge overnight, then reheat in the microwave or oven for that fresh-baked taste!
What if my cinnamon roll dough doesn’t form the cups properly?
Don’t worry! If your dough ends up overflowing or not forming proper cups, ensure you’re pressing it firmly to the bottom and sides of the muffin pan. Sometimes, it helps to use a little extra grease to prevent sticking. If there’s any overflow during baking, simply slice off the excess once they’re cool.
Are there any dietary considerations for the apple pie cups?
Definitely! If you or your guests have dietary restrictions, consider substituting the cinnamon rolls with a gluten-free variety to accommodate those avoiding gluten. For allergies, always check the labels of your pre-made fillings to ensure they are nut-free if necessary. And if you’re making your own filling, you can control the sugar content to cater to those who may need a lower-sugar option!
How can I prevent the icing from sliding off the cups?
Great question! To avoid icing slipping off your apple pie cups, allow them to cool for about 5 minutes after baking before drizzling the icing on top. This cooling period helps the cups firm up nicely, creating a better surface for the icing to adhere to.
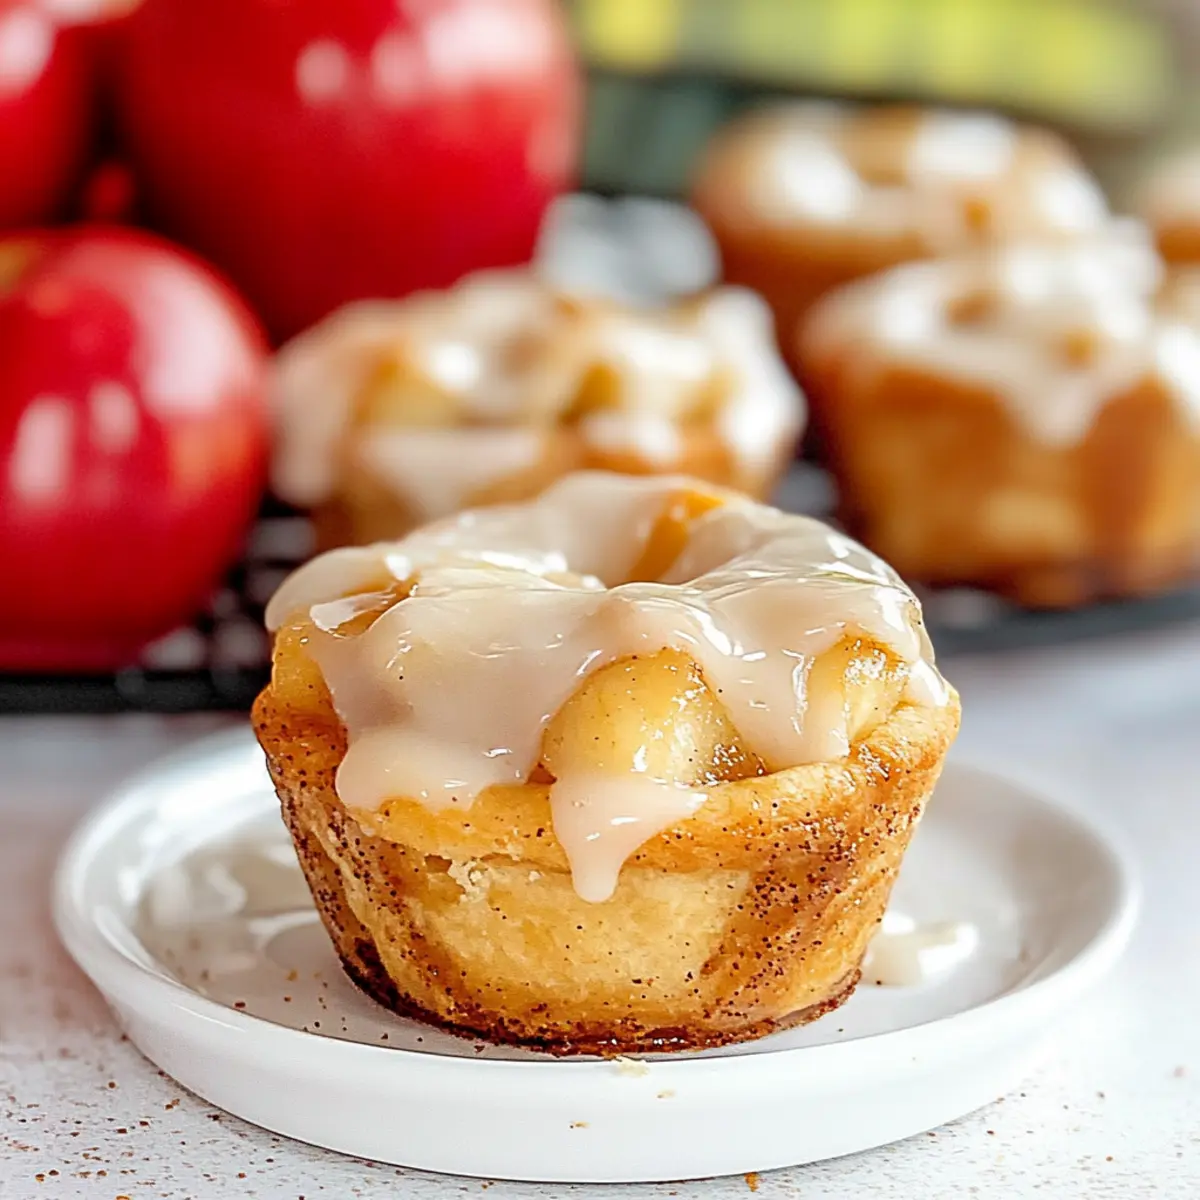
Cozy Apple Pie Cups: Sweet Bites for Fall Cravings
Ingredients
Equipment
Method
- Preheat your oven to 375°F and lightly grease a muffin pan with nonstick spray.
- Separate the cinnamon roll dough into individual pieces and gently press each piece into the greased muffin tin.
- Spoon approximately 2 tablespoons of apple pie filling into each cinnamon roll cup.
- Place the muffin pan into the preheated oven and bake for 15 to 18 minutes until golden brown.
- Once baked, allow the apple pie cups to cool for about 5 minutes before drizzling icing on top.