

As I stood in my kitchen, a light drizzle filling the air outside, a craving for comfort food struck—something crisp, cheesy, and satisfying. That’s when I remembered the Crispy Cheesecake Factory Crusted Chicken Romano! This dish transforms tender chicken breasts into an irresistible meal, encased in a crunchy panko and Romano cheese blend that’s a guaranteed crowd-pleaser. The best part? It comes together in less than 30 minutes, making it a lifesaver for busy weeknights or spontaneous get-togethers. With gluten-free options available, you can enjoy this versatile recipe without sacrificing flavor. So, are you ready to whip up a restaurant-quality dish right in your own kitchen? Let’s dive in!
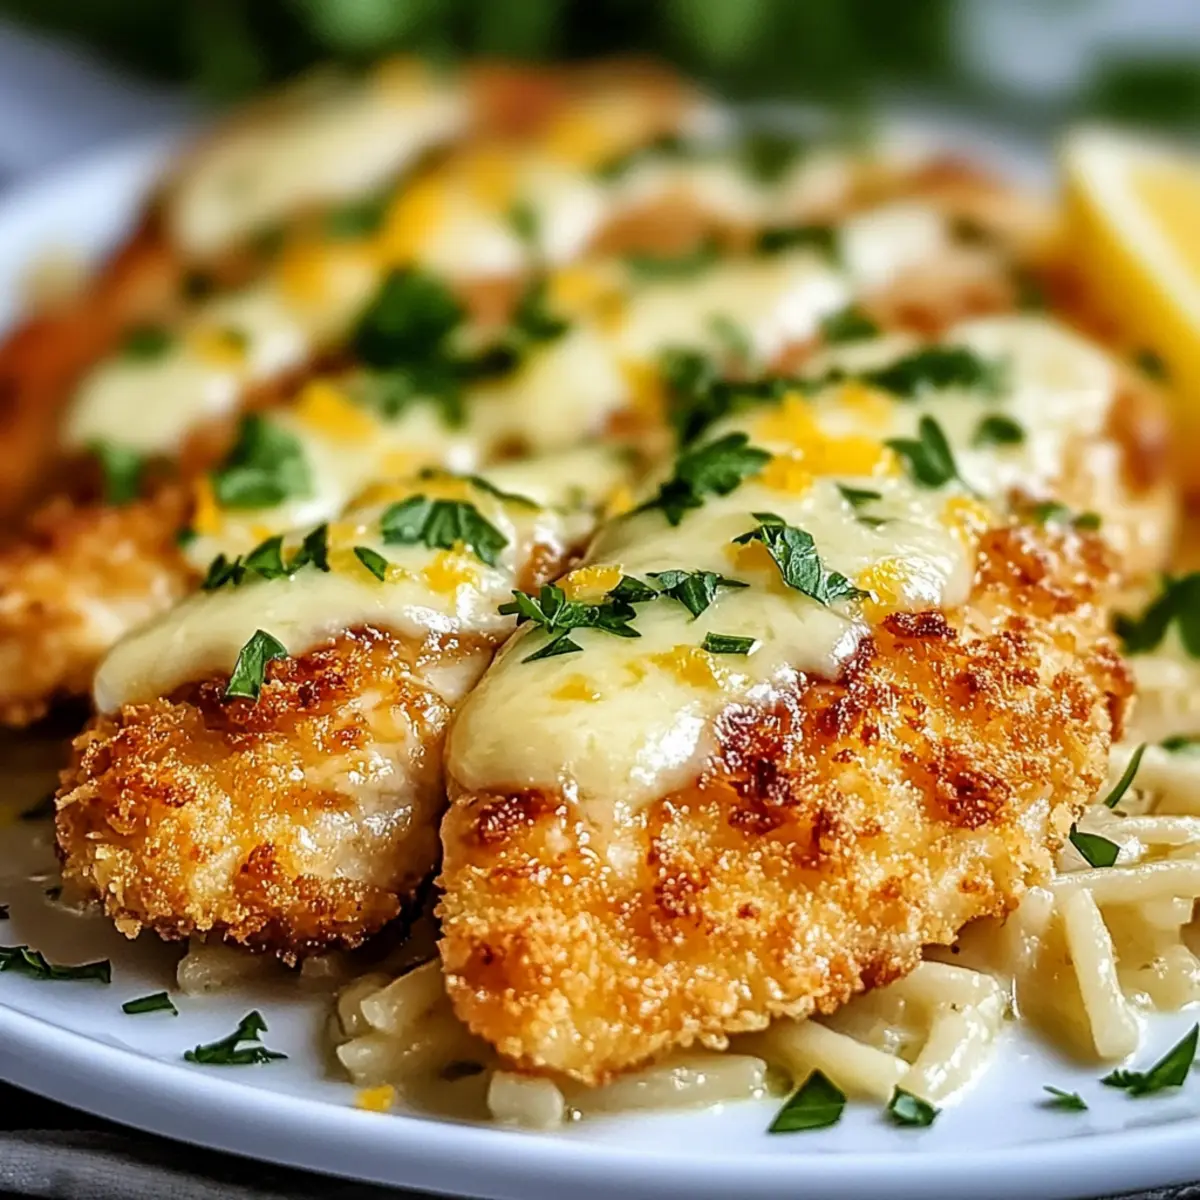
Why is Chicken Romano a Must-Try?
Quick and Easy: With a prep time of under 30 minutes, this dish fits perfectly into your busy schedule.
Crispy Delight: The blend of panko and Romano cheese creates a satisfying crunch that will have everyone coming back for seconds.
Versatile Base: Serve it over pasta, or alongside fresh salads or creamy mashed potatoes for a personalized meal experience.
Gluten-Free Friendly: Easily swap out ingredients for gluten-free options without compromising taste, making it accessible for all.
Family Favorite: This flavorful dish is sure to impress both family and guests, bringing restaurant-quality dining into your home.
Why not elevate your dinner table with this delightful Crispy Cheesecake Factory Crusted Chicken Romano?
Chicken Romano Ingredients
• Transform your dinner with these must-have ingredients!
For the Chicken
- Chicken Breasts – Tender and juicy, slice into cutlets for quicker cooking.
- Salt and Pepper – Essential seasonings that enhance the dish’s flavors.
- All-Purpose Flour – Coats the chicken; swap for gluten-free flour if needed.
- Egg – Binds the crust to the chicken; one large beaten egg works best.
For the Crust
- Panko Bread Crumbs – Gives that satisfying crispy texture; regular breadcrumbs can substitute.
- Grated Romano Cheese – Adds richness to the crust; Parmesan cheese is a great alternative.
- Fresh Parsley – Optional for garnishing; provides a pop of color and freshness.
- Lemon Zest – Brightens the flavor profile; you can also use fresh lemon juice for a twist.
For Cooking
- Avocado Oil or Olive Oil – Ideal for frying; avocado oil has a higher smoke point.
For Topping
- Shredded Mozzarella Cheese – Creates a gooey, melty finish; Provolone is another delicious option.
Get ready to indulge in a flavor-packed Chicken Romano that you’ll want to serve again and again!
Step‑by‑Step Instructions for Chicken Romano
Step 1: Prepare Chicken
Begin by slicing the chicken breasts into even cutlets, ensuring they are uniform in thickness. This helps the chicken cook evenly. Season each cutlet generously with salt and pepper, allowing the flavors to penetrate. You want a lightly seasoned base before the breading adds its own flavor.
Step 2: Set Up Breading Stations
Create an efficient breading station by arranging three shallow bowls in a line. Fill the first bowl with all-purpose flour; the second with one large beaten egg; and the third with a mixture of panko breadcrumbs, grated Romano cheese, finely chopped fresh parsley, and lemon zest. These will coat your chicken Romano beautifully.
Step 3: Dredge Chicken
Now, it’s time to coat the chicken. Take each seasoned cutlet and dip it first into the flour, shaking off any excess. Next, immerse it in the beaten egg, ensuring it’s fully coated. Finally, press it firmly into the panko-Romano mixture to achieve a substantial, crispy layer on each cutlet, which is crucial for that satisfying crunch.
Step 4: Cook Chicken
Heat about 1/4 inch of avocado or olive oil in a large skillet over medium heat until it shimmers, indicating it’s ready. Carefully add the breaded cutlets to the pan, making sure not to overcrowd them. Fry for 4-5 minutes per side, or until they are golden brown and crispy, turning only once to maintain the crunch.
Step 5: Melt Cheese
Once the Chicken Romano is beautifully browned, sprinkle a generous amount of shredded mozzarella cheese atop each cutlet. Cover the skillet with a lid and let it melt for about 2-3 minutes on low heat. Keep an eye out for that gooey, irresistible cheese layer that adds to the dish’s comfort factor.
Step 6: Garnish & Serve
Remove the skillet from heat, letting the chicken rest briefly. For finishing touches, garnish each cutlet with freshly chopped parsley or a squeeze of lemon juice, if desired. Serve your Chicken Romano hot and enjoy this restaurant-quality dish that comes together in less than 30 minutes, perfect for any family dinner.
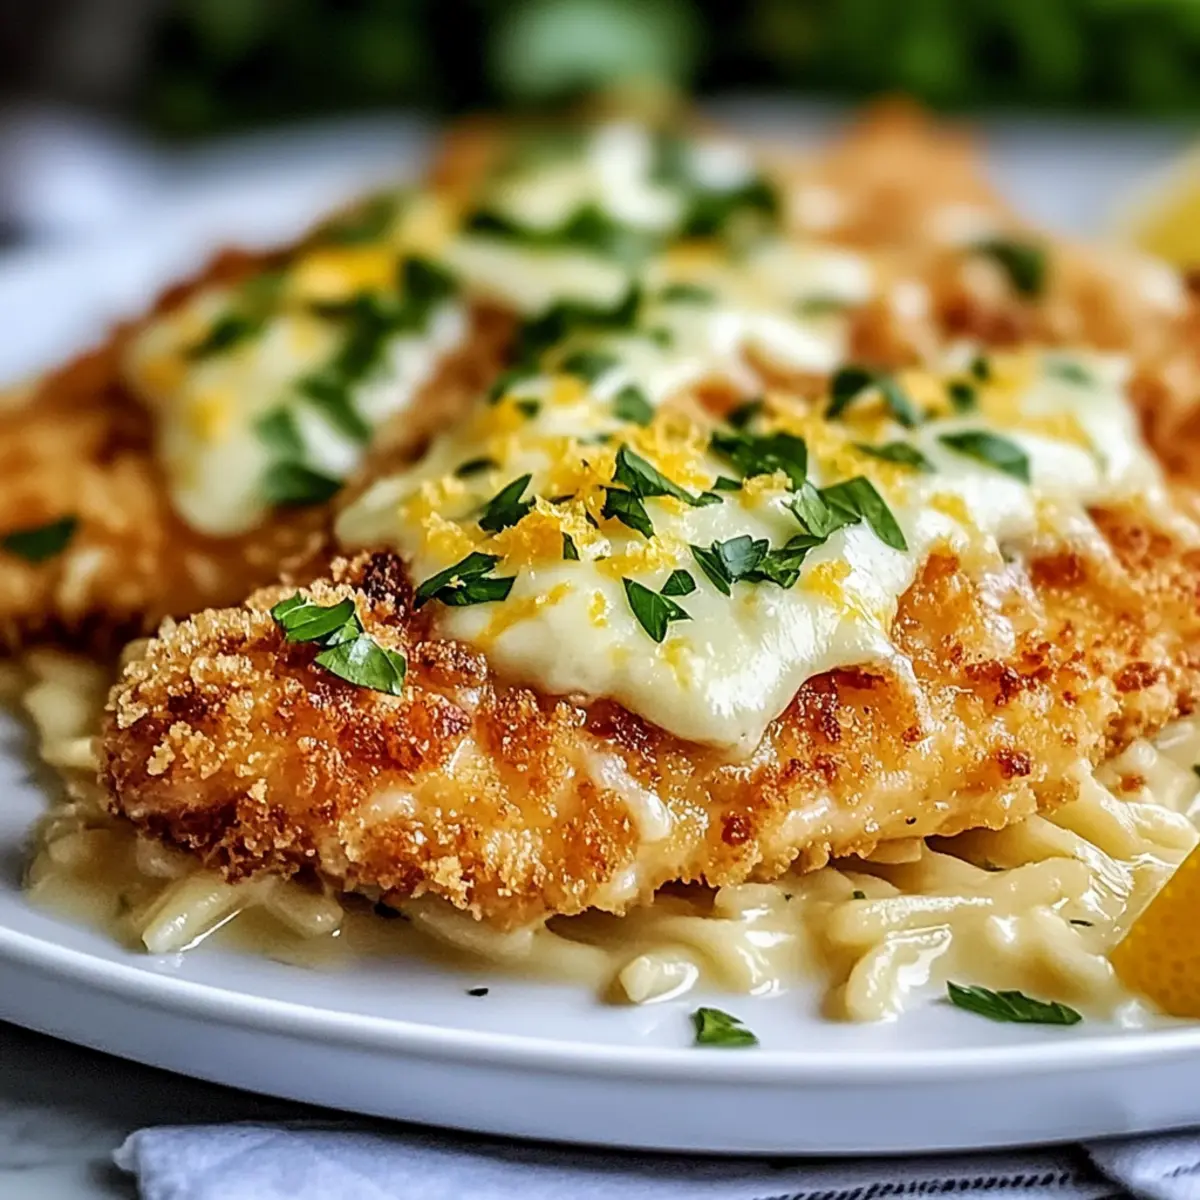
How to Store and Freeze Chicken Romano
Fridge: Store leftovers in an airtight container for up to 3 days. This ensures your Chicken Romano stays fresh and ready for a quick meal.
Freezer: For longer storage, freeze cooked chicken in a single layer on a baking sheet before transferring to an airtight container. Properly stored, it lasts up to 3 months without losing flavor.
Reheating: To reheat, place in the oven at 350°F (175°C) for about 10-15 minutes. This method helps retain the crispy texture of the Chicken Romano, allowing you to enjoy it as if it were freshly made.
Make-Ahead: You can bread the chicken up to 24 hours in advance and keep it refrigerated. This tip not only enhances flavor but also helps the coating adhere better during cooking.
Make Ahead Options
These Crispy Chicken Romano cutlets are perfect for meal prep enthusiasts! You can bread the chicken up to 24 hours in advance and store it in the refrigerator, which enhances the flavor and ensures the coating adheres beautifully. To prepare ahead, simply follow the dredging steps until the chicken is fully breaded, then place the cutlets on a parchment-lined tray and refrigerate them. When you’re ready to serve, just heat the oil and fry the cutlets as instructed, cooking them for about 4-5 minutes per side until golden brown. This approach not only saves you time on busy nights but also guarantees deliciously crispy results, making your Chicken Romano just as delightful as if you made it fresh that day!
Tips for the Best Chicken Romano
-
Even Thickness: Always pound chicken cutlets to an even thickness for uniform cooking. This ensures every bite is perfectly tender.
-
Breadcrumb Coverage: Ensure each piece is well-coated in the panko-Romano mix; pressing down firmly helps achieve that desired crispy layer on your Chicken Romano.
-
Proper Oil Temperature: Preheat your oil until shimmering to prevent sogginess; this is key for a golden, crunchy finish.
-
Use a Thermometer: Check for doneness with a meat thermometer. Chicken should reach an internal temperature of 165°F (75°C) for safe consumption.
-
Variations for Flavor: Consider mixing in Italian herbs like oregano or basil into the panko for an extra flavor boost tailored to your family’s tastes.
What to Serve with Crispy Cheesecake Factory Crusted Chicken Romano
Imagine a dining table filled with vibrant colors and delicious aromas, inviting your family to gather around!
- Creamy Mashed Potatoes: Rich and buttery, they provide the perfect comfort contrast to the crispy chicken, soaking up every flavorful bite.
- Fresh Green Salad: A refreshing mix of greens with a zesty vinaigrette adds a light crunch and beautiful color to your plate, balancing the indulgence.
- Garlic Roasted Asparagus: Tender, roasted asparagus with a hint of garlic complements the savory chicken beautifully, adding a touch of elegance to your meal.
- Pasta with Lemon Butter Sauce: A simple yet flavorful side, this lemony pasta enhances the chicken’s fruity notes, making each bite burst with brightness.
- Italian Breadsticks: Soft and chewy breadsticks are a wonderful vehicle for sopping up any extra sauce, perfectly accompanying your main dish.
- Red Wine: A light to medium-bodied red wine, like Pinot Noir, enriches the dish’s flavor profile while elevating the dining experience.
- Chocolate Mousse: For dessert, this rich, creamy treat offers a delightful contrast to the savory chicken, making a satisfying ending to your meal.
- Lemon Sorbet: A refreshing, light option that cleanses the palate and brings a bright finish, complementing the dish’s flavors beautifully.
Chicken Romano Variations & Substitutions
Feel free to get creative with this Chicken Romano recipe and personalize it to your taste with these delightful twists!
-
Juicy Thighs: Replace chicken breasts with thighs for a juicier, more flavorful option that your family will love. The increased moisture ensures each bite is tender and satisfying.
-
Gluten-Free: Easily substitute all-purpose flour and panko breadcrumbs with gluten-free alternatives. This ensures everyone at your table can enjoy this delicious dish without any dietary concerns.
-
Herbed Crust: Enhance the panko mixture by adding Italian herbs like oregano or basil. These additions bring a fragrant aroma and elevate the dish to new flavor heights.
-
Baked Version: For a healthier twist, try baking your Chicken Romano in a preheated oven at 400°F (200°C). You’ll enjoy a lighter version that still delivers the comforting crunch.
-
Creamy Sauce: Drizzle a luscious lemon garlic butter sauce over the finished chicken for an indulgent upgrade. The rich flavors balance beautifully with the crispy crust, creating a truly decadent dish.
-
Vegetarian Alternative: Swap the chicken for eggplant or zucchini slices to create a delectable vegetarian version of Chicken Romano. Bread and fry just like the original for an equally satisfying meal.
-
Spicy Kick: For spice lovers, incorporate crushed red pepper flakes into the panko mix or serve with a spicy marinara on the side. This little touch of heat adds an exciting dimension that’s sure to please!
-
Cheesy Variations: Experiment with different cheeses, such as pepper jack or gouda, for unique flavor profiles. Each type brings its own character to the dish, so why not try a few?
Ready to transform your dining experience? Pair your Chicken Romano with sides like a fresh green salad or creamy mashed potatoes for a complete meal. And if you’re looking for more tasty ideas, check out our Garlic Chicken Broccoli or Santa Chicken Skillet for new flavors that your family will love!
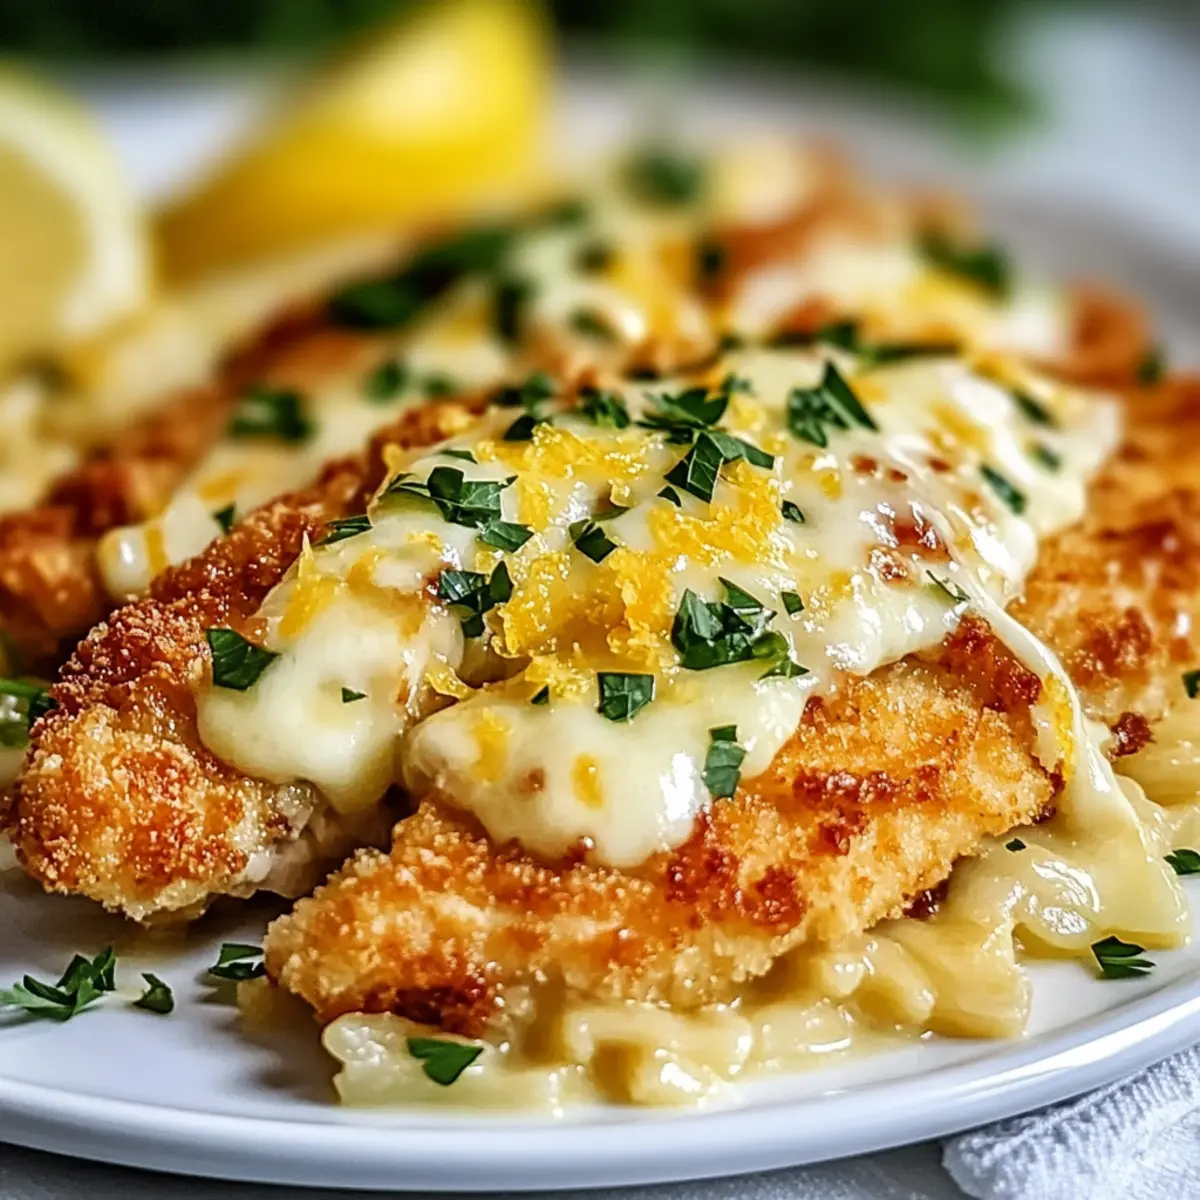
Crispy Cheesecake Factory Crusted Chicken Romano Recipe FAQs
How do I choose ripe chicken breasts for this recipe?
Absolutely! Look for chicken breasts that are firm and have no discoloration. They should feel moist (but not sticky) and be pale pink. Avoid any packages with broken seals or liquids pooling inside, as these can indicate spoilage.
How should I store leftover Chicken Romano?
After enjoying your meal, store any leftovers in an airtight container in the fridge for up to 3 days. When reheating, I recommend using the oven at 350°F (175°C) for about 10-15 minutes to restore some of that crispy texture. It’s a wonderful way to savor the deliciousness again!
Can I freeze the Chicken Romano? How?
Yes, you can freeze Chicken Romano for those busy days! Cool the cooked chicken completely, then lay it in a single layer on a baking sheet. Freeze for a few hours until solid, then transfer to an airtight container or freezer bag. Properly stored, it can last up to 3 months. To reheat, place it directly in a preheated oven at 350°F (175°C) for about 15-20 minutes until heated through.
What if my crust doesn’t turn out crispy enough?
Very common! If the crust isn’t as crispy as you’d like, ensure your oil was hot enough before adding the chicken. Preheat the oil until it shimmers, as this helps the coating set quickly. Additionally, pressing the cutlets firmly into the panko mixture can provide a sturdier crust. You can also try using a gluten-free panko for a different texture!
Are there any allergies I should consider with this dish?
Definitely. This Chicken Romano contains gluten from all-purpose flour and panko breadcrumbs. If you’re serving someone with a gluten allergy or sensitivity, opt for gluten-free flour and gluten-free panko to keep the dish safe and enjoyable. As always, double-check the cheese choices for lactose intolerances as well.
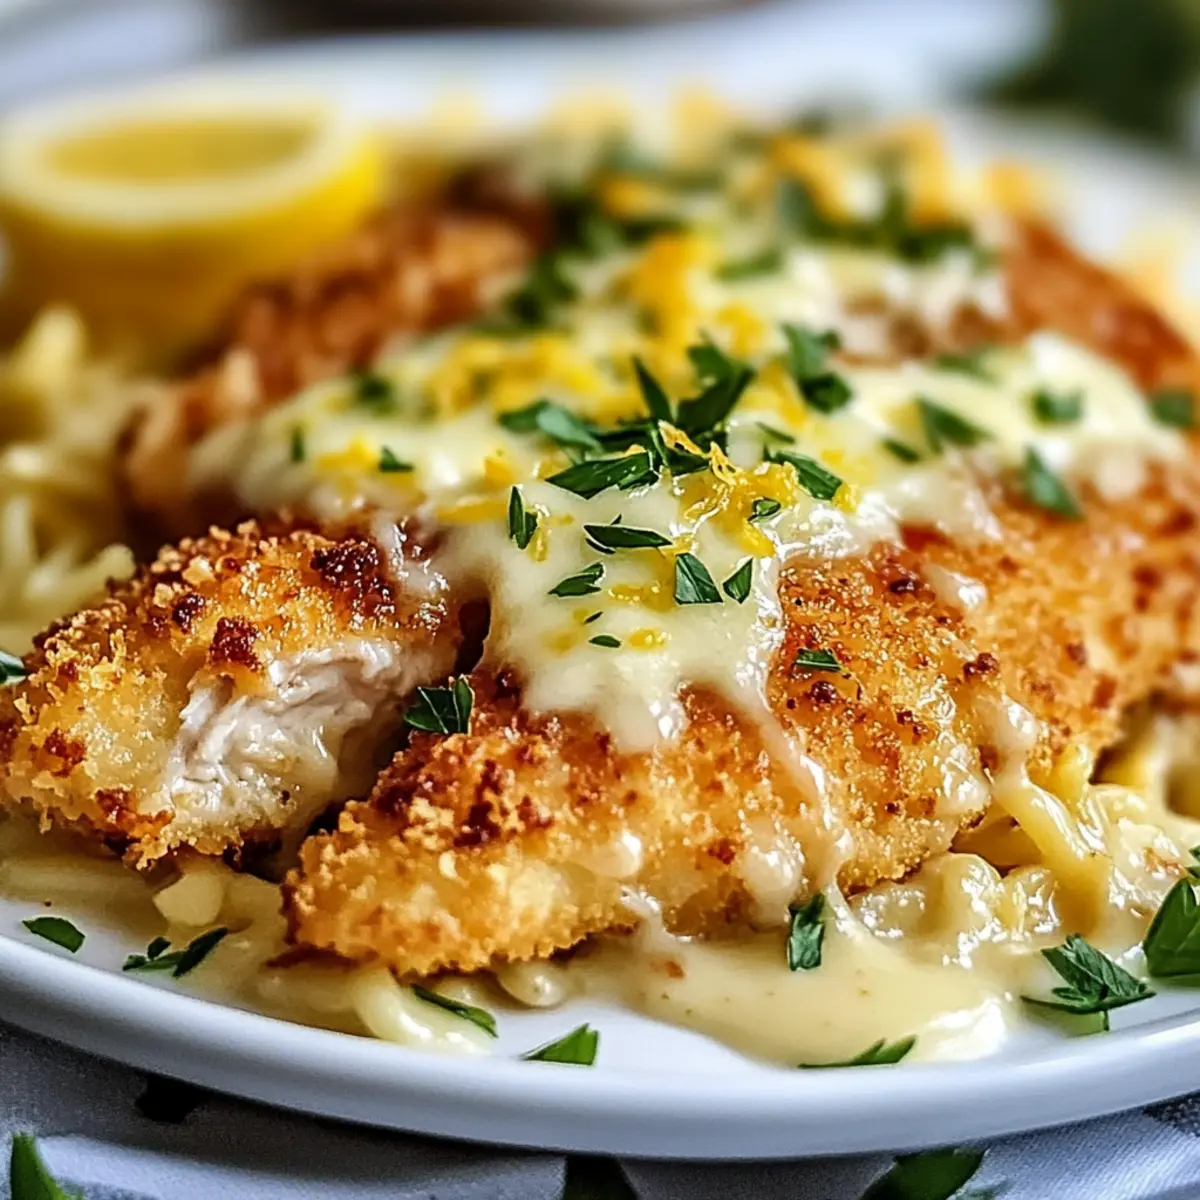
Crispy Chicken Romano for a Flavor-Packed Family Dinner
Ingredients
Equipment
Method
- Begin by slicing the chicken breasts into even cutlets, ensuring they are uniform in thickness. Season each cutlet generously with salt and pepper.
- Create an efficient breading station by arranging three shallow bowls in a line. Fill the first bowl with all-purpose flour; the second with one large beaten egg; and the third with a mixture of panko, Romano cheese, parsley, and lemon zest.
- Take each seasoned cutlet and dip it into the flour, shaking off excess, then into the beaten egg, and finally press it into the panko-Romano mixture.
- Heat about 1/4 inch of oil in a skillet over medium heat. Add the breaded cutlets to the pan, frying for 4-5 minutes per side until golden brown.
- Once browned, sprinkle mozzarella cheese on each cutlet, cover the skillet, and let it melt on low heat for about 2-3 minutes.
- Remove from heat, garnish with parsley or a squeeze of lemon juice, and serve hot.