
Introduction to Chocolate Peppermint Bread
There’s something magical about the holiday season, isn’t there? The air is filled with the scent of pine, and the spirit of giving is everywhere. One of my favorite ways to embrace this festive vibe is by baking a loaf of Chocolate Peppermint Bread. This delightful treat combines rich chocolate with a refreshing hint of peppermint, making it perfect for cozy gatherings or as a sweet surprise for loved ones. Whether you’re looking to impress guests or simply indulge in a slice with your morning coffee, this recipe is a quick and delicious solution that will warm your heart and home.
Why You’ll Love This Chocolate Peppermint Bread
This Chocolate Peppermint Bread is a true crowd-pleaser. It’s easy to whip up, taking just about 15 minutes of prep time. The rich chocolate flavor paired with the coolness of peppermint creates a festive taste that’s hard to resist. Plus, it fills your kitchen with an irresistible aroma that will have everyone asking for seconds. Perfect for holiday gatherings or a cozy night in, this bread is sure to become a seasonal favorite!
Ingredients for Chocolate Peppermint Bread
Gathering the right ingredients is the first step to creating this festive delight. Here’s what you’ll need:
- All-purpose flour: The backbone of your bread, providing structure and texture.
- Granulated sugar: Sweetens the bread and helps create that lovely crust.
- Unsweetened cocoa powder: Adds rich chocolate flavor without extra sweetness.
- Baking powder: A leavening agent that helps the bread rise.
- Baking soda: Works alongside baking powder for a light, fluffy texture.
- Salt: Enhances the flavors and balances the sweetness.
- Buttermilk: Adds moisture and a slight tang, making the bread tender.
- Vegetable oil: Keeps the bread moist and adds richness.
- Eggs: Bind the ingredients together and contribute to the bread’s structure.
- Vanilla extract: A classic flavor enhancer that complements the chocolate.
- Peppermint extract: Infuses that refreshing holiday flavor into every bite.
- Semi-sweet chocolate chips: Melty pockets of chocolate goodness throughout the bread.
- Crushed peppermint candies: Adds a festive crunch and a burst of peppermint flavor.
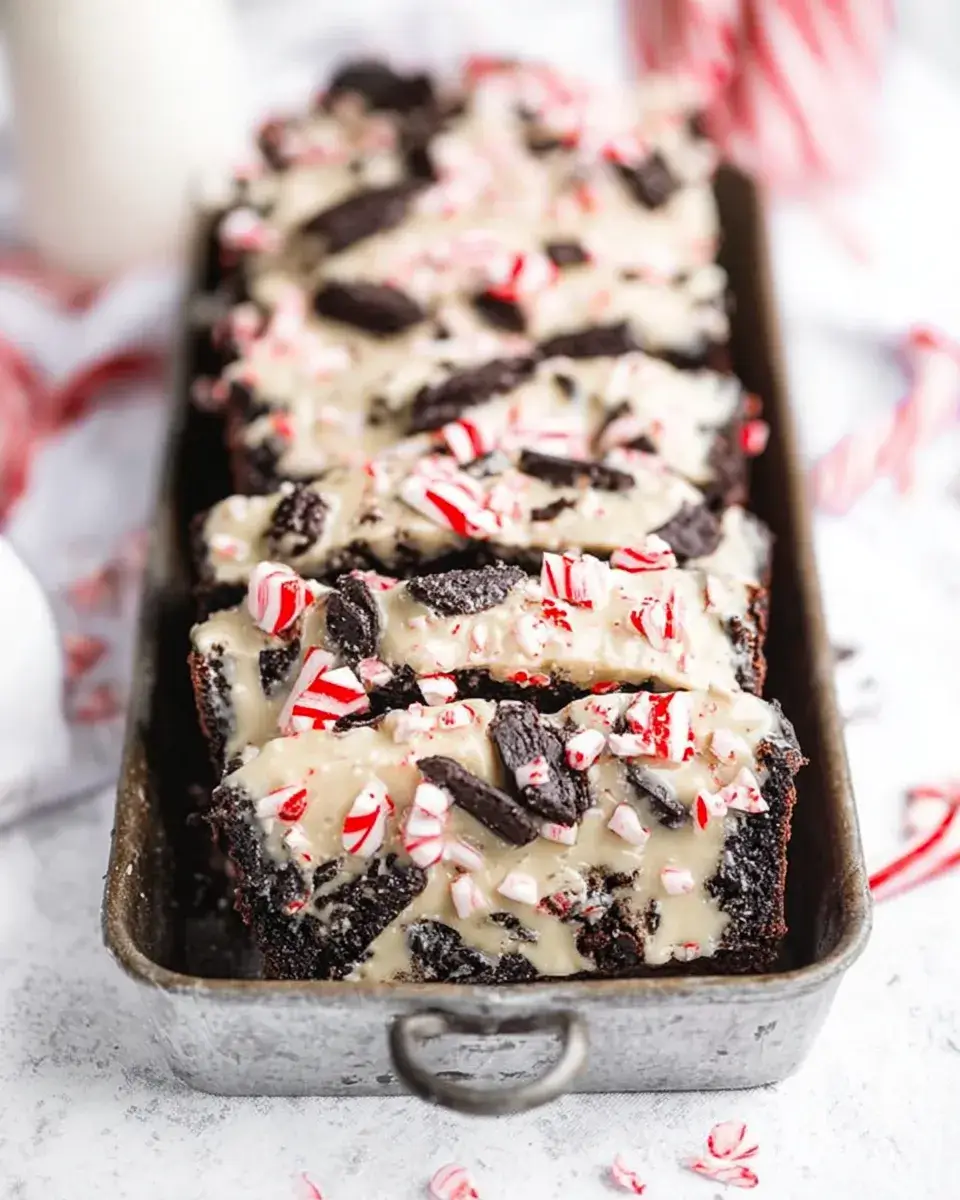
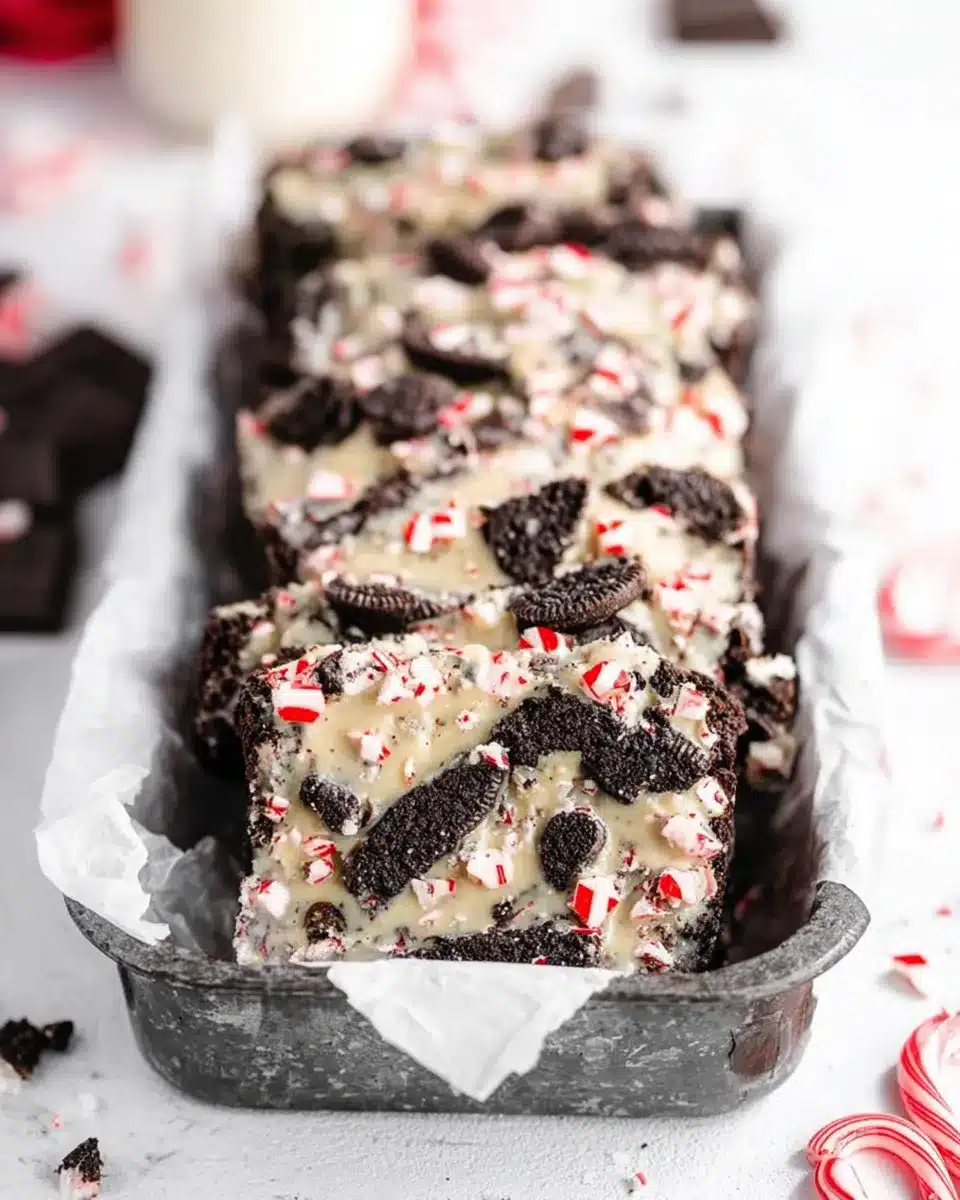
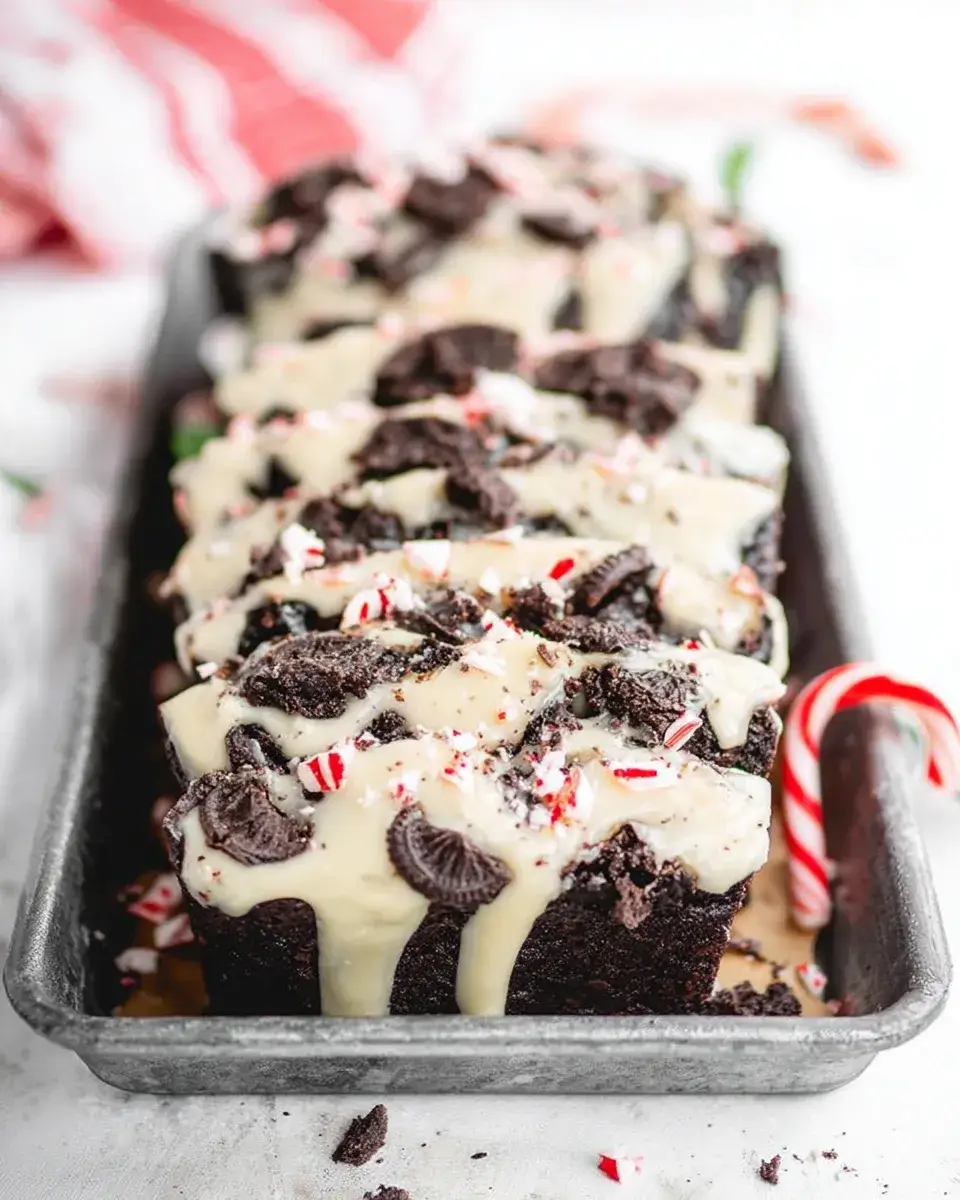
For those looking to elevate the flavor, consider adding chopped walnuts or pecans for a nutty twist. If you want to make it extra festive, a drizzle of melted white chocolate on top, sprinkled with more crushed peppermint candies, will do the trick! You can find the exact measurements for these ingredients at the bottom of the article, ready for printing.
How to Make Chocolate Peppermint Bread
Now that you have all your ingredients ready, it’s time to dive into the fun part—baking! Follow these simple steps to create your own Chocolate Peppermint Bread. Trust me, the process is as enjoyable as the end result!
Step 1: Preheat the Oven
First things first, preheat your oven to 350°F (175°C). This ensures your bread bakes evenly. While the oven warms up, grease a 9×5-inch loaf pan. A little oil or butter will do the trick, preventing any sticky situations later on.
Step 2: Mix Dry Ingredients
In a large mixing bowl, whisk together the all-purpose flour, granulated sugar, unsweetened cocoa powder, baking powder, baking soda, and salt. Make sure everything is well combined. This step is crucial for a uniform texture in your Chocolate Peppermint Bread.
Step 3: Combine Wet Ingredients
In another bowl, mix the buttermilk, vegetable oil, eggs, vanilla extract, and peppermint extract until smooth. The buttermilk adds moisture, while the peppermint extract brings that festive zing. It’s like a holiday party in a bowl!
Step 4: Combine Wet and Dry Mixtures
Now, pour the wet ingredients into the dry ingredients. Stir gently until just combined. Be careful not to overmix; a few lumps are perfectly fine. Overmixing can lead to a dense bread, and we want it light and fluffy!
Step 5: Add Chocolate and Peppermint
Next, fold in the semi-sweet chocolate chips and crushed peppermint candies. This is where the magic happens! The chocolate melts into gooey pockets, while the peppermint adds a delightful crunch. Just be gentle; we want to keep that airy texture.
Step 6: Bake the Bread
Pour the batter into your prepared loaf pan and smooth the top with a spatula. Pop it in the oven and bake for 55-65 minutes. You’ll know it’s done when a toothpick inserted into the center comes out clean. The aroma wafting through your kitchen will be heavenly!
Step 7: Cool the Bread
Once baked, let the bread cool in the pan for about 10 minutes. Then, transfer it to a wire rack to cool completely. This step is essential; it allows the flavors to settle and makes slicing easier. Plus, who can resist the smell of freshly baked bread?
Tips for Success
- Measure your ingredients accurately for the best results.
- Use room temperature eggs and buttermilk for better mixing.
- Don’t overmix the batter; it should be just combined.
- Check for doneness with a toothpick; it should come out clean.
- Let the bread cool completely before slicing for cleaner cuts.
Equipment Needed
- 9×5-inch loaf pan: Essential for baking your bread. A round cake pan can work in a pinch.
- Mixing bowls: Use at least two—one for dry and one for wet ingredients. Any large bowls will do.
- Whisk: Perfect for mixing dry ingredients. A fork can also get the job done.
- Spatula: Great for folding in chocolate and peppermint. A wooden spoon is a solid alternative.
- Wire rack: Ideal for cooling the bread. A plate can work if you don’t have one.
Variations
- Nutty Delight: Add 1/2 cup of chopped walnuts or pecans for a crunchy texture and nutty flavor.
- Gluten-Free Option: Substitute all-purpose flour with a gluten-free flour blend to make this bread gluten-free.
- Vegan Twist: Replace eggs with flaxseed meal (1 tablespoon mixed with 2.5 tablespoons of water) and use almond milk instead of buttermilk.
- Mint Chocolate Chip: Swap out semi-sweet chocolate chips for mint chocolate chips for an extra minty kick.
- Spicy Peppermint: Add a pinch of cayenne pepper or cinnamon to the batter for a warm, spicy twist.
Serving Suggestions
- Pair slices of Chocolate Peppermint Bread with a hot cup of cocoa or coffee for a cozy treat.
- Serve with a dollop of whipped cream or a scoop of vanilla ice cream for an indulgent dessert.
- For a festive touch, garnish with extra crushed peppermint candies on top.
FAQs about Chocolate Peppermint Bread
Can I make Chocolate Peppermint Bread ahead of time?
Absolutely! This bread stores well. You can bake it a day or two in advance. Just wrap it tightly in plastic wrap and keep it at room temperature. For longer storage, freeze it for up to three months. Just remember to thaw it overnight in the fridge before serving!
What can I substitute for buttermilk?
If you don’t have buttermilk on hand, don’t worry! You can easily make a substitute by mixing one cup of milk with one tablespoon of vinegar or lemon juice. Let it sit for about 5 minutes, and you’ll have a perfect buttermilk replacement.
Can I use dark chocolate instead of semi-sweet chocolate chips?
Definitely! Dark chocolate will add a richer flavor to your Chocolate Peppermint Bread. Just keep in mind that it may make the bread slightly less sweet, which can be a delightful twist if you enjoy a deeper chocolate taste.
How do I store leftover Chocolate Peppermint Bread?
To keep your bread fresh, store it in an airtight container at room temperature. It should stay delicious for about 3-4 days. If you want to keep it longer, slice it and freeze the pieces individually. This way, you can enjoy a slice whenever the craving hits!
Can I add more peppermint flavor?
If you’re a peppermint lover, feel free to increase the peppermint extract to 1 teaspoon. Just be cautious, as too much can overpower the chocolate. A sprinkle of crushed peppermint candies on top also enhances that festive flavor!
Final Thoughts
Baking Chocolate Peppermint Bread is more than just a recipe; it’s an experience that fills your home with warmth and joy. The rich chocolate mingling with the cool peppermint creates a delightful harmony that captures the essence of the holiday season. Each slice is a little piece of happiness, perfect for sharing with family and friends. Whether enjoyed with a cup of coffee or gifted to a neighbor, this bread brings smiles and festive cheer. So, roll up your sleeves, embrace the holiday spirit, and let the aroma of this delicious bread fill your kitchen!
Chocolate Peppermint Bread: A Festive Treat Recipe!
Ingredients
Method
- Preheat the oven to 350°F (175°C). Grease a 9×5-inch loaf pan and set aside.
- In a large mixing bowl, whisk together the flour, sugar, cocoa powder, baking powder, baking soda, and salt until well combined.
- In another bowl, mix the buttermilk, vegetable oil, eggs, vanilla extract, and peppermint extract until smooth.
- Pour the wet ingredients into the dry ingredients and stir until just combined. Be careful not to overmix.
- Fold in the chocolate chips and crushed peppermint candies gently.
- Pour the batter into the prepared loaf pan and smooth the top with a spatula.
- Bake for 55-65 minutes, or until a toothpick inserted into the center comes out clean.
- Let the bread cool in the pan for about 10 minutes, then transfer it to a wire rack to cool completely.
Nutrition
Notes
- For a richer flavor, try adding 1/2 cup of chopped walnuts or pecans to the batter.
- If you want a festive touch, drizzle melted white chocolate over the cooled bread and sprinkle with additional crushed peppermint candies.