

The smell of freshly baked cookies wafting through the house is nostalgia wrapped in buttery goodness. While I adore every aspect of baking, there’s something truly special about a warm batch of Classic Chewy Chocolate Chip Cookies. This recipe isn’t just quick and easy; it creates a soft, irresistible treat perfect for cozy nights or celebrations with friends and family. You can even tailor this classic recipe with additional options such as gluten-free flour or a delicious nut twist, ensuring that there’s something for everyone to enjoy. Ready to make the best chocolate chip cookies that will have everyone asking for seconds? Let’s dive in and discover the magic of homemade baking together!
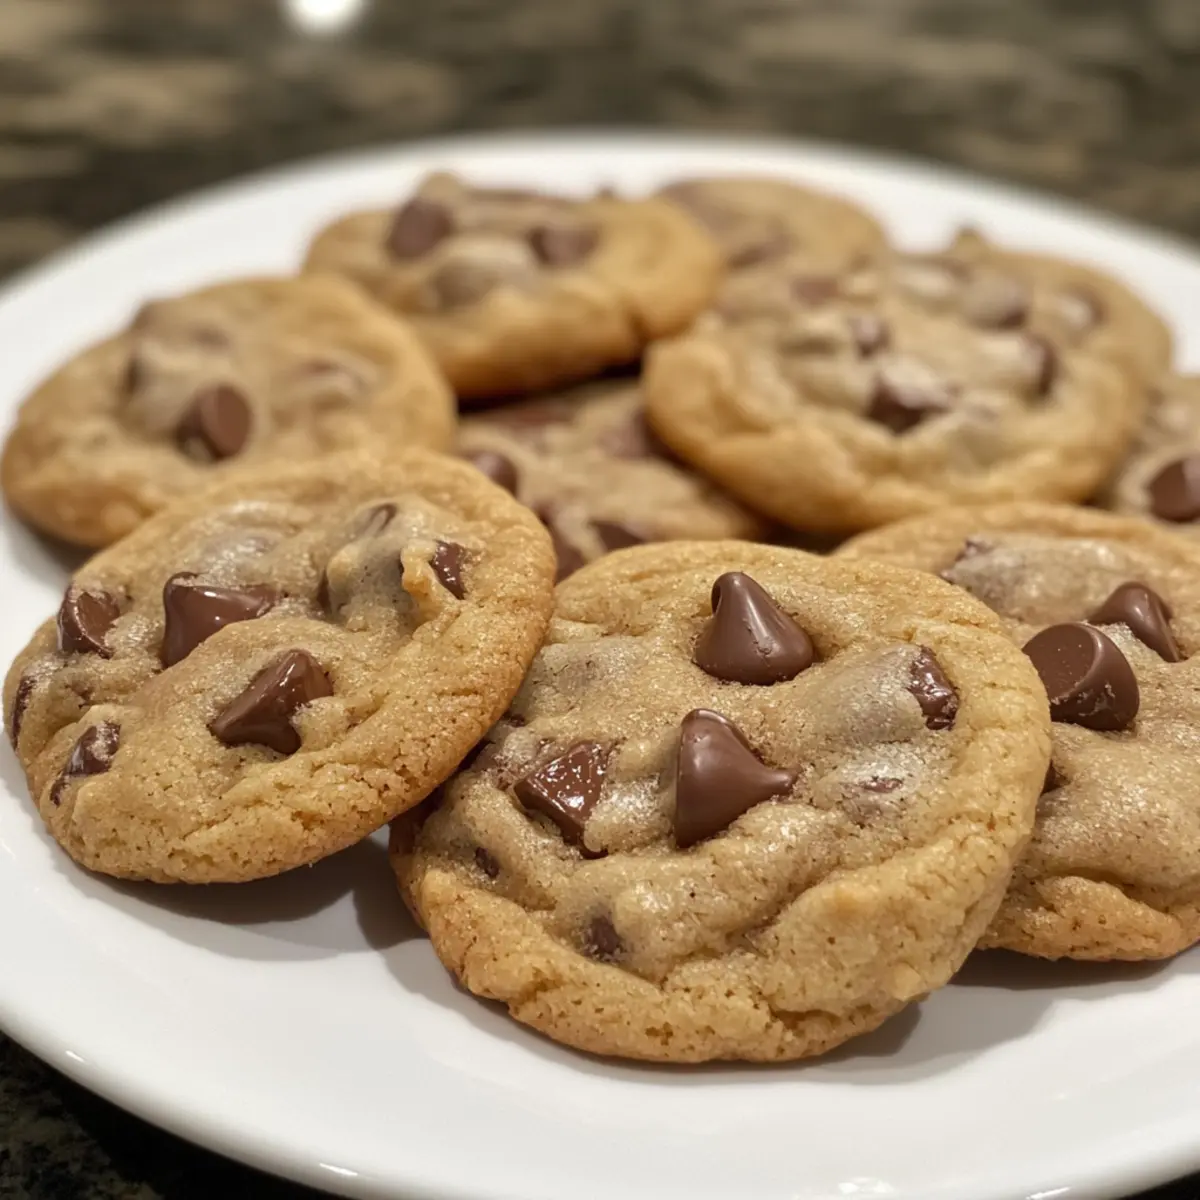
Why Are These Cookies So Irresistible?
Comforting, nostalgic flavors: The combination of rich chocolate and buttery dough brings back sweet memories.
Customizable: Choose between chewy or crispy, and easily make gluten-free options for any dietary needs.
Quick and easy: With just a handful of ingredients and straightforward steps, you’ll have warm cookies in no time.
Crowd-pleaser: Perfect for sharing at gatherings, these cookies are sure to impress family and friends, especially when paired with a glass of cold milk or coffee.
Versatile: Try adding nuts or different chocolate types for a unique twist, just like my Bang Bang Chicken pairs perfectly with various sides!
Classic Chocolate Chip Cookie Ingredients
• Get ready to bake mouthwatering cookies!
For the Cookie Dough
- All-purpose flour – Provides structure; substitute with gluten-free flour blend for a gluten-free option.
- Baking soda – Acts as a leavening agent and is essential for texture.
- Salt – Enhances flavor; you can reduce if using salted butter.
- Unsalted butter – Adds richness and moisture; coconut oil is a great dairy-free substitute.
- Brown sugar – Contributes to chewiness and depth; for less moisture, use white sugar instead.
- Granulated sugar – Adds sweetness and helps with crispness; consider a slight reduction if using more brown sugar.
- Eggs – Binds ingredients together; a flax egg can be used for a vegan alternative.
- Vanilla extract – Provides depth of flavor; the pure extract yields the best results.
- Semi-sweet chocolate chips – Delivers sweetness and texture; dark chocolate can create a richer flavor profile.
These ingredients come together to craft the ultimate Classic Chocolate Chip Cookies that will bring comfort to your kitchen!
Step‑by‑Step Instructions for Classic Chewy Chocolate Chip Cookies
Step 1: Preheat the Oven and Prepare the Baking Sheet
Start by preheating your oven to 350°F (175°C). While the oven warms up, line a baking sheet with parchment paper to prevent sticking. This step ensures that your Classic Chewy Chocolate Chip Cookies bake evenly and maintain a delightful texture, so they’ll be perfectly golden brown once done.
Step 2: Mix the Dry Ingredients
In a medium bowl, whisk together 2 ¼ cups of all-purpose flour, 1 teaspoon of baking soda, and ½ teaspoon of salt. Mixing these dry ingredients together helps evenly distribute the baking soda and enhances the flavor. Set this bowl aside as you move on to creating the cookie dough.
Step 3: Cream the Butter and Sugars
In a large mixing bowl, using a hand or stand mixer, cream together 1 cup of softened unsalted butter, ¾ cup of brown sugar, and ¾ cup of granulated sugar. Beat them until the mixture is light and fluffy—about 2-3 minutes. This creamy base is key to achieving the chewy texture of your Classic Chewy Chocolate Chip Cookies.
Step 4: Add the Eggs and Vanilla
Next, add in 2 large eggs, one at a time, mixing well after each addition. Then, stir in 1 teaspoon of pure vanilla extract until fully incorporated. This step binds all the ingredients and adds that fabulous depth of flavor that makes your cookies so irresistible.
Step 5: Combine the Wet and Dry Mixtures
Gradually add the flour mixture to the wet ingredients, mixing until just combined. Be careful not to overdo it; the cookie dough should be soft and slightly sticky. Folding in the dry ingredients gently allows the flavors to meld while keeping the dough airy for those classic cookies.
Step 6: Fold in the Chocolate Chips
Now, gently fold in 2 cups of semi-sweet chocolate chips into your dough using a spatula. This action ensures every cookie is packed with delightful chocolatey goodness. The chips will melt slightly while baking, creating gooey pockets that enhance the overall cookie experience.
Step 7: Scoop and Space the Dough
Using a cookie scoop or tablespoons, drop rounded mounds of dough onto your prepared baking sheet, making sure to space them about 2 inches apart. This spacing allows the Classic Chewy Chocolate Chip Cookies to spread properly as they bake, so they don’t fuse together.
Step 8: Bake the Cookies
Place the baking sheet in your preheated oven and bake for 10-12 minutes. Keep an eye on them; the edges should be golden brown, while the centers might still look slightly underbaked. This balance ensures the perfect chewy texture in every bite of your cookies.
Step 9: Cool on the Baking Sheet
After baking, allow the cookies to cool on the baking sheet for about 5 minutes. This short cooling period helps them set before transferring to wire racks. Your Classic Chewy Chocolate Chip Cookies will still cook slightly from residual heat during this time, creating that perfect soft center.
Step 10: Transfer and Enjoy the Cookies
Finally, carefully transfer the cookies to a wire rack using a spatula. Allow them to cool completely, and soon, the delightful aroma will fill your kitchen. Now you’re ready to enjoy these warm, freshly baked Classic Chewy Chocolate Chip Cookies with a glass of cold milk or simply by themselves!
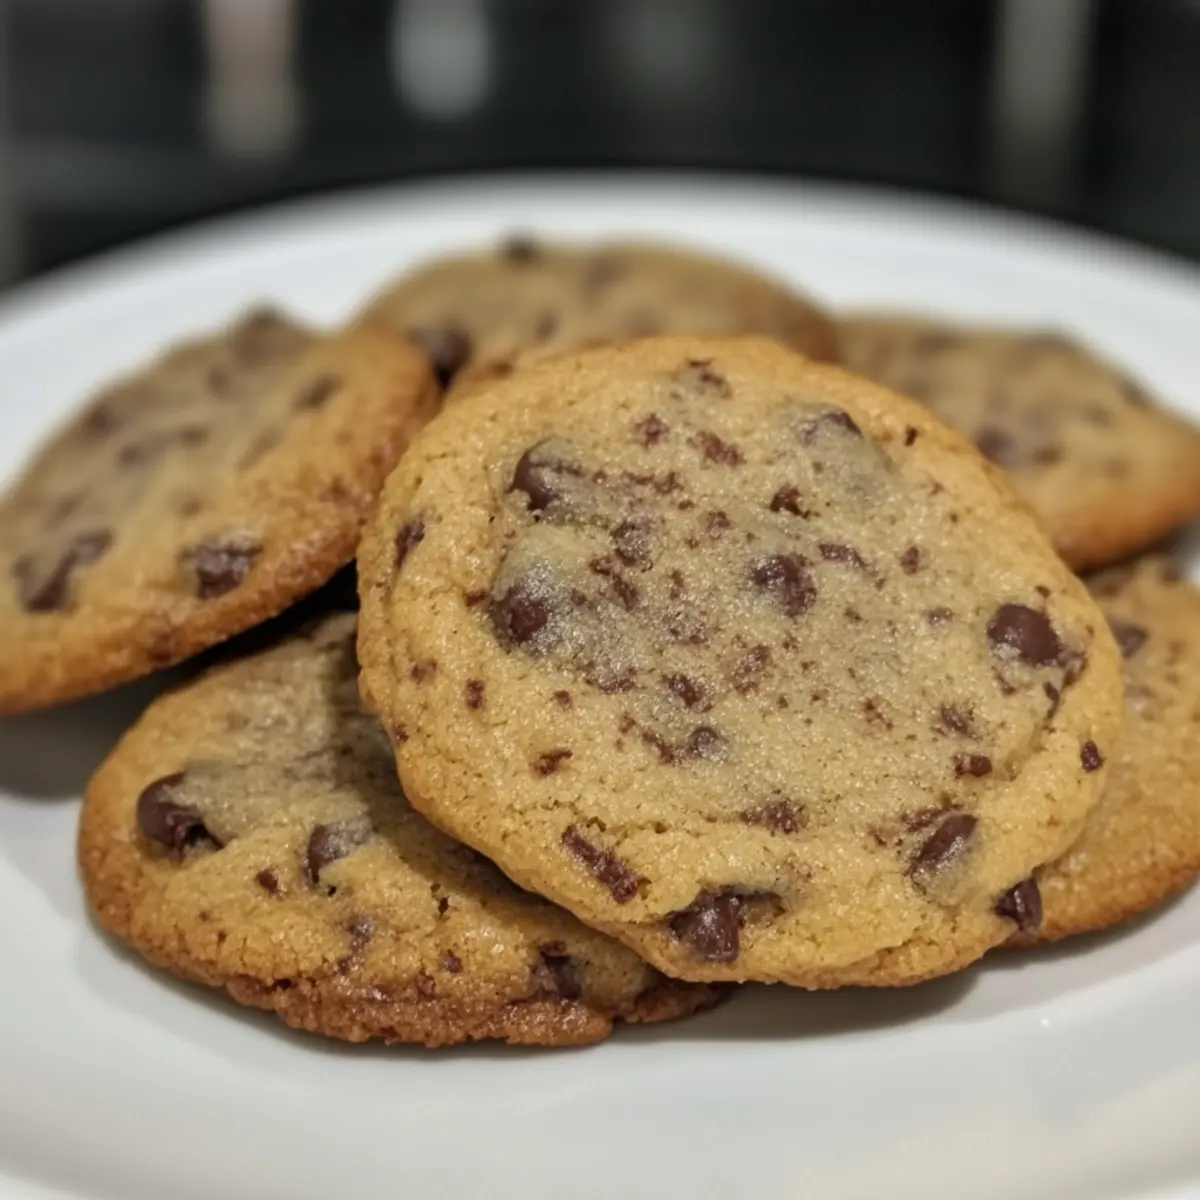
Make Ahead Options
These Classic Chewy Chocolate Chip Cookies are perfect for busy home cooks looking to save time during the week! You can prepare the cookie dough up to 24 hours in advance. Simply mix the dough as instructed, then wrap it tightly in plastic wrap or store it in an airtight container in the refrigerator. This allows the flavors to meld beautifully and helps maintain that classic chewy texture. When you’re ready to enjoy freshly baked cookies, scoop the chilled dough onto a baking sheet and bake as directed, adding an extra minute to the baking time if needed. With these make-ahead options, you can indulge in warm, homemade cookies any time with minimal effort!
Expert Tips for Perfect Classic Chocolate Chip Cookies
-
Butter Temperature: Ensure your butter is softened but not melted for the ideal creamy texture in your cookie dough.
-
Chill the Dough: For chewier cookies, refrigerate the dough for at least 30 minutes before baking to improve texture and flavor development.
-
Baking Time: Watch your cookies closely! They should be slightly underbaked in the center when you pull them out to achieve that delicious chewiness.
-
Uniform Sizes: Use a cookie scoop to drop your dough. This ensures evenly sized cookies that bake uniformly, preventing some from overbaking while others are still doughy.
-
Experiment with Mix-ins: Customize your Classic Chocolate Chip Cookies by adding nuts or using different chocolate types; this keeps your baking exciting and uniquely yours!
How to Store and Freeze Classic Chocolate Chip Cookies
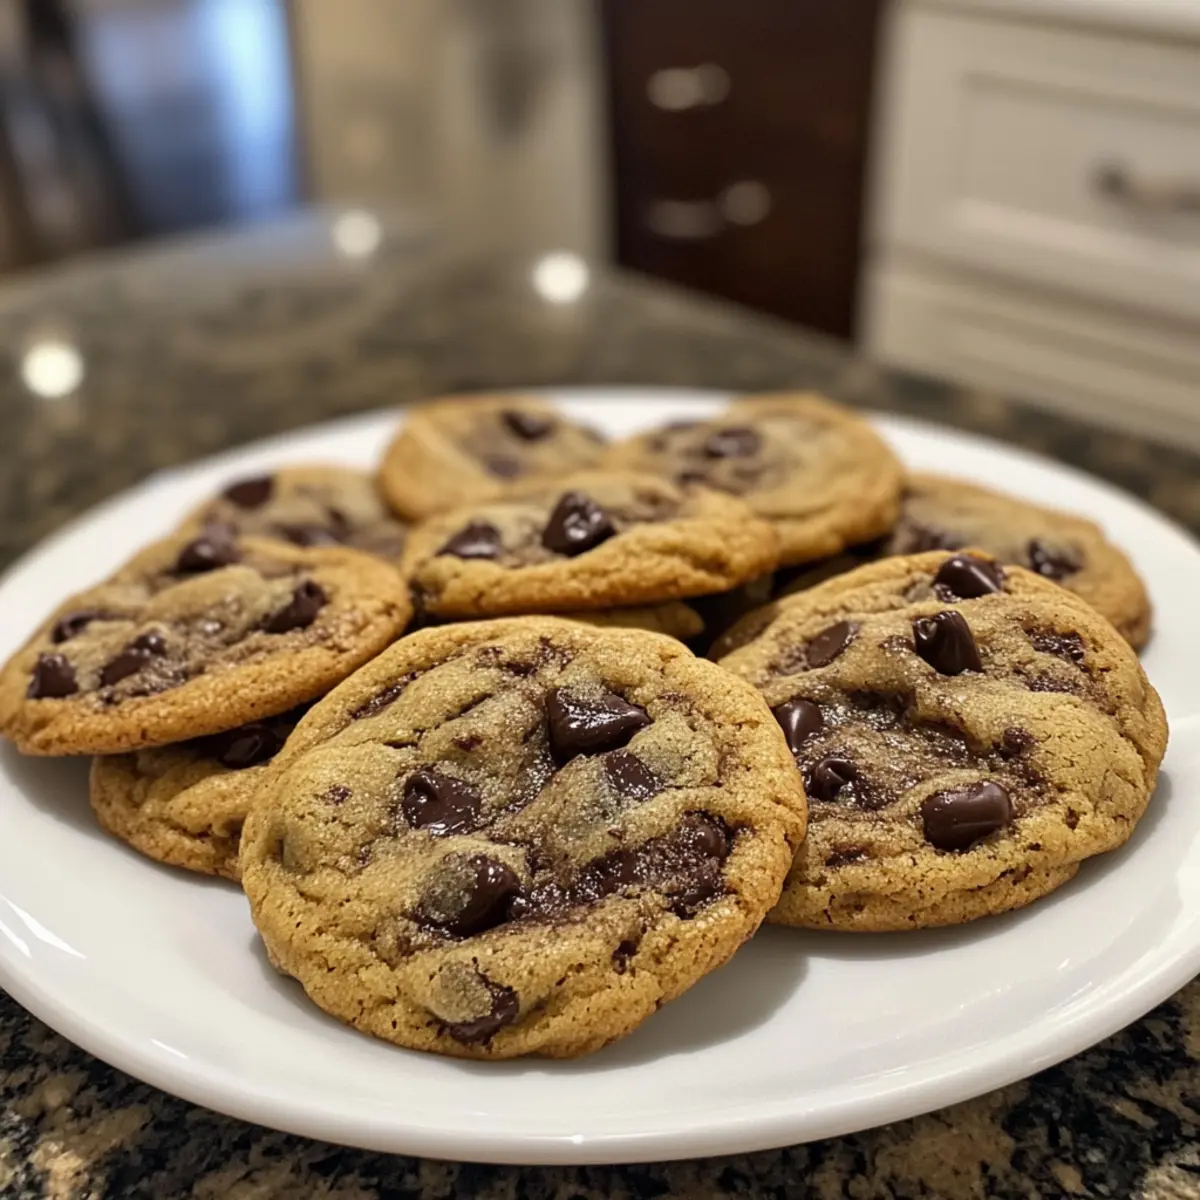
Room Temperature: Store cookies in an airtight container at room temperature for up to 5 days to maintain freshness and soft texture.
Fridge: If you prefer your cookies a bit firmer, you can refrigerate them for up to 1 week in an airtight container. Just let them come to room temperature before enjoying.
Freezer: For longer storage, freeze the baked cookies in a single layer on a baking sheet, then transfer to an airtight container or freezer bag for up to 3 months.
Reheating: To enjoy your cookies warm, reheat them for 10-15 seconds in the microwave or bake at 350°F (175°C) for a few minutes to restore softness in those delicious Classic Chocolate Chip Cookies.
What to Serve with Classic Chewy Chocolate Chip Cookies
Indulge in the warmth of freshly baked cookies while creating the perfect spread for any occasion, effortlessly charming everyone around you.
-
Cold Glass of Milk: The classic pairing enhances the cookie’s sumptuousness, creating a creamy contrast to the rich chocolate and buttery base.
-
Rich Coffee: A cup of coffee balances the sweetness while adding warmth, making this duo perfect for cozy evenings or brunch gatherings.
-
Vanilla Ice Cream: Top a warm cookie with a scoop of vanilla ice cream for a delightful dessert, where gooey chocolate meets heavenly creaminess.
-
Fresh Berries: Bright, juicy berries cut through the richness, offering a refreshing contrast that makes every bite feel lighter and more indulgent.
-
Chocolate Sauce Drizzle: A warm drizzle over your cookies elevates them to a decadent dessert, adding an extra layer of chocolatey bliss that chocolate lovers will adore.
-
Nuts on the Side: Serve a small bowl of salted nuts for a touch of crunch. Their salty flavor provides a nice balance to the sweet cookies, perfect for snacking.
-
Creamy Hot Chocolate: Warmth of rich hot chocolate pairs beautifully with your cookies, amplifying the cozy factor for chilly nights or festive celebrations.
-
Chewy Caramel Bars: The combination of caramel and chocolate gives an additional layer of sweetness, creating a decadent treat that complements the cookie’s flavors.
With these delightful pairings, your cookie experience transforms into a symphony of flavors that tantalizes the senses!
Classic Chocolate Chip Cookie Variations
Feel free to make these delectable cookies truly yours with some fun and tasty twists!
-
Chewy vs. Crispy: Adjust baking time to achieve your desired texture—up to 12 minutes for chewy, 15 for crispy!
-
Gluten-Free: Swap all-purpose flour for a gluten-free blend to cater to dietary needs while still enjoying that classic flavor.
-
Nutty Delight: Fold in chopped walnuts or pecans alongside the chocolate chips for added crunch and flavor depth. They create a wonderful contrast in texture.
-
White Chocolate Magic: Replace semi-sweet chocolate chips with white chocolate for a sweeter twist that pairs perfectly with almond extract for extra flavor.
-
Decadent Drizzle: After cooling, drizzle melted dark chocolate on top of your cookies for an elegant touch. This adds a rich flavor that elevates the treat.
-
Spicy Kick: Add a pinch of cinnamon or cayenne pepper to the dough for a subtle warm spice that beautifully complements the sweetness of the chocolate!
-
Fruit Infusion: Toss in some dried cranberries or cherries to blend fruity flavors with the richness of chocolate—this unexpected twist tantalizes the taste buds!
-
For a savory touch: Incorporate a bit of sea salt on top before baking for a delightful sweet-and-salty flavor that is simply irresistible.
Explore these variations, and feel free to combine them—just like my family’s beloved recipes, such as this delightful Garlic Chicken Broccoli that’s perfect for any palate! Happy baking!
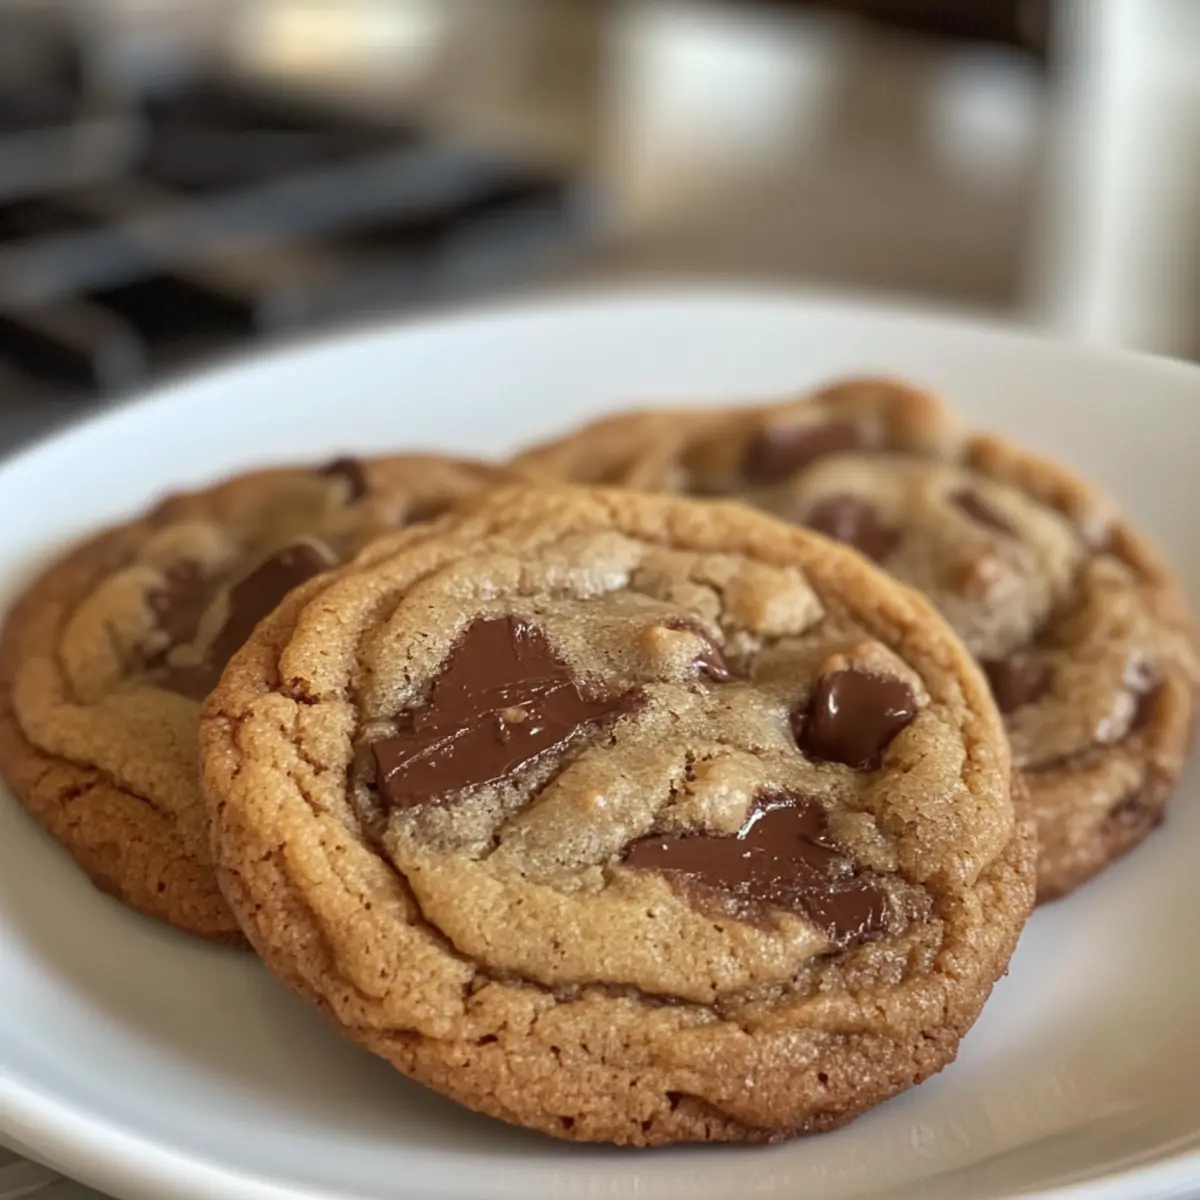
Classic Chewy Chocolate Chip Cookies Recipe FAQs
What type of flour should I use for these cookies?
For the best results, I recommend using all-purpose flour, as it provides the perfect structure for your Classic Chewy Chocolate Chip Cookies. If you need a gluten-free option, simply substitute it with a gluten-free flour blend, ensuring it’s a one-to-one ratio for successful baking.
How should I store my chocolate chip cookies?
To keep your cookies fresh, store them in an airtight container at room temperature for up to 5 days. If you want to keep them for longer, pop them in the fridge where they can last 1 week. Just remember to let them come back to room temperature for the best texture when you’re ready to indulge again!
Can I freeze these cookies?
Absolutely! To freeze your Classic Chewy Chocolate Chip Cookies, first place them in a single layer on a baking sheet, then freeze until solid. Once frozen, transfer them to an airtight container or freezer bag. They can be stored in the freezer for up to 3 months. When you’re ready to enjoy them, simply reheat in the microwave for 10-15 seconds or bake at 350°F (175°C) for a few minutes.
What if my cookie dough is too sticky?
If your cookie dough turns out too sticky, that can happen sometimes! I suggest chilling the dough in the refrigerator for 30 minutes. This will firm it up, making it easier to scoop and shape while baking. Additionally, ensure you’re measuring your flour correctly—too little can lead to stickiness.
Can I replace the butter with something else?
Yes, you can! If you’re looking for a dairy-free alternative, I often use coconut oil instead of unsalted butter. It adds a lovely subtle hint of flavor and moisture. Just make sure the coconut oil is softened, similar to butter, for the best results in your Classic Chewy Chocolate Chip Cookies.
Are these cookies safe for dogs?
It’s best to avoid giving chocolate chip cookies to your furry friends! Chocolate can be toxic to dogs, leading to various health issues. If you want to treat your pets, consider baking some dog-friendly cookies specifically made for their dietary needs. Your dog will appreciate the extra thought!
Flavor-Packed Chicken Torta Sandwich for Effortless Lunch Bliss
Ingredients
Equipment
Method
- Preheat your oven to 350°F (175°C) and toast sandwich rolls lightly.
- In a mixing bowl, combine shredded chicken and refried beans until well-mixed.
- Spread the chicken and bean mixture evenly onto the bottom half of each toasted roll.
- Layer lettuce, tomato slices, and avocado on top of the chicken mixture.
- Drizzle with sour cream and hot sauce if desired, then close the tortas.
- Wrap the sandwiches in foil and place on a baking sheet.
- Bake in the oven for 10-15 minutes until warmed through.
- Remove from the oven, cut in half, and serve immediately.