
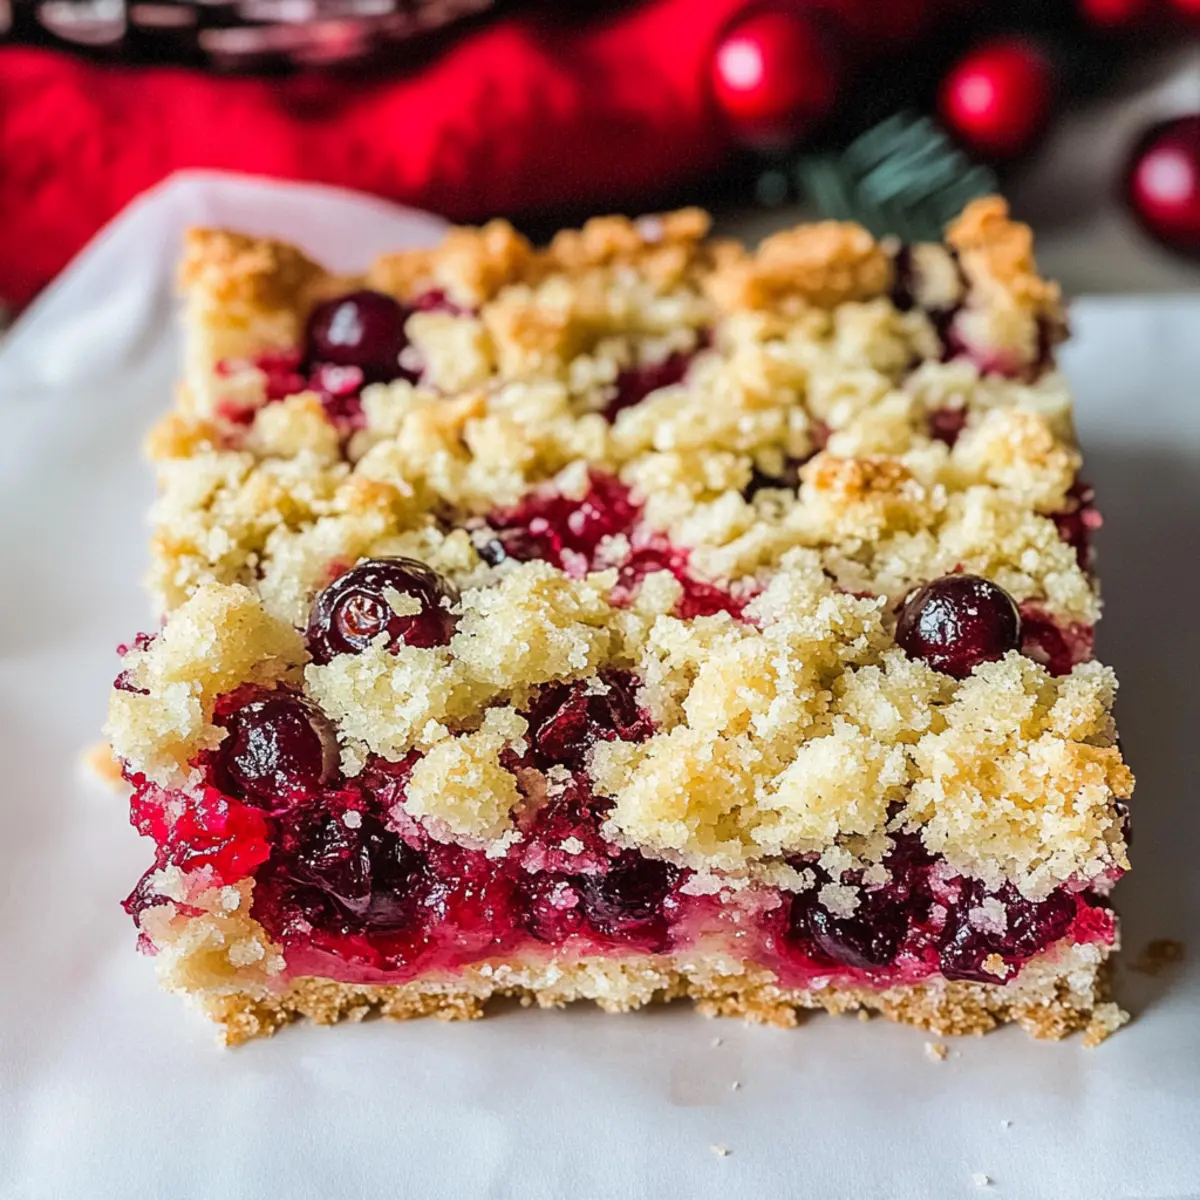
The fragrance of baking cranberry bars wafts through the kitchen, instantly lifting my spirits. With the festive season upon us, I’ve discovered the perfect treat that encapsulates both sweet and tart notes, making these bars a delightful Christmas dessert. What I love most is that these easy make-ahead cranberry bars can be prepped in a snap, allowing you to focus on what truly matters during the holidays—spending time with loved ones. Their moist texture, finished with a crumbly buttery topping, is both comforting and deliciously satisfying. Imagine sharing these vibrant bars with family or friends, each bite bursting with the cheerful flavor of cranberries and orange zest. Are you ready to elevate your holiday baking game and impress your guests? Let’s dive into this festive recipe together!
Why Are Cranberry Bars a Must-Bake?
Ease of Preparation: These cranberry bars are simple to whip up with just a handful of ingredients, making holiday baking a breeze.
Bursting with Flavor: With the perfect blend of sweet and tart, the addition of orange zest elevates the flavor profile, creating a festive sensation in every bite.
Make-Ahead Delight: You can prepare these bars ahead of time, allowing you to enjoy your festivities without fuss. If you’re looking for more make-ahead recipes, check out my collection of easy desserts.
Perfect for Sharing: These delicious treats are sure to be a hit at holiday gatherings, making them a fantastic option for potlucks and dessert tables.
Texture Perfection: The combination of soft, moist bars paired with a crumbly topping offers an irresistible bite that’s hard to resist!
Cranberry Bars Ingredients
For the Base
• Fresh or Frozen Cranberries – Use frozen cranberries directly from the freezer for an easy, no-thaw solution that still brings tartness.
• Butter – Cold butter is essential for the crumbly topping; it makes the bars rich and flavorful.
• Granulated Sugar – This adds sweetness and helps create a light and fluffy texture.
• Brown Sugar – Incorporating brown sugar enhances depth and moisture, giving the bars their wonderful chewiness.
• All-Purpose Flour – Key for providing structure to the bars; measure accurately for the best results.
• Baking Powder – A critical leavening agent that helps the bars rise and achieve that perfect texture.
• Salt – Just a pinch enhances all the flavors and balances the sweetness.
For the Batter
• Eggs – Beat eggs until pale for binding; they also add necessary structure to the bars.
• Sour Cream – Adds a delightful tang and moisture that keeps the bars soft and delicious.
• Vanilla Extract – A splash of pure vanilla enhances all the flavors for a deeper, richer taste.
• Orange Zest – Freshly zested oranges impart a bright and festive touch, elevating your cranberry bars to another level.
For the Crumb Topping
• Flour – Use for the topping to create that desired crumbly texture that perfectly complements the soft bars.
• Sugar – A sprinkle of sugar in the topping caramelizes beautifully, adding sweetness and crunch.
• Cold Butter – Prevents the topping from becoming greasy, ensuring a delightful crumble.
Feel excited about your upcoming baking adventure? These cranberry bars are sure to be a holiday staple that brings joy to your table!
Step‑by‑Step Instructions for Cranberry Bars
Step 1: Preheat and Prepare Pan
Begin by preheating your oven to 350°F (176°C). While the oven is heating, grease a 9-inch square baking pan using butter or non-stick spray, ensuring it’s well coated to prevent sticking. This step is essential as it will create a nice golden edge on your cranberry bars.
Step 2: Mix Dry Ingredients
In a mixing bowl, sift together 2 cups of all-purpose flour, 2 teaspoons of baking powder, and a pinch of salt. This ensures even distribution of the leavening agent. Set this dry mixture aside, as it will be incorporated into your batter later, providing the structure for your delicious cranberry bars.
Step 3: Cream Butter and Sugars
In a separate mixing bowl, beat together 1 cup of softened butter, 1 cup of granulated sugar, and 1/2 cup of brown sugar using an electric mixer. Blend for 3-5 minutes until the mixture is light, fluffy, and pale in color. This step creates a creamy base that helps to aerate the batter for your cranberry bars.
Step 4: Incorporate Eggs
Add 2 large eggs to the butter and sugar mixture, one at a time, mixing until fully incorporated after each addition. The eggs should blend into the mixture until the batter is smooth and uniform. This binding agent will create a firmer structure for your cranberry bars.
Step 5: Mix in Sour Cream and Vanilla
Now, alternate adding the reserved flour mixture and 1 cup of sour cream to the wet mixture, starting and ending with the flour. Stir gently until just combined, taking care not to overmix. Then, add 1 teaspoon of vanilla extract to enhance the flavor, creating a luscious base for your cranberry bars.
Step 6: Fold in Cranberries
Gently fold in 1 cup of cranberries, either fresh or frozen, using a spatula. Make sure the cranberries are evenly distributed throughout the batter. If using frozen cranberries, there’s no need to thaw. This step adds bursts of tart flavor that beautifully contrast with the sweetness of the bars.
Step 7: Prepare Crumb Topping
In a separate bowl, mix 1 cup of flour, 1/2 cup of granulated sugar, and a pinch of salt. Cut in 1/2 cup of cold butter until you achieve a crumbly texture. Adding a splash of vanilla at this stage enriches the topping’s flavor. Set this crumb mixture aside; it will provide a delightful crunch to your cranberry bars.
Step 8: Assemble for Baking
Spread the batter evenly into the prepared 9-inch baking pan, smoothing the top with a spatula. Sprinkle the remaining 1 cup of cranberries over the batter, followed by the crumb topping. Evenly distribute the crumb mixture for a balanced texture and flavor. This creates a beautiful layer of toppings that will bake into golden goodness.
Step 9: Bake to Perfection
Carefully place the pan in the preheated oven and bake for 45-50 minutes. Look for golden brown edges and a center that feels firm to the touch, which indicates doneness. Keep an eye on the bars in the last few minutes to avoid overbaking, which can dry them out.
Step 10: Cool and Slice
Once baked, remove the cranberry bars from the oven and allow them to cool in the pan on a wire rack for at least 20 minutes. This cooling period helps set the bars for easy slicing. Once cooled, cut into squares and enjoy these delightful cranberry bars with family and friends!
Expert Tips for Perfect Cranberry Bars
Use Cold Butter: Keep your butter cold for the crumb topping to achieve that desired crumbly texture and avoid greasiness in your cranberry bars.
Flour the Cranberries: Lightly coat cranberries with flour before folding them into the batter to prevent sinking during baking.
Check for Doneness: Look for golden brown edges and a gentle spring back in the center while baking to ensure your bars don’t dry out.
Zest Over Sugar: Grate orange zest directly over the sugar for maximum flavor extraction, infusing your bars with a festive touch.
Cool Before Slicing: Allow the cranberry bars to cool in the pan for at least 20 minutes to set properly for clean, even slices.
Cranberry Bars Variations & Substitutions
Feel free to mix things up and tailor these cranberry bars to your taste and dietary preferences!
-
Fruit Swap: Replace cranberries with blueberries or cherries for a twist on the classic tartness. Both fruits will lend a unique sweetness and change the bar’s flavor profile.
-
Dried Fruit Medley: Mix in dried fruits like apricots or raisins instead of cranberries. The chewy texture and intense sweetness provide a lovely contrast to the tang of citrus. Varied fruits also create a colorful, festive appearance!
-
Nutty Crumble: Add chopped nuts like walnuts or pecans for extra crunch in your crumb topping. This will introduce a rich, nutty flavor that complements the sweetness beautifully.
-
Gluten-Free Option: Substitute all-purpose flour with your favorite gluten-free flour blend. You’ll still enjoy the same delicious texture, perfect for friends and family with gluten sensitivities.
-
Vegan Version: Replace the eggs with mashed bananas or unsweetened applesauce while using plant-based butter for a delightful vegan treat. These swaps maintain the moistness and flavor of the bars.
-
Spicy Kick: Introduce a pinch of ginger or cinnamon into the batter to warm up the flavor profile. This will not only enhance the festive nature but also provide a cozy aroma that fills your kitchen.
-
Citrus Zest Variations: Experiment with different citrus zests like lemon or lime in place of orange zest. Each will bring a distinctive brightness that elevates the overall taste.
-
Chocolate Drizzle: After cooling, drizzle melted dark chocolate over the top before slicing. This decadent addition pairs wonderfully with the tartness, making your cranberry bars extra special!
If you’re intrigued by make-ahead treats, don’t miss exploring my collection of easy desserts for more delicious ideas to simplify your holiday baking.
How to Store and Freeze Cranberry Bars
Room Temperature: Store your cranberry bars in an airtight container at room temperature for up to 2 days. This keeps them moist and delicious, perfect for quick snacking.
Fridge: If you prefer a longer storage solution, refrigerate the bars for up to 1 week. The flavors will actually improve over time, making them even more delightful!
Freezer: For extended shelf life, individually wrap the cranberry bars and freeze for up to 3 months. Thaw them overnight in the fridge or let them sit at room temperature for about 2 hours before enjoying.
Reheating: Enjoy your bars warm by placing them in the oven at 350°F (176°C) for about 5-10 minutes. This brings back their comforting texture, making them a treat once again!
What to Serve with Easy Make-Ahead Cranberry Bars
Imagine a festive gathering where the warmth of homemade treats fills the air, each bite a celebration of flavors. These cranberry bars are a delightful centerpiece, and they pair beautifully with other dishes and drinks to elevate your holiday spread.
-
Creamy Mashed Potatoes: The rich, buttery texture complements the tartness of the cranberry bars, creating a comforting contrast. This classic side dish warms both heart and belly during the chilly holiday season.
-
Spiced Apple Cider: A warm cup of spiced apple cider perfectly balances the sweetness of the cranberry bars, enveloping each bite in aromatic cinnamon and clove notes. It’s like a cozy hug in a mug!
-
Vanilla Ice Cream: A scoop of vanilla ice cream on the side adds a creamy, dreamy touch, melting beautifully into the warm bars. It’ll delight your guests as they savor the sweet and tart combination.
-
Festive Cheese Platter: An assortment of cheeses like brie and aged cheddar enhances the flavor profile, adding richness and a savory note that complements the sweet and tangy cranberry bars.
-
Mixed Green Salad: A fresh salad with peppery arugula and a citrus vinaigrette balances the bars’ richness while adding a refreshing crunch. Don’t forget to toss in some pomegranate seeds for extra festivity!
-
Chocolate Drizzle: Enhance the bars by drizzling melted dark chocolate over the top. The combination of chocolate and cranberries creates a decadent treat that’s both festive and indulgent.
-
Tea or Coffee: Nothing pairs better with dessert than a warm cup of your favorite tea or coffee. This classic combination encourages cozy chats, enriching your holiday gatherings.
Transform your holiday table with these perfect pairings that ensure your cranberry bars shine even brighter!
Make Ahead Options
These cranberry bars are perfect for busy home cooks looking to simplify holiday baking! You can prepare the batter and crumb topping up to 24 hours in advance by storing them in separate airtight containers in the refrigerator. To maintain their quality, keep the batter covered to prevent oxidation and the crumb topping chilled until you’re ready to bake. When you’re ready to enjoy your festive treat, simply fold in the frozen cranberries and assemble as instructed. Bake them fresh for that delightful homemade aroma that fills your kitchen and enjoy these soft, moist bars with family without all the last-minute fuss!
Cranberry Bars Recipe FAQs
What type of cranberries should I use?
You can use either fresh or frozen cranberries for this recipe. Frozen cranberries can be added directly from the freezer without thawing, which is a great time-saver during the busy holiday season. Just ensure they’re not freezer-burnt, as that can alter the flavor.
How should I store cranberry bars?
Store your cranberry bars in an airtight container at room temperature for up to 2 days. If you’d like them to last longer, place them in the fridge, where they will maintain their flavor for up to 1 week.
Can I freeze cranberry bars?
Absolutely! For optimal freshness, wrap the cranberry bars individually in plastic wrap or aluminum foil, then place them in a freezer bag or airtight container. They can be frozen for up to 3 months. To thaw, simply leave them in the refrigerator overnight or let them sit at room temperature for about 2 hours before enjoying.
What should I do if my cranberry bars are too dense?
If your cranberry bars turn out dense, it’s possibly due to overmixing the batter or not incorporating enough air during the butter and sugar creaming phase. Be mindful to mix until just combined, especially when adding the dry ingredients, and ensure your butter is at the appropriate temperature—cold for the topping and softened for the base.
Are cranberry bars suitable for those with dietary restrictions?
Cranberry bars contain eggs and dairy, which may not be suitable for those with egg or lactose allergies. For a dairy-free option, you could experiment with plant-based butter and a non-dairy yogurt in place of sour cream. However, I haven’t tested this fully, so be sure to keep an eye on the texture!
Irresistibly Soft Cranberry Bars Perfect for Holiday Cheer
Ingredients
Equipment
Method
- Preheat oven to 350°F (176°C). Grease a 9-inch square baking pan.
- Sift together flour, baking powder, and salt in a mixing bowl.
- Beat butter, granulated sugar, and brown sugar until light and fluffy.
- Add eggs one at a time, mixing until smooth.
- Alternate adding flour mixture and sour cream, starting and ending with flour.
- Fold in cranberries gently with a spatula.
- Mix flour, sugar, and cold butter for crumb topping until crumbly.
- Spread batter in prepared pan, sprinkle with cranberries and crumb topping.
- Bake for 45-50 minutes until golden brown and firm to touch.
- Cool in the pan for at least 20 minutes before slicing.