
Introduction to Custard Tarts
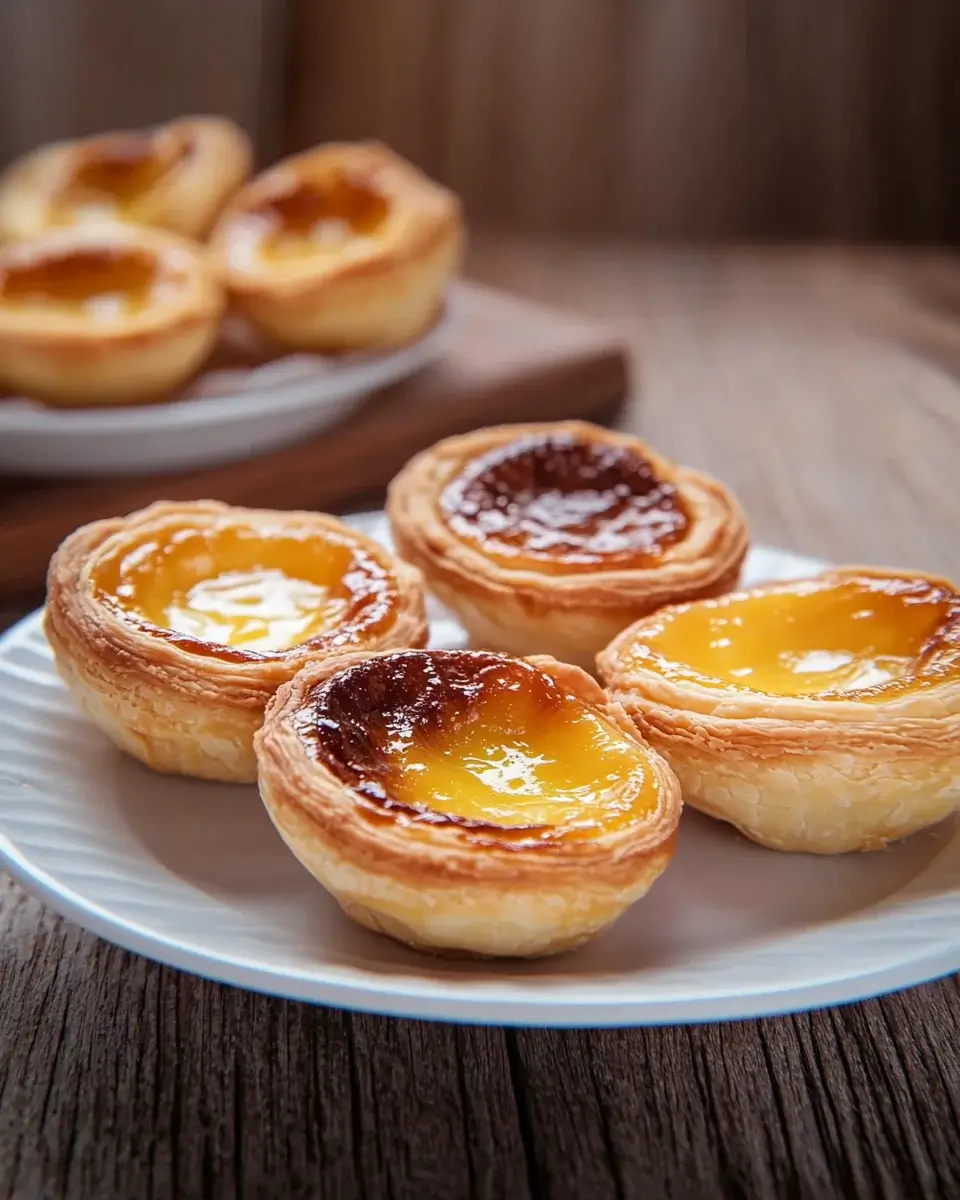
There’s something magical about the aroma of freshly baked custard tarts wafting through the kitchen. These delightful treats, inspired by the beloved Pastéis de Nata, are not just desserts; they’re little bites of happiness. Whether you’re looking to impress guests or simply satisfy a sweet craving after a long day, this recipe is your go-to. With a creamy filling nestled in a flaky pastry, custard tarts are a quick solution for busy days or a charming way to show love to family and friends. Let’s dive into this delicious adventure together!
Why You’ll Love This Custard Tarts
These custard tarts are a dream come true for any home cook. They’re incredibly easy to whip up, making them perfect for both novice bakers and seasoned pros. In just 40 minutes, you can create a dessert that’s not only delicious but also visually stunning. The creamy custard filling paired with a flaky crust is a flavor combination that will have everyone coming back for seconds. Trust me, you’ll be the star of any gathering!
Ingredients for Custard Tarts
Gathering the right ingredients is the first step to creating these delightful custard tarts. Here’s what you’ll need:
- All-purpose flour: This is the backbone of your pastry, providing structure and a tender bite.
- Unsalted butter: Adds richness and flavor to the crust. Make sure it’s melted for easy mixing.
- Granulated sugar: Sweetens both the crust and the custard, balancing the flavors perfectly.
- Salt: Just a pinch enhances the sweetness and rounds out the flavors.
- Cold water: Helps bring the dough together without melting the butter, keeping your crust flaky.
- Whole milk: Provides creaminess to the custard, making it rich and smooth.
- Heavy cream: Adds a luxurious texture to the filling, elevating the overall taste.
- Cornstarch: Acts as a thickening agent, ensuring your custard sets perfectly.
- Vanilla extract: Infuses a warm, sweet aroma that complements the custard beautifully.
- Egg yolks: These are essential for richness and help create that silky custard texture.
- Cinnamon stick: Adds a hint of warmth and spice, enhancing the overall flavor profile.
- Lemon peel (optional): A touch of citrus brightness that can elevate the custard’s flavor.
For exact measurements, check the bottom of the article where you can find everything listed for easy printing. Happy baking!
How to Make Custard Tarts
Step 1: Preheat the Oven
Preheating your oven is crucial for achieving that perfect golden crust. Set it to 400°F (200°C) and let it warm up while you prepare the tarts. This ensures even baking and helps the custard set beautifully. Don’t forget to grease your muffin tin with non-stick spray or butter to prevent sticking!
Step 2: Prepare the Dough
In a mixing bowl, combine the all-purpose flour, melted butter, 1/4 cup of sugar, and salt. Mix them together until they form a crumbly texture. Gradually add the cold water, stirring until a dough forms. Knead the dough lightly on a floured surface until it’s smooth and pliable. This step is key for a tender crust, so don’t rush it! Once ready, let it rest for a few minutes while you gather your other ingredients.
Step 3: Shape the Pastry Shells
Roll the rested dough into a log and cut it into 12 equal pieces. Flatten each piece into a disc about 1/4 inch thick. Press each disc into the greased muffin tin, making sure to cover the sides and bottom evenly. This creates the perfect little pastry shells for your custard. Don’t worry if they aren’t perfect; the rustic look adds charm to your custard tarts!
Step 4: Make the Custard Filling
In a saucepan, combine the whole milk, heavy cream, 1/2 cup of sugar, cornstarch, vanilla extract, and the cinnamon stick. Heat over medium heat, stirring constantly until the mixture thickens and just starts to simmer. This is where the magic happens! Once thickened, remove it from the heat and let it cool slightly before moving on to the next step. The aroma will be irresistible!
Step 5: Temper the Eggs
Tempering the eggs is essential to avoid scrambling them. In a separate bowl, whisk the egg yolks until smooth. Gradually add the warm milk mixture to the egg yolks, whisking continuously. This gentle process warms the yolks without cooking them, ensuring a silky custard. It’s a simple step that makes a big difference in texture!
Step 6: Fill the Pastry Shells
Carefully pour the custard mixture into each pastry shell, filling them about 3/4 full. This allows room for the custard to puff up slightly while baking. Take your time with this step; a steady hand will help keep the filling neat and tidy!
Step 7: Bake the Tarts
Place the muffin tin in the preheated oven and bake for 15-20 minutes. Keep an eye on them! You want the tops to be golden brown and slightly caramelized. This gives your custard tarts that signature look and flavor. Once done, remove them from the oven and let them cool for a few minutes before transferring to a wire rack.
Tips for Success
- Use cold ingredients for the dough to ensure a flaky crust.
- Don’t rush the tempering process; it’s key for a smooth custard.
- Experiment with flavors by adding nutmeg or almond extract to the custard.
- For a perfect golden top, consider using a kitchen torch after baking.
- Let the tarts cool completely for the best texture before serving.
Equipment Needed
- Muffin tin: Essential for shaping your tarts. A standard 12-cup tin works perfectly.
- Mixing bowls: Use a large bowl for the dough and a smaller one for the egg yolks.
- Whisk: A must for mixing the custard and tempering the eggs.
- Rolling pin: If you don’t have one, a wine bottle can do the trick!
Variations
- Chocolate Custard Tarts: Add melted dark chocolate to the custard mixture for a rich, decadent twist.
- Fruit-Infused Tarts: Incorporate pureed fruits like mango or raspberry into the custard for a fruity flavor explosion.
- Vegan Option: Substitute dairy with almond or coconut milk and use aquafaba instead of egg yolks for a plant-based version.
- Spiced Custard: Experiment with spices like cardamom or ginger for a warm, aromatic flavor profile.
- Nutty Variation: Add finely chopped nuts like pistachios or almonds to the custard for added texture and flavor.
Serving Suggestions
- Pair your custard tarts with a dollop of whipped cream for extra creaminess.
- Serve alongside fresh berries for a pop of color and freshness.
- Enjoy with a cup of strong coffee or a sweet dessert wine.
- Dust with powdered sugar or a sprinkle of cinnamon for a beautiful finish.
FAQs about Custard Tarts
What are custard tarts?
Custard tarts are delightful pastries filled with a creamy custard mixture, typically made from eggs, milk, and sugar. Inspired by the traditional Portuguese Pastéis de Nata, these tarts feature a flaky crust that perfectly complements the rich filling.
Can I make custard tarts ahead of time?
Absolutely! You can prepare the pastry shells and custard filling in advance. Just assemble and bake them when you’re ready to serve. This makes custard tarts a fantastic option for gatherings or special occasions.
How do I store leftover custard tarts?
Store any leftover custard tarts in an airtight container in the refrigerator. They’ll stay fresh for up to three days. Just remember to let them come to room temperature before enjoying for the best flavor and texture.
Can I freeze custard tarts?
Yes, you can freeze custard tarts! Wrap them tightly in plastic wrap and place them in a freezer-safe container. They can be frozen for up to a month. Thaw in the fridge overnight before serving.
What can I do if my custard doesn’t set?
If your custard doesn’t set, it may need more cooking time. Return the tarts to the oven for a few more minutes. Alternatively, ensure you’ve used the right amount of cornstarch and tempered the eggs properly for a smooth custard.
Final Thoughts
Creating these custard tarts is more than just baking; it’s about crafting memories. The joy of pulling a tray of golden-brown tarts from the oven, the sweet aroma filling your kitchen, and the smiles on your loved ones’ faces as they take that first bite—it’s priceless. Each tart is a little piece of happiness, perfect for sharing or savoring alone with a cup of coffee. So, roll up your sleeves, embrace the process, and let these delightful Pastéis de Nata inspire your culinary adventures. Trust me, you’ll find yourself making them again and again!
Custard Tarts delight with easy Pastéis de Nata recipe.
Ingredients
Method
- Preheat the oven to 400°F (200°C). Grease a muffin tin with non-stick spray or butter.
- In a mixing bowl, combine the flour, melted butter, 1/4 cup sugar, and salt. Gradually add the cold water, mixing until a dough forms. Knead lightly until smooth.
- Roll the dough into a log and cut it into 12 equal pieces. Flatten each piece into a disc and press it into the muffin tin, making sure to cover the sides and bottom.
- In a saucepan, combine the milk, heavy cream, 1/2 cup sugar, cornstarch, vanilla extract, cinnamon stick, and lemon peel (if using). Heat over medium heat, stirring constantly until it begins to thicken and just starts to simmer. Remove from heat.
- In a separate bowl, whisk the egg yolks until smooth. Gradually add the warm milk mixture to the egg yolks, whisking continuously to temper the eggs.
- Pour the custard mixture into the prepared pastry shells, filling them about 3/4 full.
- Bake in the preheated oven for 15-20 minutes, or until the tops are golden brown and slightly caramelized.
- Remove from the oven and let cool for a few minutes before transferring to a wire rack to cool completely.
Nutrition
Notes
- For a caramelized top, use a kitchen torch to lightly scorch the tops of the tarts after baking.
- Add a pinch of nutmeg or a dash of almond extract to the custard for a unique flavor twist.