
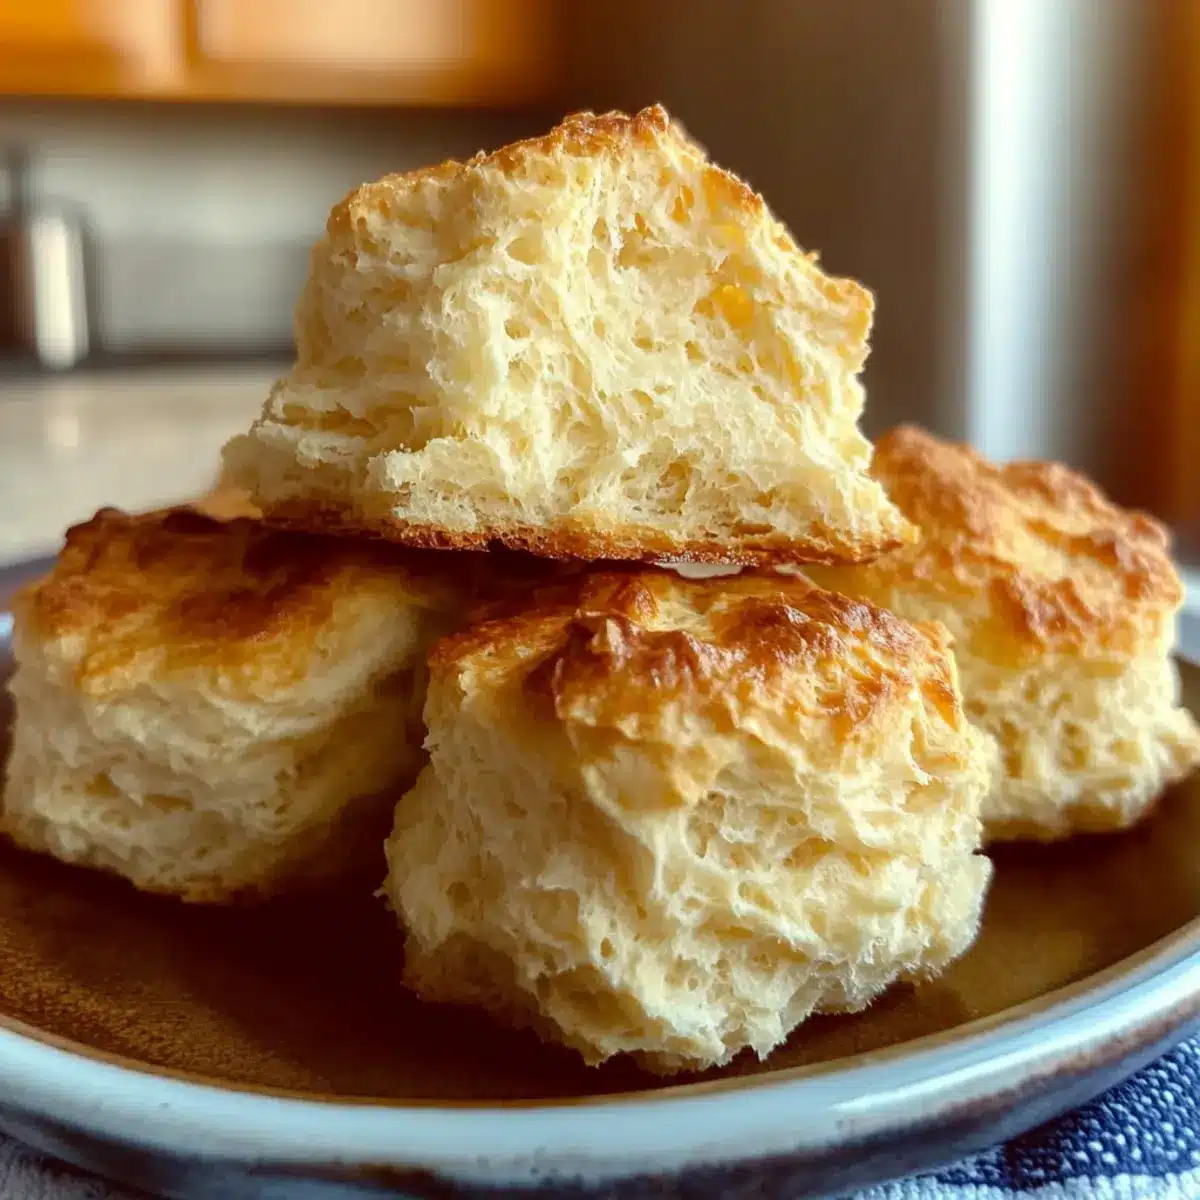
As the smell of warm biscuits wafts through my kitchen, I can’t help but feel a wave of nostalgia mixed with excitement. There’s something truly magical about whipping up a batch of Gluten-Free Biscuits in just 30 minutes. They’re soft, fluffy, and perfect for pairing with your favorite jam or crafting breakfast sandwiches that will impress everyone at your table. These biscuits aren’t just a quick fix; they’re a versatile addition to any meal. Plus, you can easily customize them with savory or sweet twists, making them a fun project for any cooking enthusiast. Ready to dive into the world of homemade goodness? Let’s get those ovens preheating!
Why are these biscuits a must-try?
Simplicity: With just a few ingredients, you’ll have fresh biscuits in no time.
Quick Prep: Perfect for busy mornings; they come together in just 30 minutes!
Versatile Options: Customize with flavors like cheesy garlic or sweet cinnamon for a personal touch.
Crowd-Pleasing: Great for family meals, brunch, or a cozy snack; everyone will love them!
Gluten-Free Delight: These biscuits make gluten-free eating enjoyable without sacrificing taste.
Embrace the joy of homemade baking and treat your loved ones to these fluffy gluten-free biscuits that are sure to become a staple in your kitchen!
Gluten-Free Biscuits Ingredients
• Discover the key ingredients to whip up these delightful gluten-free biscuits!
For the Dough
- Gluten-Free All-Purpose Flour – Provides the essential structure; choose a high-quality blend to guarantee the best results.
- Baking Powder – Acts as a leavening agent for that perfect fluffiness; make sure it’s fresh for optimal rise.
- Salt – Enhances the overall flavor; feel free to adjust according to your taste preferences.
- Cold Butter – Ideal for creating flaky layers; make sure it stays chilled right until you use it.
- Ice-Cold Milk – Hydrates the dough for the right consistency; almond milk is a suitable substitute if you need a dairy-free option.
Feel free to get creative with your variations, and enjoy making these irresistible gluten-free biscuits!
Step‑by‑Step Instructions for Unbeatable 30-Minute Gluten-Free Biscuits
Step 1: Preheat the Oven
Begin by preheating your oven to 425°F (220°C). This ensures your baking environment is hot enough for a perfect rise that results in fluffy gluten-free biscuits. Allow it to heat fully while you prepare your ingredients, so everything is ready to go when the dough is formed.
Step 2: Combine the Dry Ingredients
In a large mixing bowl, whisk together the gluten-free all-purpose flour, baking powder, and salt. Make sure to mix for about 30 seconds until well combined. This creates a uniform base, which is essential for the texture of your biscuits. A light and airy mixture is a good visual cue that you’re on the right track.
Step 3: Cut in the Cold Butter
Now, take your cold butter and cut it into the flour mixture using a pastry cutter or your fingers. Continue until the mixture resembles coarse crumbs with some pea-sized bits of butter still visible. This step is crucial for creating those delightful flaky layers in your gluten-free biscuits, so keep your butter chilled until just before use.
Step 4: Add Ice-Cold Milk
Gently stir in the ice-cold milk to the flour and butter mixture. Use a spatula to mix until the dough just comes together; it’s okay if there are a few dry streaks. Overmixing can lead to tough biscuits, so aim for a soft, slightly sticky dough. This is your moment to create that perfect tender biscuit.
Step 5: Scoop the Dough
Using a cookie scoop or two tablespoons, mound the dough onto a baking sheet lined with parchment paper. Ensure the dough mounds are spaced apart, allowing for expansion during baking. You should have about 12 mounds that are about 2 tablespoons each. Visualize fluffy clouds as you place them on the tray!
Step 6: Bake the Biscuits
Carefully place the baking sheet in the preheated oven and bake for 12-15 minutes. Watch for the tops to turn golden brown, signaling that your gluten-free biscuits are perfectly baked. Rotate the pan halfway through to ensure even cooking and browning for all the biscuits.
Step 7: Cool and Serve
Once baked, let the biscuits cool on the pan for a couple of minutes before transferring them to a wire rack. This brief cooling step helps maintain their fluffy texture. Afterward, serve the biscuits warm with butter, jam, or your favorite toppings, and enjoy the delightful aroma filling your kitchen!
Gluten-Free Biscuits Variations & Substitutions
Feel free to put your personal touch on these gluten-free biscuits and create new favorites your family will adore!
- Dairy-Free: Substitute cold butter with coconut oil and use almond milk to keep it creamy yet dairy-free.
- Herbed Delight: Mix in 1 tbsp dried herbs like thyme or oregano for a savory flavor that complements any meal beautifully.
- Spicy Twist: Add 1 tsp cayenne pepper or crushed red pepper flakes for a zesty kick that awakens your taste buds!
- Fruit Infusion: Fold in 1/2 cup of chopped strawberries or raspberries, introducing a delightful sweetness that brightens each bite.
- Cheddar Chive: Add 1/2 cup shredded cheddar cheese and 1/4 cup chopped chives; these flavors meld perfectly for a savory biscuit experience.
- Savory Bacon: Mix in 1/2 cup cooked, chopped bacon for a rich, satisfying taste; the crispy bits add delightful texture.
- Peanut Butter Swirl: For a fun dessert twist, fold in 1/4 cup creamy peanut butter; adds a nutty richness to each fluffy biscuit.
- Zesty Lemon: Incorporate the zest of one lemon and 1/4 cup blueberries for a refreshing combination; ideal for brightening up breakfast!
Feel inspired to explore these variations, and if you’re interested in elevating your meals even further, don’t miss the chance to pair these biscuits with luscious homemade sausage gravy or sumptuous strawberry jam!
Storage Tips for Gluten-Free Biscuits
Room Temperature: Keep cooled biscuits in an airtight container with a paper towel to absorb moisture; they will remain fresh for up to 2 days.
Fridge: If you want to extend their shelf life, store biscuits in the fridge for up to 5 days in an airtight container.
Freezer: Wrap each biscuit individually in plastic wrap and place them in a freezer bag; they can be stored for up to 3 months without losing their delightful texture.
Reheating: To enjoy your frozen biscuits, microwave one for 20 seconds and then bake at 350°F for about 5 minutes to restore their fluffy goodness. You’ll love how fresh your gluten-free biscuits taste!
What to Serve with Unbeatable 30-Minute Gluten-Free Biscuits
Warm, fluffy biscuits are a delightful start, but pairing them with the right sides can turn any meal into a comforting feast.
- Savory Sausage Gravy: This rich, creamy dish over biscuits brings a hearty, flavorful experience that warms the soul. Each bite is a match made in comfort food heaven.
- Fluffy Scrambled Eggs: Light and airy scrambled eggs add a protein-packed touch, creating a well-rounded breakfast that feels indulgent yet simple.
- Fresh Fruit Salad: Bright, juicy fruits bring a refreshing contrast to the warm, buttery biscuits, adding a splash of color and sweetness to your plate.
- Honey Butter: A sweet and creamy spread that melts into each biscuit, honey butter elevates every bite, making it a divine addition to a breakfast table.
- Middle Eastern Hummus: For a twist, serve with hummus for a delightful savory contrast. Its creamy texture pairs beautifully with the warm, fluffy biscuits.
- Creamy Tomato Soup: The comforting elements of tomato soup alongside biscuits create a perfect comfort food pairing that warms you from the inside out.
- Maple Syrup: Drizzle on top for sweetness; its rich flavor turns these biscuits into a wonderful breakfast treat that’s hard to resist.
- Herb-infused Olive Oil: A delicious dip that brings fresh flavors. The aromatic herbs and the nutty olive oil make every biscuit dunk irresistible.
- Chilled Lemonade: A refreshing drink that cleanses the palate between bites; its bright zest balances the richness of the biscuits.
Make Ahead Options
These Gluten-Free Biscuits are perfect for meal prep enthusiasts looking to save time on busy mornings! You can prepare the biscuit dough up to 24 hours in advance. Simply follow the initial steps, cover the dough tightly in plastic wrap, and refrigerate it. This method allows the flavors to meld beautifully while keeping the dough fresh. When you’re ready to bake, simply scoop the chilled dough onto a baking sheet and proceed to bake as directed; they will turn out just as fluffy and delightful! Alternatively, you can bake the biscuits ahead of time and store them at room temperature in an airtight container for up to 2 days or freeze them for up to 3 months. Microwave the frozen biscuits for 20 seconds before baking at 350°F for 5 minutes to restore crispiness. Enjoy your freshly baked biscuits without the hassle on busy days!
Expert Tips for Gluten-Free Biscuits
- Chilled Ingredients: Keep all ingredients, especially butter and milk, ice-cold to achieve maximum flakiness in your gluten-free biscuits.
- Minimal Mixing: Avoid overmixing the dough; a few dry streaks are fine. This helps keep the biscuits light and fluffy.
- Uniform Size: Use a cookie scoop for consistent biscuit sizes, ensuring even baking and perfect texture throughout.
- Fresh Baking Powder: Make sure your baking powder is fresh for the best rise. Check the expiration date to prevent flat biscuits.
- Proper Cooling: Allow biscuits to cool briefly on the pan before transferring to a wire rack. This keeps them fluffy and helps maintain their shape.
Gluten-Free Biscuits Recipe FAQs
How do I choose the right gluten-free flour?
Absolutely! When selecting gluten-free flour for this recipe, choose a high-quality all-purpose blend like Bob’s Red Mill or King Arthur. Avoid coconut flour, as it absorbs too much moisture and can lead to dry biscuits. Make sure the flour is fresh to guarantee optimal taste and texture in your biscuits.
What’s the best way to store leftover gluten-free biscuits?
To keep your biscuits fresh at room temperature, store them in an airtight container with a paper towel for moisture absorption. They’ll stay fresh for up to 2 days this way. If you prefer to extend their shelf life, place the biscuits in the fridge, where they can last up to 5 days.
Can I freeze gluten-free biscuits, and how do I do it?
Yes, you can! To freeze your gluten-free biscuits, wrap each cooled biscuit individually in plastic wrap. Place them in a freezer bag and store them in the freezer for up to 3 months. When you’re ready to enjoy them again, microwave for 20 seconds and then bake in a preheated oven at 350°F for about 5 minutes. This will help bring back their original fluffiness and warmth!
What should I do if my biscuits don’t rise?
Very! If your biscuits don’t rise as expected, check that your baking powder is fresh; expired baking powder can lead to flat biscuits. Additionally, ensure that your butter is cold, as warm butter can hinder the leavening process. Lastly, avoid overmixing your dough, as that can result in dense biscuits. If the dough has a few dry streaks, don’t worry—those can still yield a delightful texture!
Are these biscuits suitable for all dietary needs?
These gluten-free biscuits are a wonderful choice for anyone avoiding gluten, but always be mindful of allergies. If you’re serving them to guests, let them know they can have modifications. For example, to accommodate dairy concerns, you can substitute almond milk for the ice-cold milk and use a dairy-free butter alternative. This way, everyone can enjoy them!
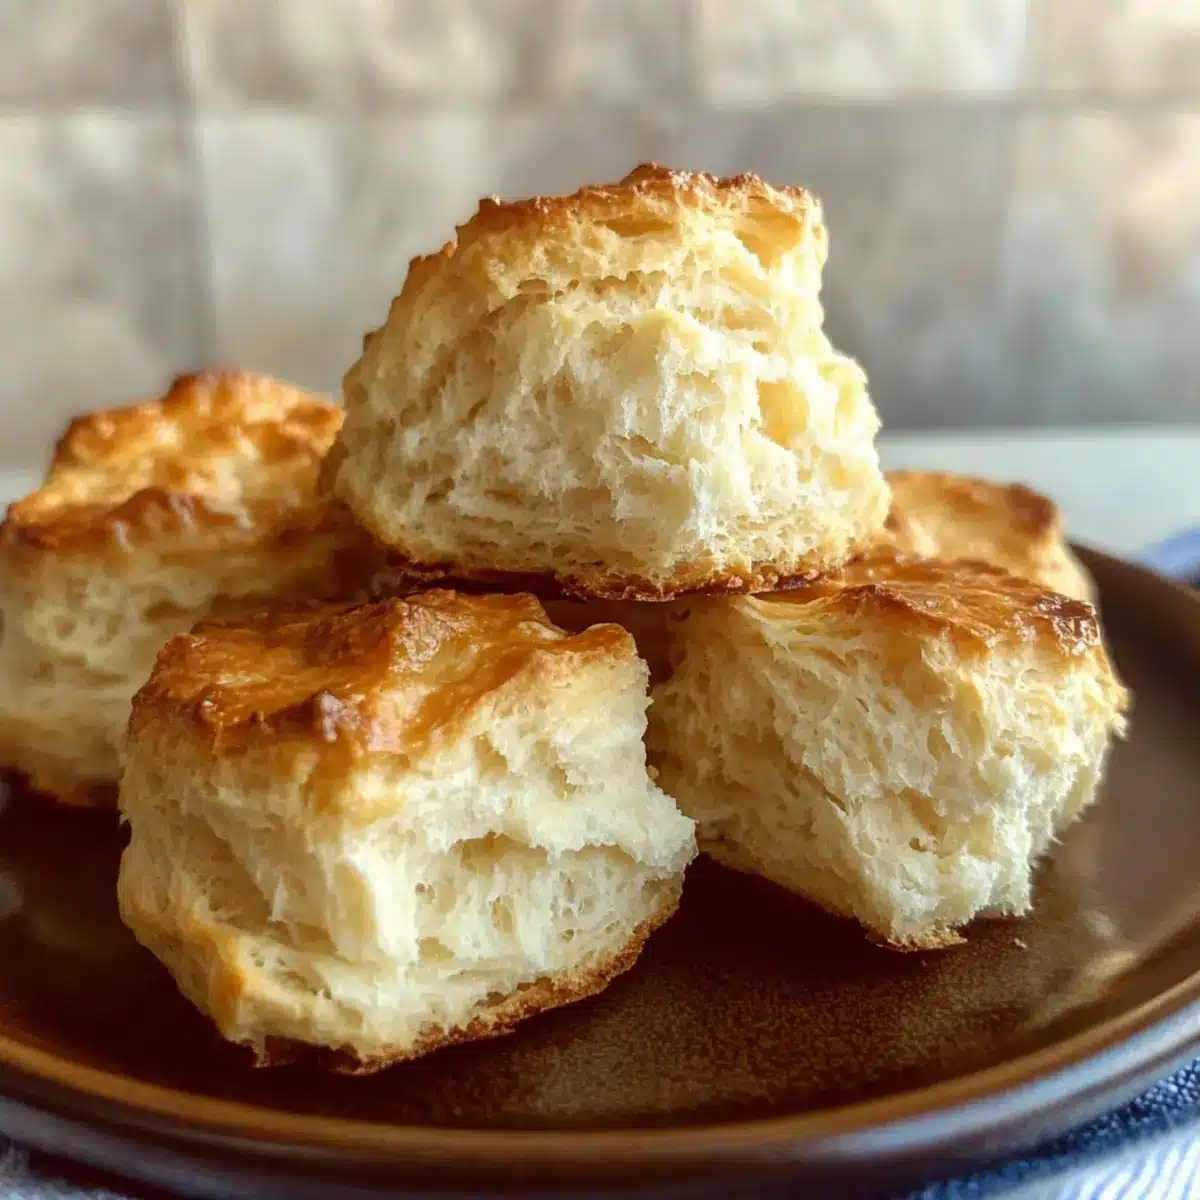
Fluffy Gluten-Free Biscuits Ready in Just 30 Minutes
Ingredients
Equipment
Method
- Preheat your oven to 425°F (220°C) to prepare for baking.
- In a large mixing bowl, whisk together the gluten-free all-purpose flour, baking powder, and salt until well combined.
- Cut the cold butter into the flour mixture until it resembles coarse crumbs.
- Stir in the ice-cold milk until the dough comes together but is slightly sticky.
- Scoop the dough onto a baking sheet lined with parchment paper, spacing them apart.
- Bake for 12-15 minutes until golden brown, rotating the pan halfway through.
- Let cool briefly on the pan before transferring to a wire rack to cool completely.