
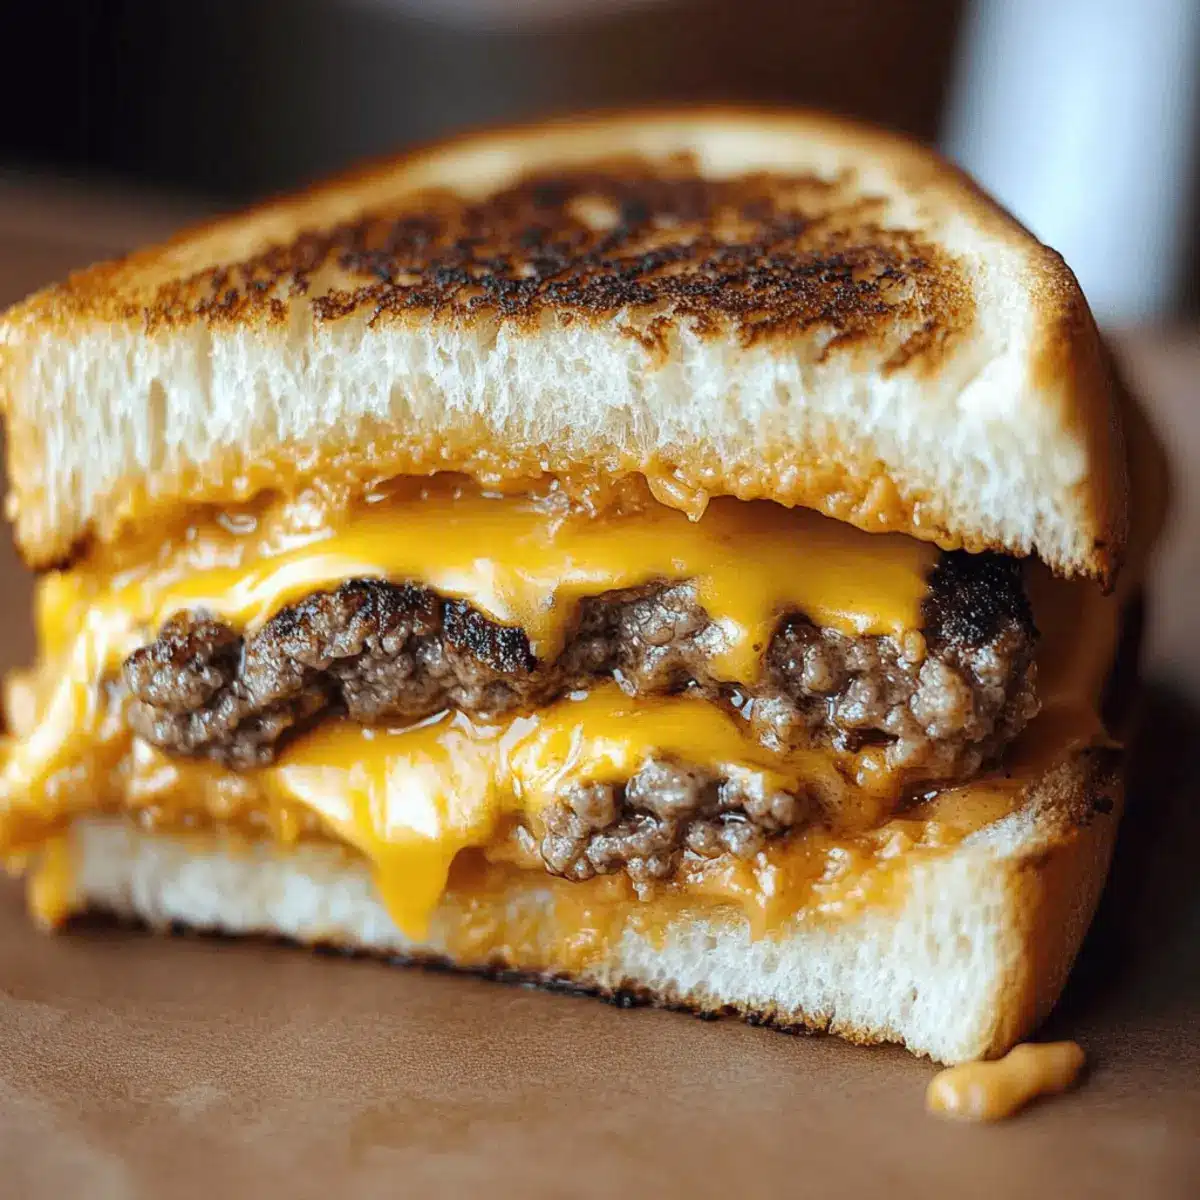
As I stood in the kitchen, that lovely aroma of sizzling beef wafted through the air, instantly whisking me back to my favorite diner days. There’s something inherently satisfying about biting into a Juicy Grilled Cheese Patty Melt, where gooey cheese meets a hearty cheeseburger patty, all wrapped in buttery, golden-brown bread. This delightful comfort food is not just a meal; it’s a warm hug on a plate, perfect for those cozy nights or a quick lunch that packs in flavor. With a simple prep and minimal fuss, it’s an easy way to elevate your mealtime routine and impress your family or friends. Curious to see how you can whip up this delicious twist on a classic? Let’s dive into the details!
Why try these tasty Grilled Cheese Patty Melts?
Ultimate Comfort: These Grilled Cheese Patty Melts redefine comfort food, offering the best of both worlds with savory beef and melty cheese nestled between crispy bread.
Quick and Easy: Perfect for busy weeknights, this recipe requires minimal prep but results in a satisfying meal that will excite your taste buds.
Customizable: Add your favorite toppings or swap cheeses for a unique twist. How about a spicy pepper jack or creamy gouda?
Crowd-Pleaser: Ideal for sharing, these melts make a fantastic addition to any gathering or family dinner—it’s hard to resist this mouthwatering delight!
Versatile Options: Whether you’re after a classic cheeseburger taste or a lighter swap with turkey, this recipe adapts to fit your cravings, just like our delightful Chicken Mac Cheese or even our tasty Cheesecake Stuffed Strawberries for dessert!
Grilled Cheese Patty Melt Ingredients
Get ready to make the ultimate Grilled Cheese Patty Melts that will satisfy your cravings!
For the Patties
• Ground Beef (85% lean) – This is the star ingredient, packed with flavor; feel free to substitute with ground turkey or plant-based meat for a lighter option.
• Chopped Fresh Flat-Leaf Parsley – Adds a fresh burst of flavor and color; any fresh herb, like cilantro or chives, can substitute.
• Finely Chopped Garlic – Elevates the taste profile with aromatic depth; garlic powder works in a pinch if fresh is unavailable.
• Worcestershire Sauce – Imparts a savory umami richness to the beef; soy sauce is a great gluten-free alternative.
• Montreal-Style Steak Seasoning – Infuses the meat with a robust flavor; any steak seasoning will do if this isn’t on hand.
For the Sandwiches
• Butter (softened) – Essential for frying, giving you that delicious crispy, golden crust; olive oil can be a healthier swap.
• White Bread – Serves as the comforting sandwich base; consider using whole grain or gluten-free bread for variation.
• Colby-Jack Cheese – Provides creamy, melty goodness; other melting cheeses like cheddar or gouda will also work beautifully.
By gathering these ingredients, you’re a step closer to enjoying mouthwatering Grilled Cheese Patty Melts, your new comfort food hero!
Step‑by‑Step Instructions for Grilled Cheese Patty Melts
Step 1: Prepare the Patties
In a large bowl, combine the ground beef, chopped parsley, finely chopped garlic, Worcestershire sauce, and Montreal-style steak seasoning. Mix the ingredients well until just combined, being careful not to overwork the meat. Shape the mixture into three equal patties, about ¾-inch thick. Aim for uniform thickness to ensure even cooking.
Step 2: Cook the Patties
Heat a nonstick griddle or skillet over medium heat. Once hot, place the patties on the griddle, cooking them for 4-6 minutes on each side. Use a meat thermometer to check for doneness, ensuring the internal temperature reaches 160°F (71°C). The patties should be browned with a crusty exterior, then remove them from the griddle and set aside.
Step 3: Assemble the Sandwiches
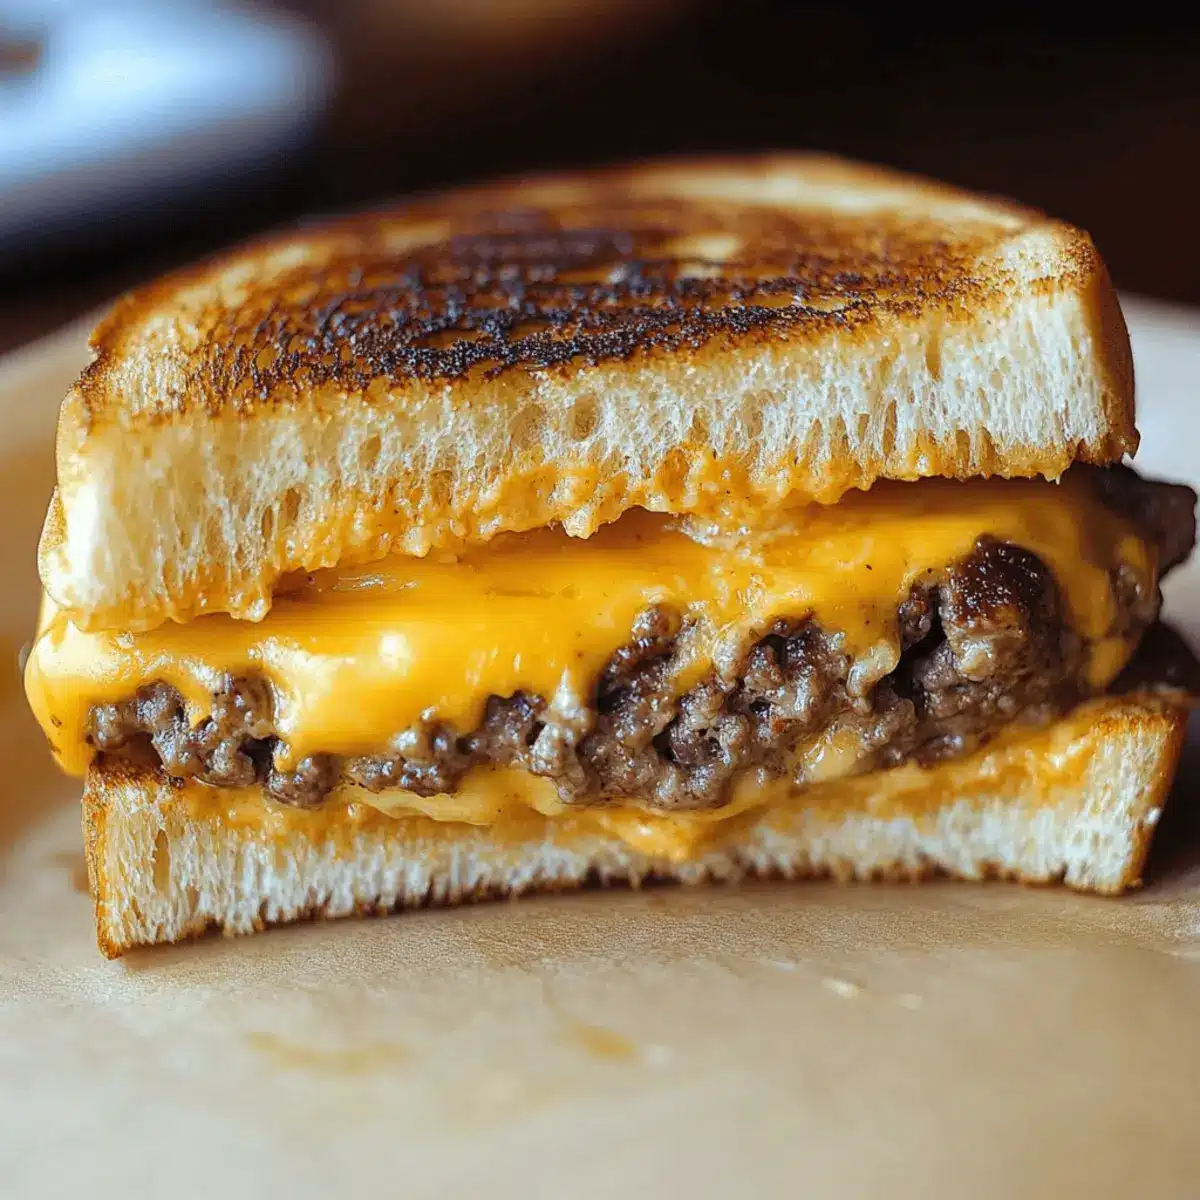
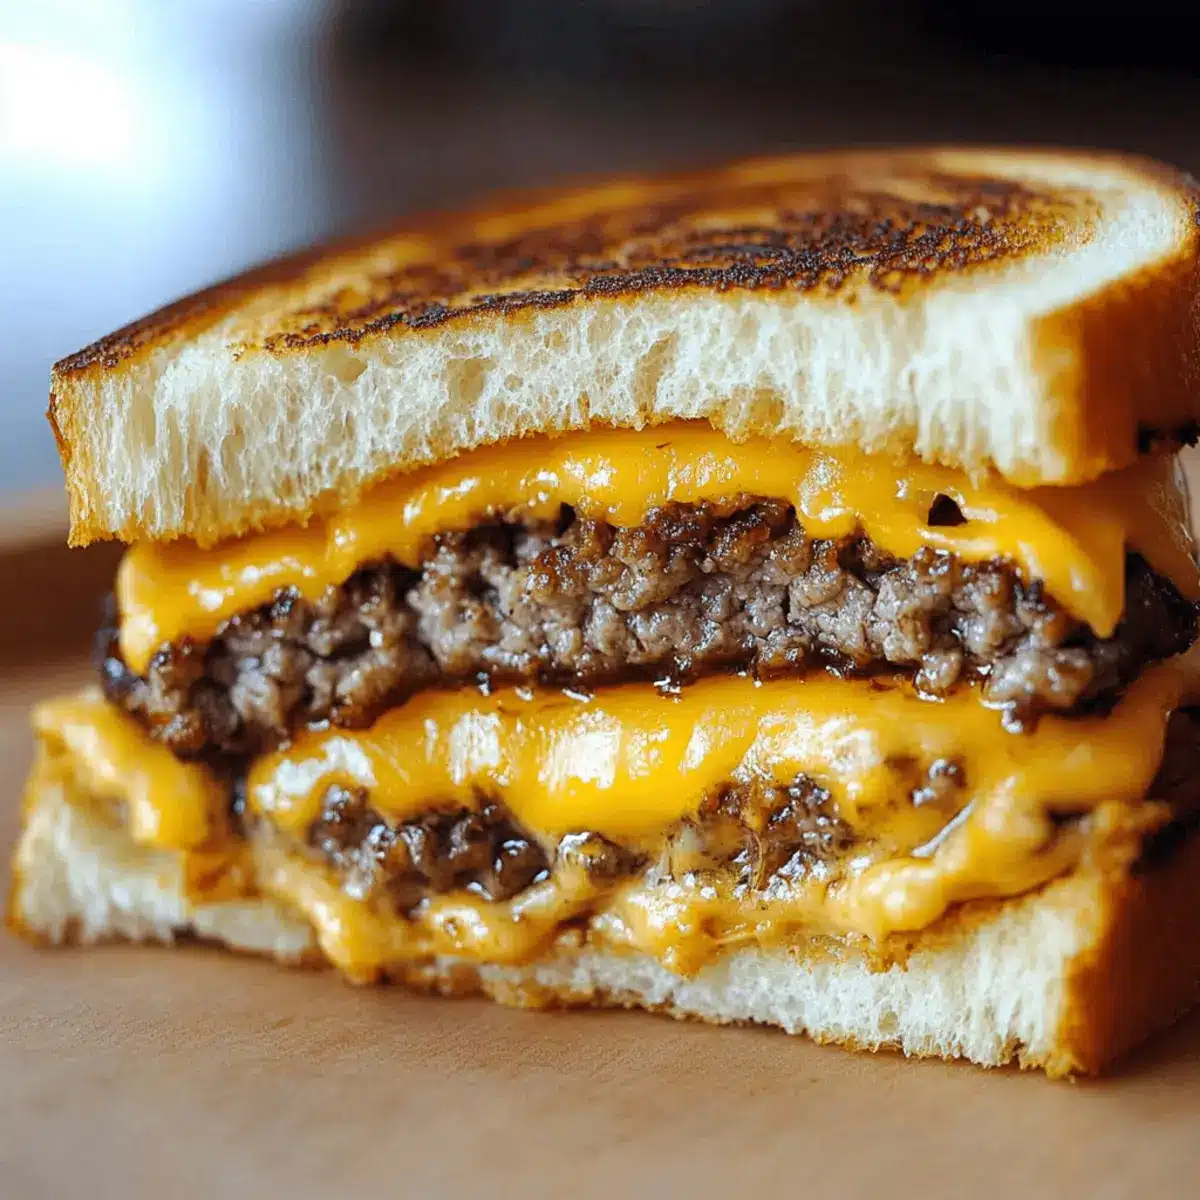
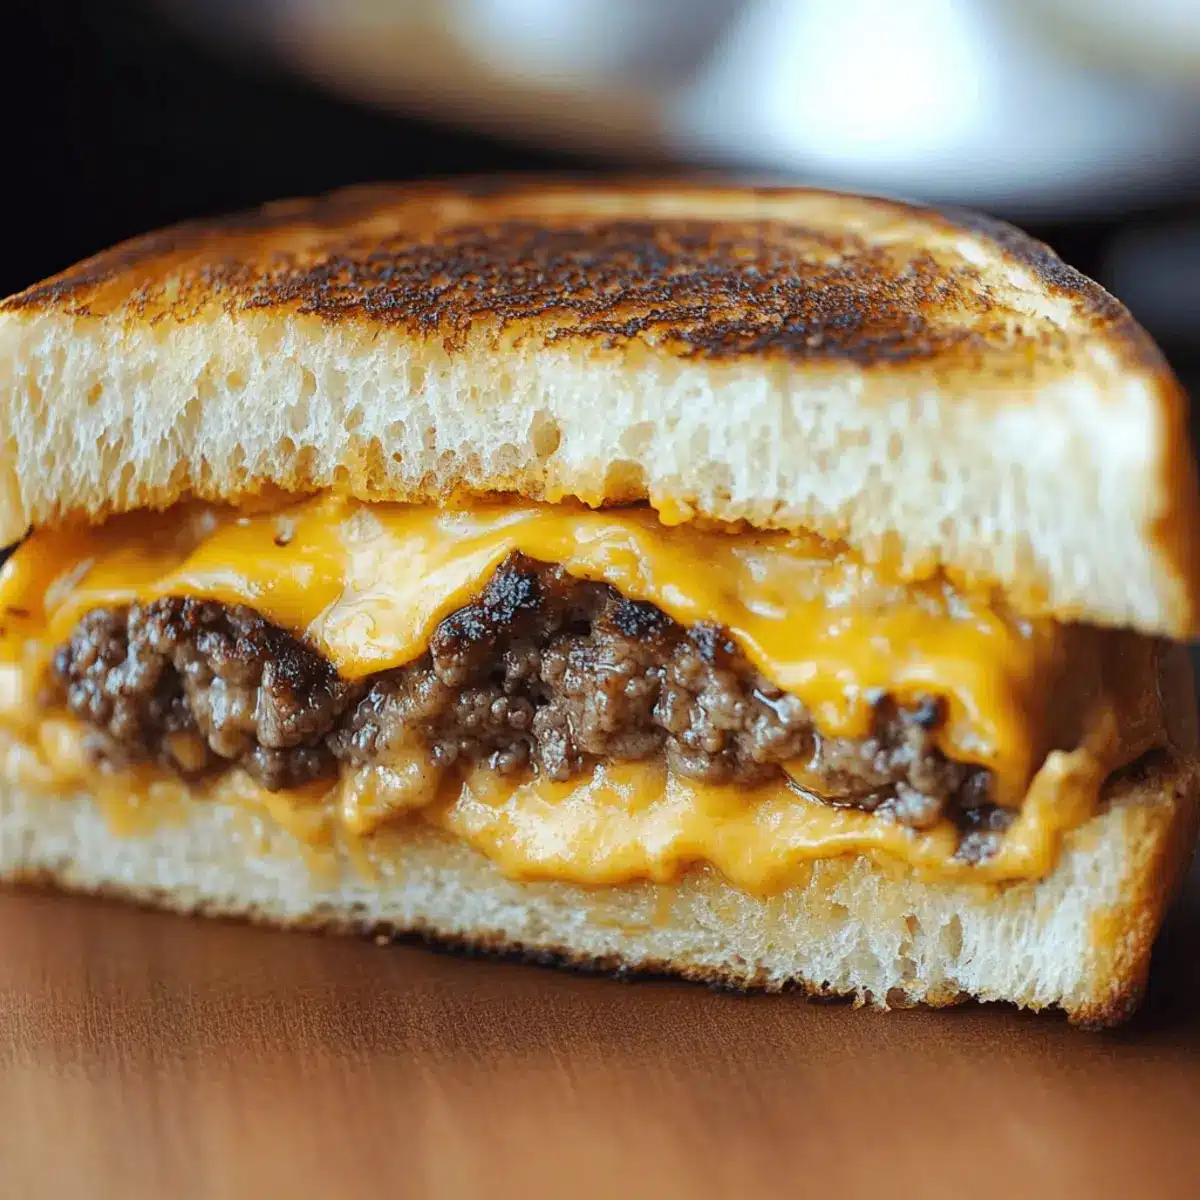
Warm a clean griddle over medium heat again. Take slices of buttered white bread and place half of them on the griddle, butter-side down. Layer each slice with a generous piece of Colby-Jack cheese, followed by a cooked patty, then add another slice of cheese on top. Finally, top each with the remaining slices of bread, butter-side up.
Step 4: Grill the Sandwiches
Grill the assembled Grilled Cheese Patty Melts for approximately 3-5 minutes until the bread is golden brown and crispy. Carefully flip the sandwiches using a spatula and cook the other side for an additional 3-5 minutes until the cheese is melted and gooey. Keep an eye on the heat to prevent burning while ensuring a perfectly crispy crust.
Step 5: Serve and Enjoy
Once grilled to perfection, remove the sandwiches from the griddle and let them rest for a minute. Slice each Grilled Cheese Patty Melt in half to reveal the melty cheese and juicy patty inside. Serve warm with your favorite sides, like crispy fries or a fresh salad, for a delightful meal!
Expert Tips for Grilled Cheese Patty Melts
- Heat Management: Cook on medium-low heat to prevent burning while ensuring that the cheese melts perfectly throughout your Grilled Cheese Patty Melts.
- Press and Flip: Gently press the sandwiches with a spatula for even cooking and melty cheese, and remember to flip halfway through grilling.
- Custom Creations: Experiment with different cheeses and gourmet breads to make your Grilled Cheese Patty Melts uniquely yours—don’t shy away from creativity!
- Make-Ahead Patties: For quick weeknight dinners, prepare the patties ahead of time and refrigerate them for up to 24 hours before grilling.
- Check Doneness: Always use a meat thermometer to ensure your patties reach an internal temperature of 160°F (71°C) for safe and juicy results.
Grilled Cheese Patty Melt Variations
Feel free to mix and match these suggestions for a delightfully personalized twist on this classic comfort food!
-
Turkey Swap: Use ground turkey instead of beef for a lighter alternative that still packs plenty of flavor. The moisture from the turkey keeps the patties juicy, mimicking the beloved burger experience.
-
Cheesy Upgrade: Experiment with different cheeses like pepper jack for a spicy kick or gouda for a smoky flavor. Each cheese brings a unique character to your melt that will leave your tastebuds dancing.
-
Bread Options: Switch out the white bread for sourdough or a rich brioche to elevate the texture and taste. The slight tang of sourdough or the sweetness of brioche can transform each bite into something spectacular!
-
Veggie Delight: Add sliced tomatoes or grilled onions for a fresh taste and added dimension. It’s an easy way to incorporate veggies and create a well-rounded meal.
-
Herby Infusion: Try adding fresh herbs like basil or oregano to the patties for an aromatic boost. Fresh herbs elevate the flavor profile, turning each bite into a mini culinary adventure.
-
Spicy Melts: Incorporate diced jalapeños into the patty mixture for a flavorful heat that complements the cheesy goodness beautifully. The spiciness combined with the creamy cheese creates the ultimate flavor explosion.
-
Stuffed Variations: Get creative by stuffing the melts with sautéed mushrooms or caramelized onions for a gourmet feel. This little twist can add a burst of umami flavor that will make your melts irresistible.
-
Dipping Sauces: Pair your melts with homemade chipotle mayo or tangy ranch dressing for dipping. Not only does this add a layer of flavor, but it also takes the grilled cheese experience to the next level, just like a delightful side of our Chicken Bacon Cheese could!
With these variations, your Grilled Cheese Patty Melts can adapt to suit any craving or occasion. Enjoy experimenting and making this recipe your own!
How to Store and Freeze Grilled Cheese Patty Melts
Fridge: Store any leftover Grilled Cheese Patty Melts in an airtight container for up to 3 days. Reheat gently in a skillet to maintain crispiness.
Freezer: If you want to save them for later, wrap each grilled cheese patty melt tightly in plastic wrap and aluminum foil. They can be frozen for up to 2 months.
Reheating: To reheat frozen melts, allow them to thaw overnight in the fridge, then grill in a skillet over medium heat until heated through and crispy, about 5-7 minutes.
Make-Ahead: Prepare patties up to 24 hours in advance and store them in the fridge. Simply grill when you’re ready for your comforting meal!
What to Serve with Juicy Grilled Cheese Patty Melts
Enhancing your meal with delicious sides elevates those comforting flavors beyond the sandwich itself.
- Crispy French Fries: Golden and crunchy, they add a classic diner vibe that pairs perfectly with the melty goodness of your patty melt.
- Coleslaw: This cool, crunchy side provides a refreshing contrast to the warm, savory sandwich, balancing flavors and textures beautifully.
- Tomato Soup: A beloved pairing, the acidity and creaminess of tomato soup perfectly complements the richness of the grilled cheese patty melt.
- Pickles: Their tangy crunch offers a fun, zesty dimension that cuts through the richness, making every bite more exciting.
- Mixed Green Salad: A light and fresh salad brings balance to the meal, adding a nutritious and colorful touch that enhances the overall dining experience.
- Garlic Bread: Extra layers of flavor from buttery, toasted garlic bread make it a great side, perfect for mopping up any melted cheese or flavorful juices.
Craft a delightful dining experience by mixing and matching these sides with your juicy grilled cheese patty melts!
Make Ahead Options
These Juicy Grilled Cheese Patty Melts are perfect for meal prep enthusiasts! You can prepare the beef patties up to 24 hours in advance; simply mix the ground beef, herbs, garlic, Worcestershire sauce, and seasoning, shape them into patties, and refrigerate them to maintain freshness. For even more convenience, you can assemble the sandwiches without grilling; butter the bread and layer in the cheese and patties, storing them covered in the fridge. When you’re ready to serve, just cook the melts on a griddle until the bread is golden brown and the cheese is melted. This way, you’ll achieve that delicious comfort food experience with minimal effort, making it an ideal solution for busy weeknights!
Grilled Cheese Patty Melt Recipe FAQs
How do I choose the best ground beef for my Grilled Cheese Patty Melts?
Absolutely! Look for ground beef that is 85% lean for a great balance between flavor and juiciness. Avoid meat with a lot of dark spots or an off smell—these can indicate that the beef is past its prime. If you’re aiming for a lighter option, ground turkey or plant-based meat can be swapped in without losing any deliciousness!
How should I store leftover Grilled Cheese Patty Melts?
Very simply! Store any leftovers in an airtight container in the fridge for up to 3 days. To reheat while maintaining that crispy texture, heat them in a skillet over medium-low heat for about 5 minutes per side—this will help restore that wonderful crunch and melty cheese inside.
Can I freeze Grilled Cheese Patty Melts?
Sure! To freeze, wrap each Grilled Cheese Patty Melt tightly in plastic wrap and then in aluminum foil. They will stay fresh in the freezer for up to 2 months. When you’re ready to enjoy, let them thaw in the fridge overnight, and then reheat in a skillet over medium heat for about 5-7 minutes until heated through.
What should I do if my sandwiches aren’t cooking evenly?
No worries! If you’re finding that your Grilled Cheese Patty Melts aren’t cooking evenly, try lowering your heat to medium-low. This allows the cheese to melt thoroughly without burning the bread. Additionally, lightly press down on the sandwiches with a spatula while grilling, ensuring all parts are in contact with the griddle for uniform cooking.
Are there any dietary considerations I should keep in mind?
Absolutely! If you have allergies, keep in mind that Worcestershire sauce often contains soy and anchovies, which may not be suitable for everyone. Always check your ingredient labels for allergens. For a gluten-free version, use gluten-free bread and make sure the Worcestershire sauce is gluten-free as well. Plus, if you have pets, it’s best to avoid sharing any of the grilled cheese with your furry friends, as cheese and seasoned meats can upset their stomachs!
Can I make the patties ahead of time?
Definitely! I often make the patties ahead of time and store them in the fridge for up to 24 hours before grilling. Simply shape them and refrigerate them—they’ll be ready to grill when your hunger strikes! Just don’t forget to cook them to an internal temperature of 160°F (71°C) for safe and tasty results.
Ultimate Grilled Cheese Patty Melts for Comfort Food Bliss
Ingredients
Equipment
Method
- In a large bowl, combine the ground beef, chopped parsley, finely chopped garlic, Worcestershire sauce, and Montreal-style steak seasoning. Mix well until just combined. Shape into 3 equal patties, about ¾-inch thick.
- Heat a nonstick griddle or skillet over medium heat. Cook the patties for 4-6 minutes on each side, checking for an internal temperature of 160°F (71°C). Remove from heat and set aside.
- Warm the griddle again. Place buttered slices of bread on the griddle, butter-side down. Layer with a slice of cheese, a cooked patty, another slice of cheese, and top with the remaining slices of bread, butter-side up.
- Grill the sandwiches for 3-5 minutes until golden brown, then flip and cook the other side for an additional 3-5 minutes until the cheese is melted.
- Remove from heat, let rest for a minute, slice in half, and serve warm with your favorite sides.