
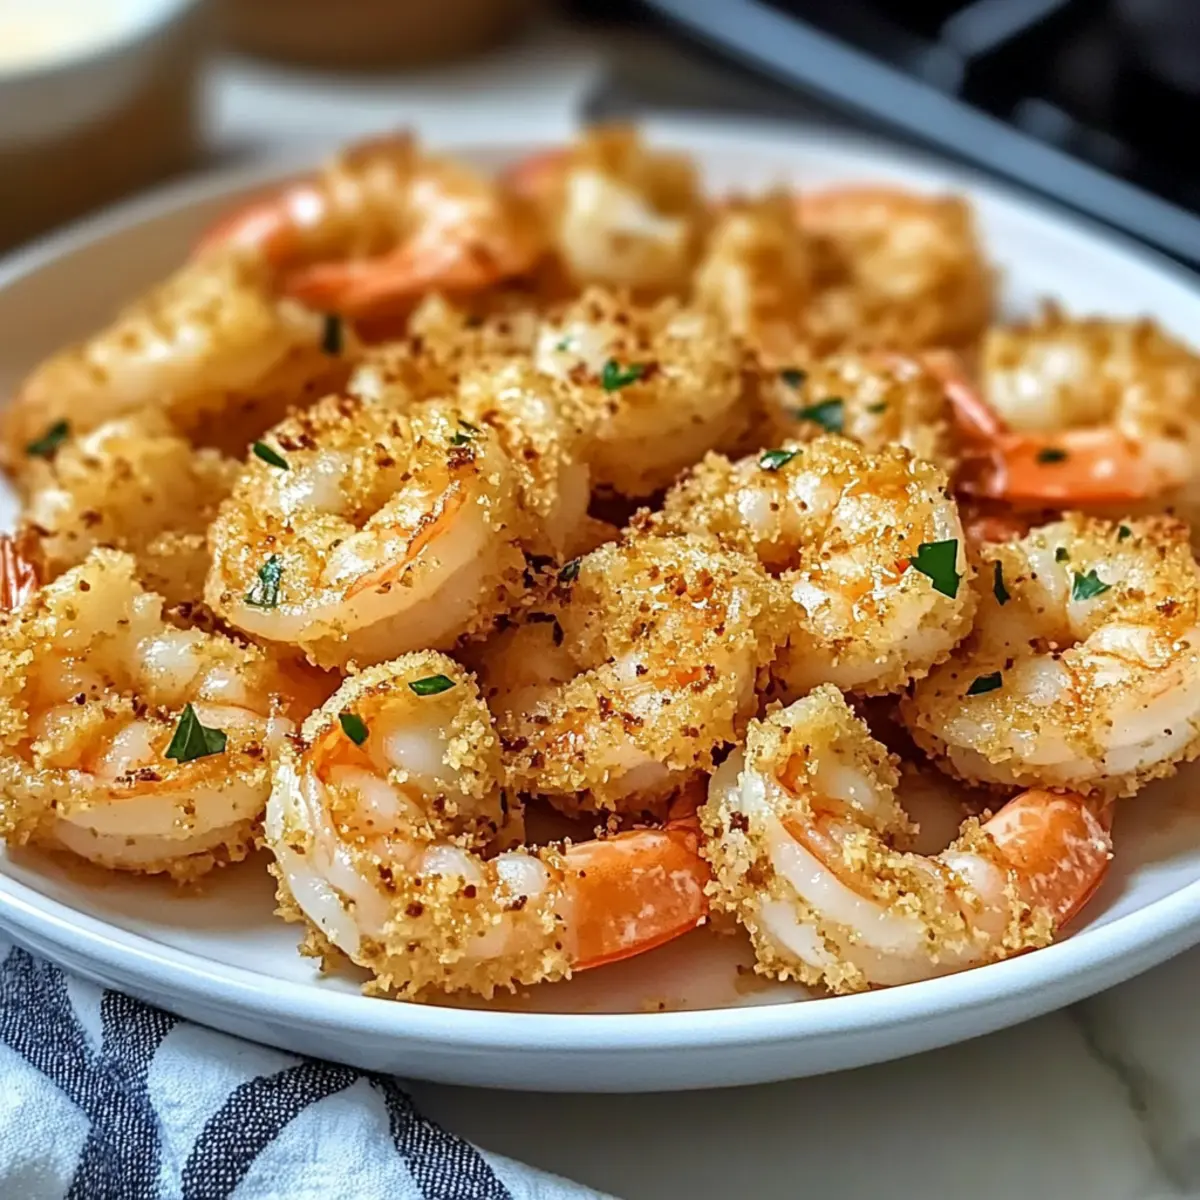
The tantalizing aroma of garlic butter wafts through the kitchen, instantly transporting me to a seaside café, where every bite is a celebration of flavor. Today, I’m excited to share my beloved Magic Crispy Baked Shrimp with Garlic Butter and Panko Topping—an absolute gem for those weeknights when you crave something delicious but don’t have hours to spend cooking. This recipe not only delivers a satisfying crunch thanks to the panko coating, but it’s also a healthy baking alternative that’s low-carb and gluten-free with versatile substitutions. You’ll love how quickly it comes together and impresses even the pickiest eaters—making it perfect for family gatherings or cozy dinners at home. Ready to discover how easy it is to create a seafood delight that tastes like a fancy restaurant dish? Let’s dive in!

Why is this shrimp recipe a must-try?
Unique Texture: The contrast of juicy shrimp and crispy panko is a match made in culinary heaven.
Health-Conscious Delight: This recipe is low-carb and can be made gluten-free, so it fits right into your healthy eating plan!
Versatile Substitutions: Don’t have shrimp? No problem! You can easily swap in scallops or chicken and still enjoy an amazing meal.
Quick and Easy: Just toss everything in the oven—no frying required—making it a perfect choice for busy weeknights.
Family-Friendly Appeal: Kids and adults alike will adore this dish, making it a go-to for family gatherings. Serve it with a fresh green salad or Shrimp Pineapple Fried rice for a complete meal!
Magic Crispy Baked Shrimp Ingredients
For the Shrimp
• Jumbo Shrimp – Essential for delivering tender, juicy bites; use fresh or fully thawed.
For the Garlic Butter Sauce
• Garlic Butter – Adds a delicious, rich flavor; can be substituted with olive oil for a dairy-free version.
• Lemon Juice – Brightens the overall taste; fresh lemon juice is recommended for the best flavor.
• Salt & Pepper – Basic seasonings that enhance the dish; adjust to taste for a personalized flavor boost.
For the Crunchy Topping
• Panko Breadcrumbs – Creates the delightfully crispy coating; for a keto option, consider using crushed pork rinds or almond flour.
• Parmesan Cheese – Provides richness and a nice crunch; can be omitted for a dairy-free option.
This Magic Crispy Baked Shrimp is a dish that combines the best of flavor and texture, transforming a simple meal into a culinary delight! Enjoy crafting this delicious recipe!
Step‑by‑Step Instructions for Magic Crispy Baked Shrimp
Step 1: Preheat the Oven
Begin by preheating your oven to 425°F (220°C). This temperature is essential for ensuring that your Magic Crispy Baked Shrimp turns out perfectly cooked and crispy. While the oven heats up, prepare your baking sheet by lining it with parchment paper or spraying it lightly with cooking spray to prevent sticking.
Step 2: Create the Garlic Butter Mixture
In a medium bowl, melt your garlic butter in the microwave or on the stove until completely liquefied. Mix in fresh lemon juice, salt, and pepper until well combined. The aroma of the garlic butter will fill your kitchen, signaling that you’re on your way to creating delicious Magic Crispy Baked Shrimp.
Step 3: Coat the Shrimp
Add the jumbo shrimp to the bowl with the garlic butter mixture. Toss them gently until each shrimp is thoroughly coated with the sauce. Make sure the shrimp are evenly covered, as this will enhance the flavor and help the panko adhere later on.
Step 4: Prepare the Crunchy Topping
In a separate bowl, combine panko breadcrumbs and grated Parmesan cheese. Mix well, ensuring that the cheese is evenly distributed throughout the breadcrumbs. This mixture will provide the crispy texture that is essential to the Magic Crispy Baked Shrimp, so take your time to combine them thoroughly.
Step 5: Arrange the Shrimp
Now, arrange the coated shrimp on your prepared baking sheet, ensuring they are spaced out evenly. This allows the heat to circulate around each piece, helping them to bake evenly. You’ll want to see the shiny garlic butter glistening on each shrimp, hinting at the deliciousness to come.
Step 6: Sprinkle the Panko Mixture
Generously sprinkle the panko and Parmesan mixture over the arranged shrimp. Use your fingers to press the mixture gently onto the shrimp, ensuring it adheres well. This crunchy topping is what makes the Magic Crispy Baked Shrimp stand out, so don’t hold back!
Step 7: Bake the Shrimp
Place the baking sheet in the preheated oven and bake for about 12 minutes. You’ll know they’re ready when the shrimp turn pink and opaque. Keep an eye on them during the last couple of minutes to ensure they don’t overcook, as perfectly done shrimp is key to this recipe.
Step 8: Broil for Extra Crispiness
For the final touch, switch to the broil function and broil the shrimp for 1-2 minutes. Watch closely as the panko topping turns golden brown. This intense heat will give your Magic Crispy Baked Shrimp an irresistible crunch without the need for frying.
Step 9: Serve and Enjoy
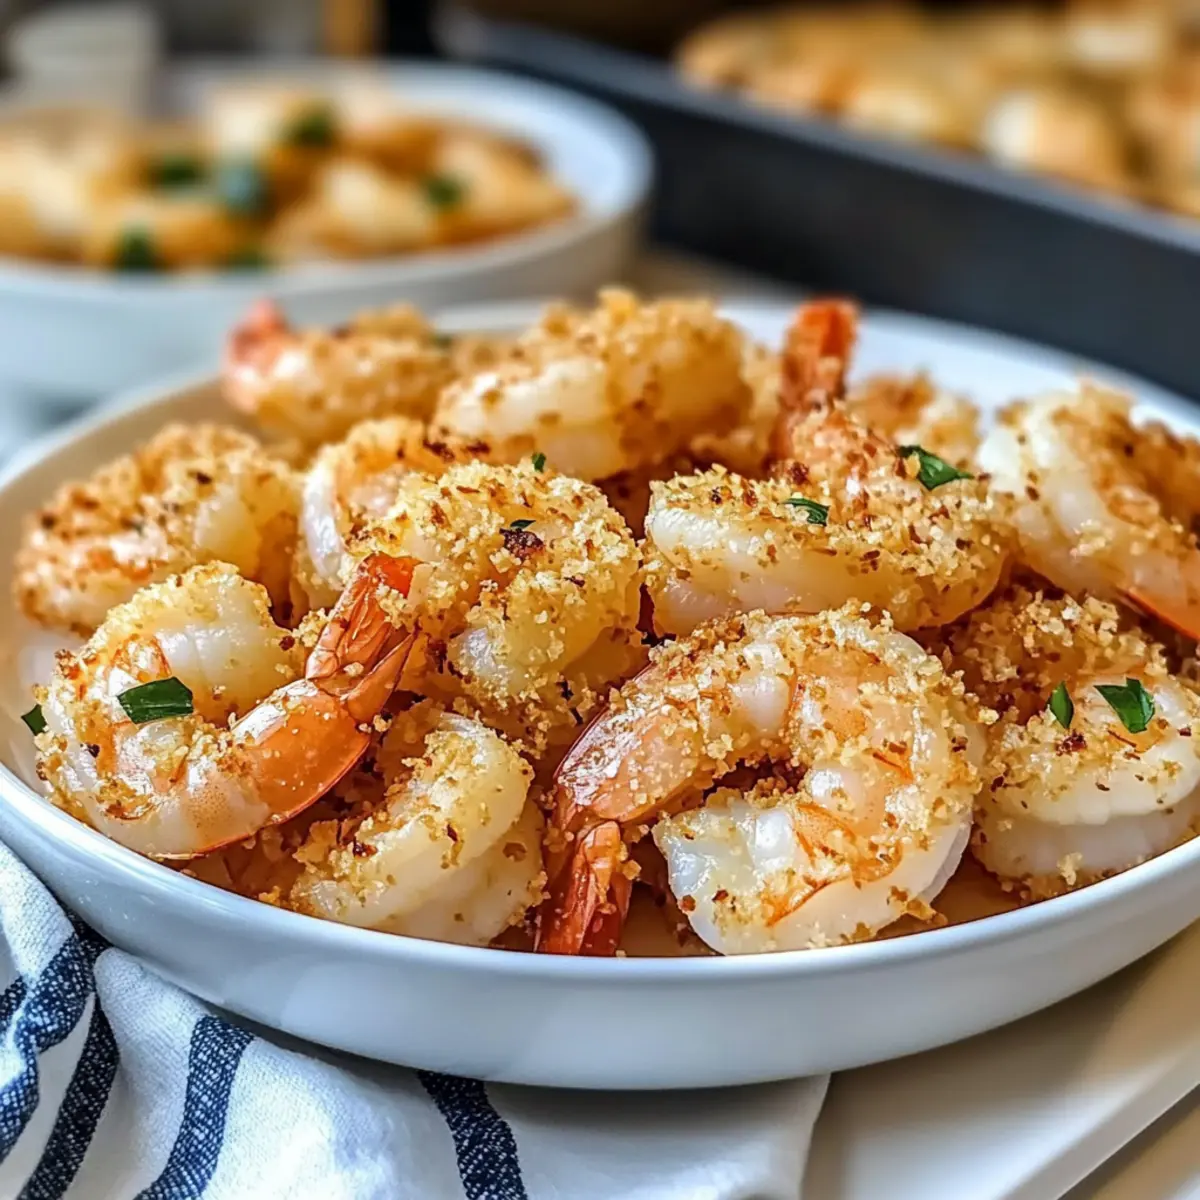
Once broiled to perfection, remove the baking sheet from the oven. Let the Magic Crispy Baked Shrimp cool for a moment before serving. The tantalizing aroma is sure to entice your family and guests as you present this delicious dish alongside your favorite sides.
Magic Crispy Baked Shrimp Variations
Feel free to get creative with your dish and tailor it to your family’s taste buds!
-
Seafood Swap: Use scallops instead of shrimp for a different seafood twist. They cook similarly and are just as delicious when baked.
-
Chicken Option: Substitute chicken breast for shrimp if you’re looking for a heartier protein. Slice it into bite-sized pieces to maintain a crispy exterior.
-
Spice it Up: Add paprika or cayenne pepper to the breadcrumb mixture for a delightful kick of heat. Adjust the level of spice to suit your preference.
-
Cheesy Alternative: Try using cheddar cheese in place of Parmesan for a bolder, richer flavor. You can also mix different cheeses for complexity.
-
Gluten-Free Crunch: Use crushed pork rinds or almond flour instead of panko for a gluten-free and low-carb option that still provides excellent crunch.
-
Citrus Variation: Experiment with different citrus juices like lime or orange instead of lemon for a fresh twist on the ASal story.
-
Blended Herbs: Mix in some fresh herbs like parsley or cilantro with the breadcrumbs for an aromatic boost that brightens the dish.
Don’t forget to pair your Magic Crispy Baked Shrimp with a zesty salad or some Fresh Shrimp Ceviche Tostadas for a refreshing side! Whatever you choose, the possibilities are endless!
What to Serve with Magic Crispy Baked Shrimp
Delight in a complete meal experience, where every bite enhances the flavors of your shrimp.
-
Creamy Coleslaw: The crispness of fresh cabbage mixed with a creamy dressing provides a refreshing contrast to the crispy shrimp.
-
Garlic Butter Asparagus: Roasted asparagus drizzled in garlic butter complements the shrimp’s flavors while adding a nutritious, vibrant touch.
-
Citrusy Quinoa Salad: The bright, tangy notes of a quinoa salad with citrus dressing balance out the richness of the garlic butter, offering a wholesome option.
-
Zesty Cauliflower Rice: Light and low-carb, zesty cauliflower rice soaks up the delightful garlic butter sauce beautifully.
-
Roasted Sweet Potatoes: Sweet, caramelized bites of roasted sweet potatoes provide a wonderful textural complement alongside your shrimp.
-
Savory Green Salad: Mixed greens with a light vinaigrette bring freshness, enhancing the meal without overshadowing the crispy shrimp.
-
Sparkling Lemonade: A glass of refreshing lemonade with a hint of sparkle cleanses the palate and adds a festive touch to any meal.
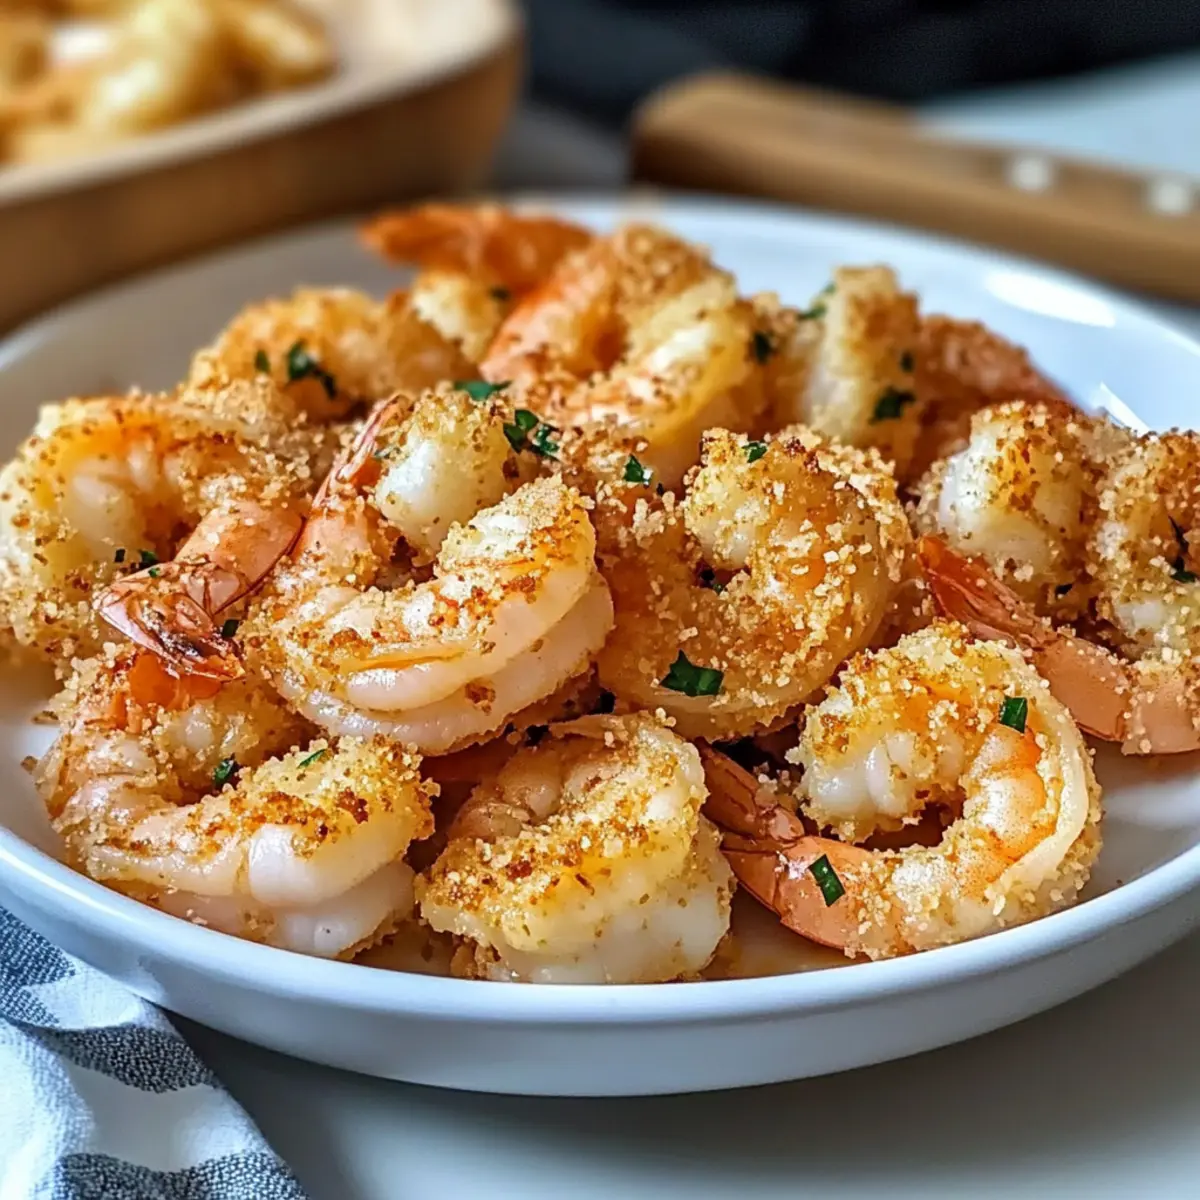
With these scrumptious sides, your Magic Crispy Baked Shrimp becomes the star of a culinary masterpiece that your family will love!
How to Store and Freeze Magic Crispy Baked Shrimp
Fridge: Store any leftovers in an airtight container for up to 2 days. This keeps the shrimp flavorful, but the crispiness may diminish over time.
Freezer: For long-term storage, freeze the baked shrimp in a single layer on a baking sheet, then transfer to a freezer-safe bag for up to 1 month.
Reheating: To retain the crunchy topping, reheat in a 375°F (190°C) oven for about 10 minutes. Avoid the microwave, as it can make the breading soggy.
Thawing: When ready to enjoy, thaw the Magic Crispy Baked Shrimp in the fridge overnight before reheating, ensuring the best texture possible.
Make Ahead Options
These Magic Crispy Baked Shrimp are perfect for meal prepping! You can toss the jumbo shrimp in the garlic butter mixture and coat them with the panko topping up to 24 hours in advance. Simply arrange the shrimp on a baking sheet, cover tightly with plastic wrap, and refrigerate to keep them fresh and prevent any browning. When you’re ready to enjoy, just pop them in a preheated oven at 425°F (220°C) and bake for about 12 minutes, then broil for an extra crunch. This way, you can save precious time on busy weeknights while still serving a dish that’s just as delicious and satisfying!
Expert Tips for Magic Crispy Baked Shrimp
-
Quality Shrimp: Opt for fresh or properly thawed jumbo shrimp to ensure the best flavor and texture in your Magic Crispy Baked Shrimp.
-
Butter vs. Olive Oil: If you’re looking for a dairy-free option, substitute garlic butter with olive oil, maintaining the rich flavor without compromising on taste.
-
Monitor Cooking Time: Be cautious not to overcook the shrimp. Watch for that perfect pink color and opaque appearance, which indicates they’re perfectly cooked!
-
Crispy Finish: For an extra crispy topping, don’t skip the broiling step! Just 1-2 minutes under the broiler will elevate your dish to perfection—keep an eye on it to avoid burning.
-
Panko Alternatives: While panko breadcrumbs are ideal for that crunch, crushed pork rinds or almond flour work wonderfully for a low-carb approach, ensuring your Magic Crispy Baked Shrimp remains delightful!
Magic Crispy Baked Shrimp Recipe FAQs
How do I know if my shrimp is fresh?
Absolutely! When selecting shrimp, look for a light pink color and a firm texture. Fresh shrimp should have a mild, ocean-like smell—strong or sour odors indicate they’re no longer fresh. If you notice any black spots or a slimy texture, it’s best to avoid it.
What’s the best way to store leftovers?
You can store any leftover Magic Crispy Baked Shrimp in an airtight container in the refrigerator for up to 2 days. This helps maintain flavor, but the crispy topping might lose its texture. I recommend reheating them in the oven at 375°F (190°C) for about 10 minutes to refresh the crispiness—avoid using the microwave since it can make them soggy.
Can I freeze baked shrimp?
Certainly! To freeze your Magic Crispy Baked Shrimp, first allow the dish to cool completely. Then, place it in a single layer on a baking sheet and freeze until solid. Once frozen, transfer the shrimp into a freezer-safe bag or container, where they can be stored for up to 1 month. When you’re ready to enjoy, thaw them overnight in the fridge before reheating in the oven.
What should I do if my shrimp turns tough while cooking?
Very! If your shrimp turns out rubbery, it’s often due to overcooking. Keep an eye on them while baking; they only need about 12 minutes at 425°F (220°C) plus a quick broil for crispy topping. Watch for a pink, opaque appearance—this indicates they’re perfectly cooked. If in doubt, use a digital thermometer; shrimp are done when they reach an internal temperature of 120°F (49°C).
Are there any dietary considerations for this baked shrimp?
Of course! This Magic Crispy Baked Shrimp can easily cater to various dietary needs. For a low-carb option, substitute panko breadcrumbs with crushed pork rinds or almond flour. If you prefer dairy-free, simply swap the garlic butter with olive oil and omit the Parmesan cheese. Always check for any allergens that may be present in your chosen ingredients!
Magic Crispy Baked Shrimp: A Crunchy Delight You’ll Love
Ingredients
Equipment
Method
- Preheat your oven to 425°F (220°C) and prepare your baking sheet with parchment paper or cooking spray.
- Melt the garlic butter in a bowl and mix in fresh lemon juice, salt, and pepper.
- Add the jumbo shrimp to the garlic butter mixture and toss until fully coated.
- Combine panko breadcrumbs and grated Parmesan cheese in a separate bowl.
- Arrange the coated shrimp on the baking sheet, spaced out evenly.
- Sprinkle the panko and Parmesan mixture over the shrimp, pressing gently to adhere.
- Bake in the oven for about 12 minutes until shrimp are pink and opaque.
- Switch to broil for 1-2 minutes until the topping is golden brown.
- Remove from the oven and let cool slightly before serving.