
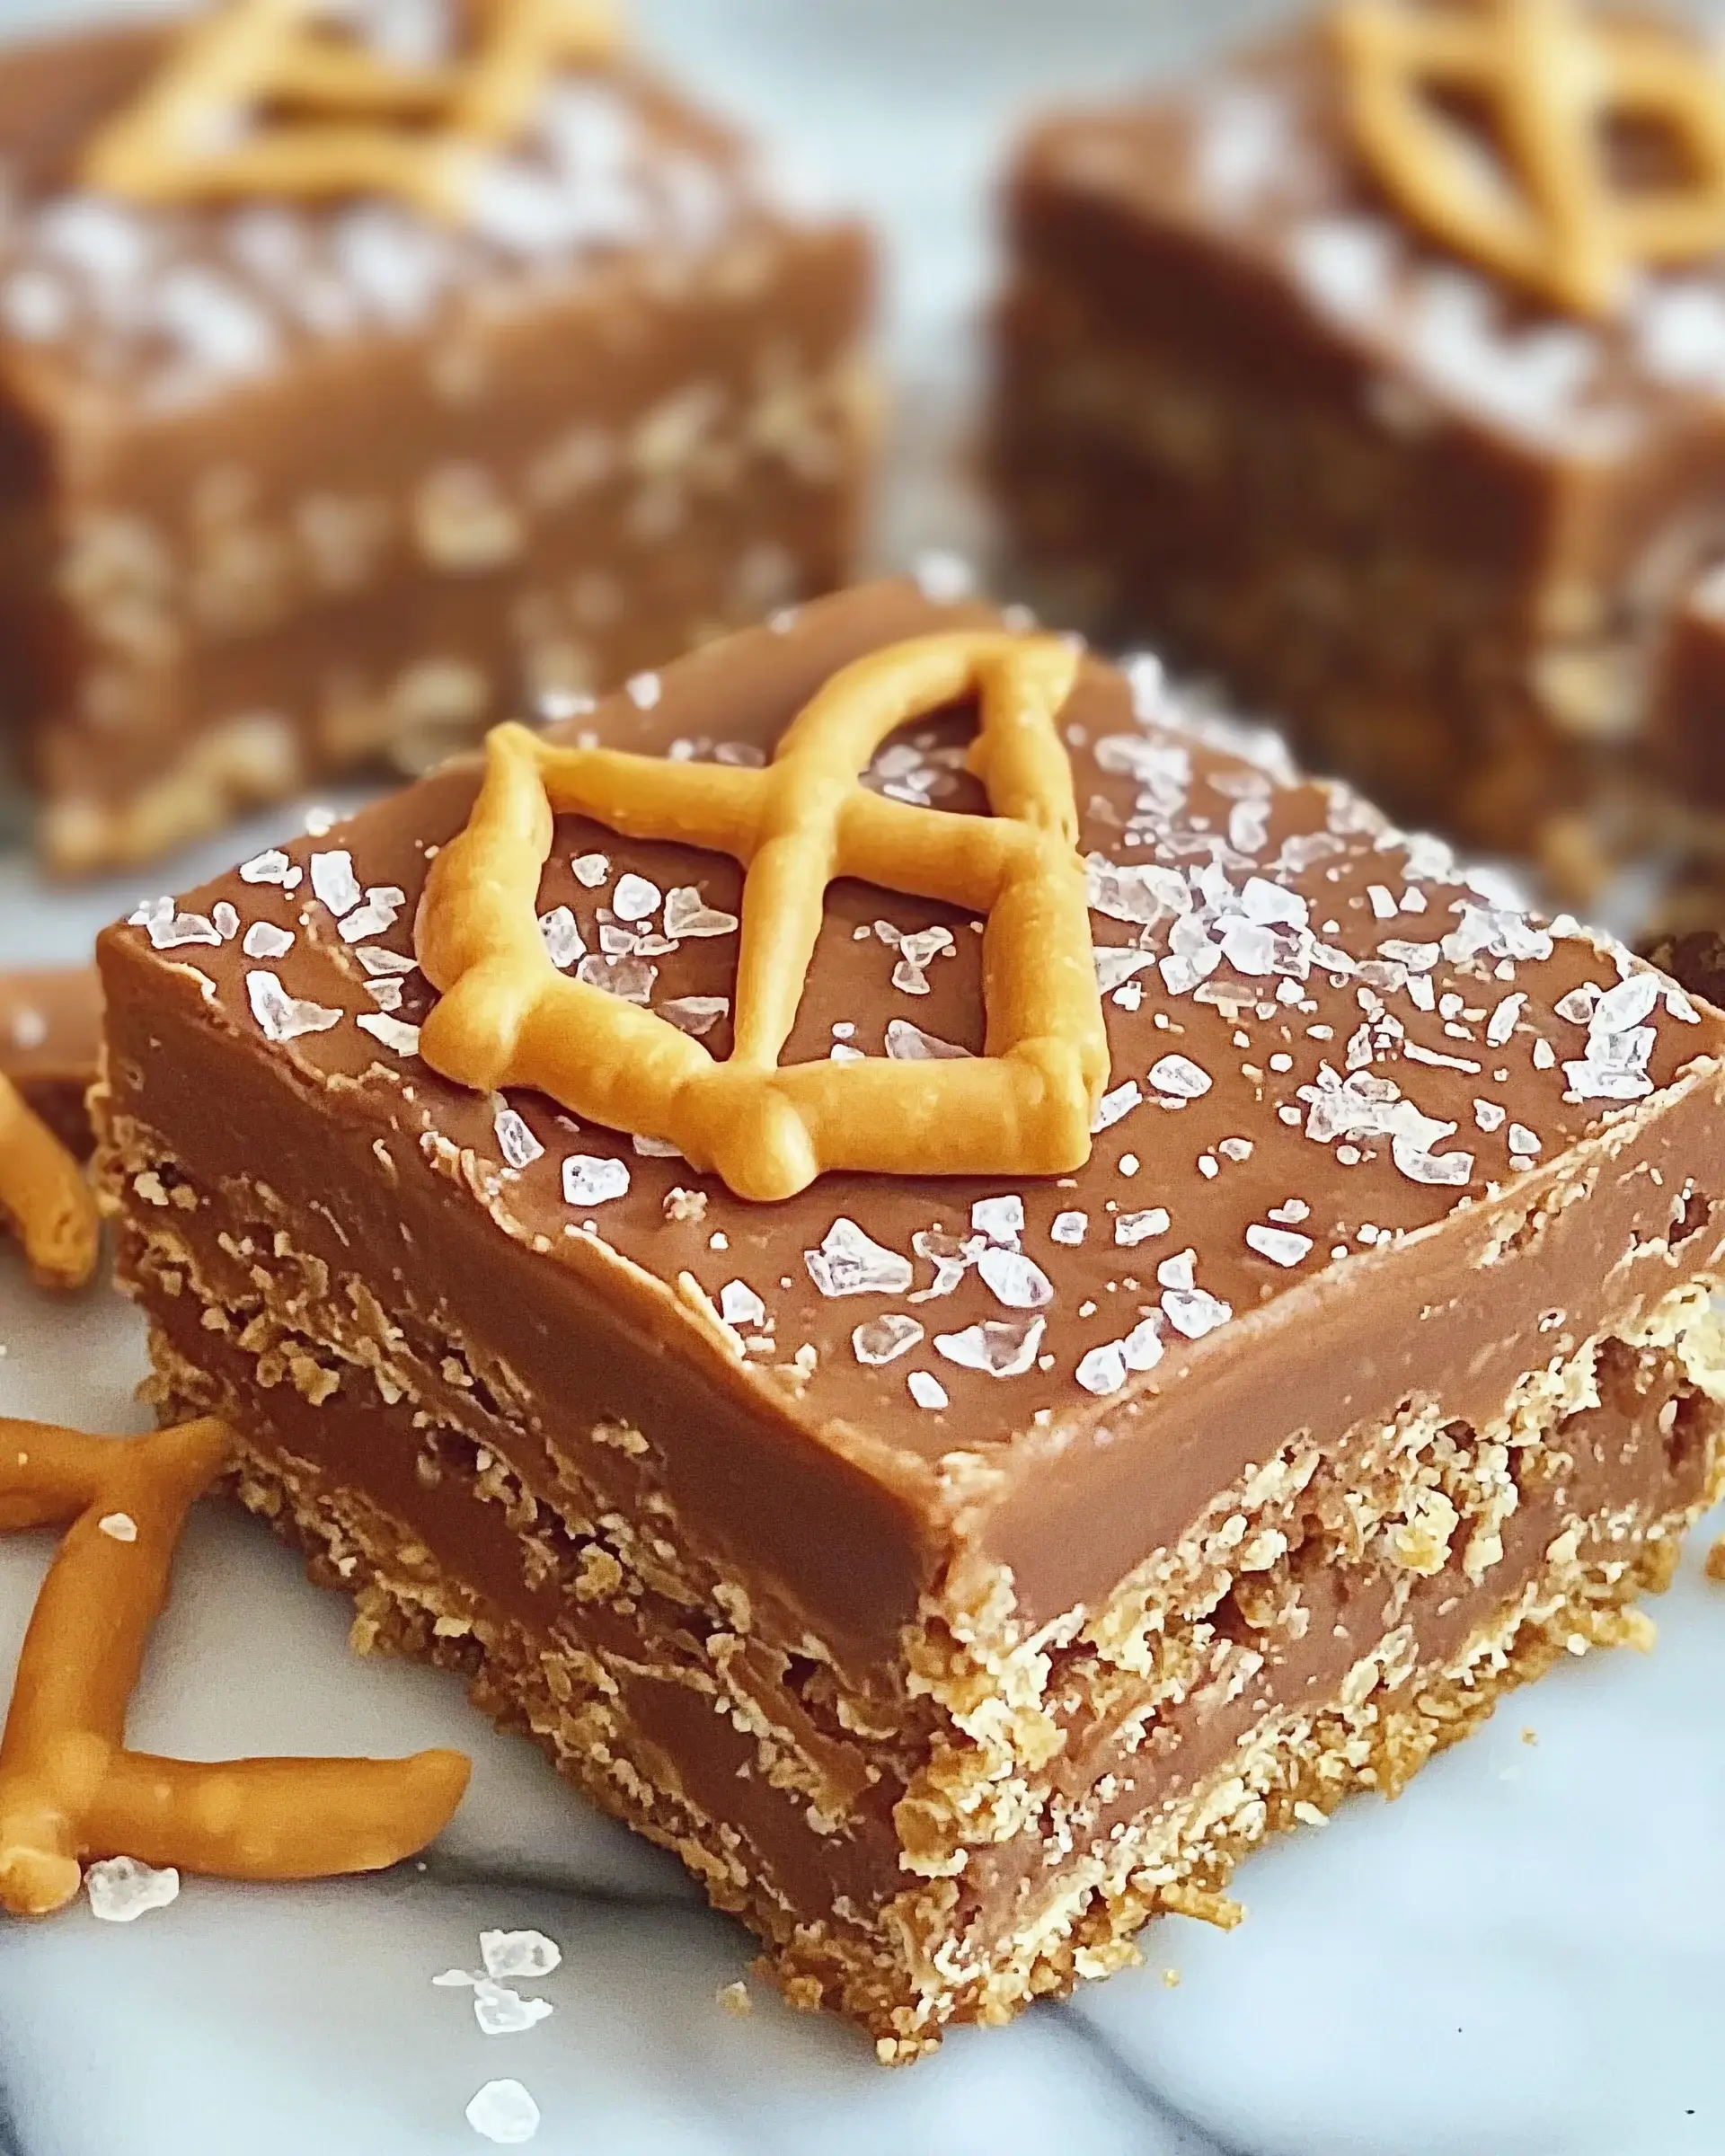
Introduction to Salt River Bars
There’s something magical about a dessert that brings back memories of family gatherings and laughter. Salt River Bars are just that—a delightful treat that combines the richness of butter and sugars with the sweetness of chocolate chips and a sprinkle of sea salt. Whether you’re looking for a quick solution for a busy day or a dish to impress your loved ones, these bars are perfect. They come together in no time and are sure to satisfy any sweet tooth. Trust me, once you try them, you’ll want to make them again and again!
Why You’ll Love This Salt River Bars
Salt River Bars are the ultimate dessert for anyone who craves something sweet without spending hours in the kitchen. They’re incredibly easy to whip up, making them perfect for busy weeknights or last-minute gatherings. The combination of buttery richness, gooey chocolate, and a hint of sea salt creates a flavor explosion that will have everyone coming back for seconds. Plus, they’re versatile enough to adapt to your taste, ensuring you’ll never get bored!
Ingredients for Salt River Bars
Gathering the right ingredients is the first step to creating these delicious Salt River Bars. Here’s what you’ll need:
- Unsalted butter: This is the base of your bars, providing richness and flavor. Make sure it’s softened for easy mixing.
- Granulated sugar: Adds sweetness and helps create that lovely chewy texture.
- Brown sugar: The molasses in brown sugar gives a deeper flavor and moisture to the bars.
- Eggs: They bind everything together and add richness. Use large eggs for the best results.
- Vanilla extract: A splash of vanilla enhances the overall flavor, making your bars taste even more delightful.
- All-purpose flour: This is the backbone of your dessert, providing structure. You can substitute with whole wheat flour for a healthier twist.
- Baking soda: This leavening agent helps the bars rise and become fluffy.
- Salt: Just a pinch balances the sweetness and enhances the flavors.
- Chocolate chips: The star of the show! Use semi-sweet or dark chocolate for a richer taste.
- Chopped nuts (optional): Walnuts or pecans add a delightful crunch. Feel free to skip them if you prefer a nut-free version.
- Coarse sea salt: Sprinkled on top, it adds a savory contrast to the sweet bars, making each bite irresistible.
For exact measurements, check the bottom of the article where you can find everything listed for easy printing!
How to Make Salt River Bars
Now that you have all your ingredients ready, let’s dive into the fun part—making these delicious Salt River Bars! Follow these simple steps, and you’ll have a mouthwatering dessert in no time.
Step 1: Preheat the Oven
First things first, preheat your oven to 350°F (175°C). This ensures your bars bake evenly. While the oven warms up, prepare your baking pan. Grease a 9×13-inch pan or line it with parchment paper for easy removal later.
Step 2: Cream the Butter and Sugars
In a large mixing bowl, cream together the softened butter, granulated sugar, and brown sugar. Use an electric mixer for about 2-3 minutes until the mixture is light and fluffy. This step is crucial for achieving that perfect texture!
Step 3: Add Eggs and Vanilla
Next, add the eggs one at a time, mixing well after each addition. This helps incorporate air, making your bars light. Don’t forget to stir in the vanilla extract, which adds a lovely aroma and flavor.
Step 4: Combine Dry Ingredients
In a separate bowl, whisk together the flour, baking soda, and salt. Gradually add this dry mixture to your wet ingredients. Mix until just combined—overmixing can lead to tough bars, and nobody wants that!
Step 5: Fold in Chocolate Chips and Nuts
Now comes the fun part! Gently fold in the chocolate chips and nuts, if you’re using them. This is where the magic happens, as the chocolate melts into gooey pockets of goodness.
Step 6: Spread the Batter
Spread the batter evenly in your prepared baking pan. Use a spatula to smooth the top, ensuring it’s level. This helps the bars bake uniformly.
Step 7: Add Sea Salt
Sprinkle the coarse sea salt over the top of the batter. This step is key! The salt enhances the sweetness and adds a delightful contrast to the chocolate.
Step 8: Bake
Place the pan in your preheated oven and bake for 25-30 minutes. Keep an eye on them! You want the edges to be golden brown, and a toothpick inserted in the center should come out with a few moist crumbs.
Step 9: Cool and Serve
Once baked, allow the bars to cool in the pan for about 10 minutes. Then, transfer them to a wire rack to cool completely. Once cooled, cut into squares and serve. Enjoy the sweet rewards of your hard work!
Tips for Success
- Make sure your butter is softened for easy creaming; it should be at room temperature.
- Don’t overmix the batter after adding the flour; this keeps your bars tender.
- For extra flavor, try using flavored chocolate chips, like mint or peanut butter.
- Let the bars cool completely before cutting for cleaner squares.
- Store leftovers in an airtight container to keep them fresh.
Equipment Needed
- Mixing bowls: Use a large bowl for mixing ingredients. A stand mixer can save time.
- Spatula: A rubber spatula is perfect for folding in chocolate chips.
- Baking pan: A 9×13-inch pan is ideal, but any similar-sized pan works.
- Measuring cups and spoons: Essential for accurate ingredient measurements.
- Wire rack: Great for cooling the bars evenly; a plate can work in a pinch.
Variations
- Nut-Free Option: Omit the chopped nuts for a nut-free version. You can replace them with extra chocolate chips for added sweetness.
- Gluten-Free: Substitute all-purpose flour with a gluten-free flour blend to make these bars suitable for gluten-sensitive friends.
- Caramel Delight: Add a layer of caramel sauce between the batter and chocolate chips for a gooey twist that elevates the flavor.
- Fruit Fusion: Swap chocolate chips for dried fruits like cranberries or apricots for a fruity take on these bars.
- Spiced Up: Add a teaspoon of cinnamon or a pinch of nutmeg to the batter for a warm, spiced flavor that’s perfect for fall.
Serving Suggestions
- Pair your Salt River Bars with a scoop of vanilla ice cream for a delightful contrast.
- Serve with a drizzle of chocolate or caramel sauce for an extra indulgent touch.
- Enjoy with a hot cup of coffee or a cold glass of milk.
- For a festive presentation, dust with powdered sugar before serving.
FAQs about Salt River Bars
Can I make Salt River Bars ahead of time?
Absolutely! These bars can be made a day in advance. Just store them in an airtight container at room temperature. They’ll stay fresh and delicious, ready to impress your guests!
What can I substitute for chocolate chips?
If you’re not a fan of chocolate, you can use dried fruits like raisins or cranberries. Coconut flakes also make a tasty alternative, adding a tropical twist to your Salt River Bars.
How do I know when the bars are done baking?
Keep an eye on the edges! They should be golden brown, and a toothpick inserted in the center should come out with a few moist crumbs. This means they’re perfectly baked!
Can I freeze Salt River Bars?
Yes, you can freeze them! Just wrap the cooled bars tightly in plastic wrap and then in aluminum foil. They’ll keep well for up to three months. Thaw them at room temperature before serving.
What’s the best way to cut the bars?
For clean cuts, make sure the bars are completely cooled. Use a sharp knife and wipe it clean between cuts for neat squares. This way, your Salt River Bars will look as good as they taste!
Final Thoughts
Creating Salt River Bars is more than just baking; it’s about crafting memories and sharing joy. The aroma of buttery goodness wafting through your kitchen will draw everyone in, sparking conversations and smiles. Each bite offers a delightful balance of sweetness and a hint of salt, making them irresistible. Whether you’re enjoying them with family or sharing them at a gathering, these bars are sure to become a favorite. So roll up your sleeves, embrace the process, and let the magic of Salt River Bars bring warmth and happiness to your home. Happy baking!
Salt River Bars: A Deliciously Easy Recipe to Try!
Ingredients
Method
- Preheat your oven to 350°F (175°C). Grease a 9×13-inch baking pan or line it with parchment paper for easy removal.
- In a large mixing bowl, cream together the softened butter, granulated sugar, and brown sugar until light and fluffy.
- Add the eggs one at a time, mixing well after each addition. Stir in the vanilla extract.
- In a separate bowl, whisk together the flour, baking soda, and salt. Gradually add the dry ingredients to the wet ingredients, mixing until just combined.
- Fold in the chocolate chips and nuts, if using.
- Spread the batter evenly in the prepared baking pan.
- Sprinkle the coarse sea salt over the top of the batter.
- Bake in the preheated oven for 25-30 minutes, or until the edges are golden brown and a toothpick inserted in the center comes out with a few moist crumbs.
- Allow the bars to cool in the pan for about 10 minutes before transferring them to a wire rack to cool completely. Cut into squares and serve.
Nutrition
Notes
- For a fun twist, try adding a layer of caramel sauce between the batter and the chocolate chips before baking.
- Substitute the chocolate chips with dried fruits or coconut flakes for a different flavor profile.