
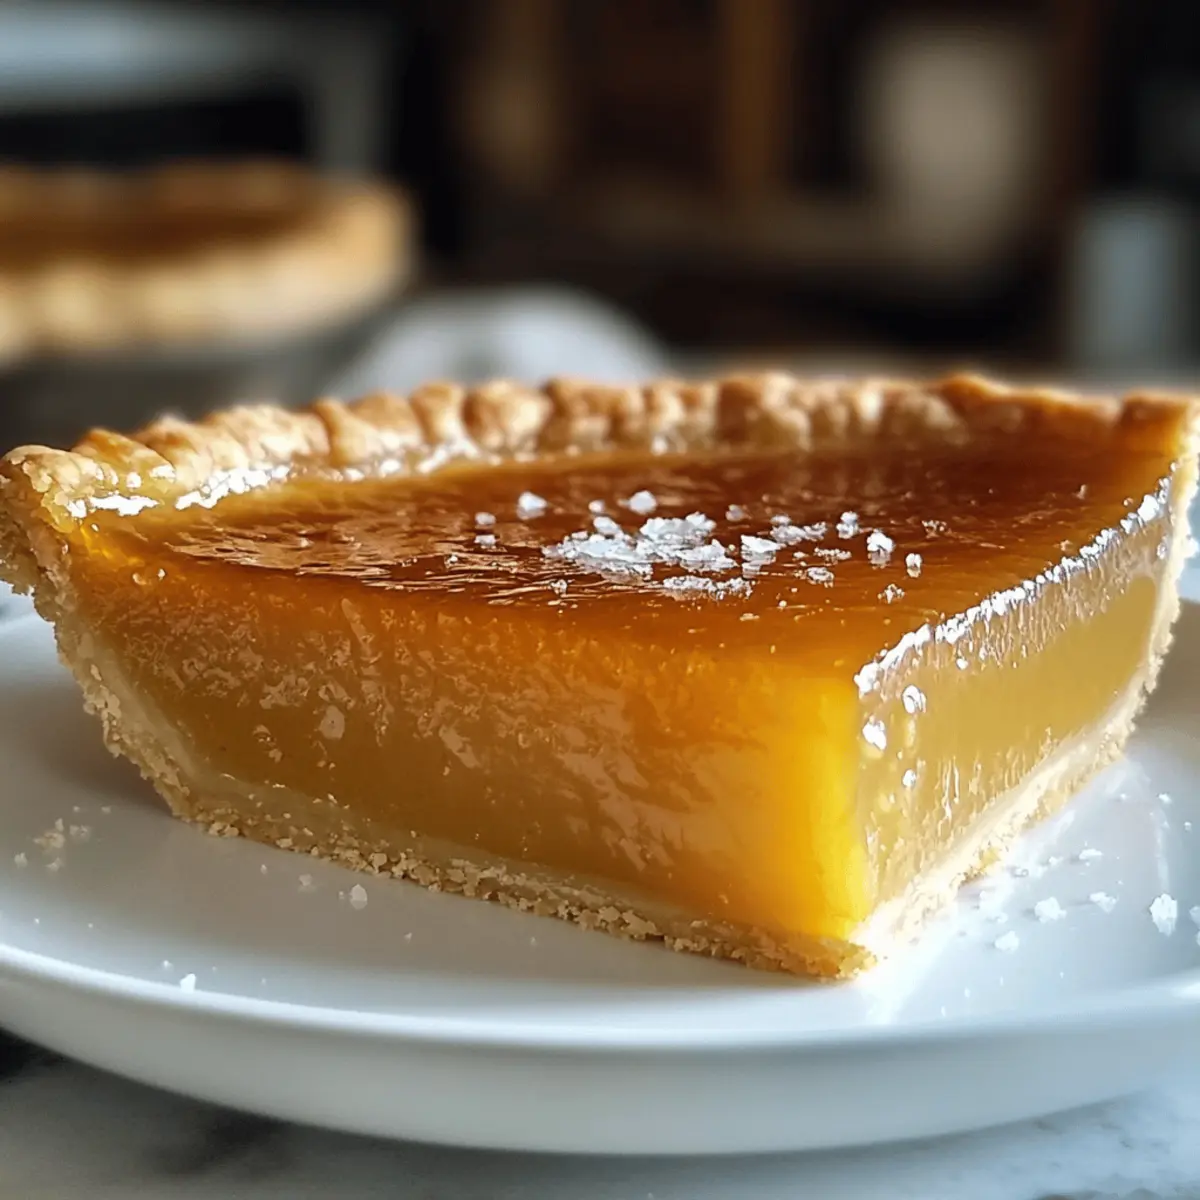
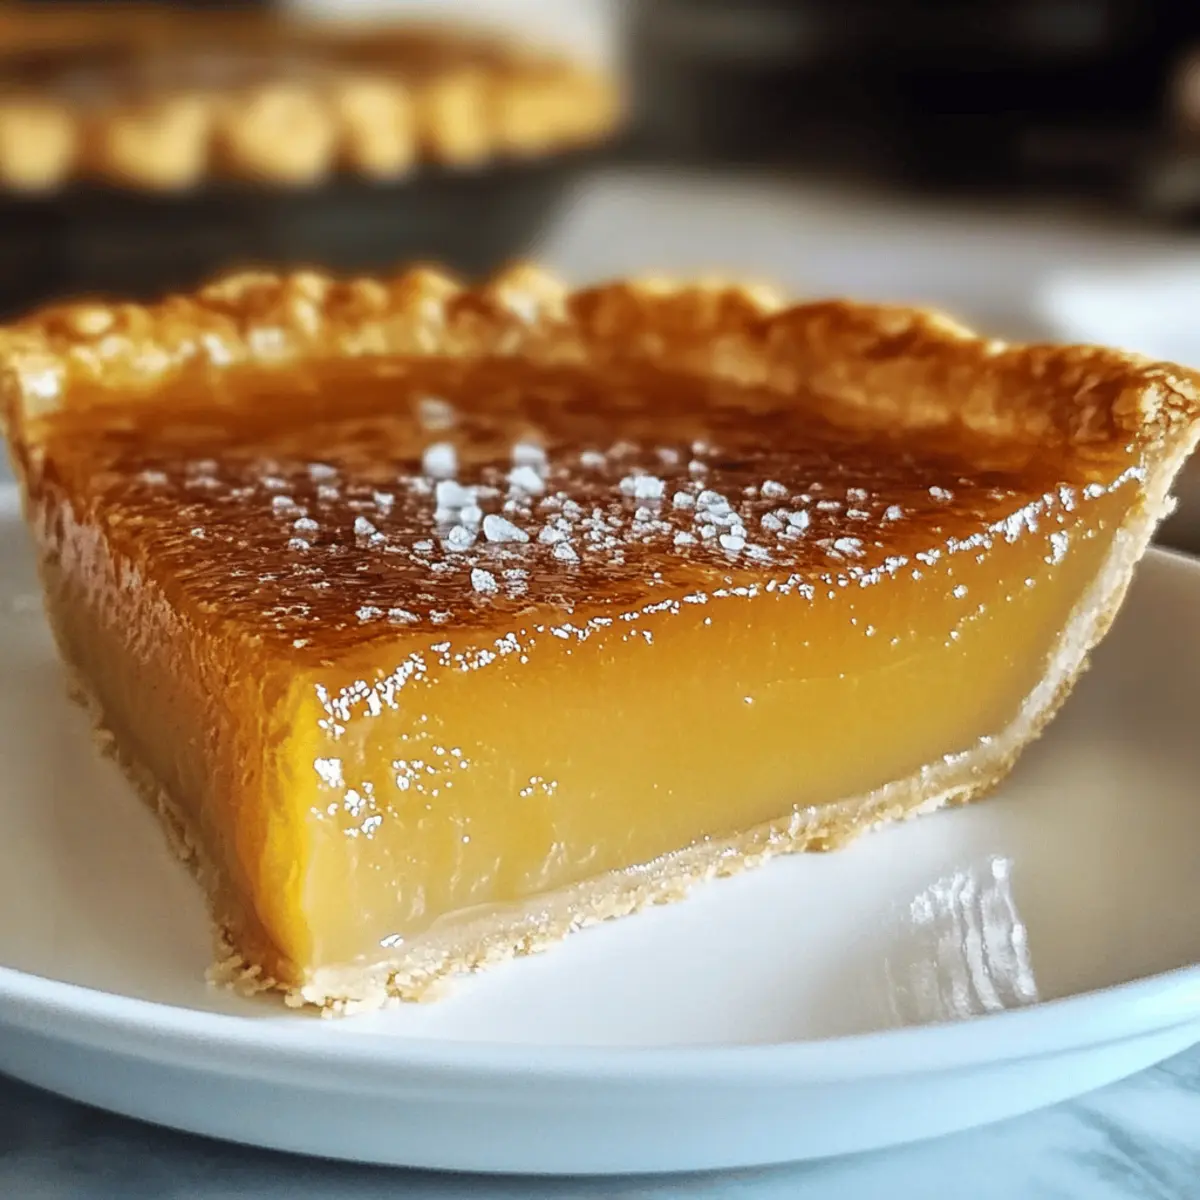
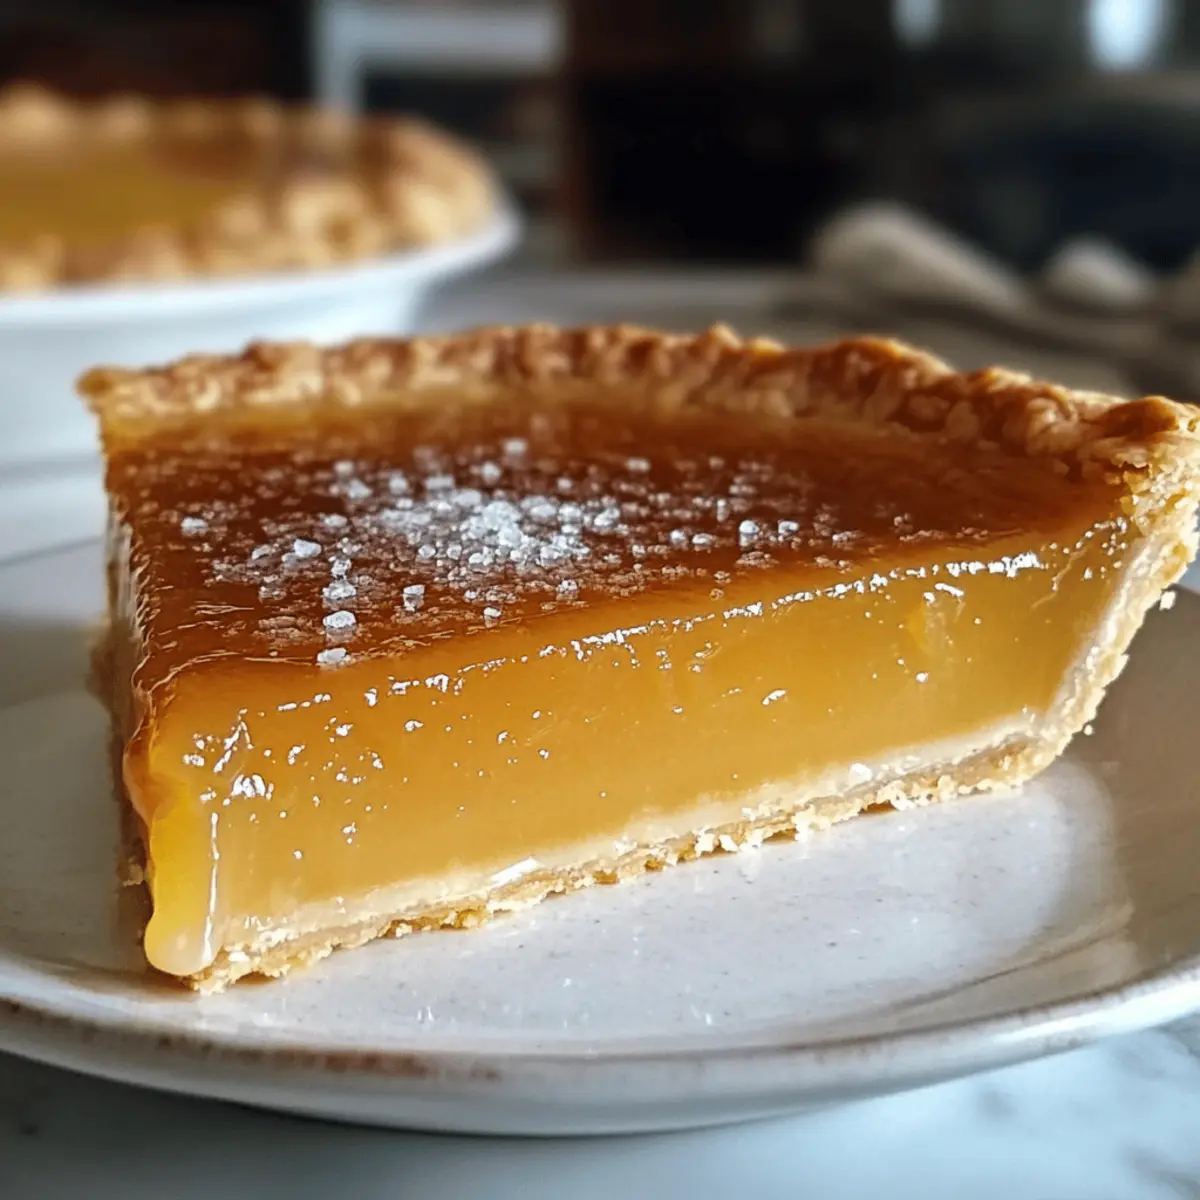
As I sat in a quaint Southern café, the aroma of baked goods wafted through the air, drawing me in like a warm embrace. Among the irresistible treats, the Salted Honey Pie caught my eye—a brilliant sweet-salty balance that immediately sparked my curiosity. This delightful Southern dessert, with its rich honey custard nestled in a buttery crust, is incredibly easy to prepare, making it perfect for both special occasions and cozy nights at home. Not only does it satisfy your sweet tooth, but it also adds a unique twist that keeps everyone coming back for seconds. Ready to create something truly special? Let’s dive into this recipe together and discover the magic of Salted Honey Pie!
Why is Salted Honey Pie a Must-Try?
Irresistible Flavor: This pie delivers a unique sweet-salty balance, making every bite both indulgent and refreshing.
Simple Preparation: With just a few easy-to-find ingredients, you can whip up this Southern classic without any fuss.
Cozy Comfort: The creamy texture and buttery crust provide a warming comfort, perfect for cozy nights or gatherings.
Customizable Delight: Feel free to experiment with different honey varieties or add a chocolate drizzle for a fun twist!
Crowd-Pleasing Appeal: This dessert is sure to impress friends and family, ensuring it’s the star of the table.
Great Pairings: Pairs beautifully with a cup of tea or coffee, making it a perfect dessert for any occasion!
Check out our other delicious variations like Garlic Butter Honey or Lemon Honey Glazed options for more honey-inspired inspiration!
Salted Honey Pie Ingredients
For the Pie Crust
• 9-inch pie crust – A buttery base that can be homemade or store-bought for convenience.
For the Custard Filling
• Unsalted Butter (½ cup) – Adds richness and moisture; use high-quality for the best flavor.
• Granulated Sugar (¾ cup) – Sweetens the filling, balancing the saltiness; can reduce for a less sweet pie.
• Cornmeal (¼ cup) – Provides structure without grittiness; a fine grind works best.
• Salt (¼ teaspoon) – Enhances flavors; kosher or sea salt is recommended for the best results.
• Vinegar or Lemon Juice (1 tablespoon) – Adds brightness to balance sweetness; fresh lemon juice is a fine substitute.
• Vanilla Extract (1 teaspoon) – Complements the honey perfectly for a layered flavor profile.
• Honey (½ cup) – The star ingredient providing floral sweetness; opt for wildflower or clover honey.
• Eggs (3 large) – Ensures structure and creaminess in the custard filling; using room temperature aids in blending.
• Heavy Cream (½ cup) – Contributes to the custard’s richness; use coconut cream for a dairy-free alternative.
• Flaky Sea Salt (to taste) – Sprinkle on top before serving to enhance the sweet-salty dynamic of the pie.
Step‑by‑Step Instructions for Salted Honey Pie
Step 1: Prepare the Pie Crust
Begin by preheating your oven to 375°F (190°C). If using a homemade pie crust, roll it out and carefully fit it into a 9-inch pie pan. For a store-bought crust, simply press it into the pan. Line the crust with foil and fill with pie weights or dried beans. Blind bake for 12–15 minutes until lightly golden. Remove the weights and foil, then bake for an additional 5 minutes until crisp. Let the crust cool slightly while you prepare the filling.
Step 2: Make the Filling
In a large mixing bowl, whisk together ½ cup of melted unsalted butter and ¾ cup of granulated sugar until smooth and creamy. Next, mix in ¼ cup of cornmeal, ¼ teaspoon of salt, 1 tablespoon of vinegar or lemon juice, and 1 teaspoon of vanilla extract, followed by ½ cup of honey. Ensure there are no lumps – the filling should be silky and well combined, and the warm aroma of honey and vanilla will fill your kitchen.
Step 3: Incorporate the Eggs
Add 3 large eggs to your mixture, one at a time, whisking well after each addition to ensure a smooth custard filling. Once the eggs are well mixed in, gradually stir in ½ cup of heavy cream. The heavy cream will make the mixture rich and luscious. Continue whisking until the filling is fully combined with a glossy appearance, ready to be poured into your pre-baked pie crust.
Step 4: Assemble & Bake
Carefully pour the creamy filling into the cooled pie crust, ensuring an even distribution. Place the pie on a baking sheet to catch any potential spills, then transfer it into the preheated oven at 350°F (175°C). Bake for 40–50 minutes, or until the center is set with a slight jiggle. Keep an eye on it during the last few minutes to avoid over-baking; a golden top is what you’re looking for!
Step 5: Cool
Once baked, remove the Salted Honey Pie from the oven and let it cool completely on a wire rack. This will take at least 2 hours, allowing the filling to firm up and develop its signature texture. Cooling is essential to maintain the structure of the pie when slicing, so be patient for those delicious rewards.
Step 6: Serve
When ready to serve, sprinkle a touch of flaky sea salt on top for that delightful sweet-salty contrast. Slice your Salted Honey Pie and present it beautifully on dessert plates. It’s perfect for sharing with friends and family, making for a cozy end to any meal or a special treat to savor with a cup of tea or coffee.
Make Ahead Options
These Salted Honey Pie preparations are perfect for busy home cooks who love to meal prep! You can prepare the pie crust up to 24 hours in advance by blind baking, allowing it to cool before covering with plastic wrap and refrigerating. The nutty, buttery flavor remains intact and delicious! The custard filling can be whisked together and stored in an airtight container in the fridge for up to 3 days. When you’re ready to bake, simply pour the chilled filling into the pre-baked crust and bake as directed. This allows the flavors to meld beautifully while saving you precious time, letting you savor the sweet and salty indulgence of your Salted Honey Pie with ease!
Expert Tips for Perfect Salted Honey Pie
-
Room Temperature Ingredients: Ensure your eggs and cream are at room temperature; this helps create a smoother custard filling that blends seamlessly.
-
Crust Care: Always blind bake your crust to maintain its crispiness. This prevents any sogginess and keeps your Salted Honey Pie delightful to the last bite.
-
Cool Completely: Patience is key! Allow the pie to cool completely before slicing; this ensures a clean cut and holds the custard’s structure beautifully.
-
Quality Matters: Invest in high-quality honey. The flavor enhancement this brings to your pie is unmatched, elevating the taste of your Salted Honey Pie to heavenly heights.
-
Watch the Bake Time: Keep a close eye on your pie during the last minutes of baking; over-baking can lead to a dry filling. Aim for a slight jiggle in the center when it’s done!
Salted Honey Pie Variations & Substitutions
Feel free to get creative with your Salted Honey Pie! These delightful variations invite you to explore different flavors and textures.
-
Flavor Boost: Experiment with Flavored Honey by using different types, like orange blossom or rosemary honey, to add a unique twist.
-
Citrus Zest: Add Lemon Zest (1 teaspoon) to the filling for a fresh, zesty kick that brightens each bite.
-
Chocolate Indulgence: Drizzle Chocolate Sauce over the cooled pie. The rich, dark chocolate complements the sweet-salty custard beautifully!
-
Nutty Crunch: Sprinkle Chopped Nuts (like pecans or walnuts) on top before serving for an added crunch and nutty flavor contrast.
-
Dairy-Free Option: Switch Heavy Cream for Coconut Cream to make the pie dairy-free without sacrificing richness.
-
Sweetness Control: If you prefer a less sweet pie, reduce the Granulated Sugar by up to 1/4 cup. The honey still provides ample sweetness.
-
Spice It Up: Incorporate a pinch of Cinnamon or Nutmeg into the filling for a warm, aromatic touch that enhances the flavor profile.
-
Savory Twist: For a unique savory flavor, try adding a small amount of Balsamic Vinegar to the filling. This will deepen the flavor and intrigue your taste buds.
Feel inspired by these variations, and don’t hesitate to try them out! Each one will showcase a side of this already delightful recipe. For more honey-inspired inspiration, why not check out our delicious Garlic Butter Honey or Lemon Honey Glazed options? You’ll discover the joy of sweet and salty in every bite!
How to Store and Freeze Salted Honey Pie
Refrigerate: Cover the pie tightly with plastic wrap or aluminum foil, and store it in the refrigerator for up to 4 days while maintaining its delicious flavor.
Freeze: Wrap individual slices tightly in plastic wrap and foil for up to 2 months. Thaw the Salted Honey Pie in the refrigerator overnight before serving for best results.
Reheat: When ready to enjoy, gently warm individual slices in the microwave or oven to maintain the custard’s silky texture while bringing back that fresh-baked taste.
What to Serve with Salted Honey Pie
Indulge your senses and elevate your dessert experience by pairing this delightful creation with complementary flavors and textures.
-
Whipped Cream: A dollop of lightly sweetened whipped cream adds airy elegance and enhances the creamy texture of the pie.
-
Fresh Berries: Serve alongside plump strawberries or tart raspberries to introduce a burst of freshness that balances the richness.
-
Coffee or Espresso: The bold flavors of coffee match beautifully, providing a warm contrast to the sweet-salty delight of the pie.
-
Nutty Ice Cream: A scoop of toasted almond or pecan ice cream introduces a crunchy element that pairs well with the pie’s smooth filling.
-
Citrus Salad: A refreshing salad of mandarin oranges and grapefruit drizzled with honey vinaigrette creates a zesty, palate-cleansing experience.
-
Dark Chocolate Shavings: Sprinkle shaved dark chocolate over the pie for an elegant touch that complements the honey’s sweetness with a hint of bitterness.
-
Dessert Wine: A glass of sweet dessert wine, like Sauternes or Moscato, enhances the flavors, elevating the entire dining experience.

Salted Honey Pie Recipe FAQs
What type of honey should I use for the Salted Honey Pie?
Using high-quality honey is essential for maximizing flavor in your Salted Honey Pie. I recommend wildflower or clover honey for their floral sweetness. Avoid cheap substitutes, as they can detract from the pie’s overall taste.
How should I store my Salted Honey Pie?
Cover the pie tightly with plastic wrap or aluminum foil and store it in the refrigerator for up to 4 days. This helps preserve its delicious flavor and creamy texture. Make sure it’s well-sealed to avoid any absorbing odors from the fridge.
Can I freeze Salted Honey Pie?
Absolutely! To freeze, wrap individual slices tightly in plastic wrap and then in aluminum foil. The pie can be frozen for up to 2 months. When you’re ready to enjoy it, simply thaw it in the refrigerator overnight for best results.
What if my custard filling doesn’t set properly?
If your filling doesn’t set correctly, it could be due to under-baking. Ensure you bake the pie until it has a slight jiggle in the center, which indicates the custard is still creamy but not liquid. A common troubleshooting tip is to use a thermometer; the internal temperature should reach about 180°F (82°C).
Are there any dietary considerations for making Salted Honey Pie?
Yes, if you’re baking for someone with a specific dietary concern, take note of the ingredients. For a dairy-free version, you can substitute the heavy cream with coconut cream. Also, ensure that the pie crust is suitable for their dietary needs—many store-bought options contain dairy or gluten!
How long does it take for the pie to cool before serving?
It’s essential to let your Salted Honey Pie cool completely on a wire rack for at least 2 hours. This cooling period allows the custard to firm up and sets its structure, ensuring you achieve clean slices when it’s time to serve!
Sweet and Salty Salted Honey Pie You'll Crave Again!
Ingredients
Equipment
Method
- Preheat your oven to 375°F (190°C). For a homemade crust, fit it into a 9-inch pie pan. Blind bake for 12–15 minutes, then an additional 5 minutes. Let cool.
- In a mixing bowl, whisk together melted butter and sugar until smooth. Add cornmeal, salt, vinegar or lemon juice, vanilla extract, and honey. Ensure mixture is silky and combined.
- Incorporate eggs one at a time, whisking well after each. Gradually stir in heavy cream until fully combined and glossy.
- Pour filling into the cooled crust, bake at 350°F (175°C) for 40–50 minutes until the center has a slight jiggle. Avoid over-baking for a golden top.
- Allow the pie to cool completely on a wire rack for at least 2 hours before slicing to maintain structure.
- Sprinkle a touch of flaky sea salt on top, slice, and serve with tea or coffee.