
Every time I take a bite of these 4-Ingredient Crispy Chocolate Oat Cookies, I’m transported back to cozy afternoons spent baking with my grandmother. With just four simple ingredients, these delightful treats combine the satisfying crunch of oats with rich chocolatey goodness, crafting a snack that’s not only indulgent but also effortlessly easy to make. Whether you’re a busy parent needing a quick pick-me-up or just someone who craves a healthier, gluten-free sweet treat, these cookies will capture your heart. Plus, they’re versatile—feel free to add in your favorite nuts or dried fruits for that personal touch! Curious about how to bring this homestyle joy into your kitchen? Let’s dive into the recipe!
Why are these cookies a must-try?
Simplicity in Every Bite: With just four ingredients, these cookies come together quickly, making them a perfect choice for even the busiest of schedules.
Flavor Explosion: The combination of oats and chocolate creates a delightful texture that will keep you coming back for more.
Versatile Snacking: Customize your cookie by adding nuts or dried fruits to create a flavor profile that fits your cravings perfectly.
Gluten-Free Option: Made with certified gluten-free oats, these cookies ensure that everyone can indulge without worry, much like our delicious Garlic Chicken Broccoli recipe which shares a similar care for all dietary choices.
Healthy Indulgence: Each cookie delivers nutrients and energy, making them a guilt-free snack you can enjoy anytime during the day!
Once you make these, they’ll surely become a staple in your home, just like our favorite Corn Chicken Rice dish!
Chocolate Oat Cookie Ingredients
• Perfect blend for a gluten-free treat!
For the Cookies
- Gluten-free oats – Provides a chewy texture and is suitable for gluten-sensitive individuals.
- Chocolate chips – Adds delightful sweetness; opt for dark chocolate for a richer flavor or try carob chips for a caffeine-free variation.
- Peanut butter – Binds the cookies together while adding creaminess; can substitute with almond butter for a nut-free option.
- Honey or maple syrup – Natural sweetener to enhance the cookie’s flavor; agave nectar works as a vegan alternative.
For Customization
- Chopped nuts – Enhance the crunch factor; walnuts or pecans work great and add healthy fats.
- Dried fruits – Incorporate cranberries or raisins for a touch of natural sweetness.
- Nut butter variations – Experiment with cashew or sunflower seed butter to cater to different dietary preferences.
With these ingredients, you are just moments away from a delicious batch of Chocolate Oat Cookies that will satisfy your cravings!
Step‑by‑Step Instructions for 4-Ingredient Crispy Chocolate Oat Cookies
Step 1: Preheat the Oven
Start by preheating your oven to 350°F (175°C). This step is crucial to ensure that your cookies bake evenly and achieve that perfect crispy texture. Line a baking sheet with parchment paper to prevent sticking and make for easy cleanup. Set it aside while you prepare the cookie dough.
Step 2: Mix the Ingredients
In a large mixing bowl, combine gluten-free oats, peanut butter, and honey or maple syrup. Stir them together thoroughly until the ingredients are well-blended and form a thick batter. You should see a cohesive mixture that pulls away from the sides of the bowl, indicating that it’s ready for the next step.
Step 3: Fold in the Chocolate Chips
Gently fold in the chocolate chips into the oat mixture, ensuring they are evenly distributed throughout the dough. This will give each cookie a delicious burst of chocolate in every bite. Keep blending with a gentle motion so as not to break the oats and maintain that delightful texture.
Step 4: Scoop the Cookie Dough
Using a tablespoon or cookie scoop, portion out the cookie dough onto your prepared baking sheet. Make sure to leave enough space between each scoop, as they will spread while baking. Lightly flatten each mound with the back of your scoop to create a nice, even shape for your cookies.
Step 5: Bake to Perfection
Place the baking sheet in the preheated oven and bake for 10-12 minutes. Keep an eye on them; the edges should turn golden brown while the centers remain slightly soft. This contrast will give your 4-Ingredient Crispy Chocolate Oat Cookies their signature chewy texture, perfect for indulging.
Step 6: Cool Before Serving
Once baked, remove the cookies from the oven and let them cool on the baking sheet for about 5 minutes. This resting period allows them to firm up slightly before transferring them to a wire rack. Don’t rush this step; the cookies will be too fragile if moved too soon!
Step 7: Store and Enjoy
After they are completely cooled, store your cookies in an airtight container at room temperature. You can keep them for up to a week or freeze them for longer shelf life. These 4-Ingredient Crispy Chocolate Oat Cookies are ready to be enjoyed anytime you need a quick, tasty snack!

Storage Tips for Chocolate Oat Cookies
Room Temperature: Store cookies in an airtight container at room temperature for up to one week to maintain their delightful texture and flavor.
Fridge: If you live in a particularly warm climate, keep your cookies in the fridge for added freshness, but consume them within two weeks.
Freezer: For longer storage, freeze cookies in a single layer in a freezer-safe bag for up to three months. Thaw them at room temperature or microwave briefly before enjoying.
Reheating: If you’d like to enjoy a warm cookie, place it in the microwave for 10-15 seconds after thawing; this brings back that fresh-baked taste.
Make Ahead Options
These 4-Ingredient Crispy Chocolate Oat Cookies are a fantastic choice for meal prep! You can prepare the cookie dough up to 24 hours in advance by mixing the oats, peanut butter, and sweetener, then refrigerating it in an airtight container. This keeps the mixture fresh and helps the flavors meld beautifully. Additionally, you can scoop out the dough and freeze the individual cookie mounds, which allows you to bake them freshly whenever you crave something sweet—just add a couple of extra minutes to the baking time if you bake them from frozen. When you’re ready to enjoy, simply bake as directed, and you’ll have warm, delicious cookies in no time, just as delightful as freshly made!
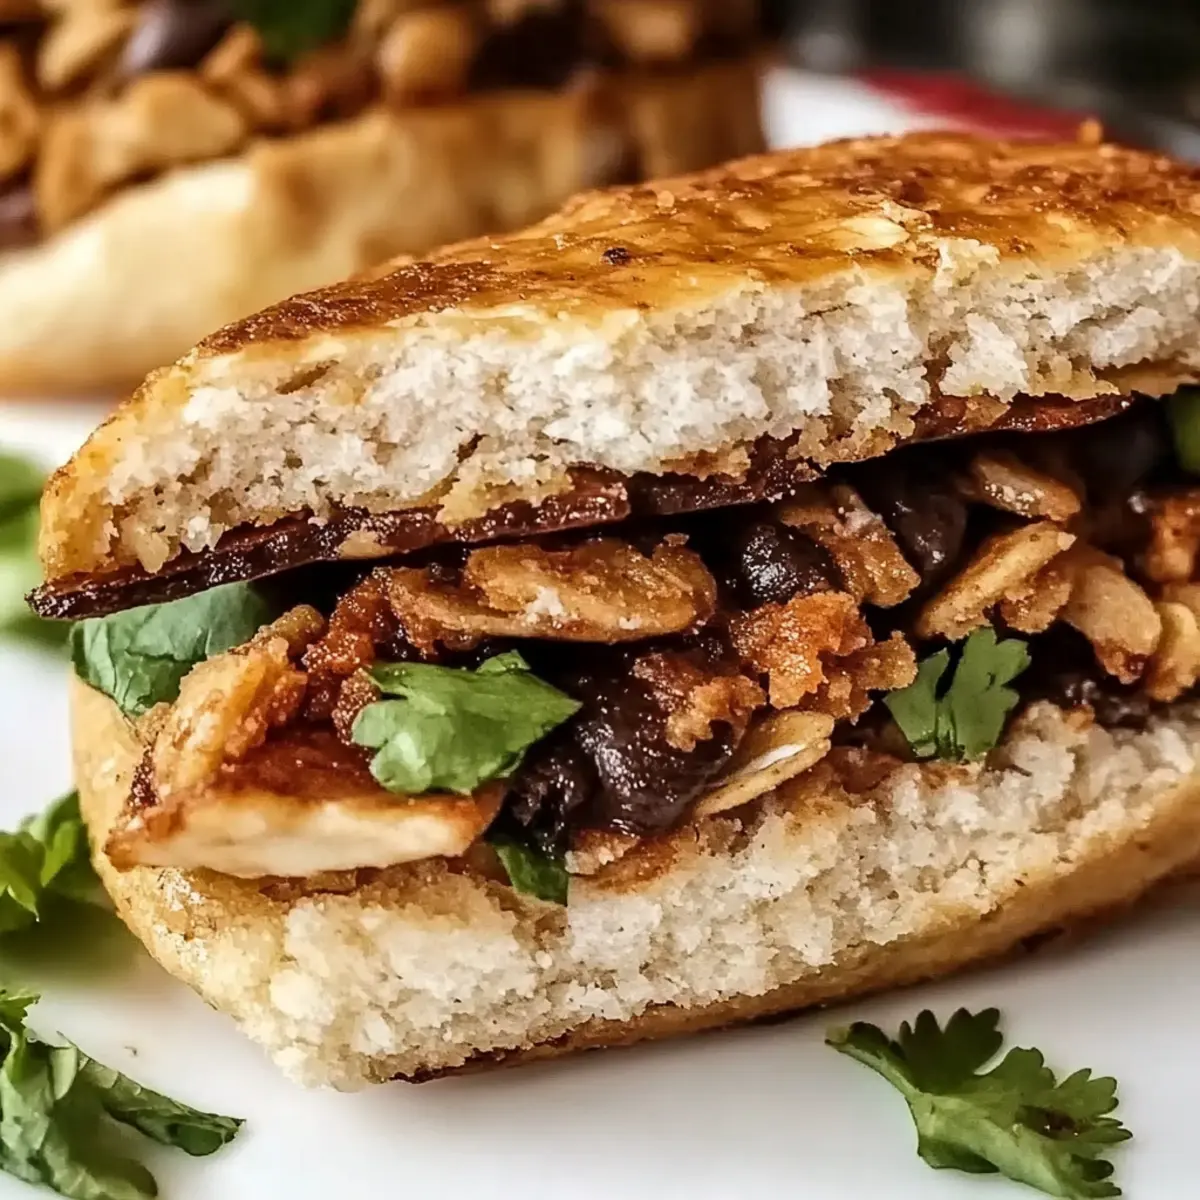
Chicken Torta Sandwich Variations & Substitutions
Feel free to get creative and customize your Chicken Torta Sandwich with these tasty ideas, bringing out your culinary flair!
- Gluten-Free Bread: Switch to gluten-free bread or tortillas to cater to gluten-sensitive eaters without sacrificing flavor.
- Spicy Kick: Add sliced jalapeños or a dash of hot sauce for an extra kick of heat in every bite.
- Different Proteins: Swap chicken for grilled shrimp or tofu for a quick vegetarian delight that’s equally satisfying.
- Cheese Lovers: Top with avocado, queso fresco, or your favorite cheese for an added layer of creaminess.
- Veggie Boost: Include sliced cucumbers, roasted peppers, or arugula for a fresh and crunchy twist, just like we do in the delightful Santa Chicken Skillet.
- Herb Flavors: Toss in fresh cilantro or basil to elevate your sandwich with aromatic flavors that make each bite sing.
- Balsamic Glaze: Drizzle a bit of balsamic glaze inside for a sweet contrast that pairs beautifully with the savory chicken.
- Sweet Touch: Add a layer of caramelized onions or mango salsa for a sweet and tangy combination that brings excitement to each mouthful.
With these variations, your Chicken Torta Sandwich will never be boring, and you might even discover a new favorite combination!
Expert Tips for Chocolate Oat Cookies
-
Choose Quality Ingredients: Opt for organic or high-quality chocolate chips and nut butter to elevate the flavor of your cookies. It’s worth it!
-
Avoid Overmixing: When folding in chocolate chips, mix gently to maintain the cookies’ chewy texture. Overmixing can lead to crumbly cookies.
-
Uniform Shapes: Use a cookie scoop for consistent sizes, ensuring that your chocolate oat cookies bake evenly. This will help achieve that perfect balance between crisp and chewy.
-
Watch the Bake Time: Keep a close eye on the cookies as they bake; pulling them out while still soft in the middle prevents dryness and enhances their texture.
-
Experiment with Variations: Feel free to incorporate your favorite mix-ins like dried fruits or different nut butters. This way, you can enjoy a new twist on your classic chocolate oat cookies every time!
-
Count Your Oats: For gluten-free options, always ensure that your oats are certified gluten-free. This guarantees that everyone can enjoy these delicious treats!
What to Serve with 4-Ingredient Crispy Chocolate Oat Cookies
Indulging in these delightful cookies offers a sensory experience that pairs beautifully with a variety of complementary treats and beverages.
-
Glass of Milk: The classic combo! The creaminess of milk enhances the rich chocolate flavor while softening the cookie’s texture.
-
Cup of Herbal Tea: A warm, soothing tea balances the sweetness of the cookies for a cozy afternoon snack.
-
Fruit Salad: The freshness of seasonal fruits provides a refreshing contrast to the chocolatey richness, adding a burst of natural sweetness.
-
Nut Butter Spread: Slather a thin layer of your favorite nut butter on top for added protein and a nutty, creamy texture that’s irresistible.
-
Frozen Yogurt Parfait: Layer pieces of cookie with yogurt and fruits for a delightful and satisfying treat that takes dessert to the next level.
-
Homemade Whipped Cream: A dollop of lightly sweetened whipped cream serves as a luscious accompaniment and elevates your cookie enjoyment.
-
Iced Coffee: The bitter notes of iced coffee harmonize with the sweetness, creating a delightful indulgent experience perfect for afternoon breaks.
-
Coconut Macaroons: Pair these cookies with chewy coconut macaroons for a textural contrast that will delight your taste buds.
These pairings not only complement the flavors of the cookies but also create a full and satisfying experience that you and your loved ones will cherish!
Chocolate Oat Cookies Recipe FAQs
How do I choose the right oats for this recipe?
Absolutely! When selecting oats, ensure they are certified gluten-free if you’re catering to gluten-sensitive individuals. Look for whole grain oats to provide the best texture and flavor. I recommend checking the packaging for any dark spots, which can indicate rancidity, and opt for tightly sealed bags to ensure freshness.
What is the best way to store these cookies?
For optimal freshness, store your cookies in an airtight container at room temperature for up to one week. If your home tends to be warm and humid, consider refrigerating them to extend freshness for up to two weeks. Just remember to let them come back to room temperature before enjoying!
Can I freeze Chocolate Oat Cookies?
Yes! To freeze your cookies for later enjoyment, place them in a single layer on a baking sheet and freeze until solid (about 1-2 hours). Once frozen, transfer them to a freezer-safe bag or container, where they can last for up to three months. When you’re ready to indulge, simply thaw them at room temperature or heat them in the microwave for 10-15 seconds for that fresh-baked taste.
What should I do if my cookies turn out too dry?
If your cookies come out dry, it’s likely due to overbaking. I suggest keeping a close eye on them during the last few minutes of baking—once the edges turn golden brown, they’re ready to come out, even if the centers look slightly soft. If you ever find yourself with dry cookies, try sandwiching them with a bit of peanut butter or your favorite jam to add moisture back in!
Can I customize the ingredients for dietary restrictions?
Very! This recipe is quite flexible. For a nut-free option, swap peanut butter with sunflower seed butter. You can also substitute honey or maple syrup with agave nectar for a vegan alternative. Feel free to add chopped nuts or dried fruits if you have no nut allergies to personalize these cookies for your taste!
Are these cookies pet-friendly?
Not at all! It’s important to keep chocolate away from pets as it can be toxic to them. Always store chocolate treats securely out of their reach. If you’re looking to bake something safe for your furry friend, consider making a batch of peanut butter and oat cookies without chocolate!
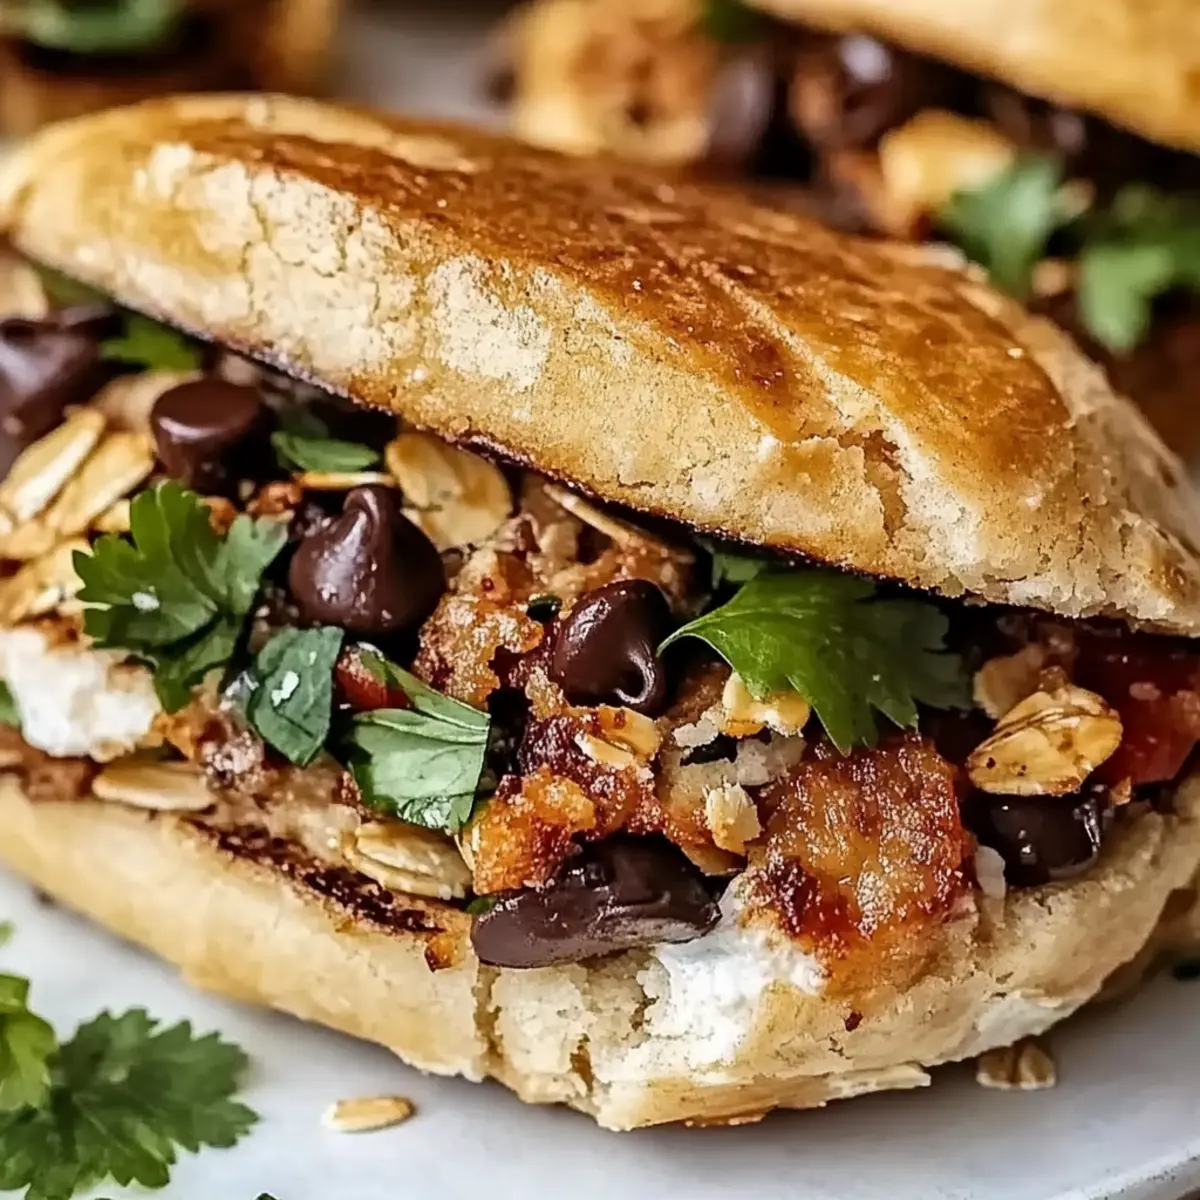
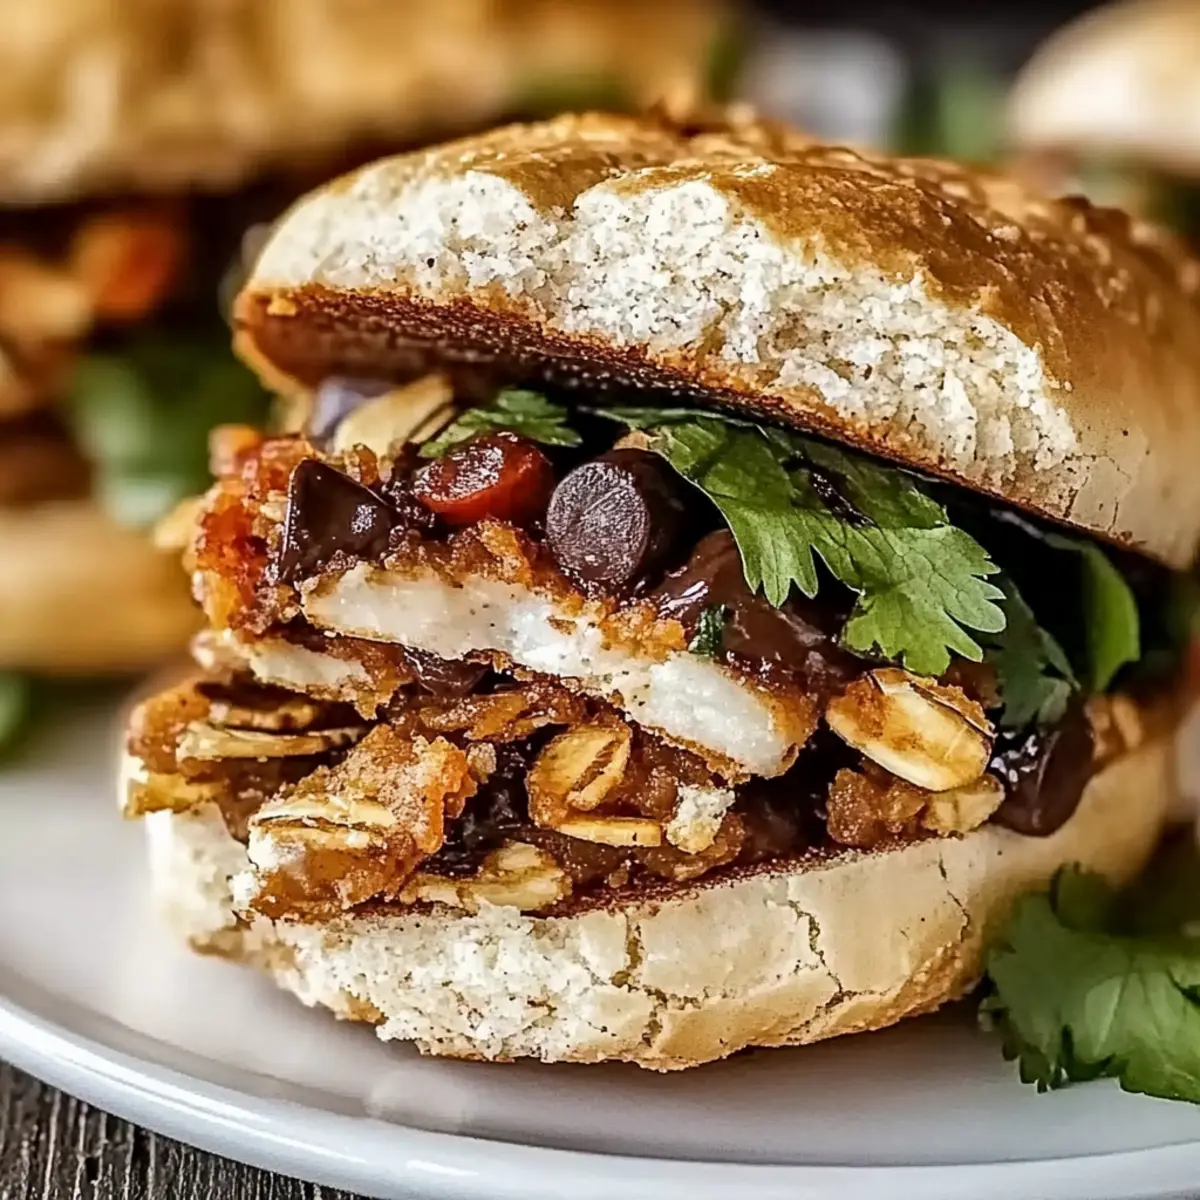
Satisfy Your Cravings with a Chicken Torta Sandwich Delight
Ingredients
Equipment
Method
- Preheat the oven to 350°F (175°C) and line a baking sheet with parchment paper.
- In a large bowl, mix the shredded chicken with mayonnaise and hot sauce.
- Slice the bolillo rolls in half and lightly toast them in the oven.
- Spread a layer of refried beans on the bottom half of each roll.
- Top with a generous portion of the chicken mixture, followed by avocado, tomatoes, and lettuce.
- Close the sandwich with the top half of the roll and serve immediately.
- Enjoy your Chicken Torta Sandwich with additional hot sauce if desired.