
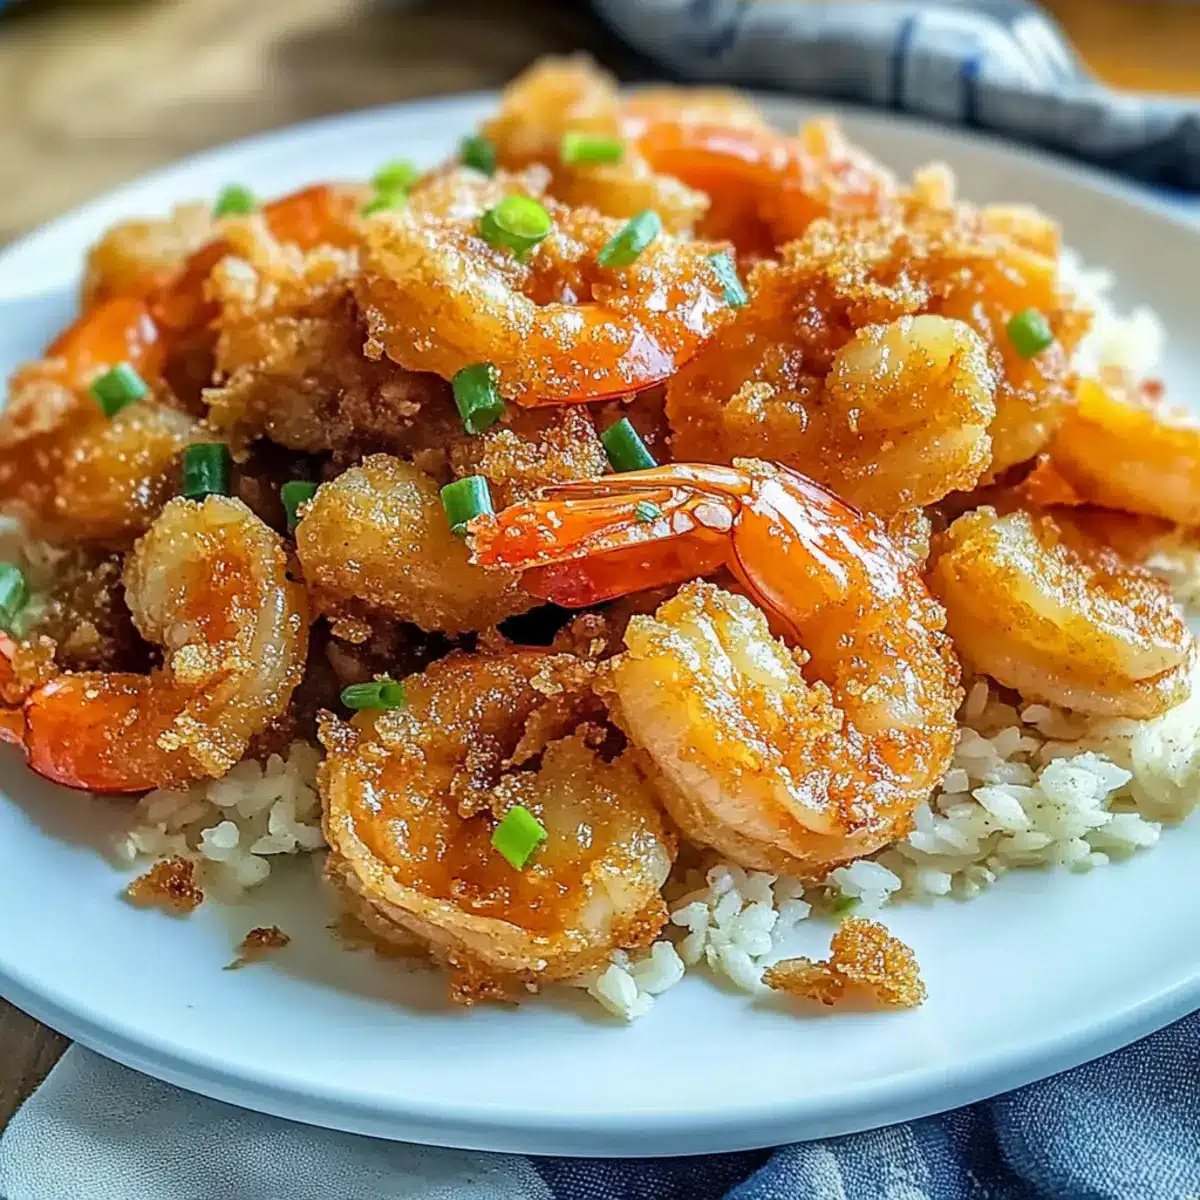
As I savored the last bite of a generous shrimp plate from a cozy food truck in Maui, my taste buds awakened to the richness of Hawaiian cuisine. That irresistible moment inspired me to recreate a dish that wouldn’t leave my heart (or stomach) wanting more: Crispy Hawaiian Garlic Shrimp. This recipe transforms humble shrimp into a crispy delight, enveloped in a buttery garlic sauce that’s anything but ordinary. Not only is it a quick meal-prep option, but it’s also perfect for impressing guests with its vibrant flavors and textures. What better way to bring a taste of the islands to your kitchen? Curious about how to create your own island-inspired feast? Let’s dive in!
Why is this shrimp recipe a must-try?
Irresistible Flavor: The buttery garlic sauce elevates the shrimp, giving every bite an explosion of savory goodness.
Crispy Texture: Achieve a perfect crunch with a light coating of potato starch or cornstarch, making it truly delectable!
Quick to Prepare: This meal takes minimal time, allowing you to whip up restaurant-quality shrimp in a snap.
Versatile Dish: Pair it with steamed rice or a fresh salad; it fits seamlessly into any meal setting!
Crowd-Pleasing Favorite: Impress friends and family with this vibrant dish that celebrates Hawaiian flavors, sure to become a go-to recipe!
Feeling adventurous? Try adding a dash of cayenne for a spicy kick, or check out my delicious Garlic Butter Steak for another crowd favorite!
Crispy Hawaiian Garlic Shrimp Ingredients
For the Shrimp
• Shrimp – Use fresh or thawed frozen shrimp; ensure they are pat-dried for optimal crispiness.
For the Coating
• Potato Starch or Cornstarch – Creates a light, crispy coating; potato starch yields a slightly lighter crunch.
• Salt & Pepper – Adjust to taste for enhancing flavors; the right seasoning makes a noticeable difference.
For the Garlic Sauce
• Garlic – Essential for flavor; use 10-15 cloves for that signature aromatic goodness.
• Butter – Adds richness and flavor to the sauce; unsalted butter gives you better control over seasoning.
• Lemon – Brightens the dish with acidity; squeeze fresh lemon juice right before serving for the best flavor.
Optional Garnishes
• Green Onions – Sprinkling fresh green onions adds a pop of color and slight oniony freshness.
• Lemon Wedges – Perfect for squeezing over the dish just before eating, enhancing the overall flavor.
Ready to impress your taste buds with this Crispy Hawaiian Garlic Shrimp? Let’s get cooking!
Step‑by‑Step Instructions for Crispy Hawaiian Garlic Shrimp
Step 1: Prepare the Shrimp
Start by cleaning and deveining your shrimp, ensuring they’re pat-dried with paper towels to achieve that coveted crispy texture. This step is crucial as excess moisture will hinder crispiness during frying. Aim to use about 1 pound of fresh or thawed frozen shrimp for the best flavor and texture.
Step 2: Make the Coating
In a mixing bowl, combine ½ cup of potato starch (or cornstarch), along with salt and pepper to taste. This mixture will create a light but crunchy coating that elevates your crispy Hawaiian garlic shrimp. Stir until thoroughly mixed, ensuring an even distribution of seasoning, which enhances every bite of shrimp.
Step 3: Dredge the Shrimp
Take each shrimp and coat it individually in the starch mixture. Make sure to shake off any excess coating to keep the layer thin and even. This step is key to achieving a light, crispy texture when frying. Set each dredged shrimp aside on a plate, ready for frying.
Step 4: Fry the Shrimp
Heat about ½ inch of vegetable oil in a large skillet over medium heat until it shimmers, around 350°F. Carefully add the shrimp, cooking for about 2-3 minutes on each side until they are golden brown and crispy. Don’t overcrowd the pan; work in batches if necessary to ensure even cooking and perfect crispiness.
Step 5: Prepare the Garlic Sauce
Once the shrimp are cooked, remove them from the skillet and set them aside on a paper towel-lined plate. In the same skillet, lower the heat and add 4 tablespoons of unsalted butter along with 10-15 minced garlic cloves. Cook until fragrant, about 1-2 minutes, stirring frequently to prevent burning.
Step 6: Combine Shrimp and Sauce
Return the crispy Hawaiian garlic shrimp to the skillet and gently toss them in the buttery garlic sauce until coated and heated through. This step melds all the flavors together, creating a deliciously rich coating on your shrimp. Make sure every bite is infused with that garlic goodness for maximum flavor.
Step 7: Serve
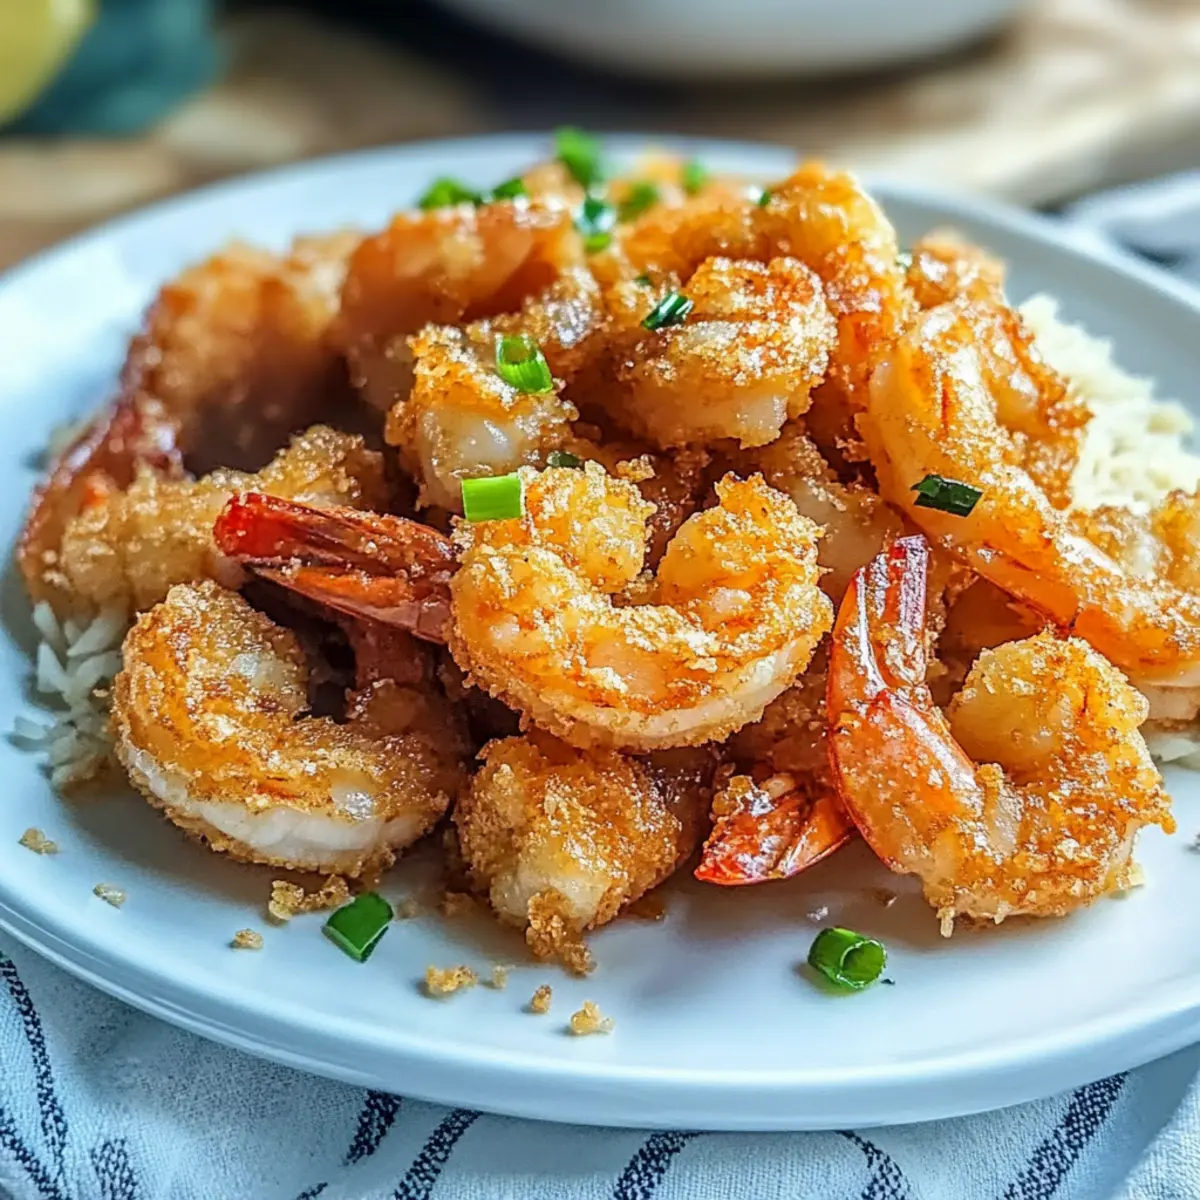
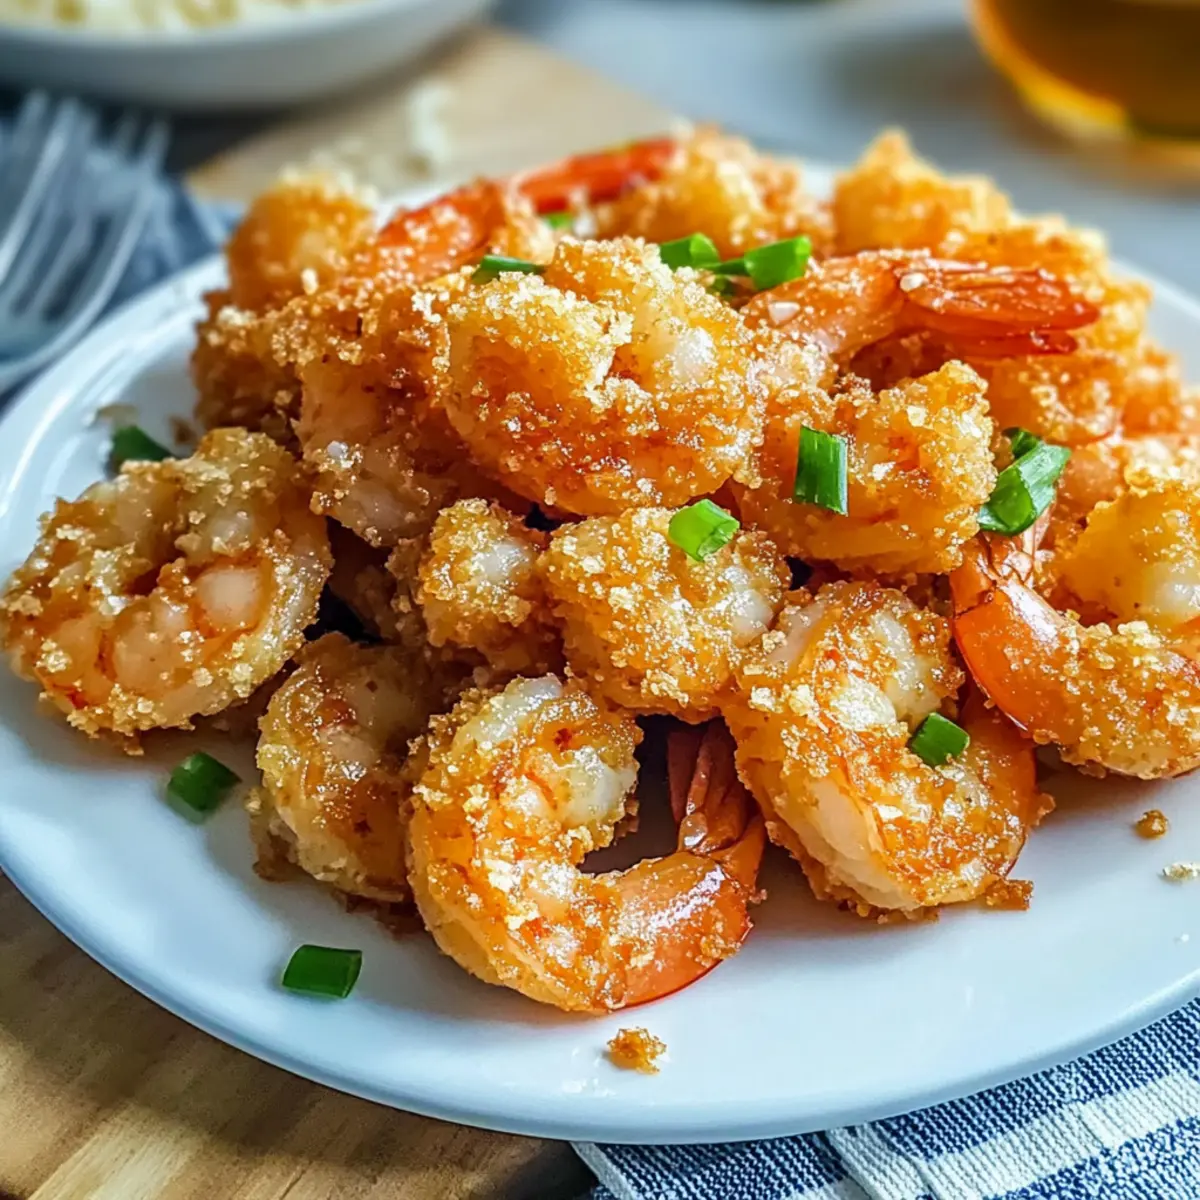
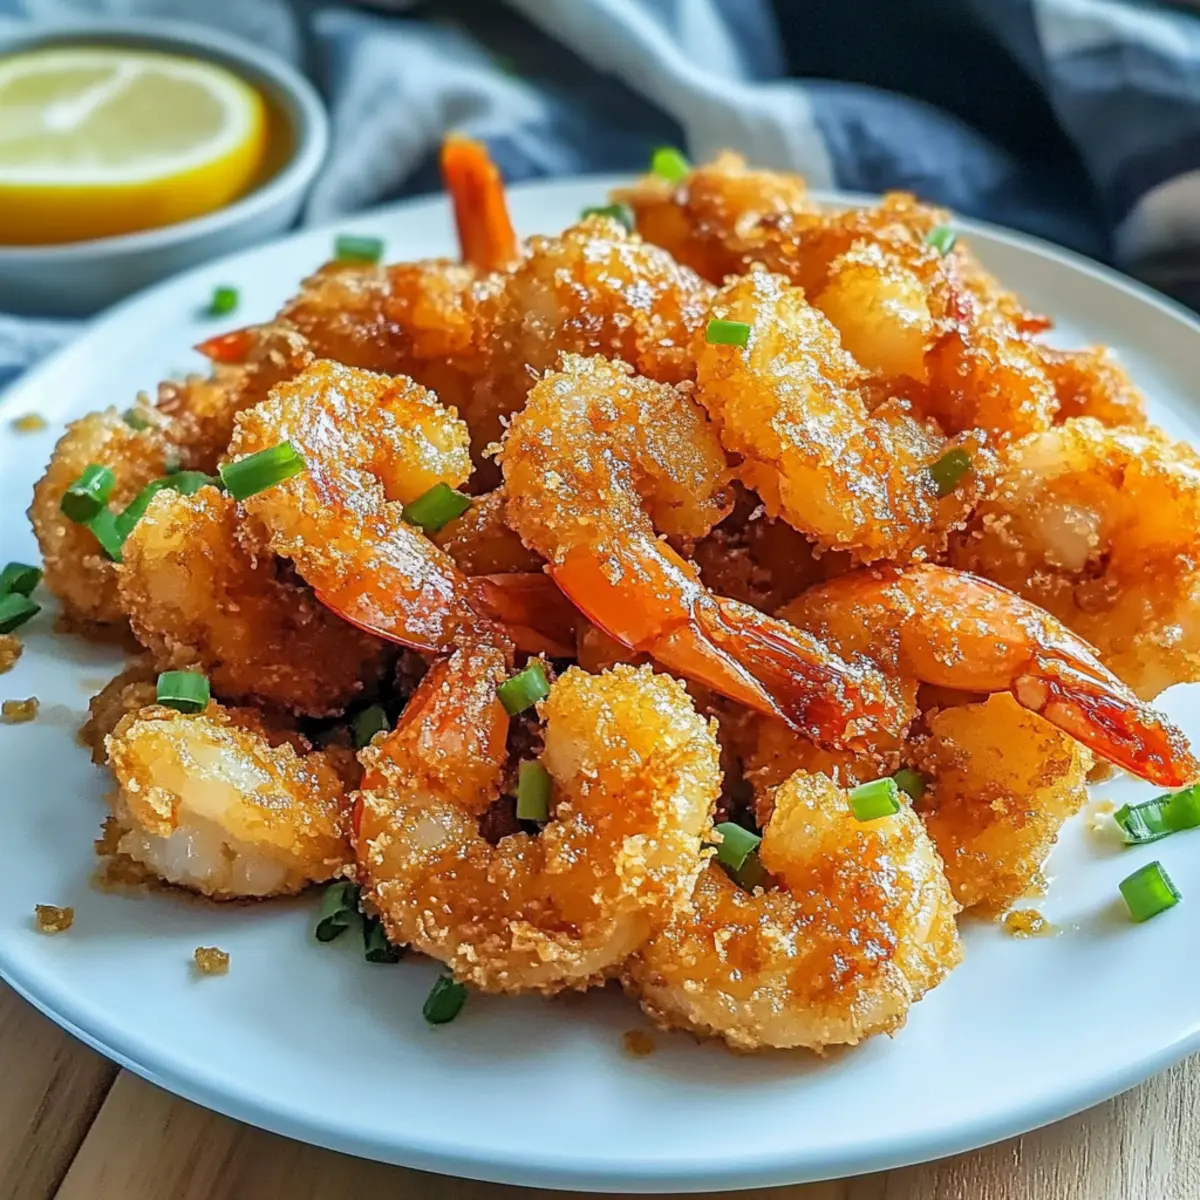
Plate the crispy Hawaiian garlic shrimp family-style, drizzling any remaining sauce over the top. For an added burst of freshness, garnish with chopped green onions and serve with lemon wedges on the side. This dish is best enjoyed immediately while the shrimp remain crispy and the flavors are vibrant.
How to Store and Freeze Crispy Hawaiian Garlic Shrimp
Fridge: Store leftovers in an airtight container in the refrigerator for up to 2 days. Note that the crispy coating may soften, so enjoy the shrimp fresh for the best experience.
Freezer: If you want to freeze, place the shrimp in a single layer on a baking sheet to flash freeze before transferring to a sealed freezer bag. Use within 1-2 months for optimal flavor and texture.
Reheating: Reheat crispy Hawaiian garlic shrimp in a skillet over medium heat. Add a pat of butter to revive moisture and maintain texture, cooking until heated through.
Consumption: For the best taste and crunch, consume shrimp shortly after cooking; the longer they sit, the softer the crispy coating becomes.
Make Ahead Options
These Crispy Hawaiian Garlic Shrimp are perfect for meal prep, saving you time on busy weeknights! You can clean and devein your shrimp up to 24 hours in advance, storing them in an airtight container in the refrigerator to maintain freshness. Additionally, you can prepare the coating by mixing the potato starch with salt and pepper, sealing it in a separate container for up to 3 days. When you’re ready to enjoy this delicious dish, simply dredge the shrimp in the coating and fry as directed. For optimal crispiness, it’s best to cook the shrimp just before serving, ensuring they remain golden and irresistible!
What to Serve with Irresistibly Crispy Hawaiian Garlic Shrimp
Pair your meal with these delightful sides for a balanced, flavorful experience that will transport you straight to the islands.
-
Steamed White Rice: The light, fluffy rice absorbs the buttery garlic sauce beautifully, creating a harmonious balance with every bite.
-
Classic Macaroni Salad: A creamy, chilled side that adds a refreshing contrast to the warm, crispy shrimp, making for a quintessential Hawaiian plate.
-
Fresh Cucumber Salad: Crisp cucumbers and sweet onions tossed in rice vinegar brighten the dish while cutting through the richness of the shrimp.
-
Grilled Pineapple Slices: Sweet and smoky, these juicy slices give a tropical flair that complements the garlic and butter, enhancing each refreshing bite.
-
Garlic Butter Noodles: Tender noodles tossed in garlic and butter echo the flavors of the shrimp, making it a deliciously indulgent pairing.
-
Tropical Fruit Punch: A sweet, fruity beverage with hints of pineapple and orange serves as a refreshing palate cleanser, perfectly offsetting the savory shrimp.
Bringing these elements together creates a memorable feast that’s both satisfying and reminiscent of a Hawaiian getaway!
Expert Tips for Crispy Hawaiian Garlic Shrimp
-
Dry Shrimp First: Patting the shrimp dry is essential for achieving that extra crispy texture; moisture can ruin the coating’s crunchiness.
-
Avoid Overcrowding Pan: Fry in batches if necessary; overcrowding leads to steaming instead of frying, which impacts texture negatively.
-
Monitor Oil Temperature: Keep the oil at medium heat; too hot can burn the coating while the shrimp remains undercooked, risking an uneven result.
-
Don’t Skip the Starch: Using potato starch or cornstarch is key for a light, crispy coating; regular flour won’t yield the same delectable crunch in your crispy Hawaiian garlic shrimp.
-
Reheating Tips: For the best texture on leftovers, reheat in a skillet over medium heat, adding a touch of butter to restore softness without sacrificing crunch.
Crispy Hawaiian Garlic Shrimp Variations
Ready to personalize your delicious shrimp dish? Let’s explore some exciting twists that will enhance those flavors and textures!
-
Spice it Up: Add cayenne pepper or paprika to the coating for a delightful kick. A touch of heat enhances the savory profile, making each bite pop.
-
Vegetarian Option: Swap shrimp for firm tofu or slices of zucchini; follow the same dredging and frying process for a delectable alternative. You’re still in for that satisfying crunch!
-
Add Vegetables: Toss in bell peppers or snow peas while frying for a colorful twist. Their crispness complements the shrimp beautifully, balancing flavors and adding a nutritious touch.
-
Coconut Flavor: Substitute half of the butter with coconut oil for a tropical flair. It lends an aromatic sweetness that pairs wonderfully with garlic, blissfully transporting you to the islands.
-
Garlic Lover’s Dream: Double the garlic! For those who can’t get enough, using 20-25 cloves will create a more intense, aromatic experience. Your taste buds will surely thank you!
-
Zesty Twist: Add fresh lime juice to the garlic sauce for a bright, citrusy zing. It can elevate the dish further, giving it a refreshing taste that dances on the palate.
-
Crunchy Coating: For an added crispy layer, mix panko breadcrumbs with the starch coating. It gives a delightful crunch that elevates the shrimp’s texture beautifully.
Curious about more flavorful adventures? Dive into my scrumptious Garlic Butter Honey BBQ Chicken Tacos for another culinary treat!
Crispy Hawaiian Garlic Shrimp Recipe FAQs
What type of shrimp should I use for this recipe?
I recommend using fresh or thawed frozen shrimp for the best results. Be sure to pat them dry before cooking; excess moisture will prevent your shrimp from achieving the crispy texture we all love!
How should I store leftover crispy Hawaiian garlic shrimp?
Store leftovers in an airtight container in the refrigerator for up to 2 days. It’s best to enjoy the shrimp fresh, as the crispy coating may soften, but they can still be tasty when reheated properly.
Can I freeze crispy Hawaiian garlic shrimp?
Absolutely! To freeze, lay the cooked shrimp in a single layer on a baking sheet and freeze until solid. Then transfer to a sealed freezer bag and use within 1-2 months for the best flavor and texture. When you’re ready to eat, simply reheat them in a skillet over medium heat.
What’s the best way to reheat leftover shrimp without losing the crispiness?
Reheat your crispy Hawaiian garlic shrimp in a skillet over medium heat, adding a small pat of butter. This helps regain some moisture while keeping that delicious crunch. Cook until heated through, usually about 3-5 minutes.
How can I adjust this recipe for dietary restrictions or preferences?
If you have a seafood allergy, a great vegetarian alternative is to use firm tofu or zucchini. Simply follow the same dredging and frying process, ensuring they are well-patted dry to maintain that crispy texture. For gluten-free options, stick to potato starch or cornstarch.
Crispy Hawaiian Garlic Shrimp That Will Impress Your Taste Buds
Ingredients
Equipment
Method
- Clean and devein your shrimp, pat-dry with paper towels.
- In a mixing bowl, combine potato starch (or cornstarch), salt, and pepper.
- Coat each shrimp individually in the starch mixture, shaking off excess.
- Heat vegetable oil in a skillet over medium heat, then fry shrimp until golden brown.
- In the same skillet, add butter and minced garlic, cooking until fragrant.
- Return shrimp to the skillet, tossing in the buttery garlic sauce.
- Serve shrimp family-style, garnished with green onions and lemon wedges.