
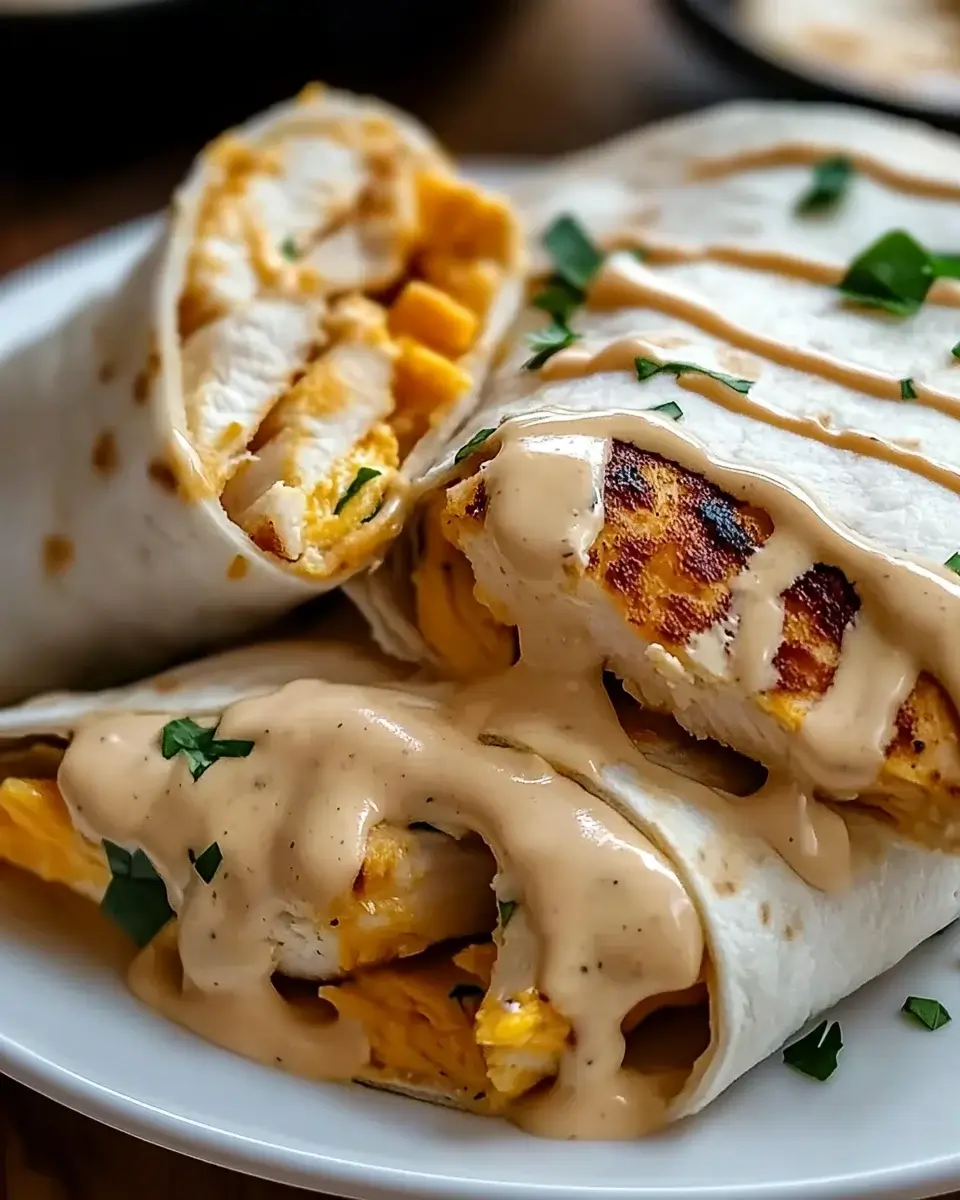
Introduction to Cheesy Garlic Chicken Wraps for the Ultimate Comfort Food
There’s something magical about a warm wrap that hugs all the flavors you love. Cheesy Garlic Chicken Wraps for the Ultimate Comfort Food are just that—an embrace of shredded chicken, creamy cheeses, and fresh veggies, all wrapped up in a soft tortilla. Whether you’re racing against the clock after a long day or looking to impress your family with a cozy meal, these wraps are your go-to solution. They’re quick, satisfying, and bursting with flavor, making them perfect for any occasion. Trust me, once you try them, they’ll become a staple in your kitchen!
Why You’ll Love This Cheesy Garlic Chicken Wraps for the Ultimate Comfort Food
These Cheesy Garlic Chicken Wraps are a game-changer for busy weeknights. They come together in just 25 minutes, making dinner a breeze. The combination of gooey cheese and tender chicken creates a flavor explosion that’s hard to resist. Plus, you can customize them with your favorite veggies or spices. It’s comfort food that’s not only delicious but also quick and easy, perfect for any home cook!
Ingredients for Cheesy Garlic Chicken Wraps for the Ultimate Comfort Food
Gathering the right ingredients is the first step to creating these delightful wraps. Here’s what you’ll need:
- Cooked chicken, shredded: This is the star of the show. Use leftover rotisserie chicken for a quick option or cook your own for a fresh taste.
- Shredded mozzarella cheese: This melty cheese adds gooey goodness. Feel free to mix in other cheeses like cheddar for extra flavor.
- Cream cheese: Softened cream cheese brings a rich, creamy texture that binds everything together.
- Sour cream: A dollop of sour cream adds tanginess and moisture, making each bite irresistible.
- Garlic: Fresh minced garlic and garlic powder enhance the flavor profile, giving it that comforting garlic kick.
- Onion powder: This adds depth to the flavor without the crunch of fresh onions, perfect for those who prefer a smoother texture.
- Salt and black pepper: Essential seasonings that elevate the overall taste. Adjust to your liking!
- Flour tortillas: Large tortillas are perfect for wrapping up all the delicious fillings. Whole wheat or spinach tortillas can be great alternatives.
- Fresh spinach leaves: These add a pop of color and a nutritious crunch. You can swap them for other greens like kale or arugula.
- Diced tomatoes: Fresh tomatoes bring juiciness and a burst of flavor. You can also use sun-dried tomatoes for a different twist.
- Chopped green onions: These add a mild onion flavor and a nice crunch, enhancing the overall texture.
- Olive oil: A little oil for cooking helps achieve that golden, crispy exterior on the wraps.
For those looking to spice things up, consider adding diced jalapeños or a sprinkle of red pepper flakes to the chicken mixture. If you’re in a hurry, using shredded rotisserie chicken is a fantastic shortcut. And for a vegetarian version, black beans can easily replace the chicken. You’ll find the exact quantities for each ingredient at the bottom of the article, ready for printing!
How to Make Cheesy Garlic Chicken Wraps for the Ultimate Comfort Food
Step 1: Prepare the Cheesy Mixture
Start by grabbing a large mixing bowl. Toss in the shredded chicken, mozzarella cheese, cream cheese, and sour cream. Add the minced garlic, garlic powder, onion powder, salt, and black pepper. Mix everything together until it’s creamy and well combined. This cheesy mixture is the heart of your wraps, so make sure it’s evenly blended. The aroma of garlic will already start to fill your kitchen!
Step 2: Assemble the Wraps
Now, lay out your flour tortillas on a clean surface. Spread a generous amount of the cheesy chicken mixture across each tortilla, leaving about an inch border around the edges. Next, layer on the fresh spinach leaves, diced tomatoes, and chopped green onions. This adds a fresh crunch and vibrant color to your wraps. Don’t be shy—load them up with your favorite veggies!
Step 3: Roll the Wraps
It’s time to roll! Carefully start at one end of the tortilla and tuck in the sides as you go. This helps secure all that delicious filling inside. Roll tightly but not too tight, or the filling might burst out. Once you’ve rolled them up, place the wraps seam-side down on a plate. This keeps them from unraveling while cooking.
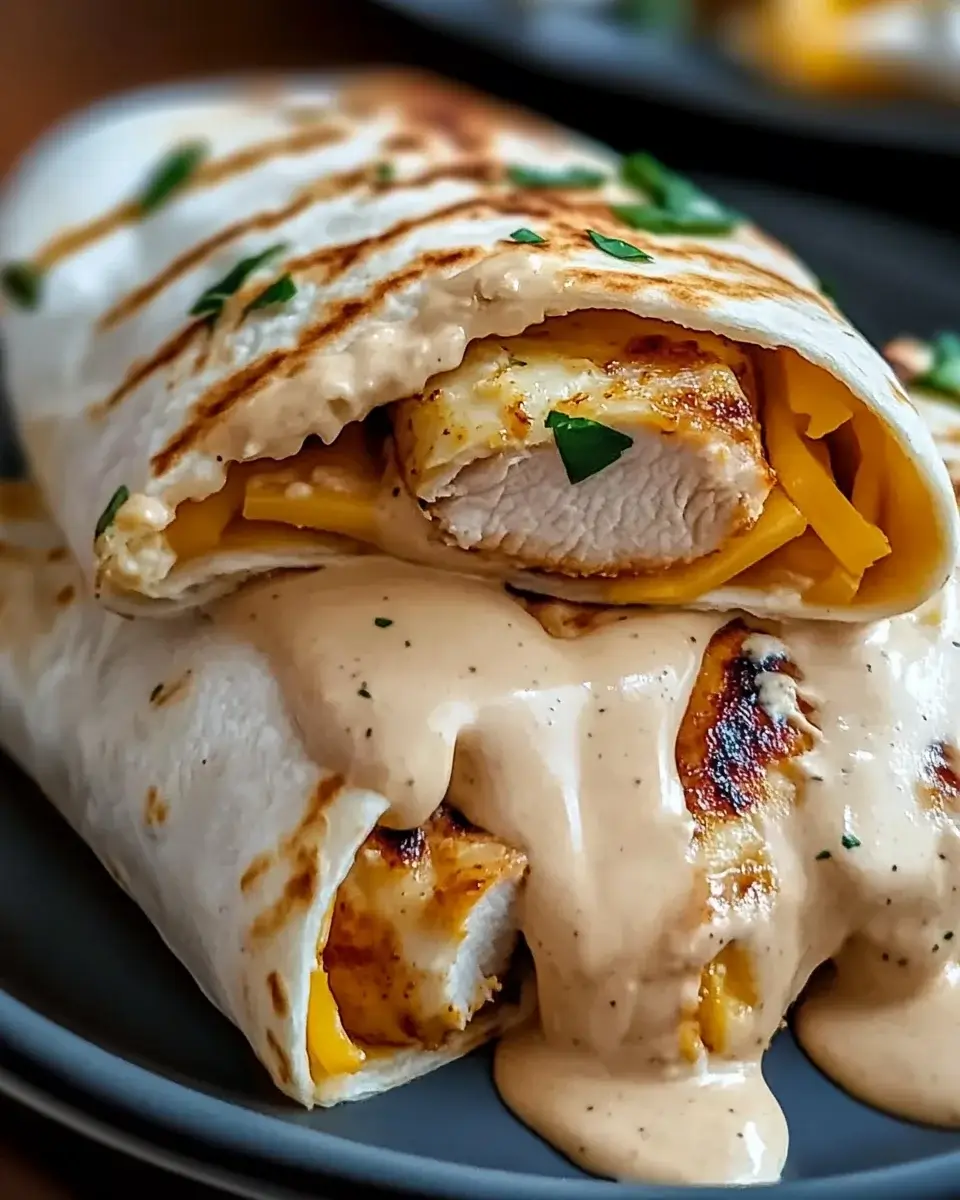
Step 4: Cook the Wraps
Heat a skillet over medium heat and add a splash of olive oil. Once the oil is hot, place the wraps seam-side down in the skillet. Cook for about 3-4 minutes on each side, until they’re golden brown and crispy. The sizzling sound is music to your ears! This step gives your wraps that perfect crunch while keeping the insides gooey and cheesy.
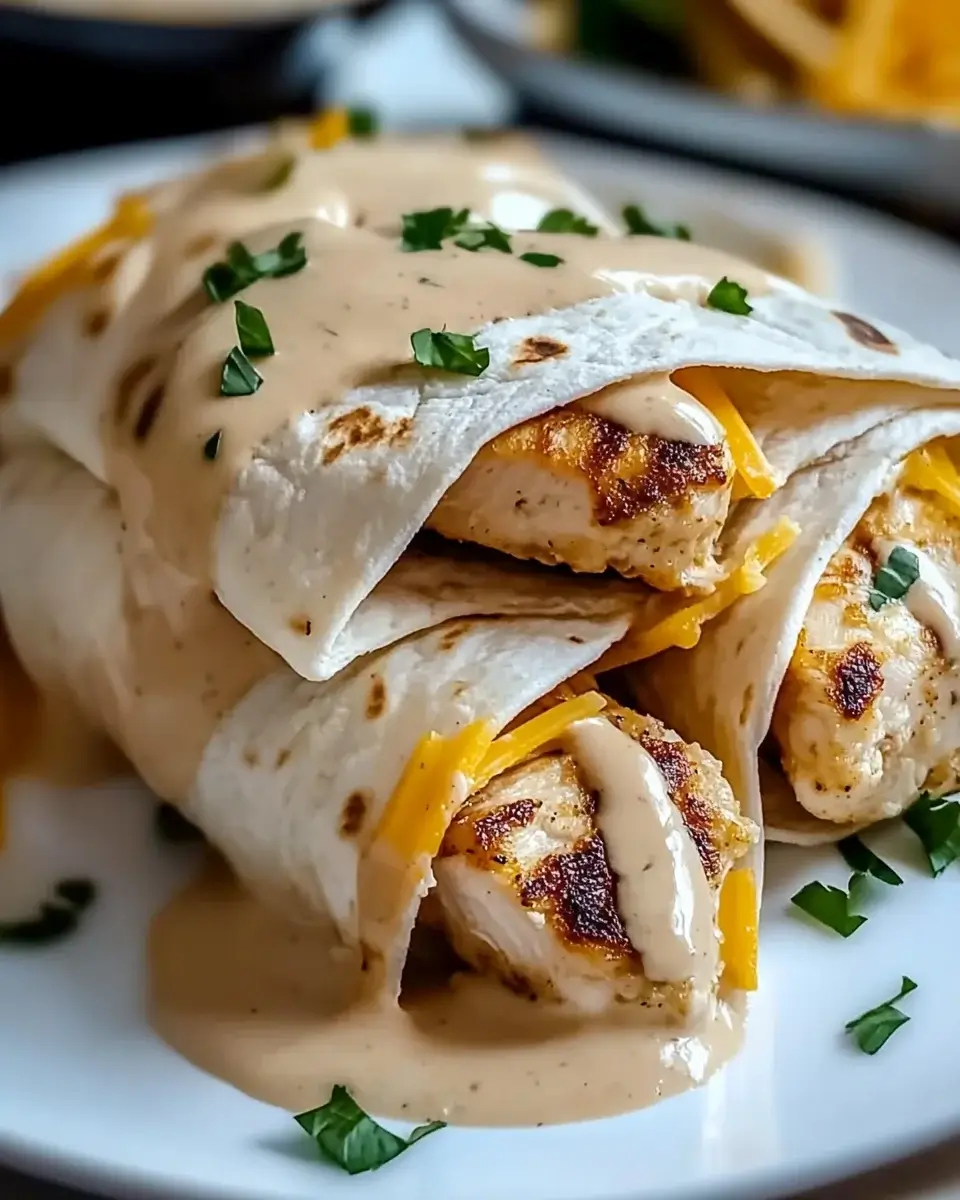
Step 5: Serve and Enjoy
After cooking, remove the wraps from the skillet and let them cool for a minute. This helps the cheese set a bit. Slice each wrap in half and serve warm. You’ll want to dig in right away, as the cheesy goodness is simply irresistible!
Tips for Success
- Prep your ingredients ahead of time to save on cooking time.
- Don’t overfill the wraps; a little goes a long way!
- Experiment with different cheeses for unique flavors.
- For extra crunch, grill the wraps on a panini press.
- Let the wraps cool slightly before slicing to avoid messy fillings.
Equipment Needed
- Large mixing bowl: Essential for combining your cheesy mixture. A sturdy pot can work in a pinch.
- Skillet: A non-stick skillet is ideal for cooking the wraps. A grill pan can add extra flavor.
- Spatula: Perfect for flipping the wraps without breaking them. A pair of tongs can also do the trick.
- Cutting board and knife: For slicing the wraps after cooking. A pizza cutter can make quick work of it!
Variations
- Spicy Kick: Add diced jalapeños or a sprinkle of red pepper flakes to the cheesy mixture for a fiery twist.
- Vegetarian Delight: Substitute the chicken with black beans or roasted vegetables for a hearty vegetarian option.
- Cheese Lovers: Mix in different cheeses like pepper jack or gouda for a unique flavor profile.
- Herb Infusion: Incorporate fresh herbs like cilantro or basil into the filling for a burst of freshness.
- Low-Carb Option: Use lettuce leaves instead of tortillas for a lighter, low-carb wrap.
Serving Suggestions
- Side Salad: Pair your wraps with a crisp garden salad for a refreshing contrast.
- Chips and Salsa: Serve with tortilla chips and your favorite salsa for a crunchy side.
- Cold Beverages: Enjoy with iced tea or a cold beer to complement the flavors.
- Presentation: Arrange wraps on a platter and garnish with fresh herbs for a pop of color.
FAQs about Cheesy Garlic Chicken Wraps for the Ultimate Comfort Food
Can I make these Cheesy Garlic Chicken Wraps ahead of time?
Absolutely! You can prepare the cheesy mixture and assemble the wraps a few hours in advance. Just store them in the fridge until you’re ready to cook. This makes for a quick dinner solution on busy nights!
What can I substitute for chicken in this recipe?
If you’re looking for a vegetarian option, black beans or roasted vegetables work wonderfully. You can also use shredded rotisserie chicken for a faster alternative. The flavor will still be fantastic!
How do I store leftovers?
Leftover wraps can be stored in an airtight container in the fridge for up to three days. Reheat them in a skillet for a few minutes to regain that crispy texture.
Can I freeze these wraps?
Yes, you can freeze the assembled but uncooked wraps. Just wrap them tightly in plastic wrap and place them in a freezer bag. When you’re ready to enjoy, cook them straight from the freezer, adding a few extra minutes to the cooking time.
What sides pair well with Cheesy Garlic Chicken Wraps?
These wraps go great with a fresh garden salad, tortilla chips with salsa, or even some crispy sweet potato fries. The options are endless, so feel free to get creative!
Final Thoughts
Creating Cheesy Garlic Chicken Wraps for the Ultimate Comfort Food is more than just a cooking experience; it’s a journey filled with warmth and satisfaction. Each bite delivers a delightful combination of flavors that can turn any ordinary day into something special. Whether you’re sharing them with family or enjoying a quiet night in, these wraps bring a sense of comfort that’s hard to beat. Plus, the ease of preparation means you can whip them up anytime the craving strikes. So, roll up your sleeves, gather your ingredients, and let the cheesy goodness take you on a delicious adventure!
Cheesy Garlic Chicken Wraps: Your Comfort Food Delight!
Ingredients
Method
- In a large mixing bowl, combine the shredded chicken, mozzarella cheese, cream cheese, sour cream, minced garlic, garlic powder, onion powder, salt, and black pepper. Mix until well combined and creamy.
- Lay out the flour tortillas on a clean surface. Spread a generous amount of the cheesy chicken mixture evenly across each tortilla, leaving about an inch border around the edges.
- Top the cheesy chicken mixture with fresh spinach leaves, diced tomatoes, and chopped green onions.
- Carefully roll each tortilla tightly, starting from one end and tucking in the sides as you go, to create a wrap.
- Heat olive oil in a large skillet over medium heat. Place the wraps seam-side down in the skillet and cook for about 3-4 minutes on each side, or until golden brown and crispy.
- Remove from the skillet and let cool for a minute before slicing in half. Serve warm.
Nutrition
Notes
- For a spicy kick, add diced jalapeños or a sprinkle of red pepper flakes to the chicken mixture.
- Substitute the chicken with shredded rotisserie chicken for a quicker option, or use black beans for a vegetarian version.