

As I stood in my kitchen, the aroma of warm spices and sweet vanilla enveloped me, drawing me back to my happiest moments. This Biscoff Milk Cake is a delightful twist on tres leches, featuring the iconic flavors of Biscoff cookies to elevate any dessert table. Not only is it incredibly simple to prepare, but it also serves as a crowd-pleaser, making it perfect for gatherings or a cozy night in. With a creamy soak that infuses each slice, you’ll be left with a moist, indulgent treat that feels like a warm hug in every bite. Ready to discover how to create this dreamy dessert that will surely impress your friends and family? Let’s get started!
Why is Biscoff Milk Cake a must-try?
Indulgence at its Finest: The Biscoff Milk Cake combines the rich flavors of Biscoff cookies in a soft, fluffy cake that will have your taste buds singing.
Simplicity in Preparation: With straightforward steps and common ingredients, even novice bakers can whip this up effortlessly!
Perfect for Any Occasion: Whether celebrating a birthday or enjoying a weeknight treat, this cake is sure to impress your guests or delight your family.
Make-Ahead Marvel: Prepare it in advance! The flavors deepen overnight, making it the ideal dessert to serve at parties.
Serve with a Twist: Drizzle with reserved milk or top it with fresh fruits, and elevate your dessert experience to new heights! Discover how it compares to our other favorites like Lemon Velvet Cake or Cinnamon Roll Cake.
Biscoff Milk Cake Ingredients
For the Cake
• All-Purpose Flour – Structure for the cake; replace with gluten-free flour for a gluten-free option.
• Cornstarch – Provides a lighter texture; no direct substitute recommended.
• Baking Powder – Leavening agent for rise; ensure freshness for best results.
• Cinnamon – Adds warmth and flavor; can be substituted with nutmeg.
• Salt – Enhances sweetness; essential for balance and should not be omitted.
• Eggs – Binds the ingredients and provides moisture; use flax eggs for a vegan option.
• Granulated Sugar – Sweetness and moisture; can be substituted with coconut sugar.
• Milk – Adds moisture and richness; substitute with plant milk for a dairy-free option.
• Oil – Adds moisture and tenderness; use melted coconut oil for a different flavor.
• Vanilla Extract – Provides aromatics; substitute with almond extract for variation.
For the Milk Mixture
• Evaporated Milk – Main soaking liquid for flavor; evaporated coconut milk can be a dairy-free alternative.
• Condensed Milk – Sweetness and creaminess in the milk mixture; use vegan condensed milk for a plant-based option.
• Half & Half or Whole Milk – Enhances richness; dairy-free alternatives like coconut cream work well.
• Biscoff Spread – Infuses the cake and whipped cream with deep flavor; substitute with any caramel spread.
For the Whipped Topping
• Heavy Cream – Base for whipped topping; make vegan with coconut cream.
• Powdered Sugar – Stabilizes whipped cream; can be omitted for a less sweet option.
This Biscoff Milk Cake is not just a treat; it’s an experience you don’t want to miss!
Step‑by‑Step Instructions for Biscoff Milk Cake
Step 1: Preheat the Oven
Begin by preheating your oven to 350°F (175°C). While the oven heats, prepare a 9×13-inch baking pan by greasing it with butter or oil, ensuring the bottom and sides are well-coated to prevent sticking. This prep step is essential for achieving a nice, golden crust on your Biscoff Milk Cake.
Step 2: Mix Dry Ingredients
In a large mixing bowl, whisk together 2 cups of all-purpose flour, 1/4 cup of cornstarch, 1 tablespoon of baking powder, 1 teaspoon of cinnamon, and a pinch of salt. This combination creates a light, airy base for your cake. Make sure to mix thoroughly until no lumps remain, ensuring an even texture throughout the Biscoff Milk Cake.
Step 3: Prepare the Batter
In a stand mixer bowl, combine 4 eggs and 1 cup of granulated sugar. Beat them on medium speed until the mixture turns pale and fluffy—about 3-4 minutes. Add in 1 cup of milk, 1/2 cup of oil, and 2 teaspoons of vanilla extract, mixing until fully incorporated. Gradually fold in the dry ingredients, being careful not to overmix so the cake retains its airy bounce.
Step 4: Bake the Cake
Pour the batter evenly into your prepared 9×13 pan, using a spatula to level the surface. Bake in the preheated oven for approximately 25 minutes or until the cake is golden brown and a toothpick inserted into the center comes out clean. Once baked, allow it to cool in the pan for about 30 minutes before transferring it to a wire rack.
Step 5: Make the Milk Mixture
In a mixing bowl, whisk together 1 can of evaporated milk, 1 can of sweetened condensed milk, 1 cup of half & half, and 1/2 cup of melted Biscoff spread until smooth. This creamy mixture will infuse the cake with irresistible flavor. Set it aside while the cake cools, allowing the flavors to meld.
Step 6: Soak the Cake
Once the Biscoff Milk Cake has cooled, use a fork to poke holes evenly across the surface. Slowly pour the milk mixture over the cake, allowing it to soak in thoroughly. Reserve about 1/2 cup of this mixture for later use. Cover the cake with plastic wrap and chill in the refrigerator for at least 2 hours, or overnight for the best flavor.
Step 7: Prepare the Whipped Topping
In a clean mixing bowl, pour in 1 cup of heavy cream. Using a stand mixer or handheld whisk, whip the cream until it begins to thicken. Gradually add in 1/4 cup of powdered sugar and 2 tablespoons of melted Biscoff spread, continuing to whip until stiff peaks form. This luscious topping will beautifully complement your Biscoff Milk Cake.
Step 8: Assemble the Cake
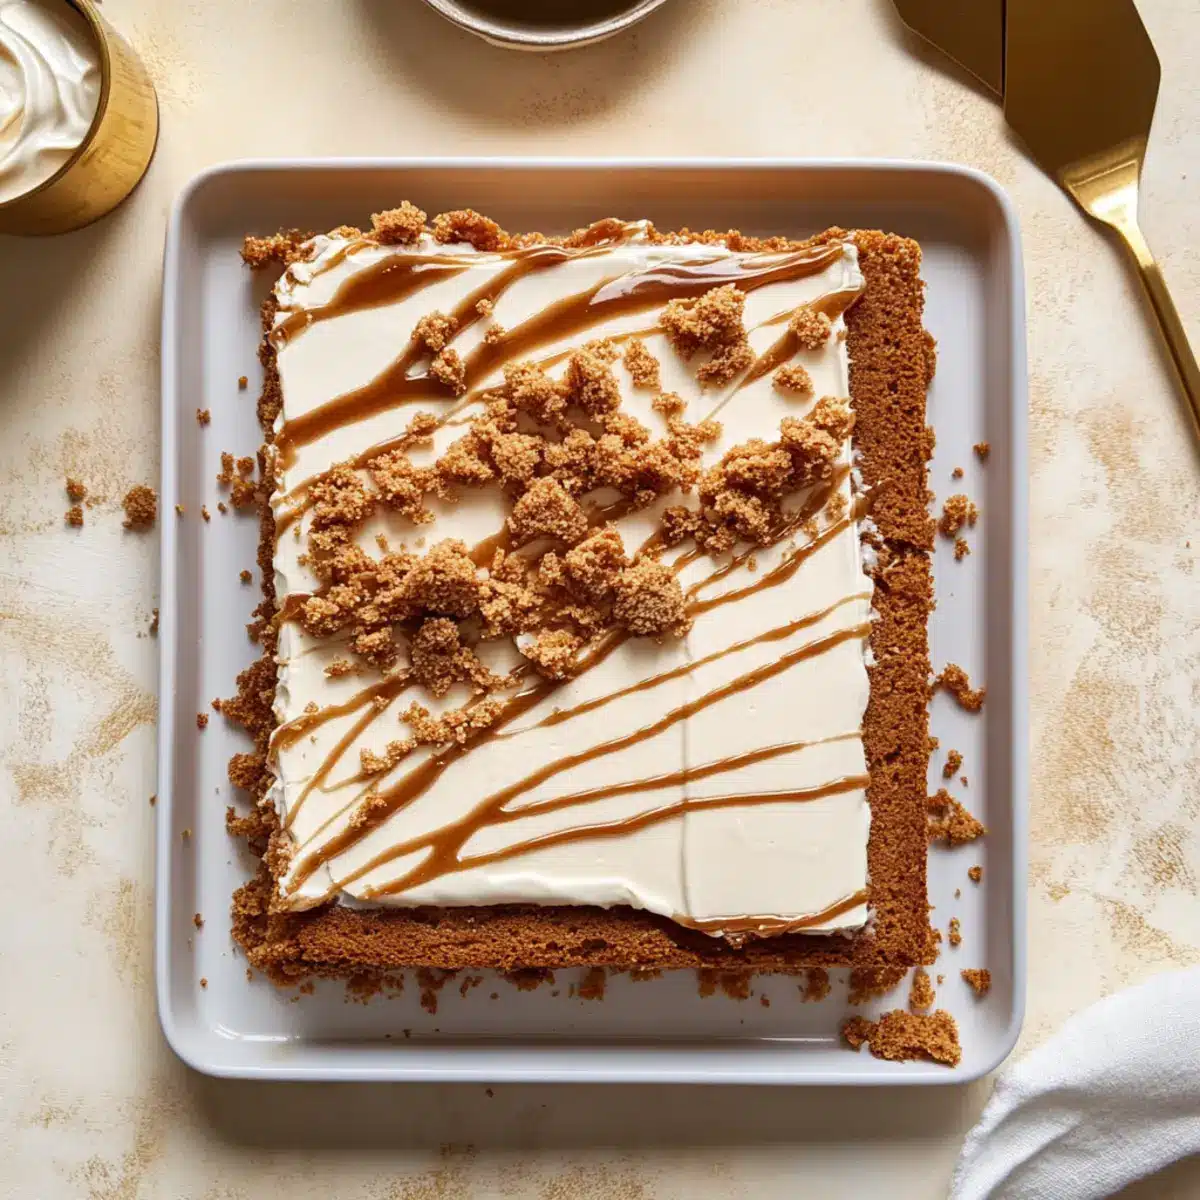
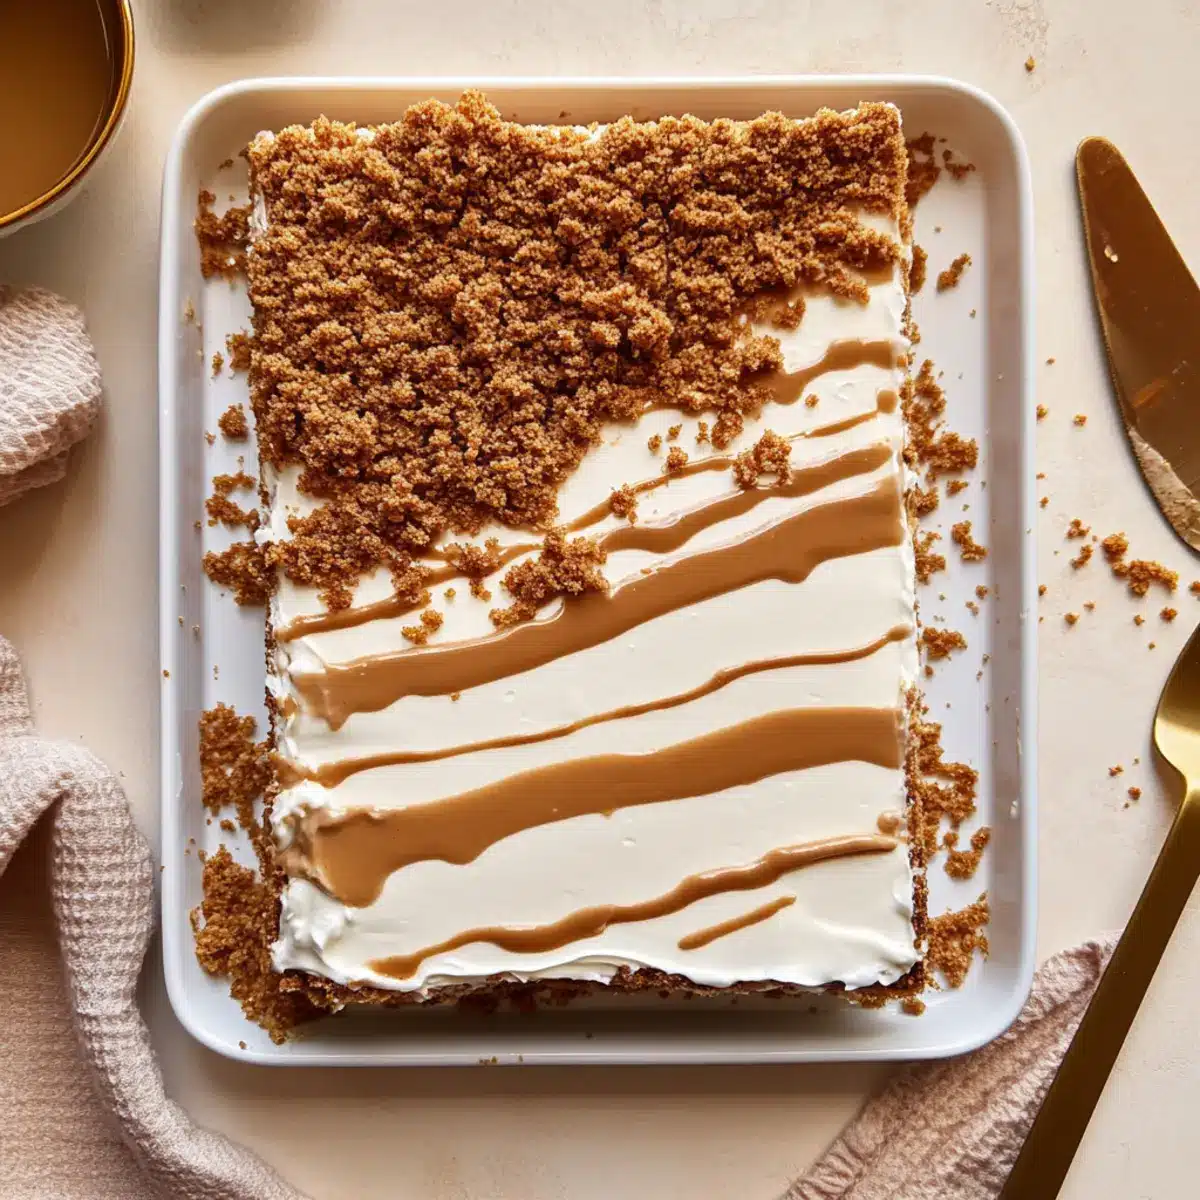
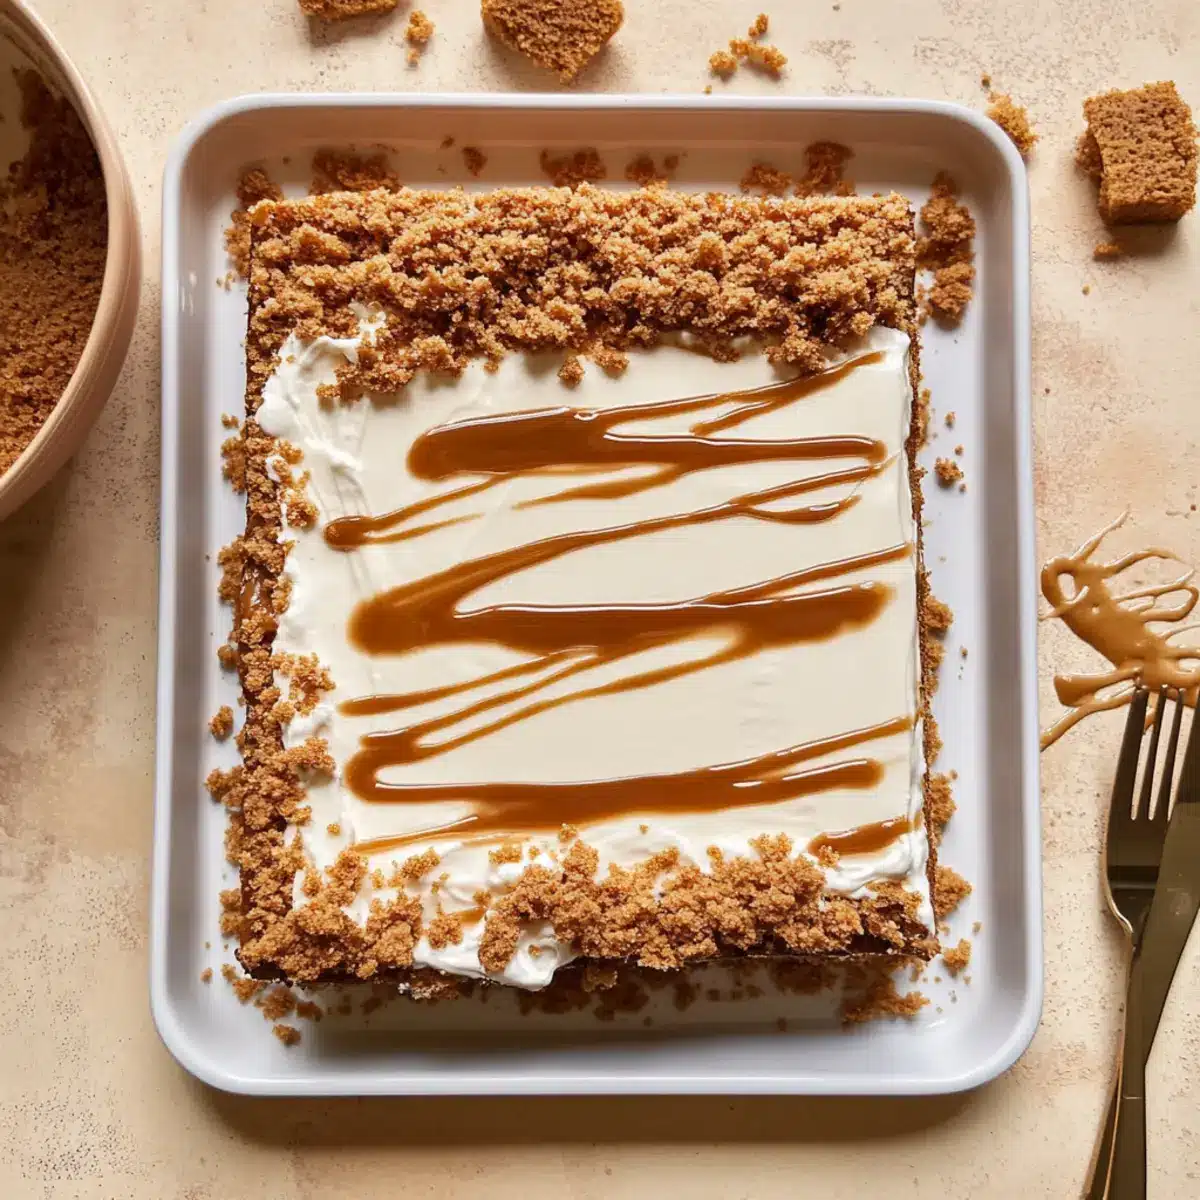
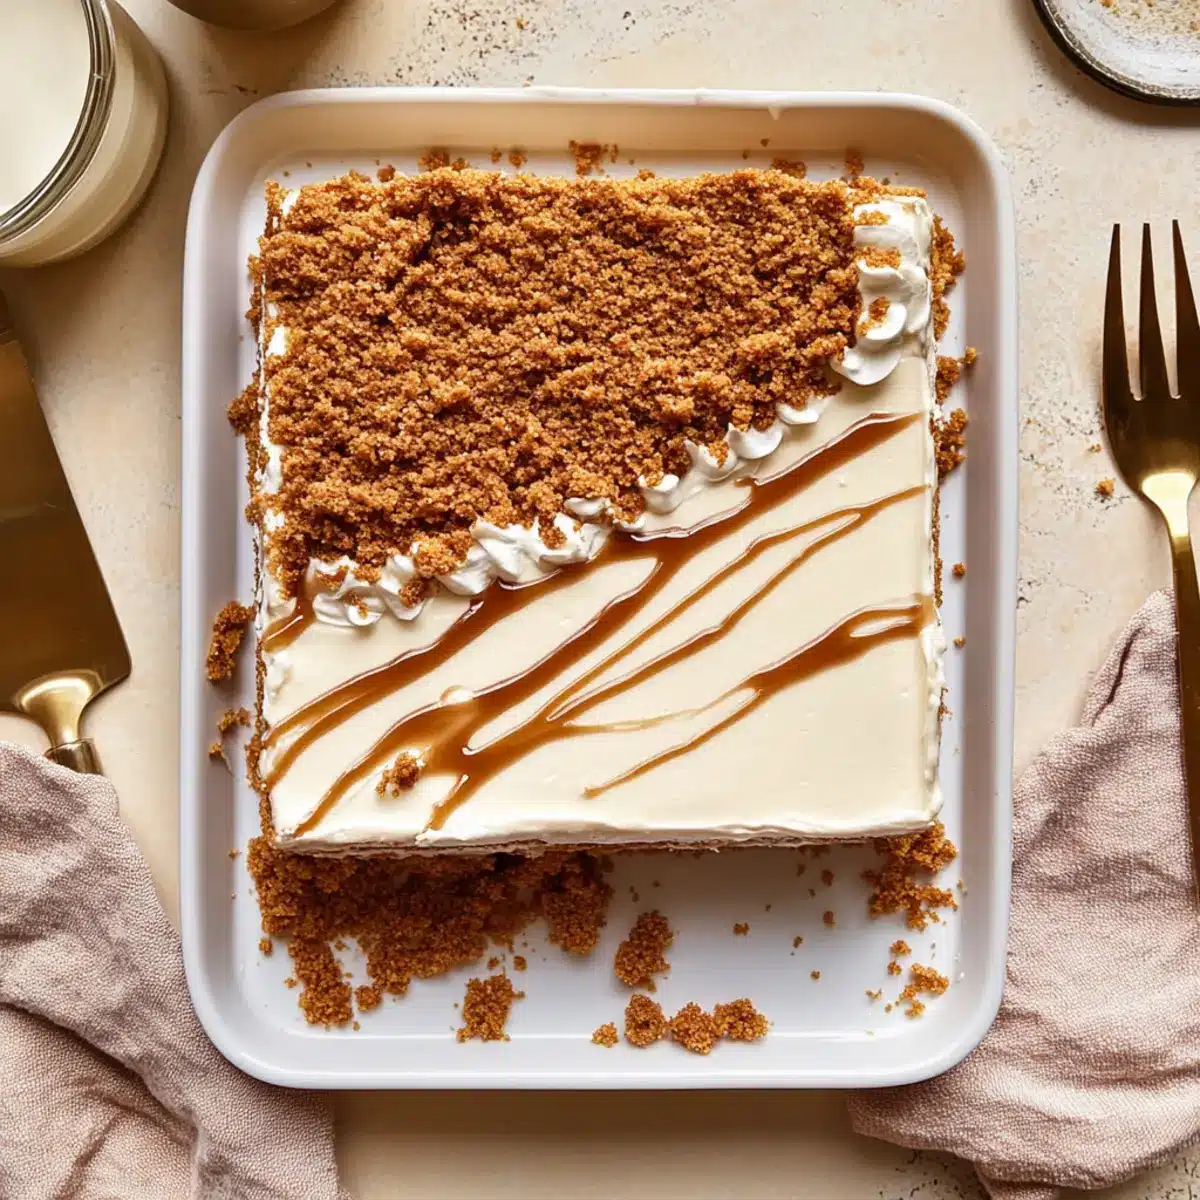
After the cake has chilled, remove it from the fridge and spread the whipped topping evenly over the top. Drizzle the reserved milk mixture over the whipped cream and sprinkle crushed Biscoff cookies on top for added texture and flavor. Your Biscoff Milk Cake is now ready to be served—an indulgent treat that will delight everyone!
Biscoff Milk Cake Variations & Substitutions
Invite your taste buds on an adventure with these delightful twists and turns for your Biscoff Milk Cake!
- Gluten-Free: Replace all-purpose flour with a gluten-free flour blend for a completely gluten-free cake.
- Nutty Alternative: Use almond or cashew spread instead of Biscoff for a unique nutty flavor.
- Chocolate Heaven: Fold in a cup of chocolate chips into the batter for an extra layer of indulgence.
- Coconut Twist: Swap the regular milk for coconut milk and top with toasted coconut flakes for a tropical vibe.
- Spicy Infusion: Add a pinch of nutmeg or cardamom for a warm, spiced aroma that complements the Biscoff flavors.
- Fruit Fusion: Top with fresh berries or bananas for a refreshing, fruity contrast to the rich cake.
- Dairy-Free Delight: Use coconut cream instead of heavy cream in the whipped topping to make it entirely dairy-free.
- Decadent Drizzle: Drizzle a homemade caramel sauce over the topping to elevate your dessert experience to new heights!
Feeling adventurous? Consider pairing this cake with a side of our scrumptious Strawberry Shortcake Cake for an unforgettable dessert duo!
Make Ahead Options
These Biscoff Milk Cake creations are perfect for busy home cooks looking to save time! You can bake the cake and refrigerate it for up to 3 days before serving. After cooling, soak the cake in the milk mixture and cover it tightly with plastic wrap to maintain moisture and flavor. For the best results, allow the cake to soak overnight; this enhances the creamy texture. When you’re ready to serve, whip the cream topping and spread it on the cake, adding a drizzle of reserved milk and crushed cookies for that final touch. Enjoy effortless indulgence with every slice!
Expert Tips for Biscoff Milk Cake
- Cool Before Soaking: Allow the cake to cool completely before pouring the milk mixture on top to prevent it from becoming overly soggy.
- Overnight Soak: For an extra burst of flavor, let the cake soak in the fridge overnight. This allows all the creamy goodness to seep into each bite!
- Stand Mixer Advantage: Use a stand mixer for whipping the cream to achieve the perfect fluffy texture, making your Biscoff Milk Cake even more decadent.
- Don’t Overmix: Be careful not to overmix the batter while folding in the dry ingredients; gentle mixing ensures your cake remains soft and fluffy.
- Store Carefully: Keep any leftover Biscoff Milk Cake in an airtight container in the refrigerator for up to 4 days, maintaining its rich moisture.
What to Serve with Biscoff Milk Cake
As you celebrate with slices of this decadent cake, consider what delightful accompaniments can elevate your dessert experience to new heights.
-
Coffee or Espresso:
The bold flavors in coffee beautifully contrast the creamy sweetness of the Biscoff Milk Cake, creating a perfect harmony with each bite. Servings of hot java help cut through the richness, making each mouthful even more enjoyable. -
Whipped Cream:
Although the cake is topped with whipped cream, serving additional fresh whipped cream on the side allows guests to indulge even more. A dollop on each slice adds an extra creamy element that complements the rich Biscoff flavors. -
Fresh Berries:
Bright, tangy berries like raspberries or strawberries add vibrant color and freshness to your dessert plate. Their tartness provides a refreshing taste that balances the sweetness of the cake perfectly. -
Chocolate Sauce:
A drizzle of warm chocolate sauce over your slice offers a luscious decadence that pairs beautifully with the Biscoff flavors. The added richness creates a delightful layer of indulgence for chocolate lovers. -
Custard or Ice Cream:
A scoop of vanilla ice cream or a pour of silky custard adds creamy goodness that enhances every bite of this moist cake. Both options introduce a different texture that beautifully complements the luscious soak. -
Nutty Crunch:
A sprinkle of crushed nuts, such as almonds or hazelnuts, provides a satisfying crunch as a topping. The nutty flavor intermingling with the cake’s softness creates a delightful contrast that makes for an indulgent experience. -
Mint Tea:
A warm cup of mint tea serves as a refreshing palate cleanser and adds an aromatic touch to your dessert experience. The herbal notes from the tea create a lovely balance to the sweetness of the Biscoff Milk Cake.
How to Store and Freeze Biscoff Milk Cake
Fridge: Keep the Biscoff Milk Cake in an airtight container for up to 3-4 days, ensuring it stays moist and delicious.
Freezer: If you need to store it longer, freeze the cake without the whipped topping in an airtight container for up to 2 months.
Reheating: When ready to enjoy, thaw in the fridge overnight, then let it sit at room temperature for about 30 minutes before serving to restore its creamy texture.
Make-Ahead: This is a perfect make-ahead dessert! Preparing it a day before serving enhances the flavors, allowing the milk mixture to soak in beautifully.
Biscoff Milk Cake Recipe FAQs
What type of Biscoff cookies should I use for the Biscoff Milk Cake?
Absolutely! For this recipe, I recommend using speculoos-style Biscoff cookies, which have that delightful caramelized flavor. They can often be found in most grocery stores or even online. Feel free to crush them for topping or mix them into the batter for added texture.
How should I store the Biscoff Milk Cake after making it?
Very good question! The Biscoff Milk Cake can be stored in an airtight container in the refrigerator for 3-4 days. Simply cover it with plastic wrap to keep it fresh. This way, you can enjoy it at its best without worrying about losing that lovely moisture!
Can I freeze the Biscoff Milk Cake for later?
Yes, you can freeze it! To do so, I recommend freezing the cake without the whipped topping. Wrap it tightly in plastic wrap and then put it in an airtight container, where it will last for up to 2 months. When you’re ready to enjoy, just thaw it in the fridge overnight and allow it to come to room temperature for about 30 minutes before serving.
What if I accidentally over-soaked the cake?
Don’t worry, it happens to the best of us! If you find that your Biscoff Milk Cake is too soggy, you can gently place it in the freezer for 30-60 minutes to firm it up a bit before serving. This will help to solidify the texture slightly. It may be more of a challenge to slice, but it will still be delicious!
Are there any dietary considerations I should keep in mind for this recipe?
Certainly! If you or your guests have dietary restrictions, you can make several substitutions. For a dairy-free version, use plant-based milk and coconut cream instead of heavy cream. For a vegan take, substitute eggs with flax eggs (1 tablespoon of flaxseed meal mixed with 2.5 tablespoons of water per egg). Always double-check ingredients like condensed milk, as some brands may have dairy.
How do I know when to stop mixing the batter for the Biscoff Milk Cake?
Great question! To maintain a soft, fluffy texture, mix just until the wet and dry ingredients are combined. Overmixing can lead to a denser texture. Look for a smooth batter without any dry pockets but with a few small lumps still intact, as this indicates gentle handling. Happy baking!
Irresistibly Creamy Biscoff Milk Cake to Satisfy Cravings
Ingredients
Equipment
Method
- Preheat your oven to 350°F (175°C) and prepare a greased 9x13-inch baking pan.
- In a large mixing bowl, whisk together all-purpose flour, cornstarch, baking powder, cinnamon, and salt.
- In a stand mixer bowl, combine eggs and granulated sugar, beating until pale and fluffy. Add in milk, oil, and vanilla extract.
- Gradually fold in the dry ingredients until just combined.
- Pour the batter into the prepared pan and bake for approximately 25 minutes.
- In a mixing bowl, whisk together evaporated milk, sweetened condensed milk, half & half, and Biscoff spread until smooth.
- Once cooled, poke holes in the cake and pour the milk mixture over it.
- In a clean bowl, whip the heavy cream until thick, adding powdered sugar and melted Biscoff spread.
- Spread the whipped topping over the chilled cake and drizzle the reserved milk mixture over it.