

As the sun dips low and the campfire crackles to life, one can’t help but feel a surge of nostalgia for those perfect summer nights. Enter the Camp Fire Cupcakes, a delightful camping-themed dessert that brings the magic of outdoor cooking right to your kitchen. With a moist French vanilla cake base and a whimsical decoration that resembles a glowing campfire, these cupcakes are not only visually appealing but also incredibly easy to whip up. They’re the ideal sweet treat for your next camping trip or family gathering, offering a fun twist that’ll have everyone asking for more. Ready to ignite some creativity in your baking? Let’s dive into this delicious summer adventure!
Why Are These Cupcakes So Special?
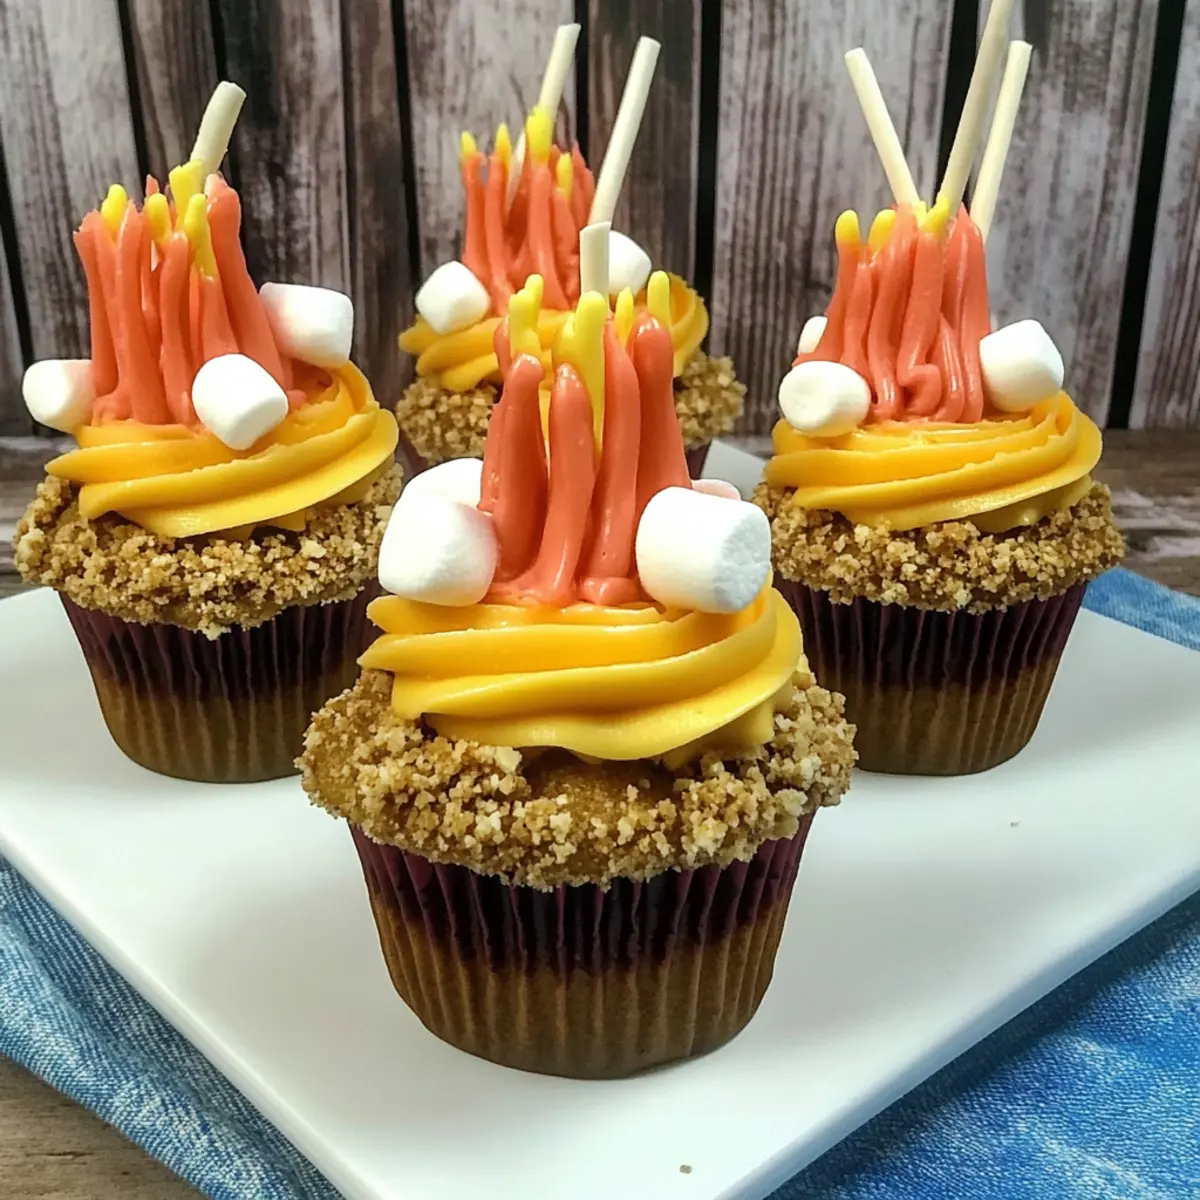
Nostalgic flavors of summer come alive with these Camp Fire Cupcakes, evoking memories of warm evenings spent outdoors. Visually stunning, they mimic a campfire with vibrant frosting that children’s eyes will light up over! Family-friendly and easy to make, these treats bring everyone together. Variation options allow for personal twists, whether you go chocolate or gluten-free. Perfect for gatherings, they’ll be the hit of any picnic or birthday party. Don’t forget to check out our Patriotic Cupcakes Festive for more summer inspirations!
Camp Fire Cupcake Ingredients
• Whip up this camping-themed dessert!
For the Cupcakes
- French Vanilla Cake Mix – The perfect base that simplifies your baking process.
- Whole Milk – Adds moisture and richness; substitute with almond milk for a dairy-free option.
- Large Eggs – Essential for structure and stability in every fluffy bite.
- Unsalted Sweet Cream Butter – Rich flavor for both cake and frosting; make sure it’s softened.
- Graham Cracker Crumbs – Mimics the “ground” of your campfire theme, adding delightful texture; keep in mind you can swap them with crushed digestive biscuits.
- Cocoa Powder – A deep, roasted flavor that complements the sweetness; ensure it’s unsweetened.
- Mini Pretzel Rods – Fun, crunchy logs that surround the little fire; perfect for a whimsical touch.
- Mini Marshmallows – The essential decoration to represent classic s’mores.
- Toothpicks – Handy for assembling those marshmallow sticks just right.
For the Frosting
- Unsalted Sweet Cream Butter – Creates a creamy base for your dreamy frosting; should be soft.
- Powdered Sugar – Sweetens up the frosting and provides the desired consistency.
- Vanilla Extract – Meanwhile, enhances that lovely frosting flavor.
- Heavy Whipping Cream – Adds creaminess; adjust the amount to reach your preferred consistency.
- Yellow and Orange Gel Food Coloring – Use these for a vibrant flame effect on your cupcakes!
- Large Piping Bag with Medium Star Tip – Ideal for creating those charming fire-like frosting touches.
These Camp Fire Cupcakes ingredients are not only simple but spark creativity, making each baking moment special and delicious!
Step‑by‑Step Instructions for Camp Fire Cupcakes
Step 1: Preheat the Oven
Begin by preheating your oven to 350°F (175°C). While the oven warms up, prepare a standard cupcake pan by lining it with colorful cupcake liners. This not only makes clean-up a breeze but also adds a festive touch to your Camp Fire Cupcakes, hinting at the deliciousness to come.
Step 2: Mix the Batter
In a large mixing bowl, combine the French vanilla cake mix, softened unsalted sweet cream butter, whole milk, and large eggs. Using an electric mixer on medium speed, blend the ingredients together until the batter is smooth and free of lumps, approximately 2-3 minutes. This process ensures that your cupcakes will be light and fluffy in texture.
Step 3: Fill and Bake
Scoop the batter into the prepared cupcake liners, filling each about three-quarters full to allow room for rising. Carefully place the pan in the preheated oven and bake for about 21 minutes. Check for doneness by inserting a toothpick into the center of a cupcake; it should come out clean. Once baked, remove the pan from the oven and set aside to cool.
Step 4: Prepare the Frosting
While the cupcakes cool, it’s time to whip up some frosting. In a mixing bowl, combine the softened unsalted sweet cream butter, powdered sugar, vanilla extract, and heavy whipping cream. Beat on medium speed until you achieve stiff peaks, which signals that your frosting will hold its shape beautifully on the Camp Fire Cupcakes.
Step 5: Color the Frosting
Divide the frosting into two separate bowls. Add yellow gel food coloring to one bowl and orange to the other, mixing until the colors are well-integrated. This vibrant color scheme will create a realistic, flame-like appearance on your cupcakes, enhancing their campfire-themed presentation.
Step 6: Decorate the Cupcakes
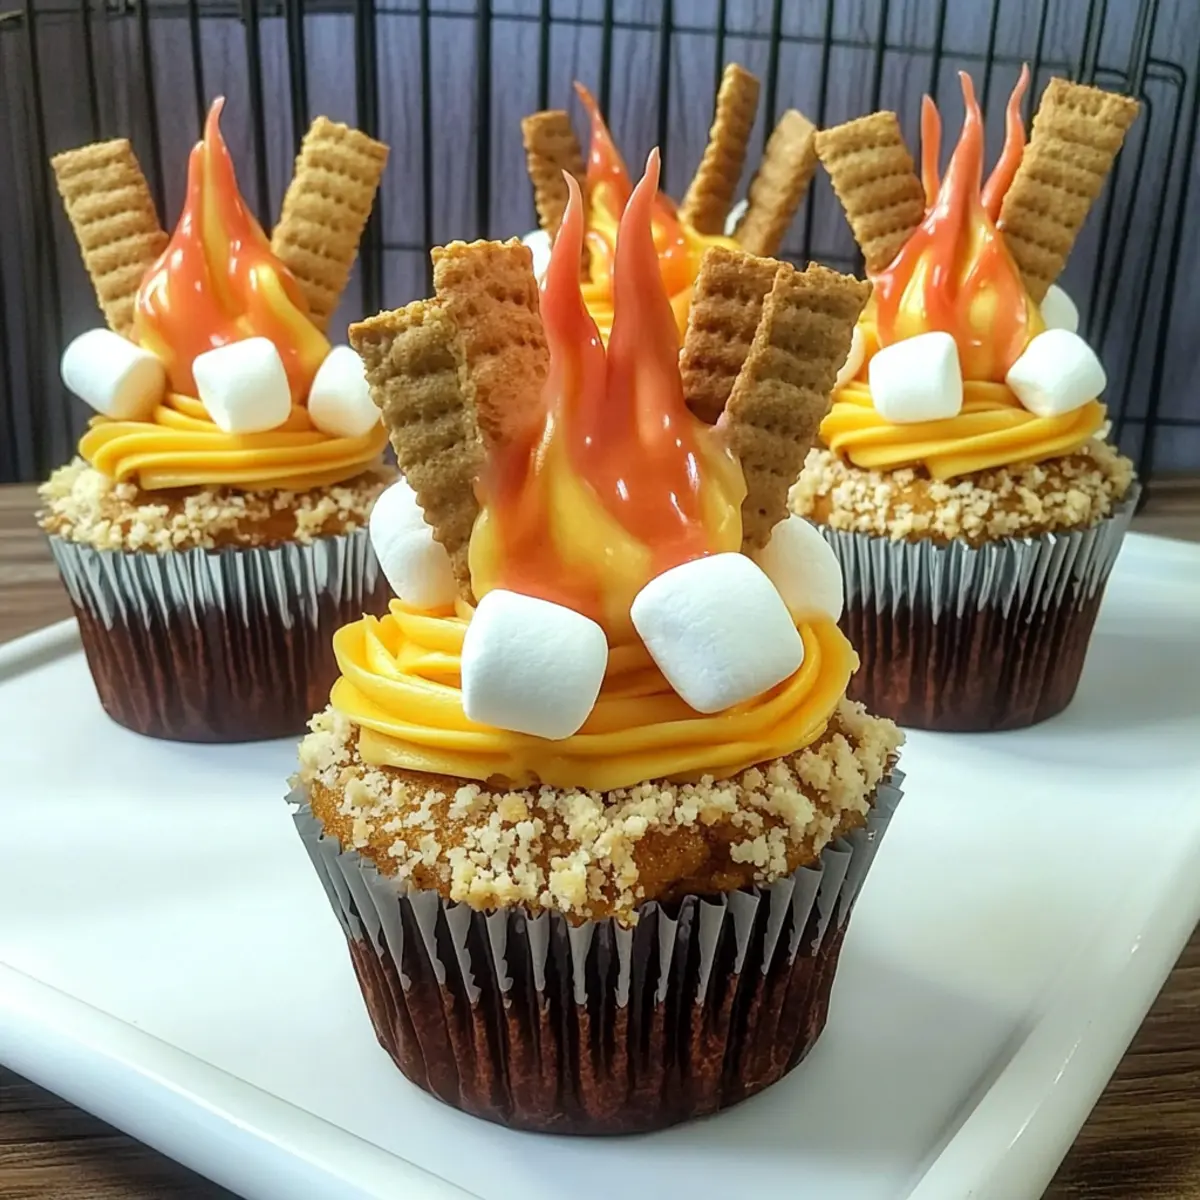
Once the cupcakes are completely cool, frost the tops generously with the prepared frosting. For a playful touch, dip the frosted tops into a mixture of graham cracker crumbs and cocoa powder, mimicking the look of the “ground” under your campfire. Use a piping bag fitted with a medium star tip to create flame designs with the colored frosting on top.
Step 7: Assemble the Campfire Decoration
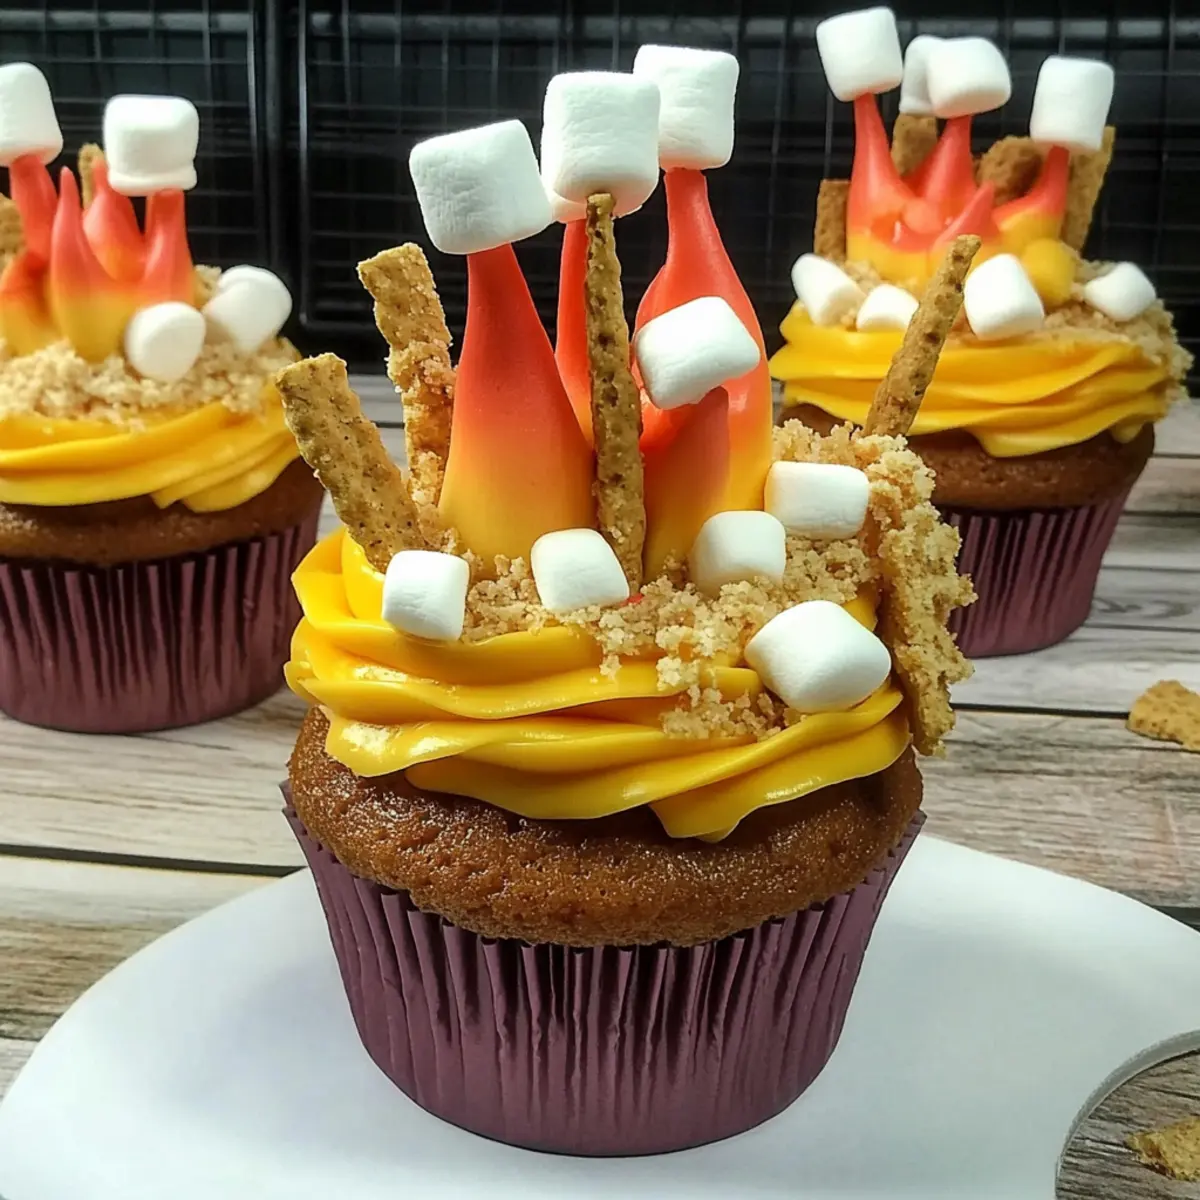
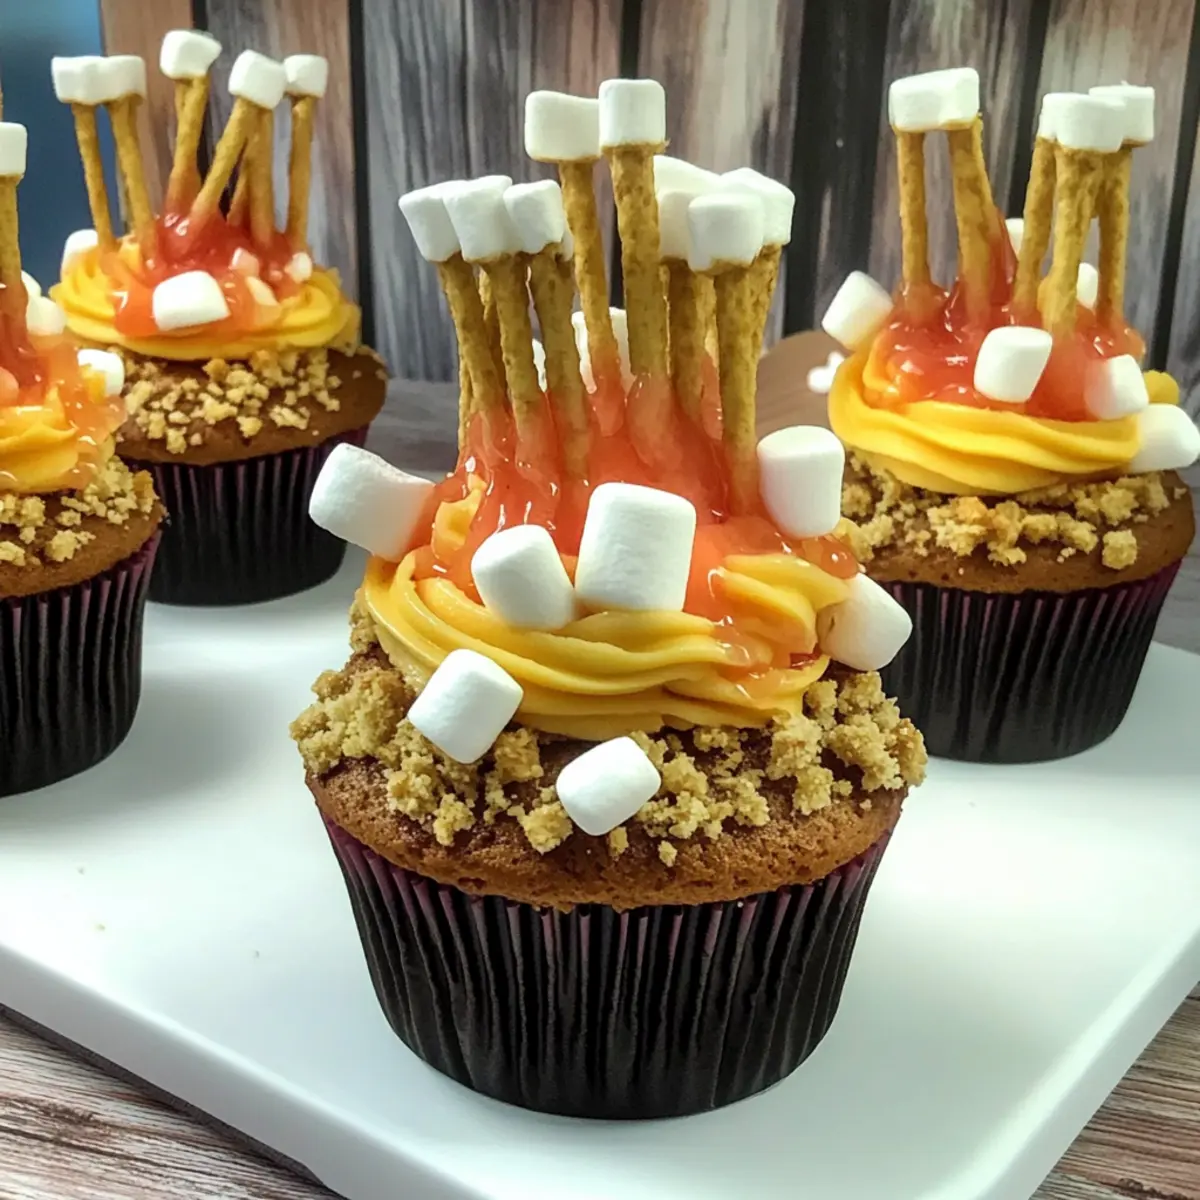
To bring your Camp Fire Cupcakes to life, insert halved mini pretzel rods into the sides of the frosted area to resemble logs. Finally, take mini marshmallows on toothpicks and place them upright in the center to resemble marshmallow sticks ready for roasting. These whimsical details make the cupcakes not just a treat but a charming campfire scene!
What to Serve with Camp Fire Cupcakes
These delightful treats evoke the warmth and joy of summer nights, perfect for complementing a delightful outdoor spread or picnic.
- Fresh Fruit Salad: A vibrant mix of berries and melons provides a refreshing contrast to the rich cupcakes, adding sweetness and color to your table.
- S’mores Dip: Enhance the campfire experience with gooey marshmallows and chocolate paired with graham crackers; it’s a sweet nod to the classic campfire treat.
- Ice Cream Sundaes: Serve alongside scoops of vanilla ice cream topped with hot fudge and toasted nuts for a delightful treat that everyone will love.
- Nutty Trail Mix: A crunchy blend of nuts, dried fruits, and a sprinkle of chocolate makes for a great snacking option to balance the sweetness of the cupcakes.
- Lemonade or Iced Tea: Refreshing beverages, like a tangy lemonade or sweet iced tea, perfectly cleanse the palate and add a Summer flair to your gathering.
- Campfire Chili: For a savory counterpart, a hearty chili can contrast the sweet flavors, providing a well-rounded meal that complements your festive cupcakes.
- Grilled Veggie Skewers: Colorful veggies lightly charred on the grill offer a burst of freshness and a crunchy texture alongside your soft cupcakes.
- Chocolate Milkshakes: Indulge your guests with rich and creamy milkshakes, which pair beautifully with the flavors of the cupcakes for a nostalgic treat.
- Peanut Butter Bars: A no-bake dessert with a rich, nutty flavor offers an additional layer of sweetness that pairs well without overshadowing your cupcakes.
How to Store and Freeze Camp Fire Cupcakes
Airtight Container: Store your Camp Fire Cupcakes in an airtight container at room temperature for up to 3 days. This keeps them fresh and moist while allowing the flavors to develop.
Refrigerator: For longer storage, you can refrigerate the cupcakes for up to a week. Just be aware that the decorative elements, like mini marshmallows, may lose some of their texture.
Freezing: To freeze, wrap each cupcake tightly in plastic wrap and place them in a freezer bag. They can be stored in the freezer for up to 2 months. Thaw in the fridge overnight before serving.
Reheating: If desired, you can gently warm the thawed cupcakes in the microwave for about 10 seconds to bring back their fluffy texture before enjoying.
Make Ahead Options
These Camp Fire Cupcakes are perfect for meal prep, allowing you to enjoy the fun of baking without the last-minute rush! You can prepare the cupcakes up to 24 hours in advance—just bake them, allow to cool completely, and store in an airtight container at room temperature. For the frosting, whip it up while the cupcakes cool and refrigerate it, covering it tightly to maintain its creamy consistency. When you’re ready to serve, simply frost the cupcakes and assemble the campfire decorations with pretzels and marshmallows. This way, you’ll have delightful, whimsical treats ready to impress your family or friends with minimal effort!
Camp Fire Cupcakes Variations & Substitutions
Get ready to personalize your Camp Fire Cupcakes with these delightful twists that will please your taste buds and spark creativity!
-
Gluten-Free: Swap the French vanilla cake mix with a gluten-free blend, ensuring all other ingredients are certified gluten-free for a safe, delicious dessert.
-
Dairy-Free: Replace whole milk with almond or oat milk and use dairy-free butter, ensuring everyone can indulge in your tasty creations.
-
Chocolate Lovers: Use chocolate cake mix instead of vanilla for a decadent, rich flavor that pairs perfectly with the campfire theme.
-
S’mores Twist: Add a layer of mini chocolate chips into the batter for extra gooeyness. They create a wonderful surprise that’s reminiscent of classic s’mores.
-
Pumpkin Spice: For a cozy fall-themed cupcake, substitute vanilla cake with pumpkin spice mix and top with cream cheese frosting for a seasonal delight.
-
Frosting Flavor Upgrade: Incorporate flavored extracts like almond or orange into your frosting for a unique flavor twist that will have everyone asking for your secret.
-
Heated Adventure: For those who love a kick, sprinkle some cayenne pepper into the cupcake batter or frosting for a spicy surprise that contrasts beautifully with the sweetness.
-
Garnish Addition: Top each cupcake with crushed pretzels and a drizzle of chocolate sauce for a deliciously crunchy, salty addition that complements the sweet frosting.
Feel free to mix and match these variations in your Camp Fire Cupcakes! For more fun ideas, don’t miss out on our Patriotic Cupcakes Festive or check out some of our other easy baking recipes for summer outings!
Expert Tips for Camp Fire Cupcakes
-
Use Room Temperature Ingredients: Ensure all your ingredients, especially butter and eggs, are at room temperature for a smoother batter that bakes evenly.
-
Cool Completely: Allow your cupcakes to cool completely before frosting; otherwise, the frosting may melt and slide off, ruining your campfire display.
-
Test for Doneness: Insert a toothpick into the center of a cupcake. If it comes out clean, they’re ready! Avoid overbaking to keep them moist.
-
Avoid Overmixing: When combining your batter, mix just until ingredients are combined. Overmixing can lead to dense cupcakes instead of the light, fluffy treat you want.
-
Creative Decorations: Feel free to get creative with your assembly! Add colored sprinkles to enhance the campfire effect on your Camp Fire Cupcakes.
-
Leftover Frosting Storage: If you have extra frosting, store it in an airtight container in the refrigerator for up to a week and use it for other treats!
Camp Fire Cupcakes Recipe FAQs
How do I know if the ingredients are fresh enough for my Camp Fire Cupcakes?
Absolutely! Ensure your baking ingredients are fresh by checking expiration dates on the packaging. Specifically, the cake mix should be free of clumps, the eggs should have no strange odor, and your butter should be creamy without any discoloration. For milk, look for a clean scent and pour it to confirm there are no lumps.
What is the best way to store leftover Camp Fire Cupcakes?
Very! Store your Camp Fire Cupcakes in an airtight container at room temperature for up to 3 days for optimal freshness. If you prefer to keep them longer, refrigerate them for up to a week, but be mindful that decorative elements like marshmallows may soften. Always ensure that the container is sealed tightly to minimize air exposure.
Can I freeze my Camp Fire Cupcakes for later enjoyment?
Absolutely! To freeze your Camp Fire Cupcakes, wrap each one tightly in plastic wrap, ensuring no part is exposed to air. Place them in a freezer bag or an airtight container. They can be frozen for up to 2 months! When you’re ready to enjoy them, thaw in the fridge overnight and gently warm in the microwave for about 10 seconds to refresh their texture.
What should I do if my frosting is too runny?
The more the merrier! If your frosting turns out too runny, don’t panic. You can add a bit more powdered sugar—start with 1/4 cup at a time—mixing well until you reach the desired consistency. If it’s too thick, simply add a tiny amount of heavy whipping cream or milk to loosen it up. This way, you can achieve a perfect frosting texture for your Camp Fire Cupcakes!
Are there any allergy considerations with the ingredients?
Definitely! Always check for allergies before serving your Camp Fire Cupcakes. The main allergens include eggs, dairy (milk and butter), and gluten (from the cake mix and graham crackers). For gluten-free options, swap in certified gluten-free cake mix and gluten-free graham crackers. If serving to children or in a mixed group, it’s best to ask about allergies first to keep everyone safe.
Camp Fire Cupcakes: Whimsical Treats for Summer Fun
Ingredients
Equipment
Method
- Preheat your oven to 350°F (175°C) and line a cupcake pan with colorful cupcake liners.
- In a large mixing bowl, combine the cake mix, softened butter, milk, and eggs. Blend until smooth.
- Fill cupcake liners three-quarters full and bake for about 21 minutes. Cool once baked.
- Whip together softened butter, powdered sugar, vanilla extract, and cream until stiff peaks form.
- Divide frosting, mix in yellow and orange gel food coloring for a flame effect.
- Frost cooled cupcakes generously and dip the tops in graham cracker crumb and cocoa mixture.
- Insert pretzel rods for logs and mini marshmallows on toothpicks for a campfire look.