
In the midst of a bustling afternoon, I found myself with an empty pantry and a craving for something warm and cheesy. That’s when I discovered the magic of Golden Crispy Cheese Puffs. These little delights come alive with a crunchy exterior that gives way to a gooey, melty cheese center, making them perfect for any occasion—from cozy brunches to casual gatherings. The beauty of this recipe lies not just in its simplicity but in its versatility; you can play with cheese combinations like sharp cheddar or nutty Gruyère to cater to your taste. Plus, they come together in under an hour, making them a truly quick triumph for any aspiring home chef. Are you ready to fill your kitchen with irresistible aromas and impress your loved ones? Let’s dive into this cheesy adventure!

Why are Cheese Puffs So Irresistible?
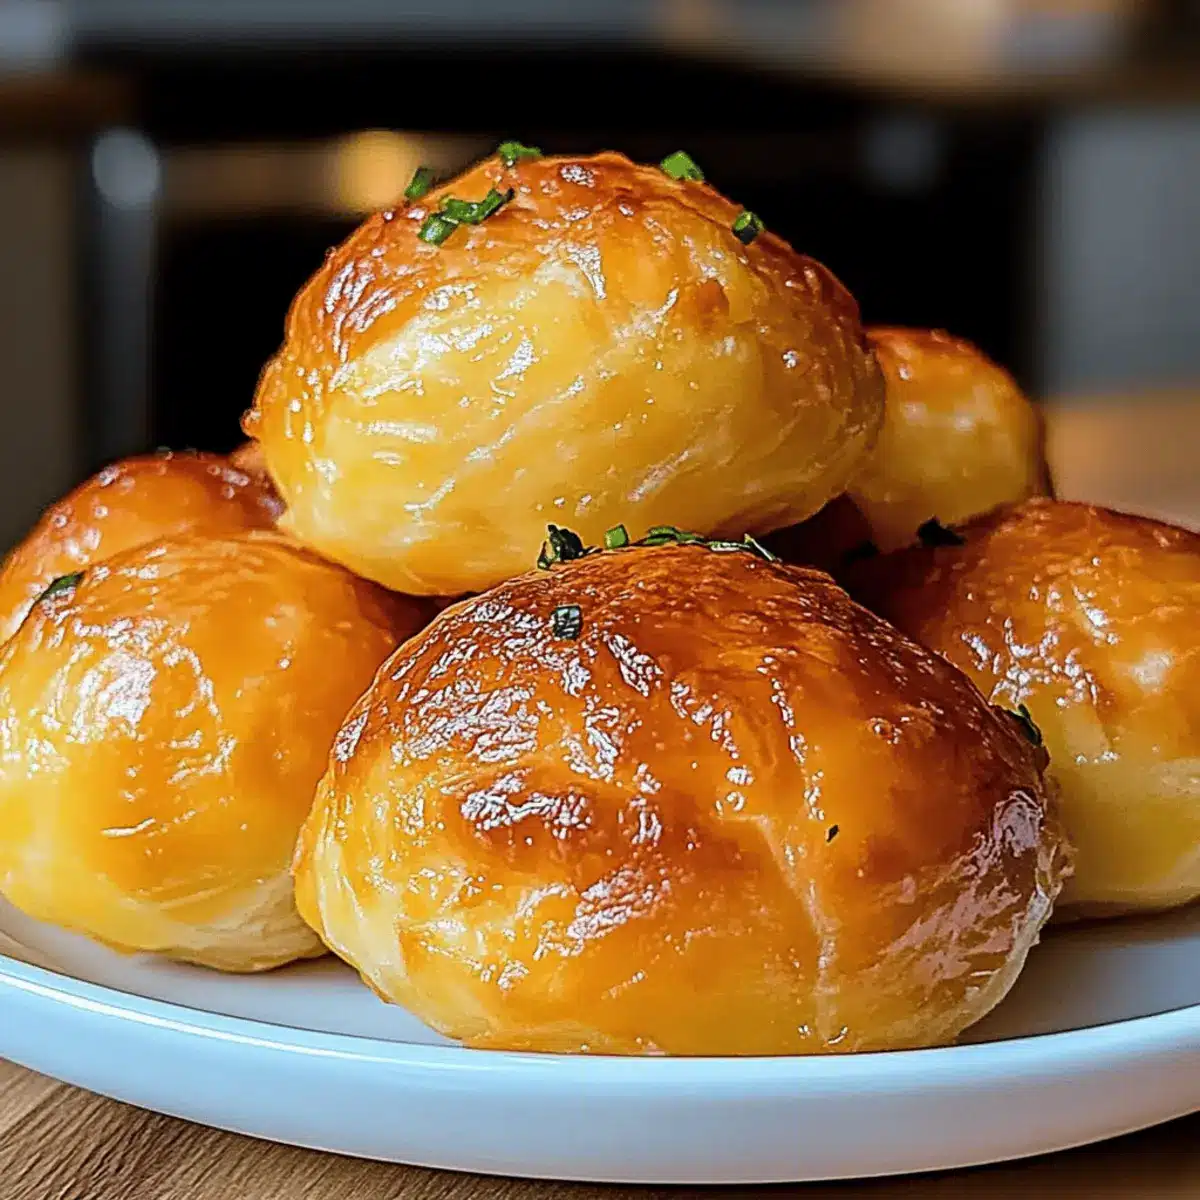
Golden and Crunchy: The delightful contrast of a crispy outer layer and a warm, gooey cheese center makes each bite a true indulgence.
Versatile Recipes: You can easily customize these cheese puffs with your choice of cheeses, from sharp cheddar to nutty Gruyère, giving you endless flavor options.
Quick and Easy: With a total prep and cook time of under an hour, these treats are perfect for last-minute gatherings or a cozy afternoon snack.
Perfect for Any Occasion: Whether served as appetizers at a party or as comfort food during a movie night, cheese puffs will steal the show every time.
Make Ahead Friendly: Prepare the dough in advance and bake fresh cheese puffs just before serving for unbeatable warmth and aroma, ideal for impressing guests.
Don’t forget, you can pair these puffs with tomato soup or serve them on a cheese board for an elevated touch!
Cheese Puffs Ingredients
For the Dough
• Milk – Acts as moisture and helps create the dough; use whole milk for extra creaminess.
• Butter – Adds richness and flavor while ensuring a tender texture; margarine can be used as a substitute.
• Flour – Provides structure; use all-purpose flour and ensure proper measurement for the best results.
• Eggs – Add moisture and help the puffs rise; use room temperature eggs for better mixing.
For the Cheese Filling
• Cheese – Provides flavor and gooey texture; mixing cheeses like sharp cheddar and Gruyère gives depth to your cheese puffs.
• Salt – Enhances flavor; a pinch is essential for the overall taste, adjust according to personal preference.
These ingredients come together to create the delightful cheese puffs you’ll love serving and sharing!
Step‑by‑Step Instructions for Golden Crispy Cheese Puffs
Step 1: Prepare Your Ingredients
Start by pre-measuring all your ingredients, ensuring ease while cooking. Grate your chosen cheese finely—whether it’s sharp cheddar or nutty Gruyère—to enhance melting. Place all ingredients nearby, as this setup promotes a smooth workflow and keeps your kitchen organized, making the process enjoyable.
Step 2: Heat the Liquid Mix
In a medium saucepan, combine 1 cup of whole milk, 1/2 cup of butter, and a generous pinch of salt. Heat on medium until the butter melts completely and the mixture comes to a gentle simmer, which should take around 5 minutes. Watch for small bubbles forming around the edges, signaling it’s ready for the next step.
Step 3: Add the Flour
Remove the saucepan from heat and immediately add 1 cup of all-purpose flour all at once. Using a wooden spoon, stir vigorously until the dough comes together and forms a thick ball that pulls away from the sides of the pan, about 2 minutes. You’ll know it’s ready when the dough looks smooth and pulls easily from the sides.
Step 4: Cool the Dough
Allow the dough to cool for about 5 minutes. This cooldown period is crucial to prevent the eggs from scrambling. You should be able to touch the dough without feeling any intense heat. As it cools, prepare to add the eggs, ensuring they are at room temperature for easy incorporation.
Step 5: Incorporate the Eggs
Gradually add 3 large eggs, one at a time, mixing vigorously with your wooden spoon after each addition. Stir until the mixture becomes thick, glossy, and smooth, about 3-4 minutes total. This crucial step ensures your cheese puffs will rise beautifully as they bake, so take your time to achieve the right texture.
Step 6: Fold in the Cheese
Gently fold in the grated cheese until evenly distributed throughout the dough, which should be sticky and pliable. Taste a small bit of the mixture to check for seasoning and adjust if necessary; this savory base will enhance the overall flavor of your cheese puffs, making them irresistibly delicious.
Step 7: Preheat the Oven
While you’re finishing up the dough, preheat your oven to 400°F (200°C). Line a baking sheet with parchment paper to prevent sticking and ensure that cleanup is a breeze. Once the oven reaches the desired temperature, your cheese puffs will have the perfect environment to achieve that golden, crispy exterior.
Step 8: Scoop and Shape the Dough
Using a tablespoon or a cookie scoop, portion out the dough and place them onto the prepared baking sheet, ensuring they are spaced about 1.5 inches apart. The size should be consistent to ensure even baking. You’ll want to see slight peaks on top for that fluffy puffy look in your finished cheese puffs.
Step 9: Bake to Perfection
Place the baking sheet in the preheated oven and bake for 20-25 minutes. Keep an eye on the cheese puffs; they should turn golden brown and crisp on the outside. You’ll know they’re ready when they feel firm to the touch, and a light tap reveals a delightful hollow sound. Enjoy the wonderful aroma filling your kitchen!

Expert Tips for Perfect Cheese Puffs
• Use Room Temperature Eggs: Ensure your eggs are at room temperature for better incorporation into the dough, resulting in fluffier cheese puffs.
• Measuring Flour: Accurately measure flour to avoid dense puffs. Too much flour can lead to heavy, flat cheese puffs that don’t rise properly.
• Keep Dough Warm: Work quickly when scooping the dough onto the baking sheet. Cold dough can lead to flatter cheese puffs in the oven.
• Monitor Baking Time: Each oven varies; keep an eye on your cheese puffs as they bake. They should be golden and firm, not dark brown or burnt.
• Experiment with Cheese: Feel free to mix and match different cheeses to discover your perfect flavor profile. This versatility is what makes cheese puffs a crowd favorite!
Enjoy your cooking adventure with these helpful tips to create deliciously fluffy cheese puffs!
How to Store and Freeze Cheese Puffs
Room Temperature: Cheese puffs are best enjoyed fresh, but you can leave them out at room temperature for up to 2 hours before they need refrigeration.
Fridge: Store leftover cheese puffs in an airtight container in the fridge for up to 3 days. When ready to eat, reheat in the oven for a few minutes to restore their crispiness.
Freezer: To freeze cheese puffs, place them in a single layer on a baking sheet until firm, then transfer to a freezer-safe bag. They can be frozen for up to 2 months.
Reheating: For best results, reheat frozen cheese puffs directly from the freezer at 350°F (175°C) for about 10-15 minutes until warmed through and crispy.
What to Serve with Golden Crispy Cheese Puffs?
These delightful cheese puffs are a warm embrace of flavor, perfect for enhancing any meal or gathering you have in mind.
-
Tomato Soup: The creamy, tangy soup contrasts beautifully with the cheesy interior of the puffs, making every dip irresistibly satisfying. Picture dipping these delightful bites into a bowl of steaming tomato goodness—pure comfort food bliss.
-
Fresh Garden Salad: A light salad with crisp greens and a zesty vinaigrette brings brightness to your plate, balancing the richness of the cheese puffs. Add cherry tomatoes and crunchy cucumbers for a refreshing crunch.
-
Charcuterie Board: Arrange your cheese puffs alongside an assortment of cured meats, olives, and assorted cheeses for an alluring spread. This combo invites guests to experiment with flavors and dips, creating a social atmosphere.
-
Herbed Quinoa: Cooked quinoa mixed with fresh herbs and lemon zest provides a healthy, nutty flavor that complements the richness of the puffs. The fluffy texture and taste make for a wholesome side.
-
Pico de Gallo: A fresh tomato salsa adds a vibrant kick that cuts through the cheesiness, enhancing every bite. Its bright flavors will awaken your taste buds and add a bit of zest.
-
Sparkling Lemonade: Pair your puffs with a refreshing, bubbly drink for a delightful contrast to their warmth. The citrusy notes perk up the palate, making this combo perfect for brunch or casual gatherings.
-
Chocolate Mousse: Finish your meal on a sweet note with a light and airy chocolate mousse. The rich, velvety dessert offers a luscious contrast to the savory cheese puffs, making for a balanced end to your culinary adventure.
Make Ahead Options
These Cheese Puffs are a fantastic choice for meal prep enthusiasts! You can prepare the dough up to 24 hours in advance and keep it refrigerating until you’re ready to bake. Simply follow the recipe steps up to the point of scooping the dough onto the baking sheet, then cover it with plastic wrap and place it in the fridge. To maintain their quality, let the dough sit at room temperature for about 15-20 minutes before scooping and baking, ensuring they rise beautifully. If you want to make them even further ahead, you can freeze the unbaked puffs for up to 3 months; just add a few extra minutes to the baking time when you’re ready to enjoy your delicious, homemade cheese puffs!
Cheese Puffs Variations & Substitutions
Feel free to dive into delicious variations that will make your cheese puffs uniquely yours, delighting every palate.
-
Cheese Combinations: Mix any cheese you like for a unique flavor; try mozzarella for extra gooeyness or parmesan for saltiness. The blend creates a delightful symphony of flavors that dance in your mouth.
-
Herb-Infused: Add fresh herbs like rosemary or thyme to the dough for aromatic notes. Just a teaspoon will elevate the overall taste and make your kitchen smell divine!
-
Spicy Twist: Incorporate a pinch of cayenne pepper or crushed red pepper flakes for a spicy kick. This small addition can transform these puffs into a vibrant treat—perfect for those who crave a bit of heat!
-
Savory Fillings: Before baking, place a small piece of cooked ham or a dollop of cream cheese in each puff for a delightful surprise. These marvelous morsels will add texture and unexpected flavors to your puffs.
-
Dairy-Free Delight: Use dairy-free butter and a non-dairy milk substitute for a delicious, allergy-friendly option. You won’t miss the creaminess—your cheese puffs will still be utterly delightful!
-
Whole Grain Flour Swap: Substitute regular flour with whole wheat or oat flour for added nutrition and a hearty taste. It’s a wonderful way to boost fiber in your favorite snack without sacrificing flavor.
-
Sweet Variation: Try adding a sprinkle of cinnamon and sugar to create a sweet cheese puff perfect for dessert. Pair with berries or a drizzle of honey for a delightful treat that’s sure to satisfy a sweet tooth.
-
Cold Weather Comfort: Serve your cheese puffs with a warm bowl of tomato soup for dipping, perfect for cozy evenings. This hearty pairing will have everyone asking for seconds!
Get creative in your kitchen, and don’t hesitate to explore these variations! For more delicious options, check out our recipes for Chicken Mac Cheese and Cheesecake Stuffed Strawberries.
Cheese Puffs Recipe FAQs
What type of cheese is best for cheese puffs?
Absolutely! While sharp cheddar adds a tangy flavor, Gruyère offers a nutty richness. I often recommend mixing several types, like mozzarella for gooeyness or Parmesan for a salty finish, to create a more complex flavor profile.
How should I store leftover cheese puffs?
To keep your cheese puffs fresh, store them in an airtight container in the fridge for up to 3 days. When you’re ready to enjoy them again, reheat in the oven at 350°F (175°C) for a few minutes to help restore their delicious crispiness.
Can I freeze cheese puffs?
Very! To freeze cheese puffs, first, place them in a single layer on a baking sheet and freeze until firm, about 1-2 hours. Then, transfer the frozen puffs to a freezer-safe bag or container. They can be stored for up to 2 months. For reheating, bake them straight from the freezer at 350°F (175°C) for 10-15 minutes until heated through and nice and crispy.
What if my cheese puffs came out flat?
Don’t fret! If your cheese puffs are flat, it might be due to too much flour or cold dough. For best results, ensure your ingredients—especially eggs—are at room temperature and accurately measure your flour. Additionally, make sure you bake them promptly after scooping them onto the baking sheet to allow for proper rising. Adjusting the oven temperature can also prevent flattening; ensure it’s preheated properly for the best results.
Do cheese puffs contain any allergens?
Yes, cheese puffs contain dairy and eggs, which are common allergens. If you’re making these for guests or family with dietary restrictions, consider using lactose-free cheese or egg substitutes. Always check labels for additional allergy information, especially if you opt for unique cheese varieties or additional ingredients.
How long can I leave cheese puffs at room temperature?
Cheese puffs can be safely left out at room temperature for about 2 hours. Beyond this timeframe, they should be stored in the refrigerator to prevent any food safety issues. Enjoy them fresh when possible for the best flavor and texture!

Warm and Cheesy Delight: Homemade Cheese Puffs Recipe
Ingredients
Equipment
Method
- Prepare your ingredients by pre-measuring them and grating your cheese finely.
- Heat 1 cup of whole milk, 1/2 cup of butter, and a pinch of salt in a medium saucepan until butter melts.
- Remove from heat and add 1 cup of all-purpose flour all at once, stirring vigorously.
- Allow the dough to cool for about 5 minutes.
- Gradually add 3 large eggs, mixing vigorously after each addition until smooth.
- Fold in the grated cheese until evenly distributed.
- Preheat your oven to 400°F (200°C) and line a baking sheet with parchment paper.
- Scoop dough onto the prepared baking sheet, ensuring they are spaced apart.
- Bake for 20-25 minutes until golden brown and crisp on the outside.