
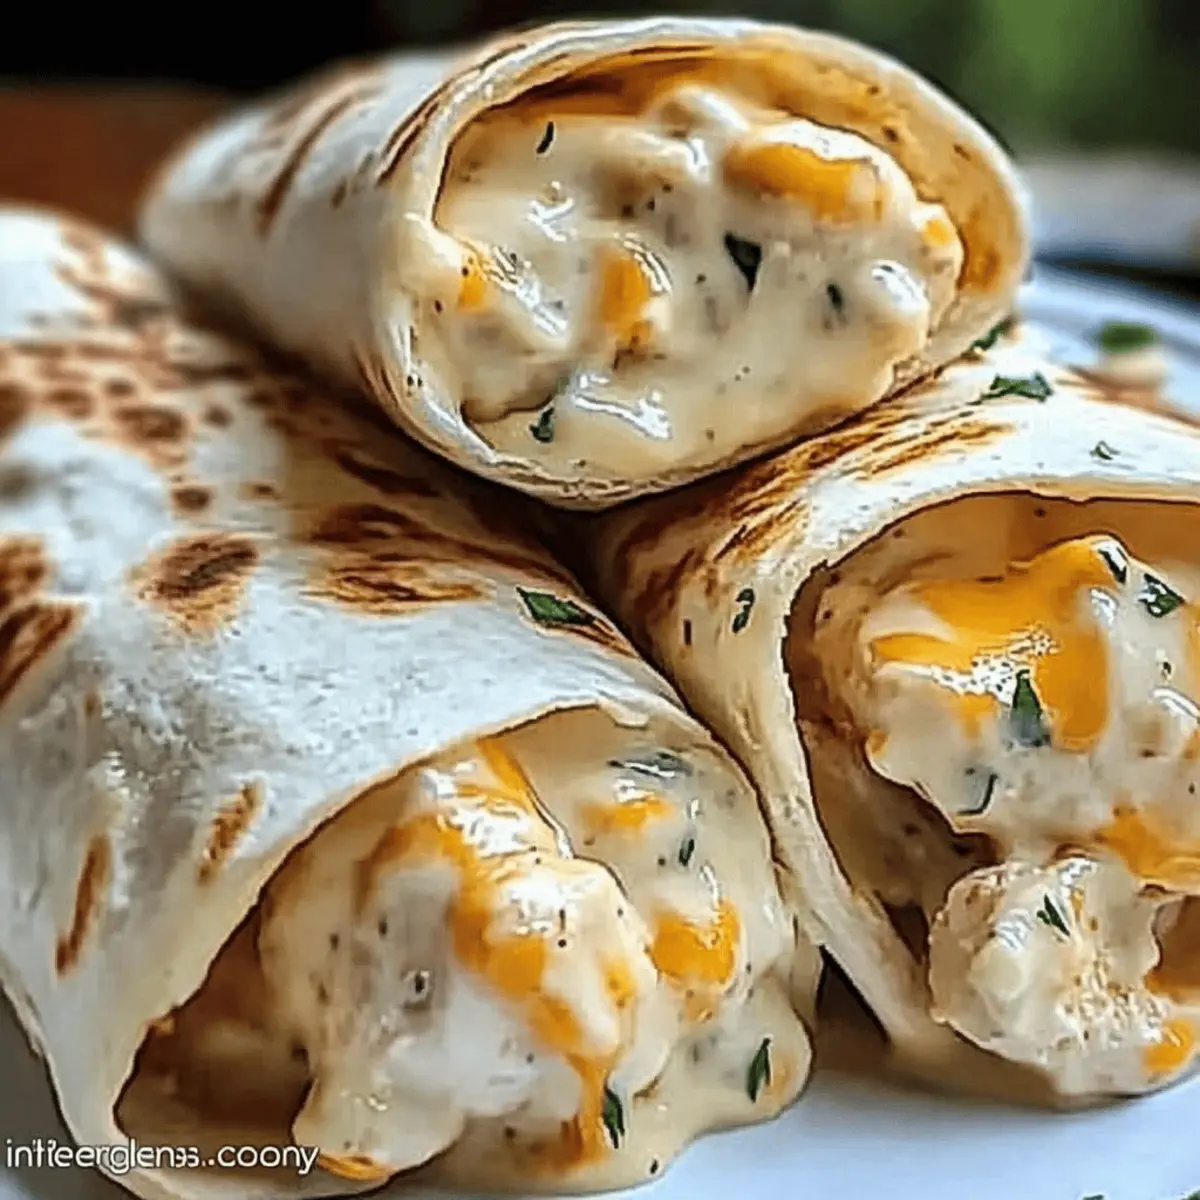
As I stood in my kitchen, the delicious aroma of sizzling chicken filled the air, instantly transporting me to my favorite Tex-Mex restaurant. Today, I’m excited to share my recipe for Cheesy Garlic Chicken Wraps, a delightful fusion of tender chicken, gooey cheese, and warm tortillas that’s ready in just 25 minutes. This quick and easy comfort food isn’t just perfect for busy weeknights; it’s also endlessly customizable, making it a family-friendly favorite that can cater to everyone’s tastes. Whether you prefer the classic flavors or want to jazz it up with sautéed peppers, there’s a version of this wrap that will surely become a staple in your home. Ready to dig in and whip up a meal that will impress loved ones and satisfy your cravings? Let’s get started!
Why Will You Love This Cheesy Chicken Wrap?
Quick and Easy: This recipe comes together in just 25 minutes, perfect for busy weeknights when time is short.
Customizable Perfection: Tailor each wrap to your family’s taste with different cheeses or add veggies like sautéed peppers and onions for extra nutrition.
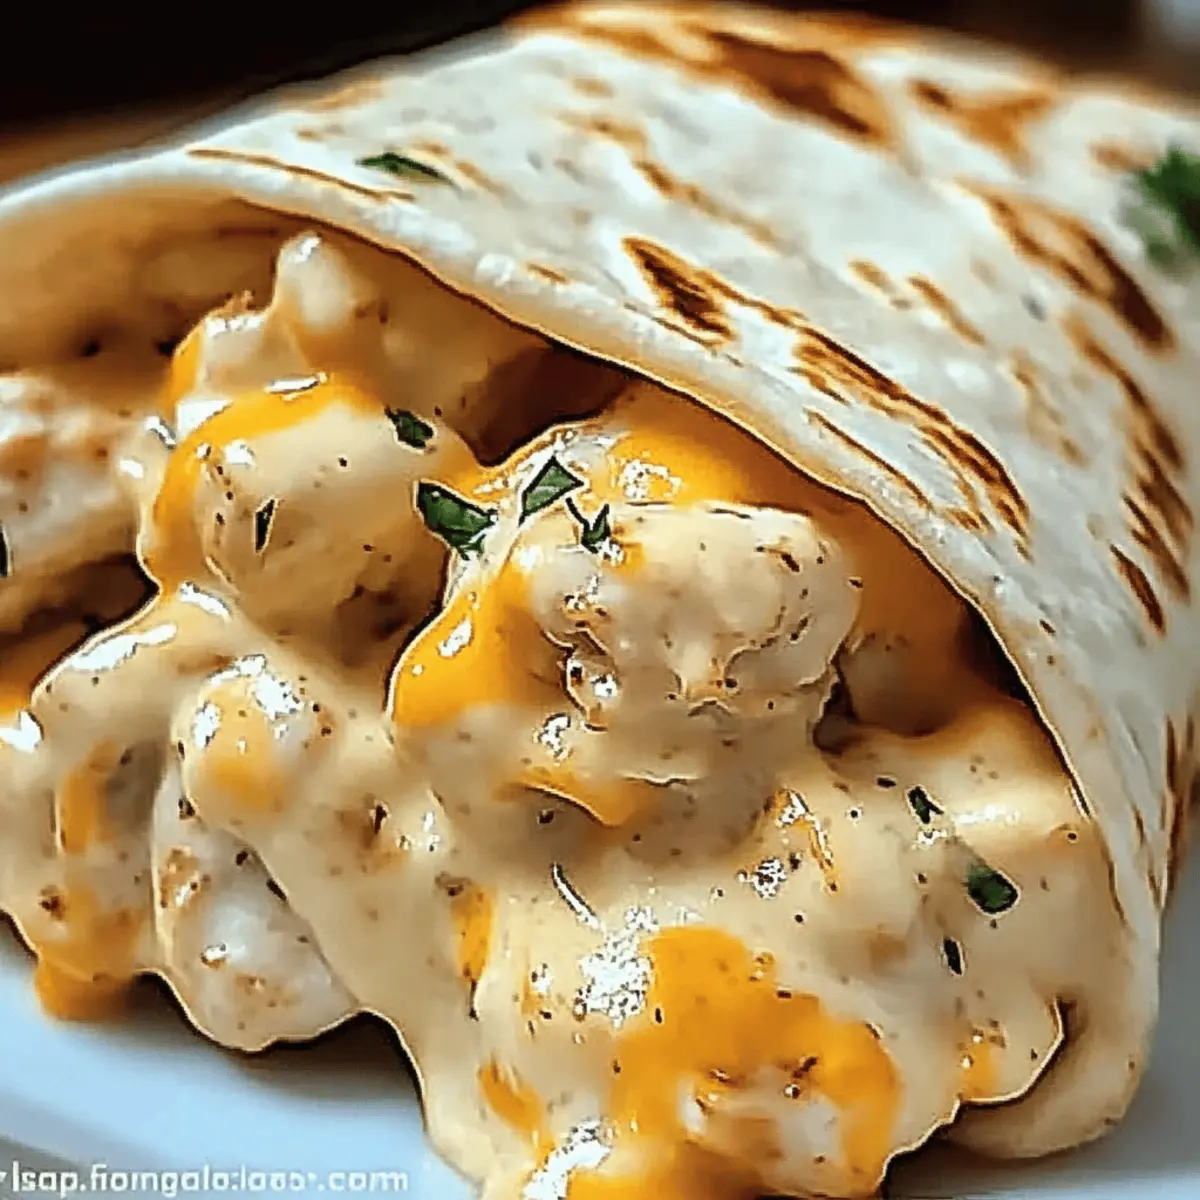
Deliciously Cheesy: The gooey melted cheese combined with flavorful chicken guarantees a mouthwatering experience that will have everyone asking for seconds.
Crowd Pleaser: Whether it’s a casual family dinner or a gathering with friends, these wraps are sure to impress and satisfy everyone at the table.
Healthy Options Available: Swap in whole wheat or gluten-free tortillas and lean proteins to suit various dietary needs, making it a versatile addition to your recipe repertoire.
Don’t forget to check out similar recipes like the Santa Chicken Skillet or the Bang Bang Chicken for more quick meal inspirations!
Cheesy Chicken Wrap Ingredients
For the Wraps
- Chicken Breasts – Main protein providing structure and heartiness; you can substitute with turkey or tofu for a different protein option.
- Flour Tortillas – Base for the wraps, offering flexibility; feel free to use whole wheat or gluten-free tortillas as alternatives.
- Olive Oil – For sautéing chicken and enhancing flavor; can be replaced with vegetable or avocado oil for a different taste.
For the Seasoning
- Garlic Powder – Adds savory depth; fresh minced garlic can be used for a more vibrant flavor.
- Onion Powder – Enhances the overall flavor profile; can be omitted if desired.
- Paprika – Provides mild spice and a lovely color; substitute with chili powder for a bit more heat.
- Salt & Pepper – Essential for seasoning; adjust to taste depending on your preference.
For the Cheesy Filling
- Shredded Cheddar Cheese – Provides creaminess and sharp flavor; swap with Monterey Jack or pepper jack for a variation.
- Shredded Mozzarella Cheese – Contributes to the melting quality; you can use only one type of cheese if you prefer.
For the Sauce
- Creamy Garlic Sauce – Adds a rich, creamy element; feel free to use ranch or a dairy-free alternative as a substitute.
For Garnish
- Fresh Parsley – For a fresh touch and color; this is optional and can be skipped if you’d like.
These Cheesy Chicken Wrap ingredients combine beautifully to create a meal that is not only quick to make but also packed with flavor, making it a delightful favorite in your home!
Step‑by‑Step Instructions for Cheesy Garlic Chicken Wraps
Step 1: Season Chicken
In a mixing bowl, combine diced chicken breasts with olive oil, garlic powder, onion powder, paprika, salt, and pepper. Toss until the chicken is generously coated with the spices, ensuring every piece is flavorful. This step enhances the chicken’s taste, setting the stage for the mouthwatering Cheesy Garlic Chicken Wraps.
Step 2: Cook Chicken
Heat a non-stick pan over medium heat for about 2 minutes. Carefully add the seasoned chicken and cook for 6-8 minutes, stirring occasionally, until the chicken is golden brown and cooked through. The pieces should be firm and no longer pink inside. Remove from heat and let cool for a few minutes.
Step 3: Prepare Tortillas
While the chicken cools, lay out your flour tortillas on a clean surface. Take the creamy garlic sauce and spread an even layer over each tortilla, reaching the edges. This creates a flavorful base for your Cheesy Garlic Chicken Wraps, ensuring every bite is delicious.
Step 4: Assemble Wraps
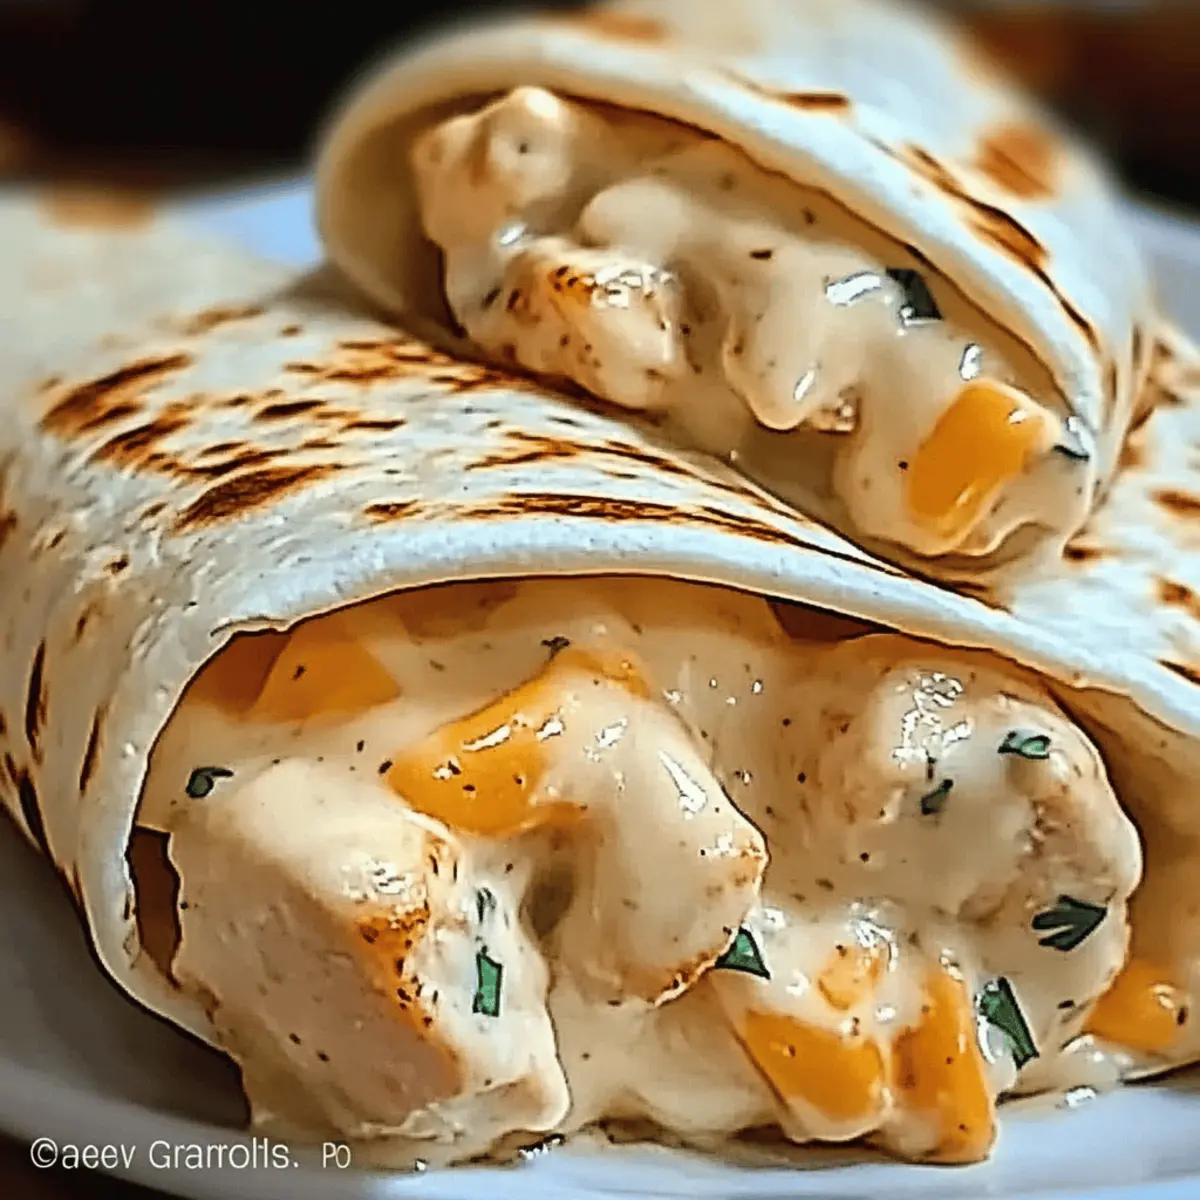
Distribute the cooked chicken evenly among the tortillas, then sprinkle a generous amount of shredded cheddar and mozzarella cheese on top. The cheese will add a creamy richness that perfectly complements the seasoned chicken, making these wraps irresistible.
Step 5: Grill Wraps
Fold each tortilla in half to encase the delicious filling, then return the pan to medium heat. Grill the wraps for 2-3 minutes on each side until they become crispy and golden brown, and the cheese inside melts beautifully. Pay attention to the color; they should be perfectly toasted.
Step 6: Serve
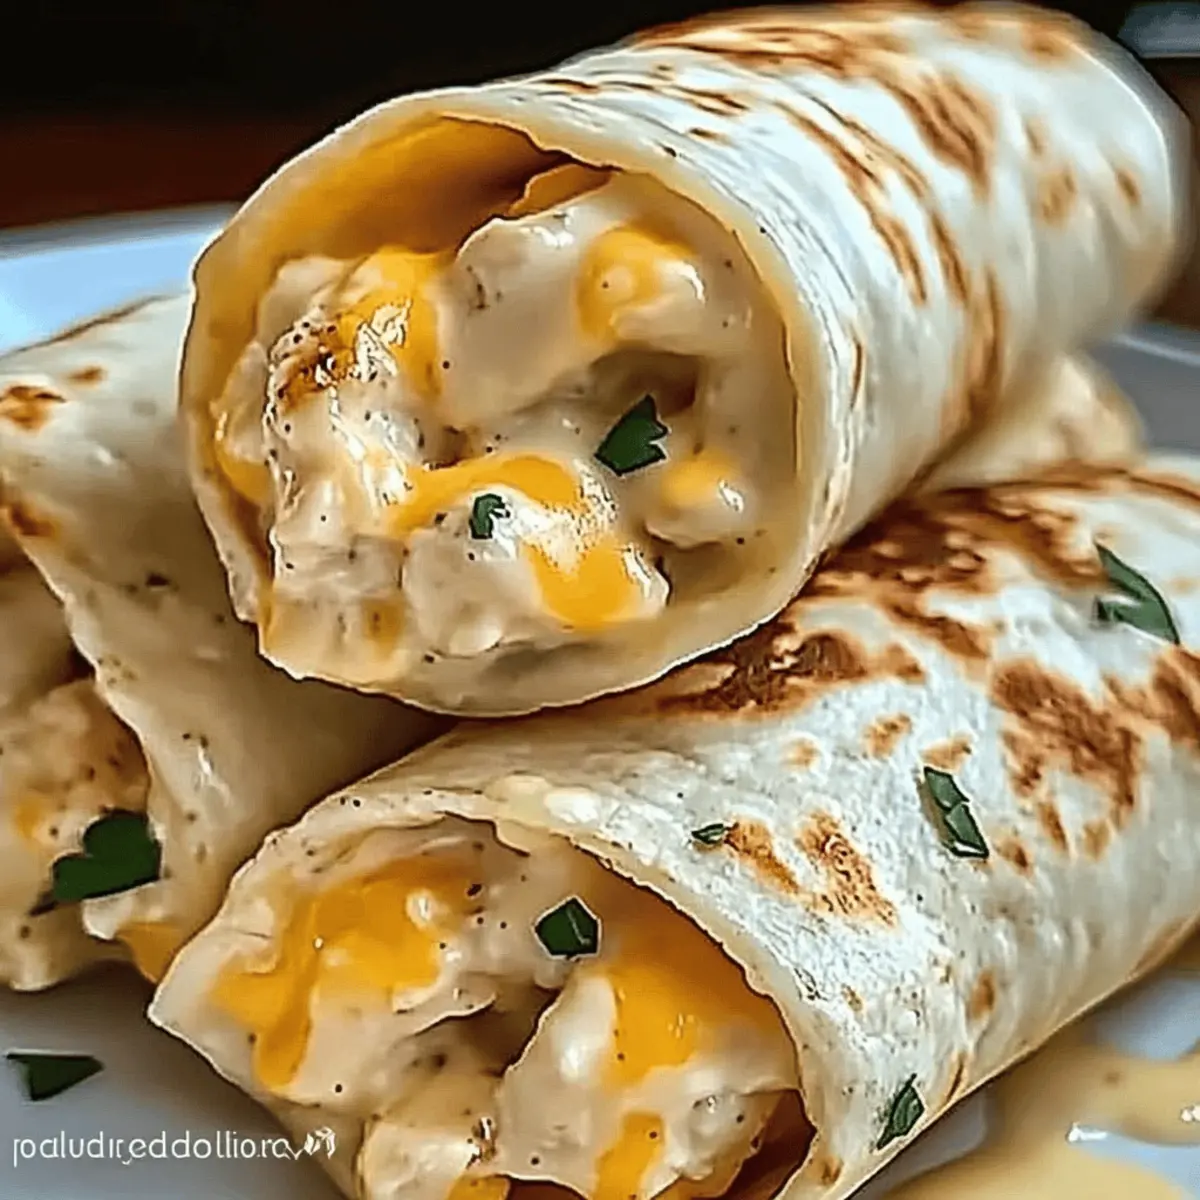
Once grilled, carefully cut each wrap in half for easy handling. If desired, garnish with fresh parsley for an added pop of color and freshness. Serve your Cheesy Garlic Chicken Wraps warm, and enjoy this delightful meal with family and friends!
Cheesy Chicken Wrap Variations & Substitutions
Customize your wraps and elevate their deliciousness with these creative features and swaps!
-
Dairy-Free: Use dairy-free cheese alternatives for the shredded cheese and creamy garlic sauce for a delightful, guilt-free version.
-
Veggie-Packed: Toss in sautéed bell peppers and onions for added flavor and nutrition, making each bite a burst of color and taste.
-
Spicy Twist: Add fresh jalapeños or switch to pepper jack cheese for those who enjoy a little extra heat in their wraps.
-
Grain-Free Delight: Opt for lettuce wraps instead of tortillas for a refreshing and low-carb alternative that maintains the essence of this dish.
-
Flavorful Marinades: Marinate the chicken in lime juice or your favorite taco seasoning before cooking to infuse vibrant flavors perfect for any gathering.
-
Protein Swap: Substitute chicken for turkey or even tofu for a deliciously light take on this classic recipe, catering to various dietary preferences.
-
Crispy Add-Ons: Sprinkle some crispy fried onions or crushed tortilla chips inside the wraps before grilling for added texture and crunch.
-
Nutty Flavor: Incorporate some toasted pine nuts or slivered almonds for an unexpected nutty accent, enhancing the overall richness of the wraps.
Embrace the endless possibilities these variations offer, making it easy for your family to enjoy a different Cheesy Chicken Wrap experience each time! If you’re looking for more quick meal ideas, check out the delightful Corn Chicken Rice Bowl and the flavorful Dragon Chicken for inspiration!
What to Serve with Cheesy Garlic Chicken Wraps
Picture a cozy family dinner, where flavors meld together in harmony, wrapping everyone in a comfort food embrace.
-
Cucumber Salad: A refreshing crunch that complements the wraps’ creaminess. This light dish adds a crisp, cool element, balancing the richness perfectly.
-
Sweet Potato Fries: These sweet, crispy delights offer a comforting and nutritious alternative to traditional fries, with a hint of sweetness that contrasts beautifully with savory wraps.
-
Guacamole: Creamy and rich, this dip enhances the Tex-Mex vibe of the meal. The coolness of avocados provides a delightful counterpoint to the warm, cheesy wraps.
-
Mexican Street Corn Salad: Bright and zesty, this salad adds color and crunch. The tangy flavors elevate the overall dining experience and add excitement to every bite.
-
Pico de Gallo: Fresh and vibrant, this chunky salsa brings a punch of flavor. The diced tomatoes, onions, and cilantro provide brightness, cutting through the richness of the wrap.
-
Sparkling Lemonade: A refreshing drink with a hint of sweetness that perfectly balances the savoriness of the cheesy chicken. Its bubbly character gives a festive touch to your meal.
With these delightful pairings, your Cheesy Garlic Chicken Wraps will shine even brighter, transforming dinner into a real feast centered around love and shared joy.
Expert Tips for Cheesy Chicken Wrap
-
Perfecting the Cooking Time: Cooking chicken for too long can make it dry. Aim for 6-8 minutes until golden and cooked through for juicy results.
-
Don’t Overcrowd the Pan: Grilling too many wraps at once can lead to steaming instead of crisping. Cook in batches for that ideal crunchy bite.
-
Experiment with Fillings: Don’t hesitate to try new ingredients! Adding sautéed vegetables like bell peppers or onions enhances nutrition and flavor in your cheesy chicken wrap.
-
Keep It Toasty: Let your cooked wraps sit for a minute before serving; this helps the cheese set slightly, preventing it from spilling out when you cut them in half.
-
Slicing Technique: Use a sharp knife to cut the wraps after grilling. This prevents squishing and helps maintain their deliciously cheesy integrity.
Make Ahead Options
These Cheesy Garlic Chicken Wraps are perfect for meal prep enthusiasts! You can season and cook the chicken up to 3 days in advance, refrigerate it separately in an airtight container to keep it fresh. Additionally, you can prepare the tortillas by spreading the creamy garlic sauce on them and storing them stacked in the fridge for up to 24 hours. When you’re ready to enjoy your wraps, simply assemble the chicken and cheese in the tortillas, grill them for 2-3 minutes on each side until crispy, and serve. This method ensures that your wraps remain just as delicious while saving valuable time on busy weeknights!
How to Store and Freeze Cheesy Chicken Wraps
Fridge: Store leftover Cheesy Chicken Wraps in an airtight container in the fridge for up to 3 days. Reheat in a skillet for best results to keep the wrap crispy.
Freezer: If you want to enjoy these wraps later, freeze ungrilled wraps by wrapping them individually in plastic wrap, then place them in a freezer bag for up to 3 months.
Reheating: For frozen wraps, thaw in the refrigerator overnight before reheating. Grill in a pan on medium heat for about 5 minutes on each side until heated through and crispy.
Prep Ahead: You can prepare the filling and store it separately in the fridge or freezer, making it easy to whip up fresh Cheesy Chicken Wraps whenever cravings strike!
Cheesy Chicken Wrap Recipe FAQs
What kind of chicken should I use for this recipe?
Absolutely! Chicken breasts are the primary protein used in these wraps, providing tenderness and heartiness. You can also substitute with turkey or tofu for a different flavor and texture while keeping it healthy and delicious.
How do I store leftover Cheesy Chicken Wraps?
To store leftover wraps, place them in an airtight container in the fridge, where they’ll keep for up to 3 days. For best results, reheat them in a skillet over medium heat; this helps maintain their crispiness and prevents them from becoming soggy.
Can I freeze Cheesy Chicken Wraps?
Very! You can freeze ungrilled wraps by wrapping each one tightly in plastic wrap and then placing them in a freezer bag. They’ll stay fresh for up to 3 months. When you’re ready to enjoy them, thaw the wraps in the fridge overnight and grill them for 5 minutes on each side until warm and crispy.
What if my chicken turns out dry?
If you find that your chicken is dry, ensure you’re cooking it at medium heat and not for longer than 6-8 minutes. Check for doneness by cutting into the chicken; it should be firm but not tough. If you’d like, marinating your chicken prior to seasoning can help retain moisture and enhance flavor.
Can I use different types of cheese?
Of course! This recipe is incredibly customizable. You can mix and match cheeses like Monterey Jack or pepper jack for a spicier kick. Additionally, feel free to use your favorite blends or dairy-free cheese alternatives to suit your dietary needs.
Are there any dietary considerations I should be aware of?
Absolutely! If you’re catering to specific diets, you can easily swap regular flour tortillas for whole wheat or gluten-free versions. Also, check for allergies; while our recipe uses common ingredients, be sure to substitute accordingly if anyone attending has allergies, such as to dairy or gluten.
Cheesy Chicken Wrap: Your New Weeknight Favorite Meal
Ingredients
Equipment
Method
- In a mixing bowl, combine diced chicken breasts with olive oil, garlic powder, onion powder, paprika, salt, and pepper. Toss until the chicken is generously coated.
- Heat a non-stick pan over medium heat for about 2 minutes. Add the seasoned chicken and cook for 6-8 minutes until golden brown and cooked through.
- While the chicken cools, lay out your flour tortillas and spread an even layer of creamy garlic sauce over each tortilla.
- Distribute the cooked chicken evenly among the tortillas, then sprinkle shredded cheddar and mozzarella cheese on top.
- Fold each tortilla in half to encase the filling, then grill the wraps for 2-3 minutes on each side until crispy and golden brown.
- Once grilled, cut each wrap in half and garnish with fresh parsley if desired. Serve warm.