

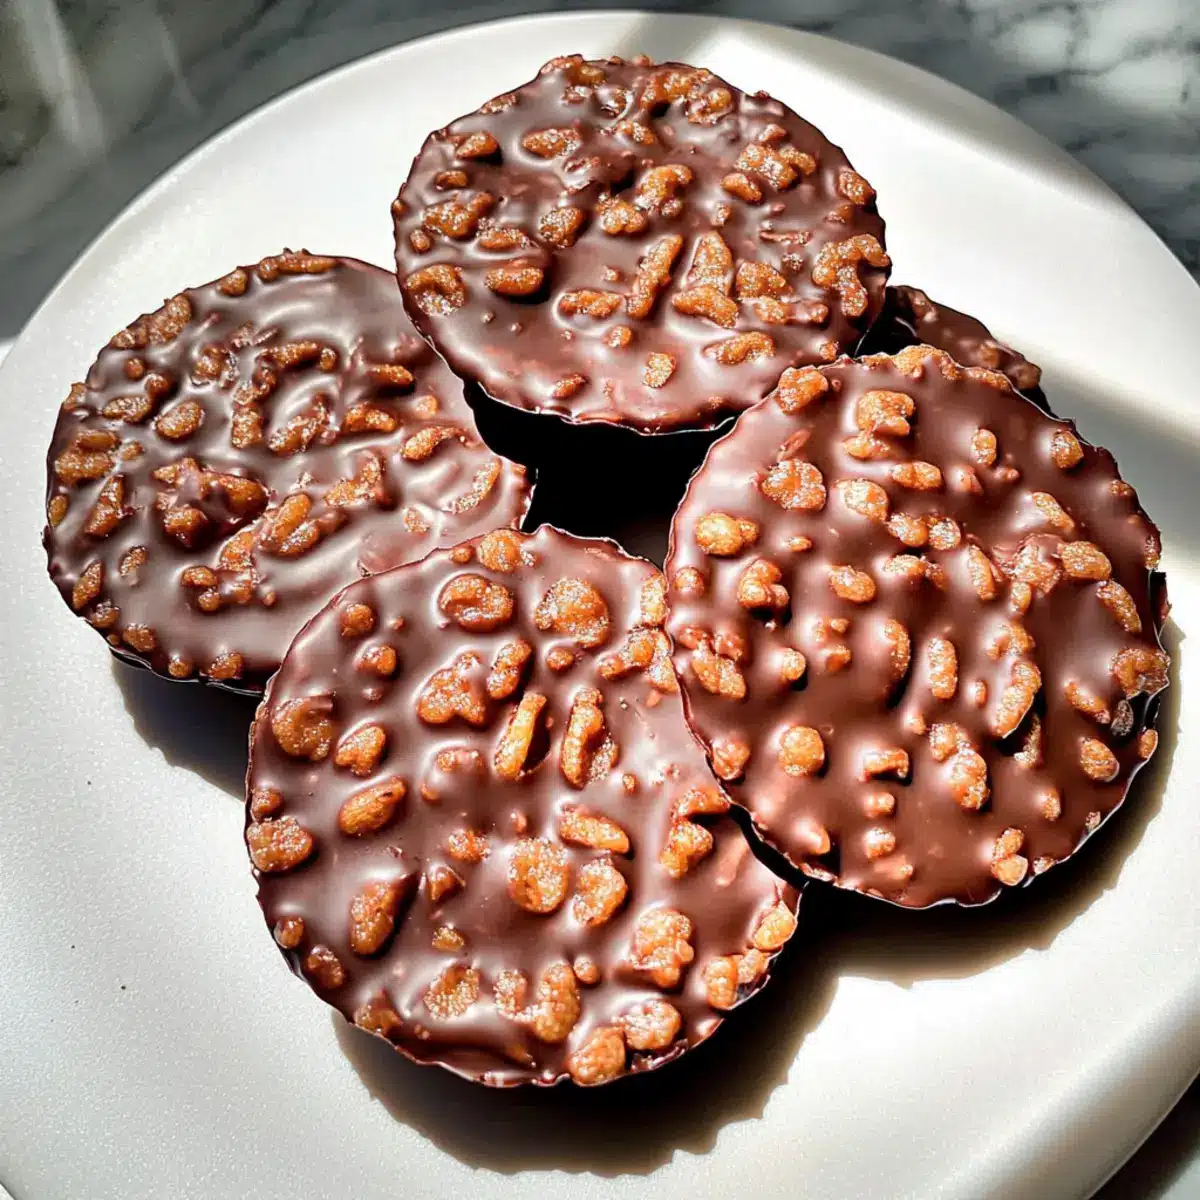
As I rummaged through my pantry one rainy afternoon, a sweet idea took shape: Chocolate Peanut Butter Crunch Cups! With just three ingredients, I knew I was onto something special. These treats are perfect for anyone craving a quick, no-bake dessert that not only satisfies your sweet tooth but is also gluten-free and kid-friendly. The delightful combination of rich chocolate and creamy peanut butter, coupled with a satisfying crunch from rice cereal, creates a treat that’s both simple and irresistibly addictive. Whether you’re looking to impress at your next gathering or need a delicious burst of energy for your afternoon, these cups are here to save the day. Can’t wait to dive into this easy recipe together?
Why Will You Love These Cups?
Simplicity at Its Finest: With only three ingredients, these Chocolate Peanut Butter Crunch Cups come together in a flash, making them perfect for any busy home cook!
Irresistibly Delicious: The rich blend of chocolate with creamy peanut butter provides a taste sensation that’s hard to resist. Plus, the crunchy rice cereal adds a delightful texture that keeps you coming back for more.
Kid-Friendly Fun: Let the kids join in! They’ll love helping mix and mold these treats, creating lasting memories with each batch.
Versatile Treats: Not in the mood for peanut butter? Feel free to substitute with almond or sunflower seed butter for a different flavor twist!
Guilt-Free Indulgence: Packed with protein and fiber, these cups make for a satisfying snack that won’t derail your health goals. Perfect for those moments when you need a quick treat!
Party-Ready: Ideal for gatherings, picnics, or lunchboxes—these cups are sure to be a hit, as they appeal to both kids and adults alike. You’ll be surprised at how such a simple recipe can create something so enjoyable!
Chocolate Peanut Butter Crunch Cups Ingredients
For the Base
- Chocolate Chips – Key for sweetness; choose dark, milk, or semi-sweet based on your personal preference.
- Peanut Butter – Adds creaminess and is the perfect match for chocolate; tahini can be a nut-free substitute.
- Rice Cereal – Provides that satisfying crunch; ensure any alternative cereal is gluten-free if necessary.
These Chocolate Peanut Butter Crunch Cups come together beautifully with just three simple ingredients!
Step‑by‑Step Instructions for Chocolate Peanut Butter Crunch Cups
Step 1: Melt the Chocolate
Begin by placing the chocolate chips in a microwave-safe bowl. Heat the chocolate in the microwave for 30 seconds at 50% power, then stir. Repeat in 15-second increments until the chocolate is completely melted and smooth. Alternatively, you can melt the chocolate using a double boiler on the stove over low heat, ensuring it doesn’t get too hot. This melted chocolate will be the base for your Chocolate Peanut Butter Crunch Cups.
Step 2: Mix the Chocolate and Peanut Butter
Once the chocolate is smoothly melted, add your choice of peanut butter to the bowl. Use a spatula to mix them together thoroughly until well combined. The mixture should become a luscious, creamy consistency, blending the rich chocolate with the savory peanut butter. This delightful combination serves as the foundation for your cups, ensuring they are rich and flavorful.
Step 3: Fold in the Rice Cereal
Gently add the rice cereal to the chocolate-peanut butter mixture, folding it in with a spatula. Be careful not to crush the cereal as you mix; the goal is to achieve an even coating of chocolate without losing that satisfying crunch. Once all the cereal is well incorporated, you should see a lovely mixture that perfectly balances the creamy and crunchy elements of your Chocolate Peanut Butter Crunch Cups.
Step 4: Fill the Molds
Prepare mini muffin tins or silicone molds by greasing them lightly if necessary. Use a spoon or cookie scoop to fill each mold with the mixture, pressing down gently to pack it in. Aim for an even distribution among the molds, ensuring a tidy presentation for your sweets. This step is crucial for achieving perfectly shaped cups, ready to chill and set.
Step 5: Refrigerate Until Firm
Place the filled molds in the refrigerator and allow them to chill for about 1 hour, or until the cups are firm to the touch. During this time, the chocolate will harden, providing that delightful texture you expect from Chocolate Peanut Butter Crunch Cups. If you prefer, you can also use the freezer for about 30-40 minutes for a quicker setting time.
Step 6: Enjoy Your Treats
Once the cups are fully set, carefully pop them out of the molds. If using a metal tin, gently twist or tap the sides to loosen. Allow the cups to sit at room temperature for about 5-10 minutes for easier eating. Now you’re ready to indulge in these delectable Chocolate Peanut Butter Crunch Cups that are perfect for sharing, snacking, or storing for later!
Make Ahead Options
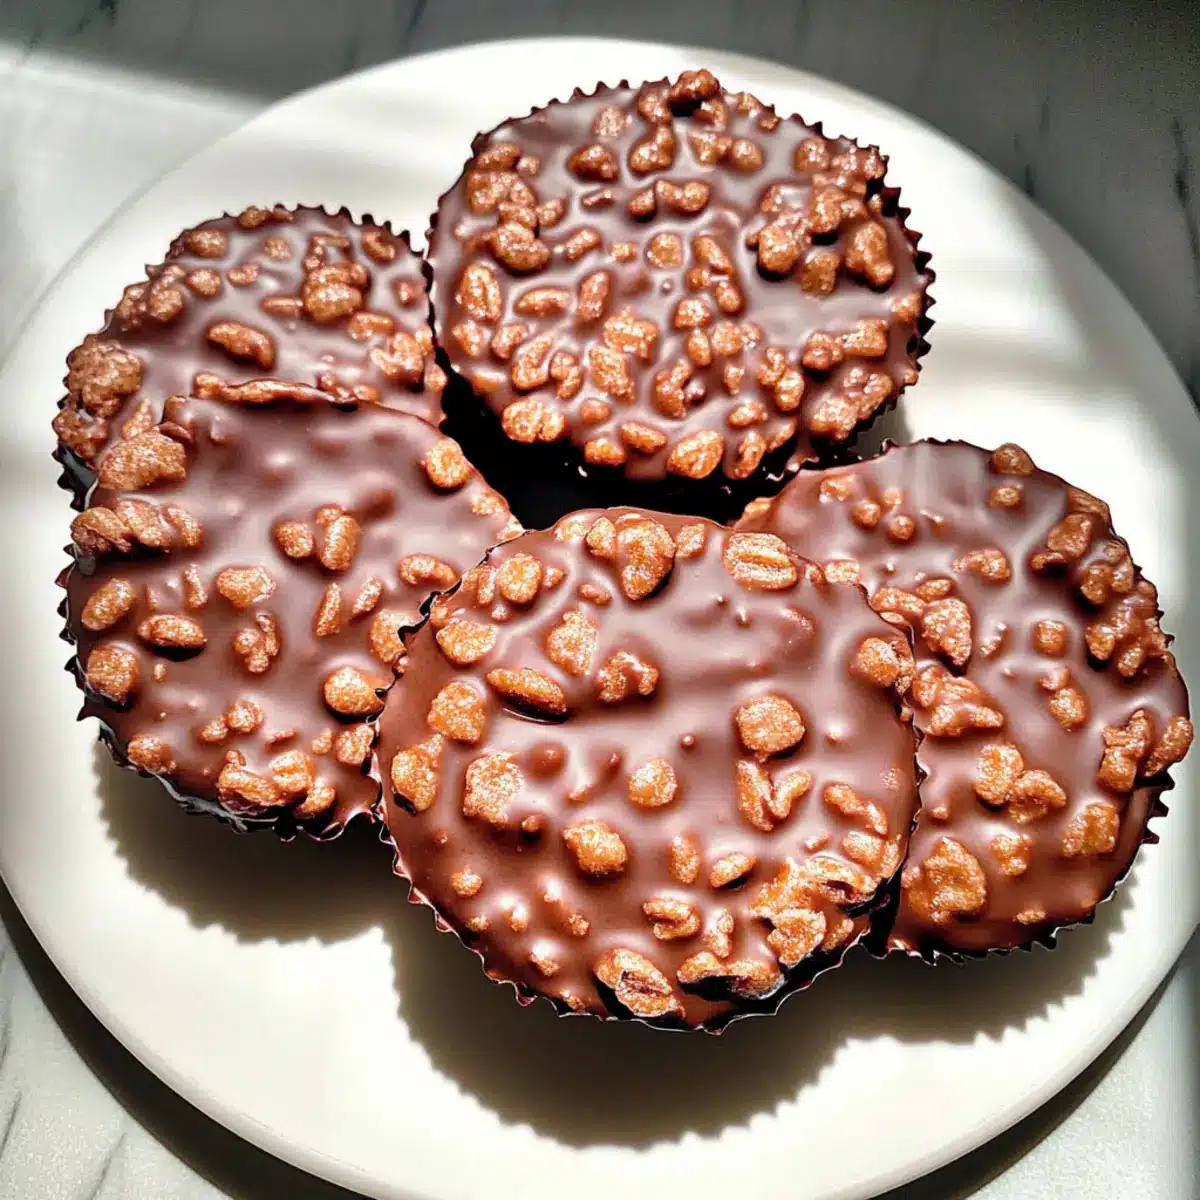
These Chocolate Peanut Butter Crunch Cups are perfect for meal prep enthusiasts looking to save time during busy weeks! You can prepare the mixture up to 24 hours in advance. Simply follow the initial steps: melt the chocolate, mix it with peanut butter, and fold in the rice cereal. Once combined, fill your molds and then cover them tightly with plastic wrap before refrigerating. This will keep the flavors fresh and the texture just as delightful. When you’re ready to enjoy, simply allow the cups to sit at room temperature for 5-10 minutes to soften slightly before popping them out of the molds. With these make-ahead tips, you can enjoy a delicious treat with minimal effort!
Expert Tips for Chocolate Peanut Butter Crunch Cups
-
Grease Molds: Lightly grease your molds before pouring in the mixture to ensure easy removal once set. This avoids frustration when trying to pop them out.
-
Melt with Care: When melting the chocolate, do so slowly to prevent it from seizing. Use the microwave in short bursts or a double boiler on low heat for best results.
-
Crunch Balance: Be gentle when folding in the rice cereal; over-mixing can crush the cereal and compromise that sought-after crunch in your Chocolate Peanut Butter Crunch Cups.
-
Add-In Magic: Consider mixing in mini chocolate chips or chopped nuts for an extra flavor boost and delightful texture variance in your cups.
-
Storage Tip: Store your cups in an airtight container in the freezer, where they can last up to two months. Let them warm up slightly before enjoying for the best texture!
What to Serve with Chocolate Peanut Butter Crunch Cups
Elevate your dessert experience with delightful pairings that enhance these sweet bites, perfect for sharing with loved ones.
-
Creamy Vanilla Ice Cream: The rich creaminess of ice cream balances the chocolate’s sweetness, making each bite a melt-in-your-mouth experience. Serve a scoop alongside for a delightful contrast.
-
Fresh Berries: Juicy strawberries or raspberries add a refreshing tartness that beautifully cuts through the richness of the cups. The vibrant colors also make for an appealing presentation!
-
Chocolate Milkshake: This indulgent drink provides a double dose of chocolate goodness and is a nostalgic pairing that kids and adults will adore.
-
Homemade Whipped Cream: Light and airy, this addition can be dolloped on top for an elegant touch, complementing the texture of the cups while adding a luscious creaminess.
-
Nutty Trail Mix: A crunchy, salty trail mix adds texture diversity to your dessert table, making snacking fun and giving a satisfying contrast to the sweet chocolate peanut butter cups.
-
Herbal Tea: A warm cup of chamomile or peppermint tea offers a soothing beverage option after a rich dessert, making for a balanced and comforting finish to the meal.
-
Apple Slices with Cinnamon: Crisp apple slices sprinkled with cinnamon provide a refreshing crunch and slight sweetness, perfectly contrasting the creamy texture of the cups.
-
Sparkling Water with Lemon: For a light, refreshing beverage choice, sparkling water with a squeeze of lemon cleanses the palate and enhances the flavors of the treats.
Each of these pairings enhances the experience of enjoying Chocolate Peanut Butter Crunch Cups, making your sweet moments even more memorable!
Chocolate Peanut Butter Crunch Cups Variations
Feel free to get creative with your Chocolate Peanut Butter Crunch Cups and make them uniquely yours!
-
Nut-Free: Swap out peanut butter for sunflower seed butter to cater to nut allergies, while still enjoying that creamy texture.
-
Crunchier Texture: Try using crisped rice or puffed quinoa instead of traditional rice cereal for a different crunch experience. It adds a delightful twist!
-
Extra Sweetness: Stir in mini marshmallows along with the rice cereal before mixing, adding an additional layer of chewy sweetness that kids will adore.
-
Chocolate Drizzle: Elevate your presentation by drizzling melted chocolate over the tops of the cups before they set, creating a glossy finish that’s visually enticing.
-
Spicy Kick: For those who enjoy a little heat, add a pinch of cayenne pepper to the chocolate mixture for a surprising and delightful flavor combination.
-
Flavor Booster: Incorporate a teaspoon of vanilla extract into the chocolate and peanut butter mix for a deeper, richer flavor profile that enhances every bite.
-
Decorative Toppings: Consider topping each cup with a sprinkle of sea salt or a dash of crushed nuts for an appealing contrast and added texture.
-
Choco-Peanut Butter Layering: Alternate layers of the chocolate-peanut butter mixture with layers of your favorite yogurt in a jar for a delightful parfait-style treat—perfect for breakfast or dessert!
These variations offer endless possibilities to explore your palate while creating fantastic snacks. For more delightful recipes, check out our Garlic Butter Honey Chicken Tacos or our delicious Chocolate Chip Kodiak Cakes Muffins. Enjoy experimenting!
How to Store and Freeze Chocolate Peanut Butter Crunch Cups
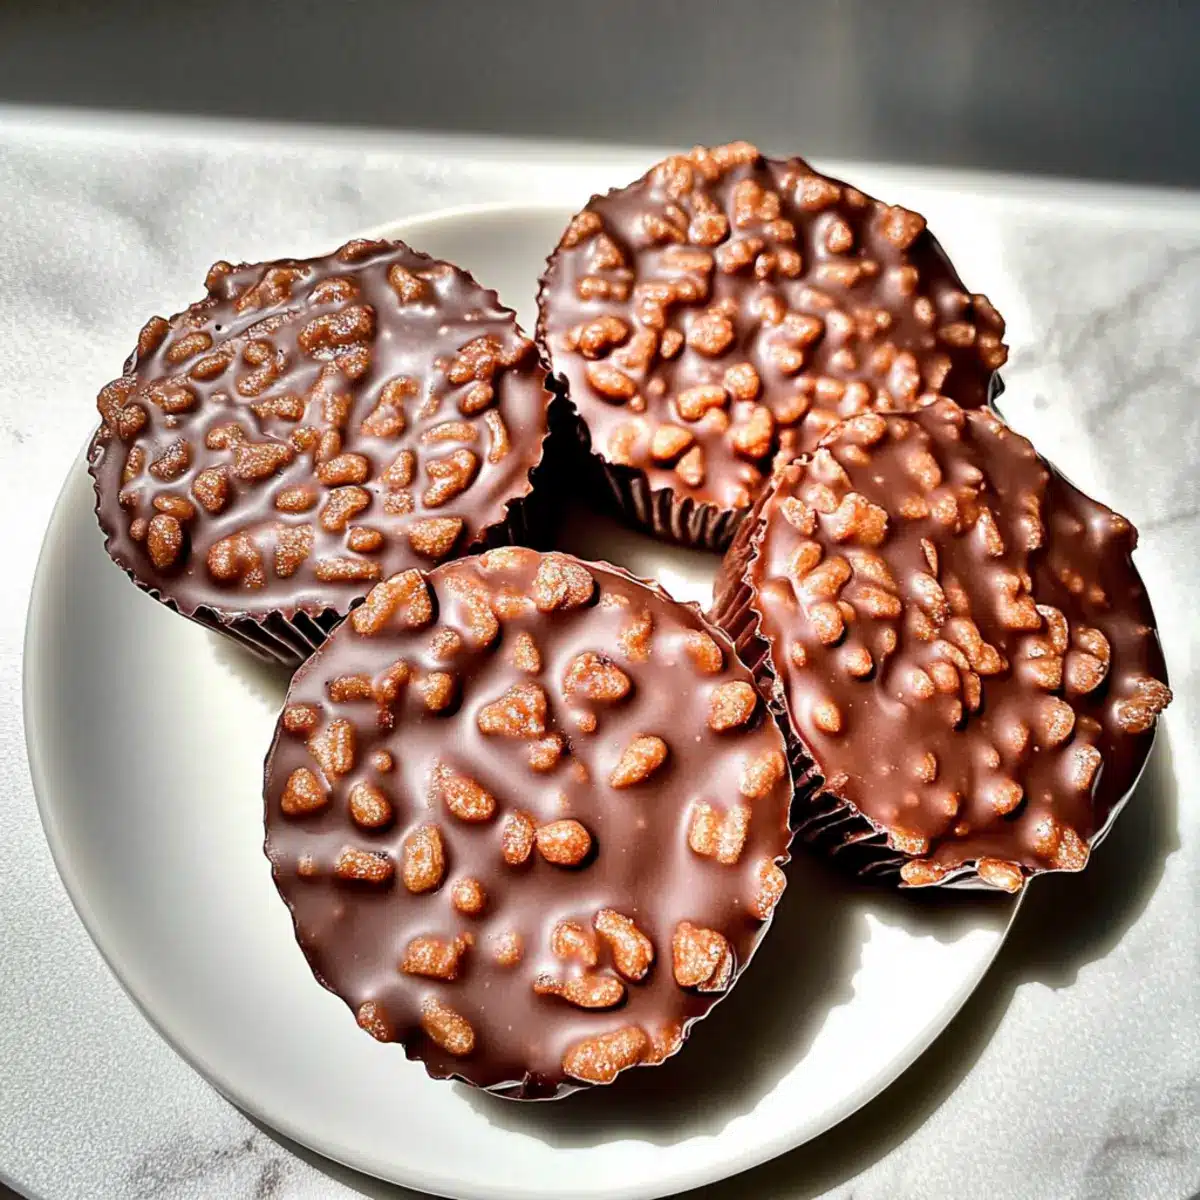
Fridge: Keep your Chocolate Peanut Butter Crunch Cups in an airtight container in the fridge for up to 1 week. This helps maintain their delightful texture and flavor.
Freezer: For longer storage, place the cups in a freezer-safe container or bag, ensuring they are well-wrapped to prevent freezer burn. They can last up to 2 months!
Reheating: When ready to enjoy, simply let them sit at room temperature for about 5-10 minutes to soften slightly before biting into the rich, crunchy goodness.
Serving Tip: These cups can serve as a cool treat during warmer months. Just take them out of the freezer a bit beforehand for a refreshing, guilt-free snack!
Chocolate Peanut Butter Crunch Cups Recipe FAQs
How do I choose the right chocolate chips?
Absolutely! When selecting chocolate chips for your Chocolate Peanut Butter Crunch Cups, consider your flavor preference. Dark chocolate contributes a rich intensity, while milk chocolate offers a sweeter touch. Semi-sweet chocolate is a great balance between the two. Always look for high-quality brands without added fillers for the best flavor!
How should I store Chocolate Peanut Butter Crunch Cups?
To keep your cups fresh, store them in an airtight container in the fridge for up to 1 week. This will help maintain their delightful texture. For longer storage, they can be placed in a freezer-safe bag or container, lasting up to 2 months. Just remember to thaw them for 5-10 minutes before serving to enjoy their delightful crunch!
Can I freeze Chocolate Peanut Butter Crunch Cups?
Yes, you can! To freeze your Chocolate Peanut Butter Crunch Cups, first ensure they have set completely. Then, place them in a single layer in a freezer-safe container or bag, making sure they are well-wrapped to avoid freezer burn. They’ll keep well for up to 2 months. When ready to enjoy, allow them to sit out for 5-10 minutes for optimal texture.
What if my chocolate seizes while melting?
Oh no! If your chocolate seizes, don’t worry—this can happen. Simply add a small amount of vegetable oil or shortening (about 1 teaspoon) into the melted chocolate and stir vigorously until smooth. This additional fat will help to reincorporate the chocolate. In the future, melt your chocolate more slowly to avoid this mishap!
Are Chocolate Peanut Butter Crunch Cups safe for nut allergies?
Great question! If you’re serving guests with nut allergies, you can easily modify this recipe by substituting peanut butter with tahini or sunflower seed butter. Be sure to check that all ingredients are certified gluten-free to ensure the recipe remains safe for those with dietary restrictions.
How long will the cups last at room temperature?
For best results, consume your Chocolate Peanut Butter Crunch Cups after they’ve been stored in the fridge or freezer. If left at room temperature, they’ll be fine for about 1-2 hours before they begin to soften significantly. I recommend enjoying them chilled for that delightful crunch and flavor burst!
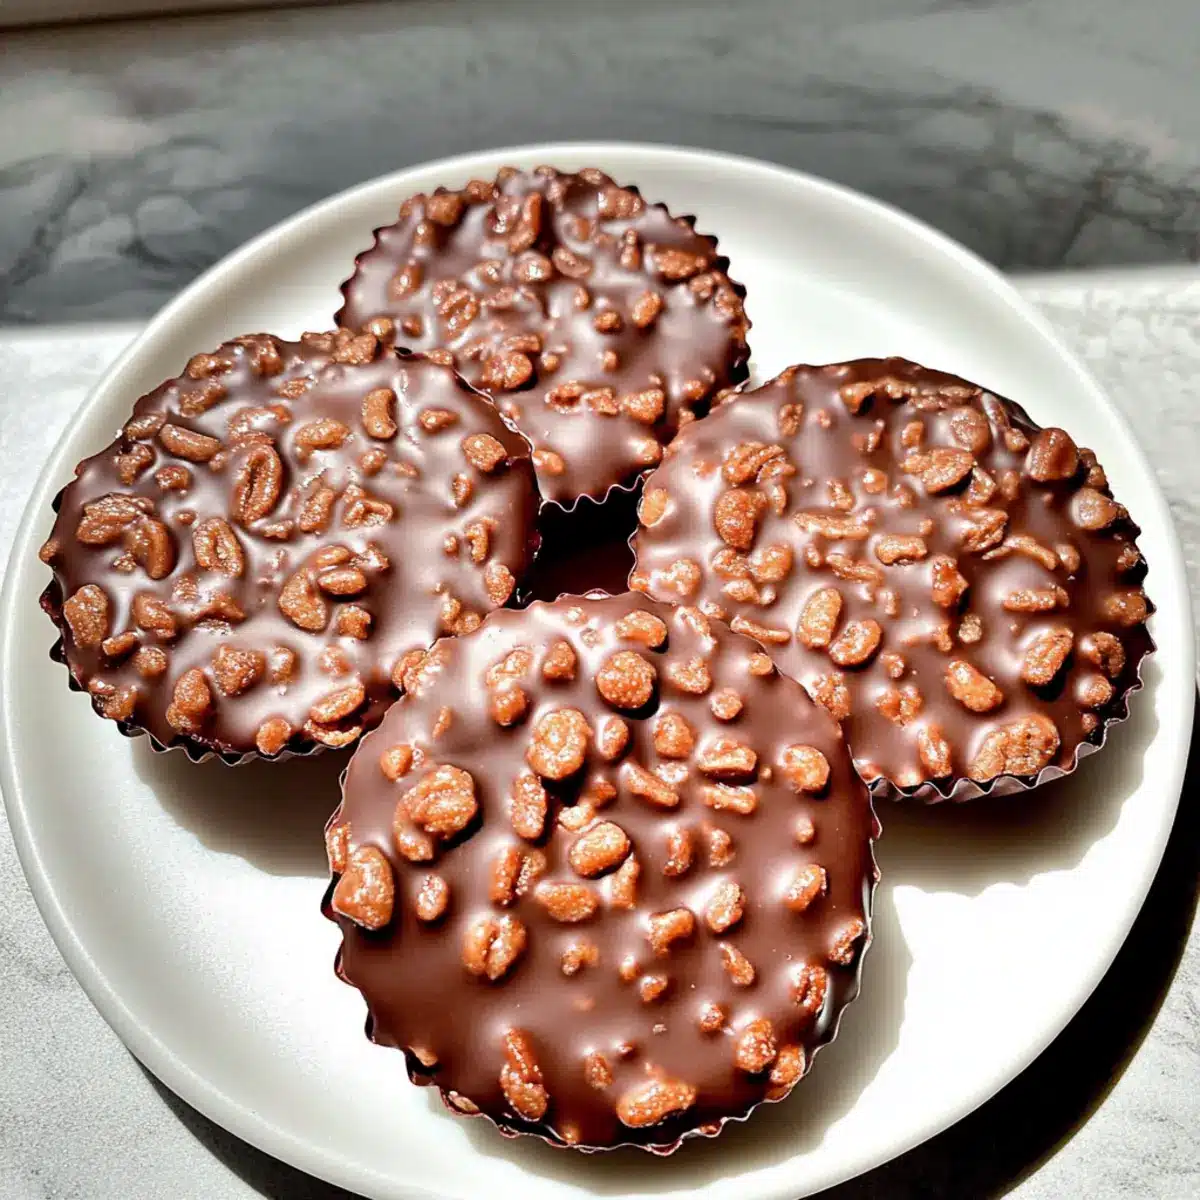
Irresistible Chocolate Peanut Butter Crunch Cups in 3 Steps
Ingredients
Equipment
Method
- Melt the chocolate chips in a microwave-safe bowl at 50% power in 30-second increments until smooth.
- Mix the melted chocolate and peanut butter until well combined.
- Fold in the rice cereal gently to coat without crushing.
- Fill greased mini muffin tins or silicone molds with the mixture and pack gently.
- Refrigerate until firm, about 1 hour.
- Pop the cups out of molds and let sit at room temperature for a few minutes before serving.