
As I strolled through a colorful carnival, the sweet, sugary aroma of cotton candy wafted through the air, instantly transporting me back to carefree childhood days. Inspired by that whimsical treat, I’m excited to share this Cotton Candy Cake recipe that captures all the joy and nostalgia of those simpler times. Not only is this sweet cake a delightful centerpiece for any gathering, but it’s also perfect for busy days when you want to impress without a heavy time commitment. With its fluffy texture and vibrant colors, this dessert will surely be a hit, turning an ordinary occasion into a festive celebration. Ready to bring a touch of fun to your kitchen? Let’s dive into this delightful baking adventure!
What Makes This Cake So Special?
Nostalgic Delight: With its vibrant colors and fluffy texture, this Cotton Candy Cake instantly transports you back to childhood memories of fairgrounds and fun.
Easy to Make: Crafted with straightforward ingredients, it’s perfect for both beginner bakers and seasoned chefs looking for a quick, impressive dessert in no time.
Versatile Flavor: Customize it by experimenting with different cotton candy flavors, ensuring that every cake you create is unique and memorable.
Visual Appeal: The pastel colors and whimsical topping make this cake not just delicious, but also a beautiful centerpiece for any celebration or gathering.
Crowd-Pleasing: Perfect for birthdays, baby showers, or family parties, this cake will be a guaranteed hit with both kids and adults alike. Pair it with some whipped cream from our Cinnamon Roll Cake recipe for an extra special treat!
Cotton Candy Cake Ingredients
• Get ready to bake a sweet treat!
For the Cake
- All-Purpose Flour – Provides structure and stability; no substitutions recommended for best results.
- Granulated Sugar – Sweetens and adds moisture; brown sugar could be used for a deeper flavor.
- Baking Powder – Helps the cake rise, ensuring a fluffy texture; baking soda can be used as an alternative with adjustments.
- Salt – Enhances flavor by balancing sweetness; leave it out if using salted butter.
- Butter (softened) – Adds richness and tenderness; can be substituted with margarine or vegan butter for a dairy-free option.
- Eggs – Essential for binding and moisture; for an egg-free version, consider using flax eggs or applesauce.
- Milk – Contributes to moisture and texture; any non-dairy milk can work well as a substitute.
- Vanilla Extract – Enhances flavor; almond extract is a delightful alternative.
- Cotton Candy – The signature ingredient providing flavor and fun; feel free to customize the flavor or color.
For the Frosting
- Butter (softened) – For a rich, creamy frosting; remember to soften for easy mixing.
- Powdered Sugar – Sweetens the frosting, making it smooth; sift for a lump-free consistency.
- Milk – Adjust the consistency; use whole or non-dairy milk as preferred.
- Vanilla Extract – Adds a lovely flavor; alternatively, use almond extract for a twist.
For Topping
- Cotton Candy – Fresh and colorful to crown your cake; choose your favorite flavor for a personal touch!
Step‑by‑Step Instructions for Cotton Candy Cake
Step 1: Preheat the Oven
Begin by preheating your oven to 350°F (175°C). This step is essential for achieving the perfect fluffy texture in your Cotton Candy Cake. While the oven warms up, prepare your cake pans by greasing them and lining the bottoms with parchment paper, ensuring a smooth release after baking.
Step 2: Cream the Butter and Sugar
In a large mixing bowl, cream together the softened butter and granulated sugar using an electric mixer on medium speed for about 3-5 minutes. The mixture should become light and fluffy, turning pale in color. This process incorporates air, which is key to creating the luscious texture of your Cotton Candy Cake.
Step 3: Add the Eggs
Once your butter and sugar are creamed, add the eggs one at a time, mixing well after each addition. This will help the cake bind together beautifully. Make sure the mixture is well combined and smooth before proceeding, as this foundation will contribute to the cake’s moistness and richness.
Step 4: Incorporate Milk and Vanilla
Stir in the milk and vanilla extract, mixing on low speed until the ingredients are just combined. The batter should have a smooth consistency. This step adds moisture to your Cotton Candy Cake, enhancing its delightful flavor while also ensuring that the texture remains fluffy and tender.
Step 5: Combine Dry Ingredients
In a separate bowl, whisk together the all-purpose flour, baking powder, and salt. This step ensures even distribution of the leavening agent and salt throughout the cake batter. Once mixed, gradually add the dry mixture to your wet ingredients, gently folding them together to combine without overmixing.
Step 6: Fold in Cotton Candy
Now it’s time to add the fun! Tear pieces of cotton candy into the batter and gently fold them in until they’re evenly distributed. If desired, you can also drop in a few drops of food coloring for a vibrant look. Be careful not to overmix as you want the cake to maintain its fluffy charm.
Step 7: Bake the Cakes
Divide the prepared batter evenly between the two greased and lined cake pans, smoothing the tops for even baking. Place them in the preheated oven and bake for 25-30 minutes. The cakes are done when they are golden brown on top, and a toothpick inserted into the center comes out clean.
Step 8: Cool the Cakes
After baking, allow the cakes to cool in the pans for about 10 minutes. This will help set their shape. Then, carefully turn them out onto wire racks to cool completely. This step is essential for preventing a soggy bottom and ensures that your Cotton Candy Cake can be frosted beautifully.
Step 9: Frosting and Decoration
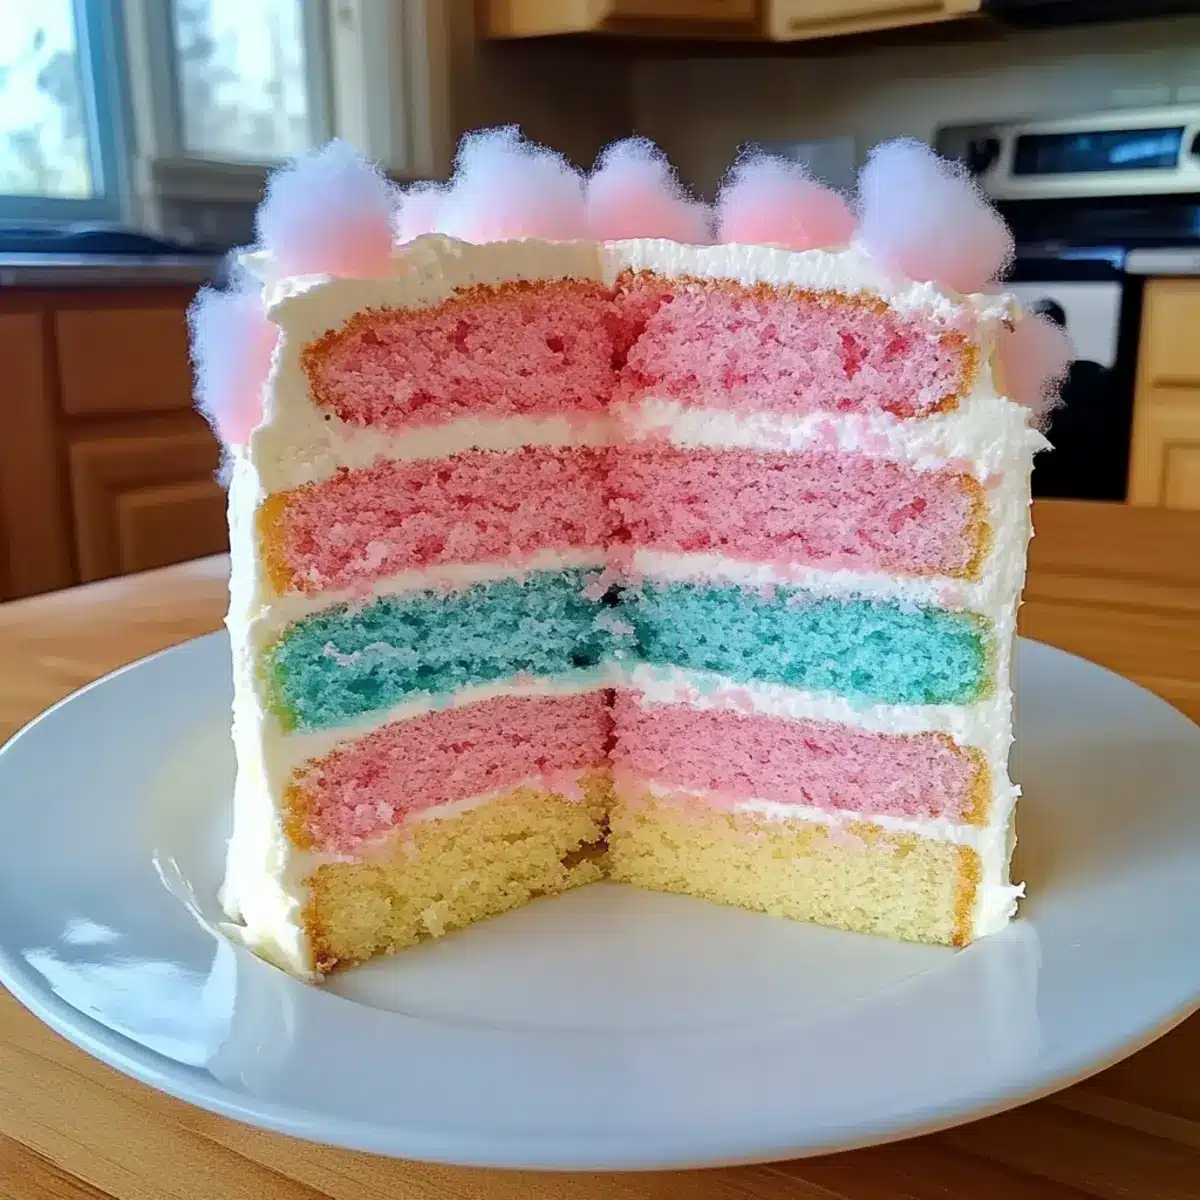
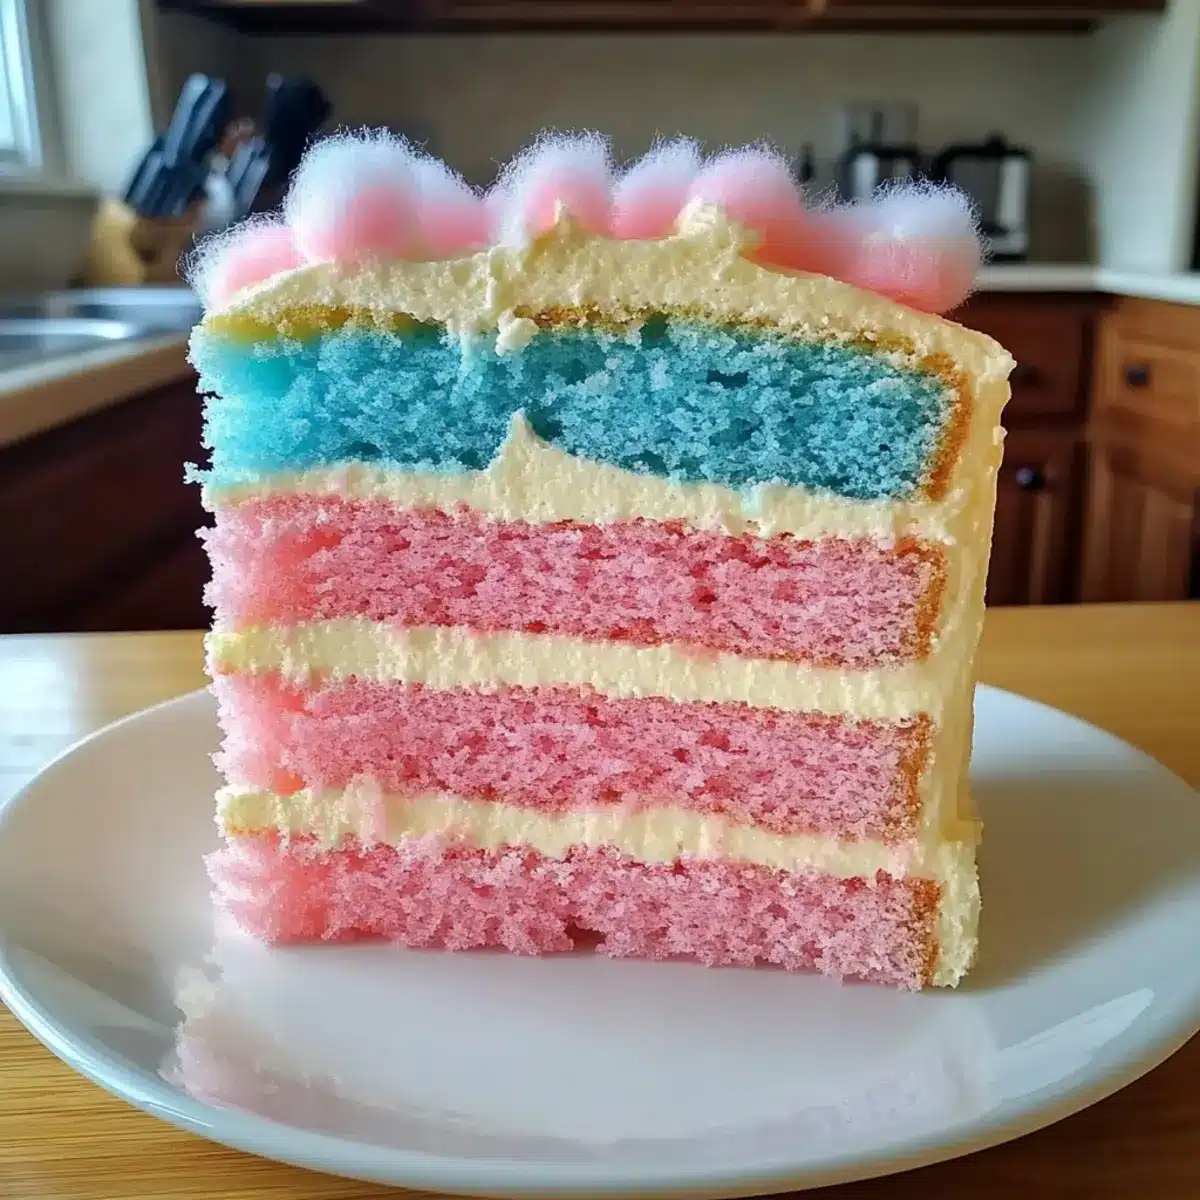
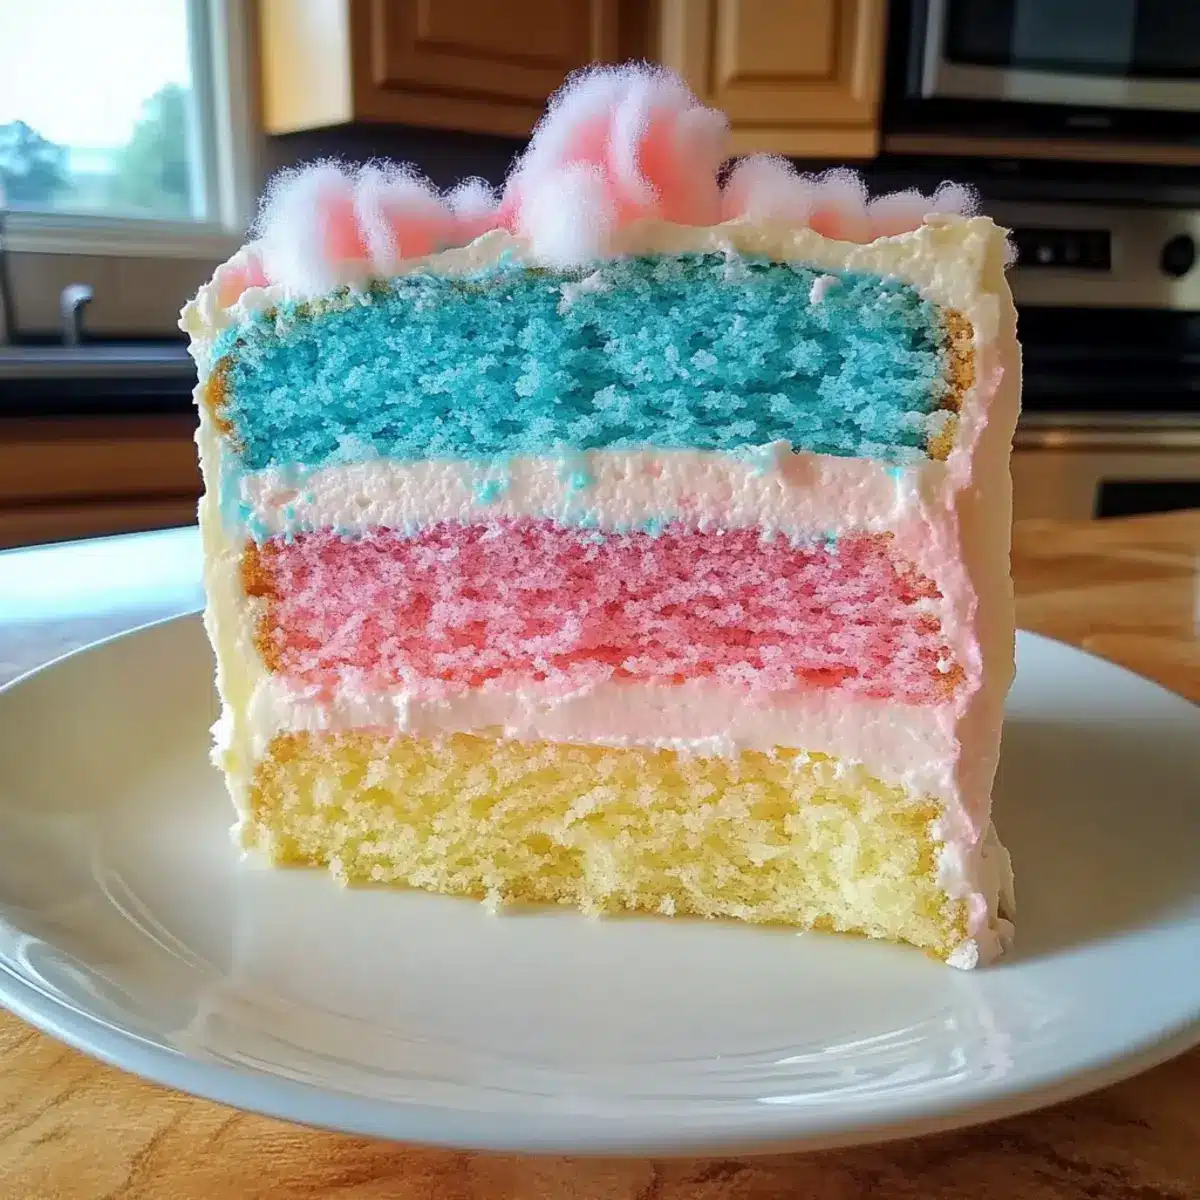
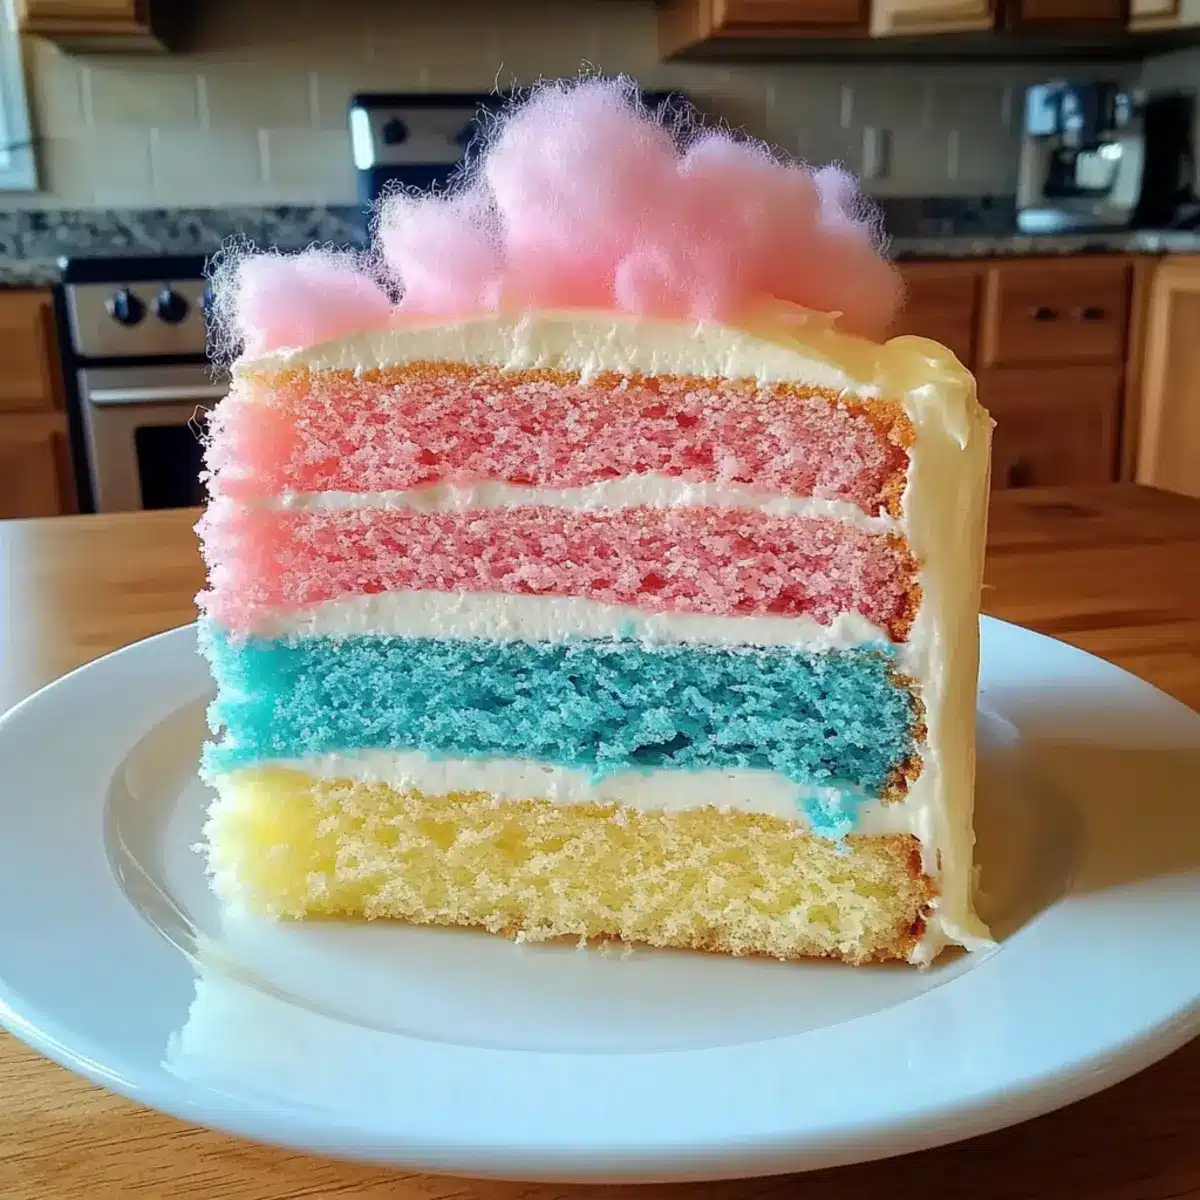
Once the cakes have cooled entirely, prepare your buttercream frosting by mixing softened butter, powdered sugar, milk, and vanilla extract. Frost the top of one cake layer, place the second layer on top, and frost the entire cake. Finally, crown your masterpiece with more fresh cotton candy for that whimsical finishing touch!
What to Serve with Cotton Candy Cake?
Elevate your dessert experience with delightful pairings that enhance the whimsical flavors of this sweet creation.
- Whipped Cream: Adding a dollop of fluffy whipped cream complements the cake’s sweetness and offers a luscious, creamy texture that balances its fluffiness.
- Vanilla Ice Cream: A classic pairing; the creamy vanilla ice cream provides a smooth contrast and enhances the overall sweetness of the Cotton Candy Cake. It transforms each bite into a dreamy dessert experience.
- Fresh Berries: Bright, juicy strawberries or raspberries introduce a tartness that cuts through the sweetness, refreshing your palate after the sugary delight.
- Cotton Candy Fluff: For the ultimate indulgence, garnish with extra cotton candy to double the fun and keep the whimsical theme alive. The airy texture adds a playful touch, making each slice visually captivating.
- Lemonade: A refreshing glass of lemonade serves as a perfect drink pairing, offering a zesty brightness that contrasts nicely with the cake’s sweetness—perfect for sunny gatherings!
- Chocolate Drizzle: Drizzle a rich chocolate sauce over the cake for an unexpected twist. The bittersweet chocolate beautifully complements the sugary notes and enhances the dessert’s flavor profile.
- Fruit Salad: A side of fresh fruit salad adds a bright and refreshing element to your plate, providing a nice balance to the richness of the cake while keeping things vibrant and colorful.
- Cotton Candy Milkshake: Turn the party up a notch by serving a cotton candy milkshake. It’s a fun, indulgent drink that harmonizes with the cake’s theme for a cohesive, sweet festivity.
- Sparkling Water: A crisp, sparkling water or soda helps to cleanse the palate between bites, making it an ideal drink companion for this sugary treat.
How to Store and Freeze Cotton Candy Cake
Room Temperature: Store the cake at room temperature in an airtight container for up to 3 days to maintain its freshness and fluffy texture.
Fridge: If you want to extend freshness, refrigerate the cake for up to 5 days, ensuring it’s covered to prevent it from drying out.
Freezer: For longer storage, freeze the cake for up to 3 months. Wrap it tightly in plastic wrap, then place it in an airtight container.
Reheating: Thaw in the fridge overnight before serving, or let it come to room temperature for about 1 hour. Enjoy it plain or with a fresh topping of cotton candy!
Expert Tips for Cotton Candy Cake
Softened Butter: Ensure your butter is truly softened for easy creaming, which is crucial for a light, fluffy Cotton Candy Cake.
Avoid Overmixing: Gently fold the batter to prevent dense texture. Overmixing can lead to a heavier cake, which we want to avoid!
Fresh Cotton Candy: Use fresh cotton candy for topping to keep its airy texture intact. Stale cotton candy loses its charm quickly.
Use Parchment Paper: Line your cake pans with parchment paper to ensure a clean release. This simple step saves you from messy accidents!
Cool Completely: Always cool your cakes entirely before frosting; warm cakes can melt your frosting and lead to a soggy cake.
Make Ahead Options
These whimsical Cotton Candy Cakes are perfect for meal prep, saving you valuable time during busy weeks! You can prepare the cake layers up to 24 hours in advance. Once the cakes have cooled completely, wrap them tightly in plastic wrap and refrigerate to maintain their moisture and fluffiness. For the frosting, you can whip it up and store it in an airtight container in the fridge for up to 3 days; just give it a quick mix before spreading. When you’re ready to serve, simply frost the chilled cake and add your cotton candy topping for that delightful finish. Your Cotton Candy Cake will be just as delicious and delightful, ready to impress with minimal effort!
Cotton Candy Cake Variations & Substitutions
Feel free to sprinkle your personal touch on this delightful cake with these fun and friendly variations!
- Dairy-Free: Substitute the butter with vegan butter and use non-dairy milk for a creamy texture without dairy.
- Egg-Free: For a fluffy cake without eggs, replace them with flax eggs or unsweetened applesauce, maintaining moisture and binding.
- Flavor Twist: Explore different flavors of cotton candy – raspberry, blue raspberry, or even bubblegum – each bringing a unique taste to your cake.
- Frosting Alternatives: Try cream cheese frosting or whipped cream for a lighter topping that beautifully complements the cake’s sweetness.
- Color Customization: Add food coloring to the batter for a vibrant twist! Just a few drops can create a playful rainbow effect.
- Add Texture: Sprinkle mini marshmallows or chopped nuts into the batter for an exciting crunch in every bite.
- Increase Sweetness: If you’re wanting an extra sugary kick, incorporate a bit of powdered sugar into the frosting!
- Serve with Whipped Cream: Pair this cake with whipped cream for a delightful finish that elevates the whimsical dessert experience.
This cake is so versatile, it marries beautifully with our Lemon Velvet Cake or could be a fun addition to a layered creation with flavors from our Strawberry Shortcake Cake.
Cotton Candy Cake Recipe FAQs
What type of cotton candy should I use for the cake?
Absolutely! You can use any flavor or color of cotton candy to customize your Cotton Candy Cake. The traditional pink or blue varieties are classic choices, but feel free to get adventurous with flavors like strawberry, blue raspberry, or even lemon!
How should I store the Cotton Candy Cake?
To store your Cotton Candy Cake, keep it in an airtight container at room temperature for up to 3 days to maintain its fluffiness. If you prefer longer storage, refrigerate it for up to 5 days—just be sure it’s well-covered to prevent it from drying out.
Can I freeze the Cotton Candy Cake?
Certainly! To freeze your cake, wrap it tightly in plastic wrap and then place it in an airtight container. This method helps preserve its light texture and can keep it fresh for up to 3 months. When you’re ready to enjoy it, simply thaw in the fridge overnight or leave it out at room temperature for about an hour.
What can I do if my cake is too dense?
If you find your Cotton Candy Cake isn’t as fluffy as you hoped, it could be due to overmixing the batter. Remember to gently fold the dry ingredients into the wet ones; mix just until combined. Additionally, ensure you’re using softened butter to trap air during creaming, which helps create that airy texture.
Is this cake suitable for vegetarians?
Yes! This Cotton Candy Cake recipe is vegetarian-friendly. If you need it to be vegan or dairy-free, simple substitutions can be made, such as using vegan butter, plant-based milk, and flax eggs instead of traditional eggs.
How can I make this cake gluten-free?
You can turn your Cotton Candy Cake into a gluten-free treat by substituting all-purpose flour with a 1:1 gluten-free baking flour blend. Make sure to check that all other ingredients, like baking powder and cotton candy, don’t contain gluten. This adjustment will allow everyone to enjoy a slice of joyful nostalgia!
Sweet and Fluffy Cotton Candy Cake for Fun Celebrations
Ingredients
Equipment
Method
- Preheat your oven to 350°F (175°C) and prepare cake pans by greasing and lining with parchment paper.
- Cream together softened butter and granulated sugar using an electric mixer for 3-5 minutes until light and fluffy.
- Add the eggs one at a time, mixing well after each addition until smooth.
- Stir in milk and vanilla extract on low speed until just combined.
- In a separate bowl, whisk together all-purpose flour, baking powder, and salt. Gradually add to wet ingredients and fold gently.
- Fold in pieces of cotton candy, being careful not to overmix.
- Divide batter between cake pans and bake for 25-30 minutes, or until a toothpick comes out clean.
- Allow cakes to cool in pans for 10 minutes, then turn them out onto wire racks to cool completely.
- Prepare the frosting by mixing softened butter, powdered sugar, milk, and vanilla extract. Frost the top of one cake layer and stack the second layer on top.
- Frost the entire cake and top with more fresh cotton candy.