

As the blossoms bloom and the days grow warmer, our kitchens are calling for a splash of color and creativity. Enter the delightful world of the no-bake Easter JELLO Cheesecake, a dessert that’s as much fun to make as it is to eat! With vibrant layers that mimic the soft pastels of spring, this dessert is not only visually stunning but also incredibly easy to whip up—perfect for those busy holiday preparations. Plus, it’s a family-friendly treat that will have both kids and adults reaching for seconds. Ready to impress your loved ones this Easter? Let’s dive into creating this colorful masterpiece that’s bound to be the star of your holiday gathering!
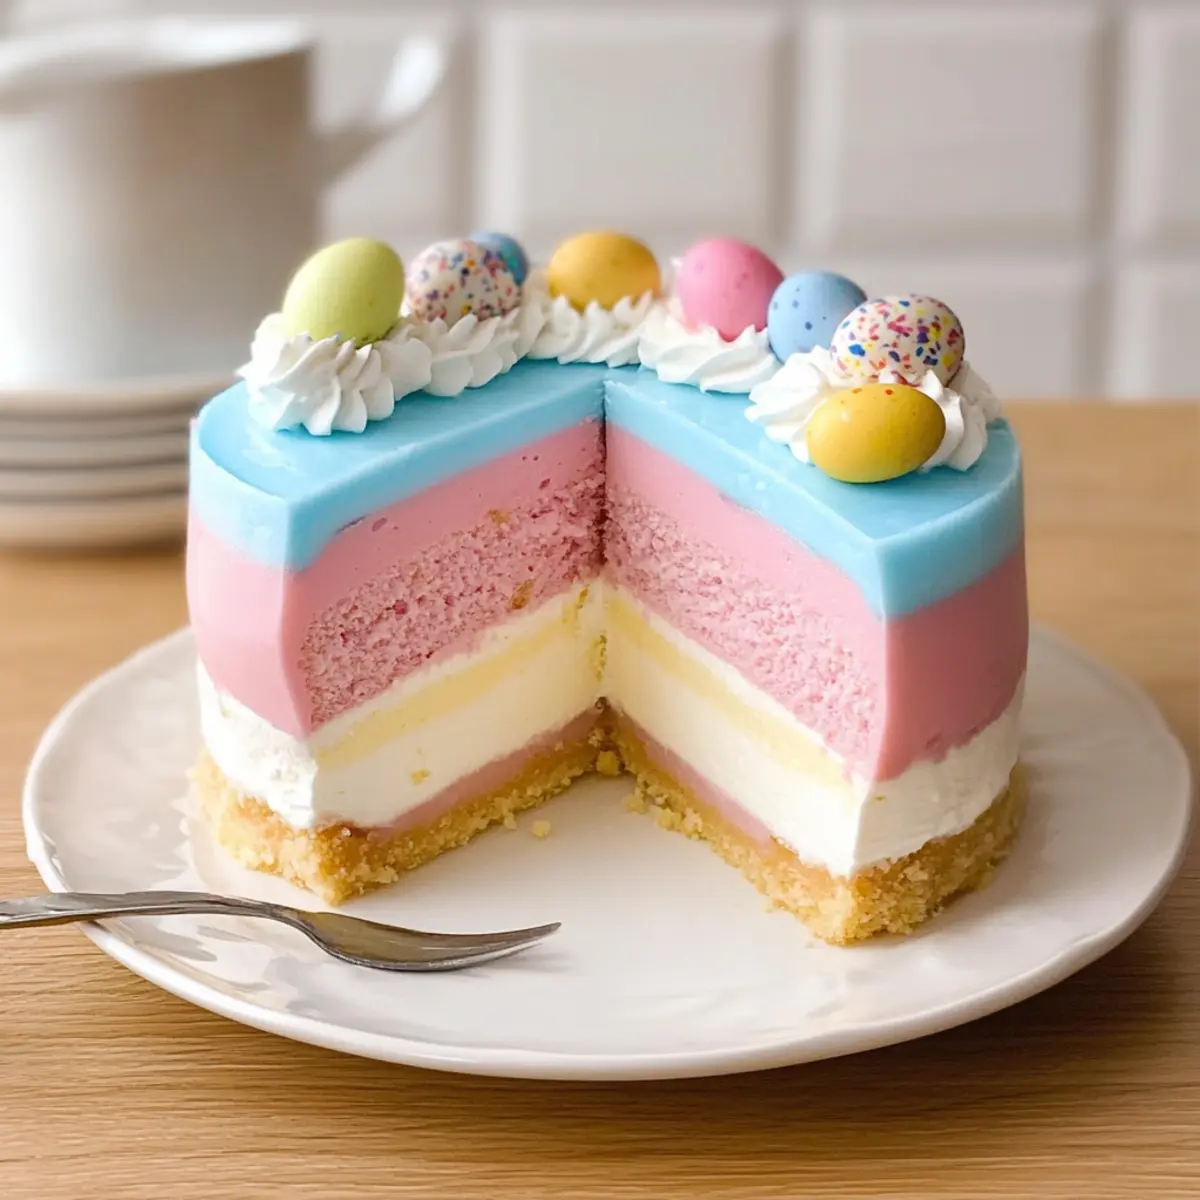
Why is this JELLO Cheesecake a must-try?
Vibrant Colors: The playful pastel layers bring a burst of color to your table, making it a visual delight for both kids and adults!
No-Bake Convenience: With no baking required, this cheesecake is perfect for busy Easter preparations, allowing you to focus on family festivities instead of hours in the kitchen.
Light and Fluffy Texture: The smooth combination of Cool Whip and Jell-O creates a dreamy texture that melts in your mouth, elevating your dessert game to new heights.
Endless Variations: Feel free to customize the flavors by switching up the Jell-O, offering your family exciting new tastes, similar to our delightful Cheesecake Stuffed Strawberries.
Crowd-Pleasing Delight: This unique dessert is sure to impress your guests and spark joy in every bite, making it a standout centerpiece for your celebrations!
Quick Cleanup: With minimal mess involved, you can enjoy more time celebrating instead of cleaning up after the fun.
JELLO Cheesecake Ingredients
For the Cheesecake Base
• Jell-O Classic No-Bake Cheesecake Mix – This mix serves as the flavor foundation of your JELLO Cheesecake; just follow the box for additional ingredients.
• Cooking Spray – A must for greasing the pan to ensure your cheesecake releases effortlessly after chilling.
For the Blue Layer
• Blue Jell-O Powder (3 tbsp) – Adds a splash of fun color; feel free to swap with any other Jell-O flavor for a different hue!
• Boiling Water (⅓ cup) – Essential for dissolving the blue Jell-O powder and enhancing its flavor.
• Ice Cold Water (½ cup) – Used to cool the melted Jell-O mixture for the perfect consistency.
• Cool Whip (1 tub, 8 oz) – This light whipped topping helps create the fluffy blue layer; for a lighter option, you can use light whipped cream, though the texture will differ.
For the Pink Layer
• Strawberry or Cherry Jell-O Powder (3 tbsp) – Provides a lovely pink hue to finish off your JELLO Cheesecake; other fruity Jell-O flavors can be substituted as desired.
• Boiling Water (½ cup) – Necessary for dissolving the red Jell-O powder, creating a vibrant pink layer.
• Ice Cold Water (½ cup) – Cools down the melted Jell-O mixture for effective layering.
• Cool Whip (1 tub, 8 oz) – To achieve a fluffy texture, you’ll mix this with the strawberry or cherry Jell-O before gently layering it.
For Topping
• Cadbury Pastel Mini Eggs (optional) – Perfect for adding a festive touch; other seasonal candies can also be used, or you may leave this off altogether for a simpler look.
This colorful JELLO Cheesecake is sure to become a family favorite!
Step‑by‑Step Instructions for Colorful No-Bake Easter JELLO Cheesecake
Step 1: Prepare the Pan
Start by greasing a 9-inch springform pan with cooking spray to ensure the cheesecake releases easily later. Open the Jell-O Classic No-Bake Cheesecake mix and follow the box instructions to create the crust, pressing it firmly into the bottom of the prepared pan. Allow the crust to set while you move to the next steps.
Step 2: Make the Cheesecake Base
Combine the cheesecake filling ingredients as instructed on the box until smooth and creamy. Pour this mixture over the set crust in your springform pan, making sure it covers the crust evenly. Place the pan in the refrigerator for about 30 minutes, or until the base is slightly set but still soft to the touch.
Step 3: Create the Blue Layer
In a medium bowl, dissolve 3 tablespoons of blue Jell-O powder in ⅓ cup boiling water, stirring until completely smooth. Stir in ½ cup of ice cold water to cool the mixture. Once cooled, gently fold in one tub of Cool Whip until well combined and light. Spread this fluffy blue layer over the set cheesecake base and refrigerate for at least 2 hours to firm up.
Step 4: Create the Pink Layer
For the pink layer, repeat the same process: dissolve 3 tablespoons of strawberry or cherry Jell-O powder in ½ cup boiling water, then add ½ cup of ice cold water. Fold in another tub of Cool Whip until you achieve a smooth consistency. Gently layer this pink mixture on top of the blue layer, ensuring it is evenly distributed, and return the cheesecake to the refrigerator.
Step 5: Final Chill
Allow your colorful JELLO Cheesecake to chill in the refrigerator for a minimum of 4 hours, or overnight if possible, to ensure all layers are fully set and flavors meld together beautifully. The cheesecake should be firm yet jiggly when touched.
Step 6: Add Topping
Once the cheesecake is fully set, take it out of the refrigerator. Spread or pipe the remaining tub of Cool Whip over the top for a light and fluffy finish. If desired, decorate with Cadbury Pastel Mini Eggs or your choice of festive toppings. Slice and serve chilled for the best texture and taste.
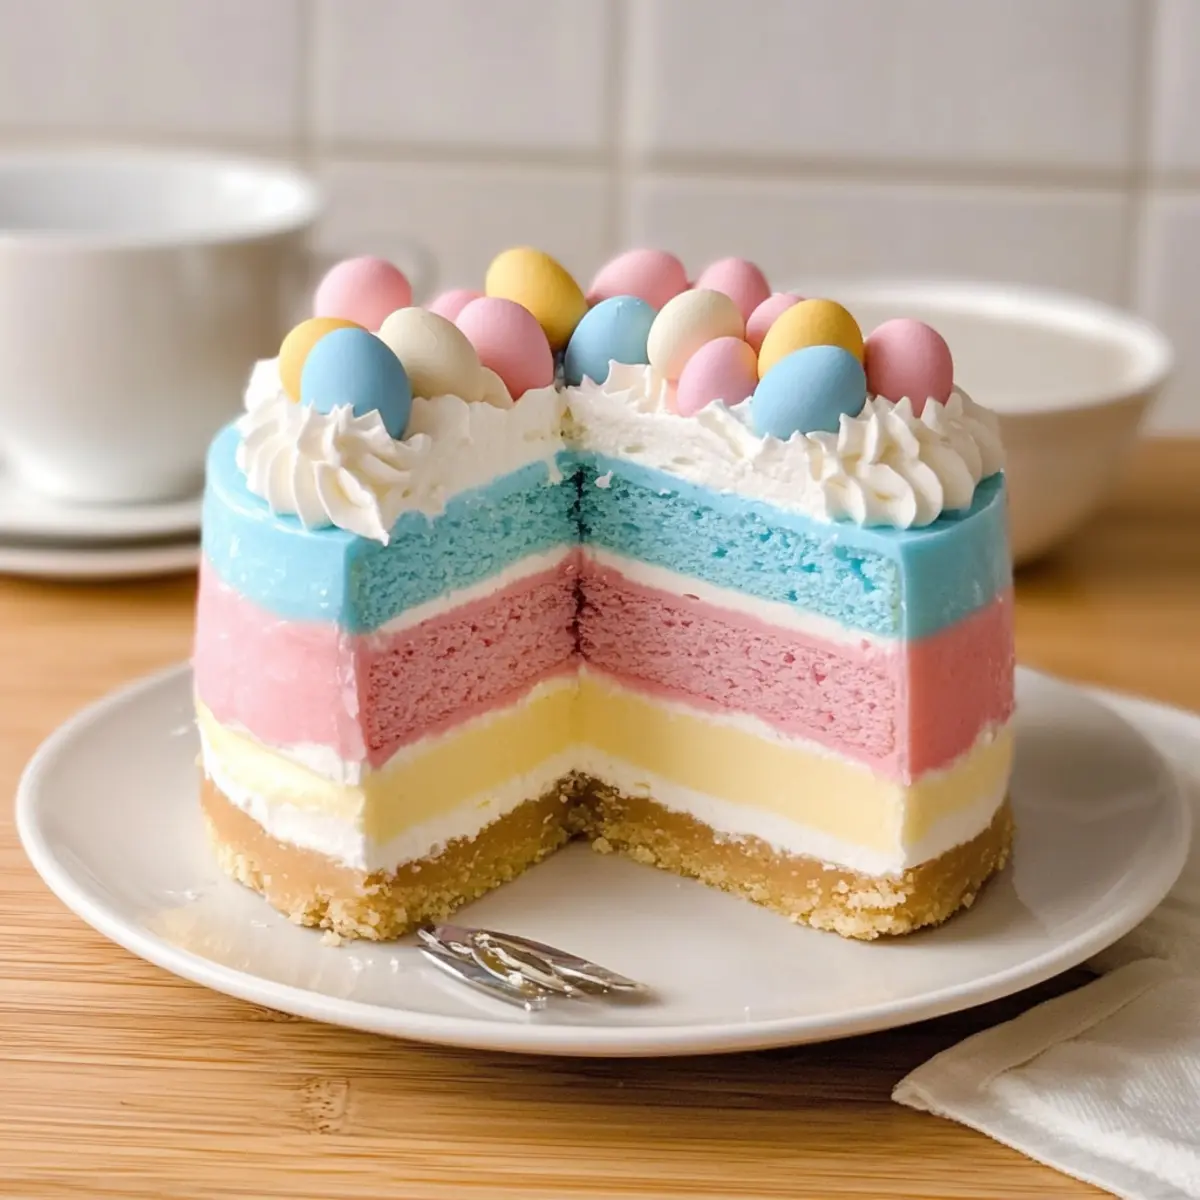
JELLO Cheesecake Variations & Substitutions
Invite your creativity into the kitchen and customize this delightful dessert to suit your family’s tastes and preferences!
-
Lemon Layer: Swap blue Jell-O with lemon for a refreshing yellow hue that adds a zesty twist. It’s perfect for those who enjoy citrus flavors!
-
Berry Burst: Replace strawberry or cherry Jell-O with raspberry or blueberry for a fruity explosion. These berries bring a fresh taste that complements the cheesecake beautifully.
-
Dairy-Free Delight: Use a dairy-free whipped topping and alternative cream cheese brands to make this cheesecake suitable for those avoiding dairy.
-
Chocolate Drizzle: Add a drizzle of chocolate syrup on top before serving to elevate the indulgence. This twist introduces a rich flavor that chocolate lovers will adore.
-
Nutty Crunch: For added texture, sprinkle crushed nuts or granola on the layers right before serving. This adds a delightful crunch, enhancing the overall experience.
-
Coconut Cream: Fold in toasted coconut flakes with the Cool Whip for a tropical feel. The coconut adds warmth and an inviting aroma that transports you to a sunny beach.
-
Heat Level: For a hint of spice, consider adding a pinch of cayenne or cinnamon to the cheesecake base for an unexpected kick that’s sure to surprise and delight.
-
Celebrate Colors: Mix multiple Jell-O flavors for a rainbow effect, giving it a fun, festive look. It’s a perfect way to present a colorful treat for celebrations, similar to our delightful Cheesecake Stuffed Strawberries.
Feel free to explore these variations to make this JELLO Cheesecake your own while delighting everyone at the table!
How to Store and Freeze JELLO Cheesecake
Fridge: Store leftovers in an airtight container or cover tightly with plastic wrap for up to 3 days. This will maintain the cheesecake’s moisture and vibrant colors.
Freezer: You can freeze the JELLO Cheesecake for up to 2 months. Slice it first, then wrap individual pieces in plastic wrap and store in a freezer-safe bag for easy access.
Reheating: To enjoy a frozen slice, transfer it to the fridge and let it thaw overnight. Avoid using a microwave as it may affect its fluffy texture.
What to Serve with Colorful No-Bake Easter JELLO Cheesecake
Bring joy to your dining table with delightful accompaniments that harmonize perfectly with this vibrant dessert.
-
Fresh Berries: The tartness of strawberries, blueberries, or raspberries provides a fresh contrast to the creamy cheesecake. Their bright colors and juicy taste enhance the springtime vibe!
-
Minty Fruit Salad: A refreshing blend of seasonal fruits, like melons and citrus, tossed with mint brings a pop of color and a refreshing zing that pairs wonderfully with the cheesecake’s sweetness.
-
Light Whipped Cream: Offer an extra serving of whipped cream for those who adore an airy topping, complementing the cheesecake’s light texture. You can even add a drizzle of vanilla or almond extract for added flavor.
-
Sparkling Lemonade: This bubbly drink is refreshing and elevates the festive feel of your gathering. Its citrus notes will balance the sweetness of the cheesecake beautifully.
-
Carrot Cake Slices: Embrace the Easter spirit by serving slices of moist carrot cake. The spices and cream cheese frosting create a delightful contrast and perfect synergy with the fruity cheesecake.
-
Coffee or Herbal Tea: A warm cup of coffee or a calming herbal tea like chamomile pairs well with the cheesecake, providing a comforting finish to your meal. The warmth will balance the cold cheesecake delightfully!
Make Ahead Options
This vibrant no-bake Easter JELLO Cheesecake is perfect for busy home cooks looking to save time! You can prepare the cheesecake layers up to 24 hours in advance. Simply make the cheesecake base and blue layer, then refrigerate them as instructed. The pink layer can also be made ahead and placed on top before chilling. When ready to serve, simply add the final layer of Cool Whip and any decorations right before your guests arrive to maintain its freshness. Make sure to cover the cheesecake tightly with plastic wrap while chilling to prevent drying out, and your dessert will be just as delicious on the big day!
Expert Tips for JELLO Cheesecake
-
Layer Cooling: Allow each Jell-O layer to cool completely before folding in Cool Whip. This ensures a thick, creamy layer and prevents mixing.
-
Chill Time Matters: Don’t rush the chilling times between layers. Proper refrigeration will help maintain those beautiful color separations.
-
Slicing Technique: For clean slices, use a knife rinsed in hot water before cutting. It creates neat edges, enhancing the presentation of your cheesecake.
-
Flavor Variations: You can easily swap out Jell-O flavors for exciting combinations or stick to traditional ones for family favorites. Kids love experimenting!
-
Serving Fresh: Serve your JELLO Cheesecake directly from the fridge for the best texture, and pair it with fresh fruits for a delightful contrast!
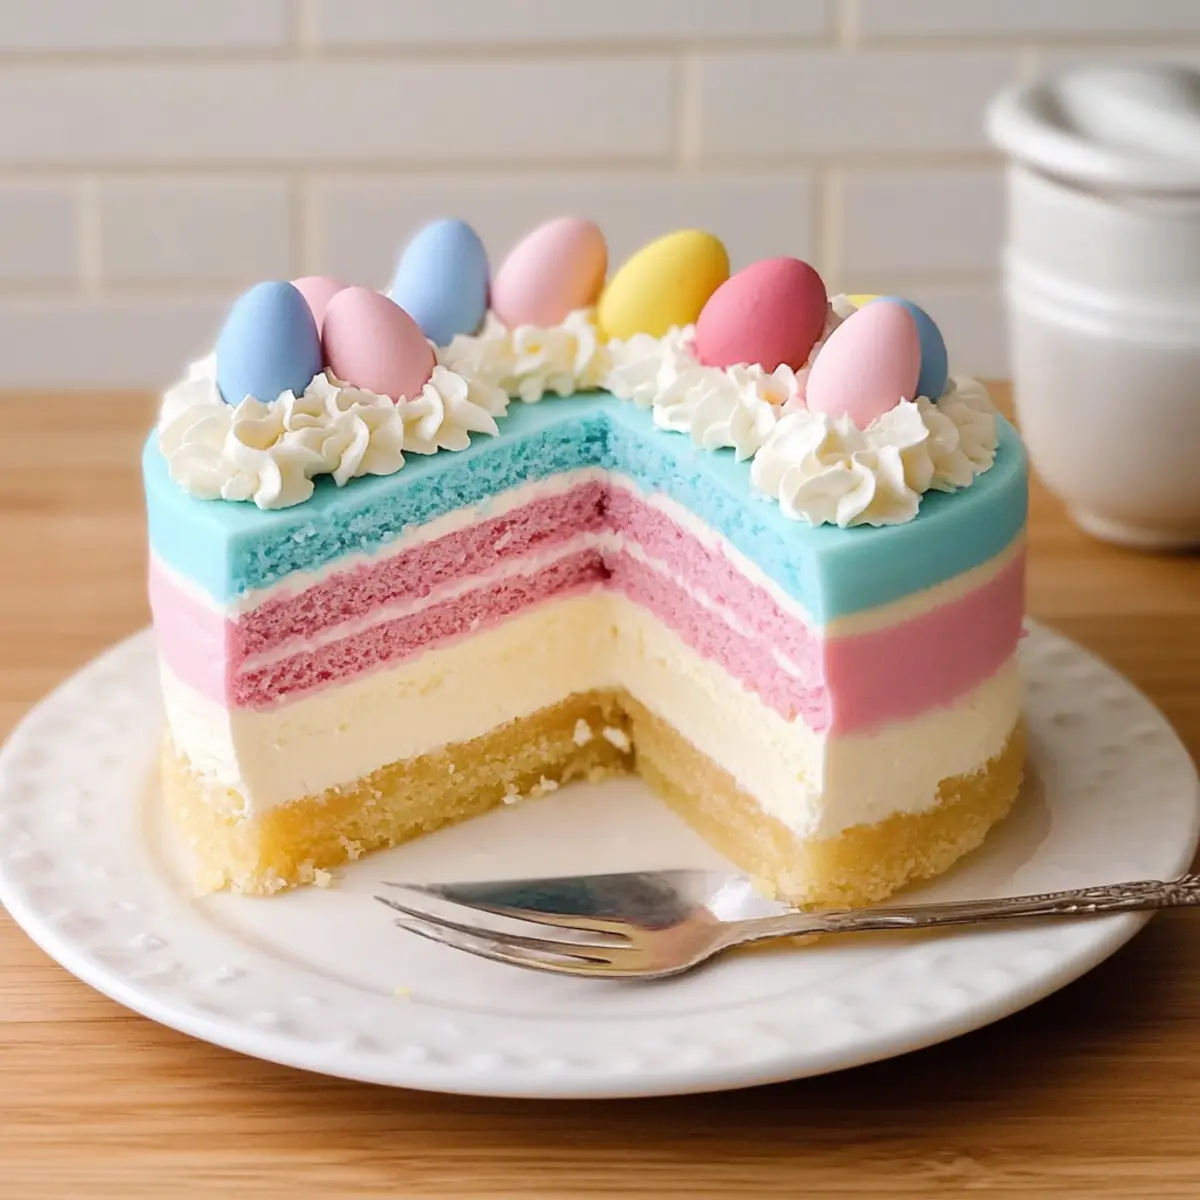
Colorful No-Bake Easter JELLO Cheesecake Recipe FAQs
How do I choose the right Jell-O for this cheesecake?
Absolutely! When selecting Jell-O, look for vibrant colors that will complement each other. For example, a blue Jell-O can beautifully contrast with a pink or yellow layer. If possible, avoid packets with dark spots or outdated expiration dates, as these can affect both flavor and color.
How should I store leftovers of the JELLO cheesecake?
Very! Store any leftovers in the refrigerator in an airtight container or tightly covered with plastic wrap. This way, you can enjoy your colorful cheesecake for up to 3 days without compromising its lovely appearance and taste.
Can I freeze my JELLO cheesecake?
Absolutely! You can freeze the JELLO cheesecake for up to 2 months. It’s best to slice the cheesecake first. Wrap each piece tightly in plastic wrap and then store them in a freezer-safe bag for easy access later. To thaw, simply move it to the fridge overnight before serving.
What if my layers don’t set properly?
Don’t worry! If the layers don’t set adequately, it may be due to insufficient chilling time. Ensure each layer has fully cooled before adding the next. If you’re in a hurry, you can pop the cheesecake in the freezer for about 10-15 minutes to firm up before cutting.
Are there any dietary considerations with this recipe?
Very! Always check the ingredient labels for potential allergens such as gluten or dairy, particularly in the Jell-O mix and Cool Whip. For a vegan or dairy-free option, look for plant-based Jell-O and whipped topping alternatives. Keep in mind that this dessert is not suitable for pets due to its sugar content.
What can I do if I want a different flavor combination?
The more the merrier! Feel free to swap out the blue and pink Jell-O for other flavors like lime for green or grape for purple. You can even mix flavors for a fun, swirled look! Just keep the layering techniques in mind to maintain the visual appeal.
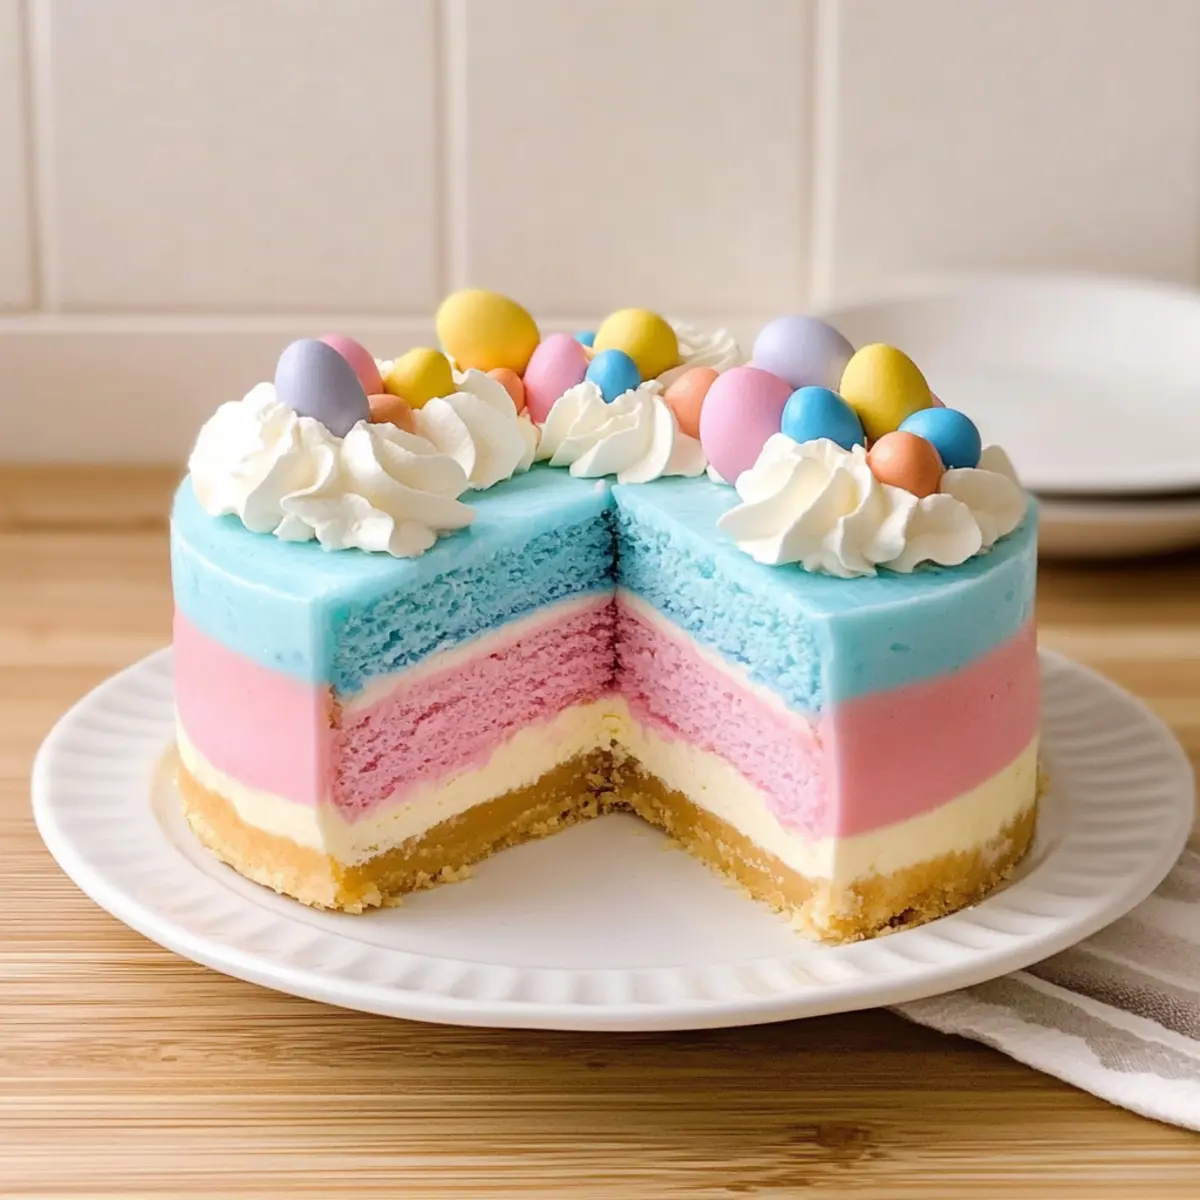
Delicious No-Bake JELLO Cheesecake for a Colorful Spring Treat
Ingredients
Equipment
Method
- Prepare the pan by greasing a 9-inch springform pan with cooking spray. Make the crust using the Jell-O Classic No-Bake Cheesecake mix according to the box instructions.
- Combine the cheesecake filling ingredients as instructed on the box until smooth and creamy. Pour over the set crust and refrigerate for about 30 minutes.
- Dissolve 3 tablespoons of blue Jell-O powder in ⅓ cup boiling water. Stir in ½ cup ice cold water and fold in 1 tub of Cool Whip. Spread over the cheesecake base and chill for at least 2 hours.
- For the pink layer, dissolve 3 tablespoons of strawberry or cherry Jell-O powder in ½ cup boiling water. Add ½ cup ice cold water and fold in another tub of Cool Whip. Layer over the blue layer and return to the refrigerator.
- Chill the cheesecake for a minimum of 4 hours or overnight until all layers are set.
- Spread the remaining Cool Whip over the top. Decorate with Cadbury Pastel Mini Eggs if desired, and serve chilled.