

As the first buds of spring begin to bloom, I can’t help but feel that gentle pull towards the kitchen, where magic happens in the form of delightful Easter cookies. These vibrant treats, studded with pastel M&M’s and creamy white chocolate chips, are perfect for celebrating the season and bringing family together. Not only are they a feast for the eyes, but they’re also incredibly soft and chewy, satisfying any sweet craving in a much healthier way than fast food. Plus, they’re quick to whip up—ideal for spontaneous baking sessions when the mood strikes! Will you join me in creating these colorful delights that are sure to brighten any table?
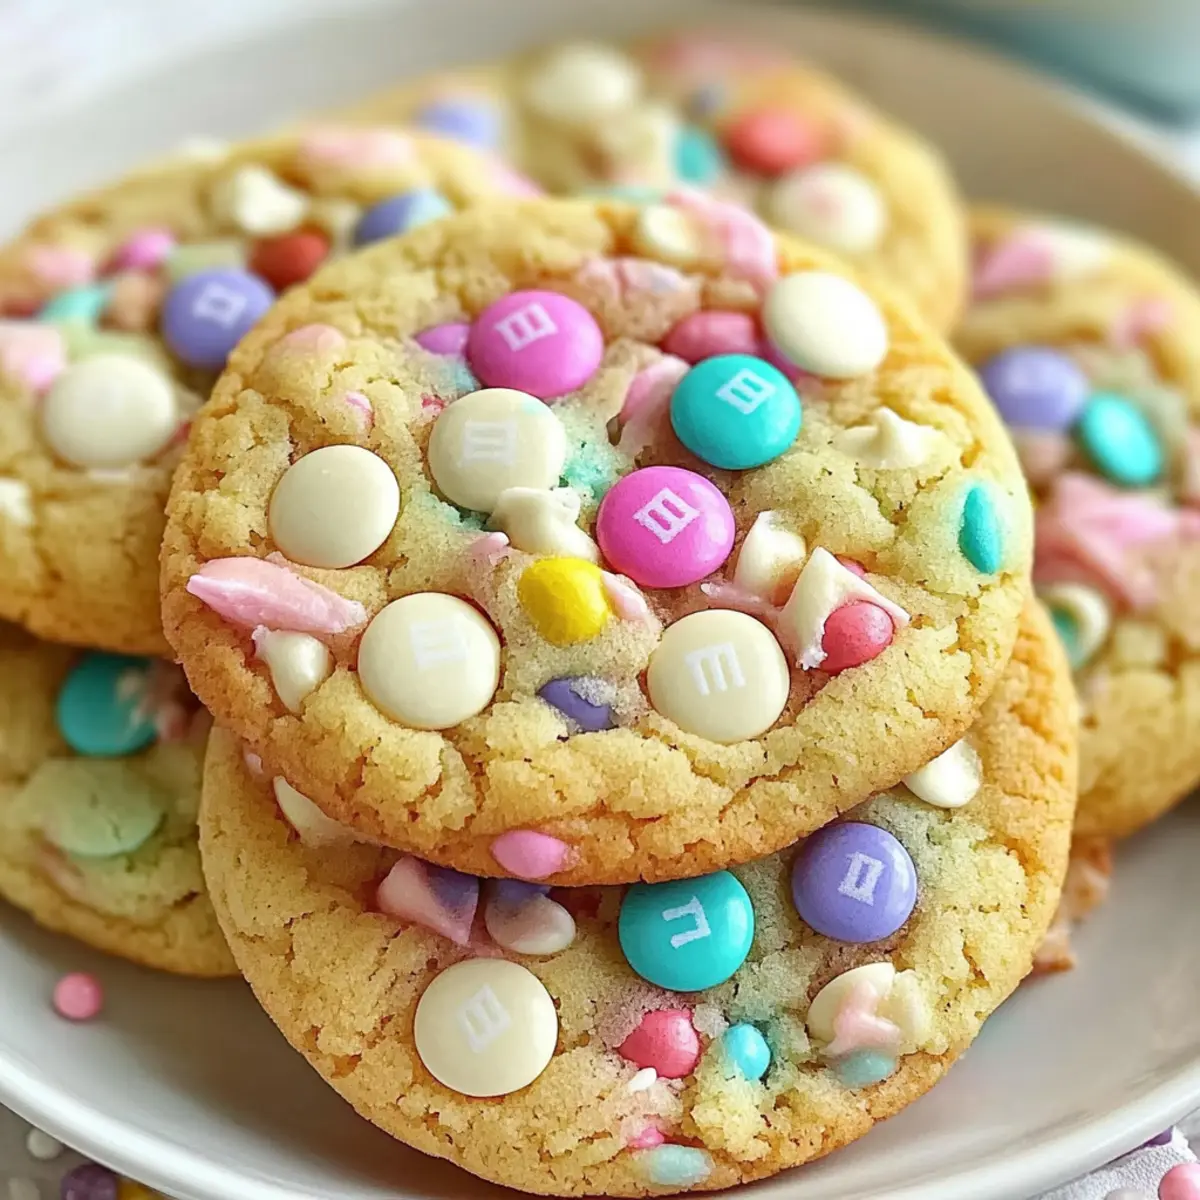
Why are Easter Cookies so special?
Magic in the air: There’s something enchanting about baking these Easter Cookies that fills the kitchen with joy and delightful aromas.
Colorful creations: The pastel M&M’s and sprinkles make for a visually stunning treat that will dazzle at any spring gathering.
Quick and easy: Ready in just 20 minutes, they’re perfect for impromptu baking days or celebrations.
Soft and chewy: With their perfect texture, these cookies are bound to be a hit with family and friends, reminiscent of classic favorites.
Versatile and fun: Want to mix it up? Try swapping the M&M’s with seasonal chocolates or adding nuts for a unique twist! Bake a batch today and see how they brighten your spring festivities.
Easter Cookie Ingredients
• Get ready to bake these delicious festive treats!
For the Cookie Dough
- All-purpose flour – Essential for structure; substitute with cake flour for a lighter finish.
- Baking powder – Keeps your cookies light; ensure freshness for the best rise.
- Baking soda – Aids in browning; can be omitted if increasing baking powder.
- Salt – Enhances flavor; opt for sea salt for an interesting taste twist.
- Unsalted butter – Provides richness; margarine can be used for a dairy-free alternative.
- Granulated sugar – Adds sweetness; switch to brown sugar for a deeper flavor.
- Brown sugar – Moisture and sweetness booster; dark brown offers a richer taste.
- Egg – Acts as a binder; room temperature eggs help unify the dough beautifully.
- Vanilla extract – Elevates flavor; consider fresh vanilla beans for luxury.
For the Mix-ins
- Easter M&M’s – Bring color and sweetness; alternate with seasonal candies for variety.
- White chocolate chips – Add creaminess; dark chocolate chips deliver a richer experience.
- Pastel sprinkles – Great for decoration; certainly not essential but elevate visual appeal.
Step‑by‑Step Instructions for Easter Cookie
Step 1: Preheat the Oven
Begin by preheating your oven to 350°F (175°C). While the oven warms up, take a moment to line your baking sheets with parchment paper. This creates a non-stick surface for your Easter Cookies and makes cleanup a breeze. The anticipation of that warm oven will start to fill your kitchen with excitement!
Step 2: Whisk the Dry Ingredients
In a medium bowl, combine the all-purpose flour, baking powder, baking soda, and salt. Whisk these dry ingredients together until they are well mixed; this helps to ensure an even rise and flavor in your cookies. Set the bowl aside—your Easter Cookie dough is coming together beautifully!
Step 3: Cream the Butters and Sugars
In a large mixing bowl, take your softened unsalted butter and combine it with granulated and brown sugars. Using an electric mixer, beat these together on medium speed for about 1-2 minutes, until the mixture is light, fluffy, and pale in color. This step is key for your Easter Cookies to achieve that moist, chewy texture.
Step 4: Add the Egg and Vanilla
Next, add a cold egg and pure vanilla extract to the butter-sugar mixture. Mix on low speed until just combined, taking care not to overmix and lose the air you’ve incorporated. This delicious blend will heighten the flavor of your Easter Cookies, making them irresistible!
Step 5: Combine Wet and Dry Ingredients
Gradually introduce the bowl of dry ingredients into your wet mixture, keeping the mixer on low speed. Mix until everything is well combined, but don’t overdo it! You want a smooth dough that’s ready to embrace those colorful mix-ins that make our Easter Cookies so special.
Step 6: Fold in the Mix-ins
Gently fold in the pastel Easter M&M’s and white chocolate chips using a spatula. If you’d like, save a handful of each for topping the cookies before baking. This step adds delightful bursts of sweetness and color throughout your cookies, making each bite a festive surprise.
Step 7: Scoop and Shape the Dough
Using a cookie scoop or tablespoon, portion the dough and roll it into balls. For a fun touch, roll the dough balls in your reserved pastel sprinkles before placing them on the prepared baking sheets. Leave some space between each scoop, as your Easter Cookies will spread while baking.
Step 8: Bake the Cookies
Slide the baking sheets into your preheated oven and bake for 8-11 minutes. Keep a close eye: you’re looking for the edges to be set and the centers to look slightly underbaked. This ensures your Easter Cookies will retain that soft, chewy goodness everyone loves.
Step 9: Cool and Enjoy
Once baked, remove the sheets from the oven and allow the cookies to cool on the sheets for about 5 minutes. Then, transfer them to wire racks to cool completely. Letting them rest enhances their texture and helps them savor those delightful flavors before you indulge!
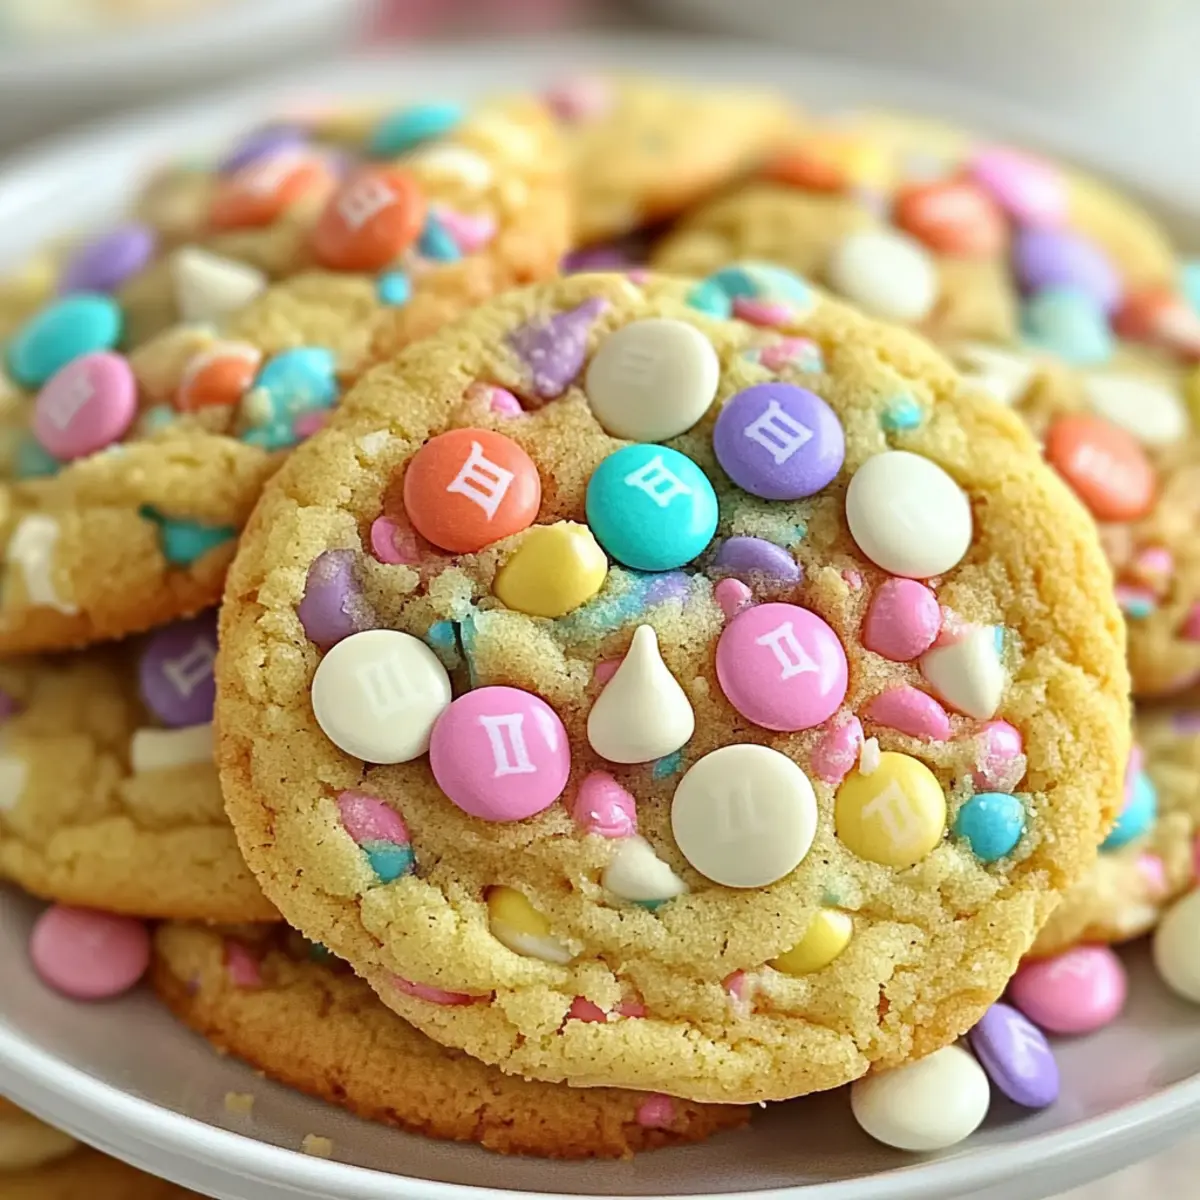
Easter Cookie Variations & Substitutions
Feel free to add your own flair and create a delightful twist on these Easter cookies!
- Dairy-Free: Substitute unsalted butter with margarine or a dairy-free spread to enjoy a creamy texture without dairy.
- Gluten-Free: Use a 1:1 gluten-free flour blend in place of all-purpose flour for a suitable alternative that still delivers the same delightful taste.
- Nutty Delight: Fold in chopped pecans or walnuts for an added crunch and nutty flavor that complements the sweetness beautifully.
- Chewy Additions: Swap in oatmeal for a heartier texture. Just replace some of the flour with quick oats to incorporate that chewy goodness.
- Cocoa Twist: Add 2 tablespoons of cocoa powder to the dry ingredients for a chocolatey version that pairs wonderfully with the white chocolate chips.
- Heat Things Up: Mix in a pinch of cayenne pepper or sprinkle some chili powder for a surprising kick that plays beautifully with the sweetness.
- Festive Sprinkles: Use seasonal-themed sprinkles for decoration; think of shapes like bunnies or eggs to enhance the festive spirit even more!
- Alternative Chocolates: Instead of Easter M&M’s, use crushed Cadbury eggs or seasonal jelly beans for a fresh twist that brings a new depth of flavor.
And if you’re looking for more delightful baking inspirations, check out my Brownie Mix Cookies or indulge in the sweet charm of this Cake Gooey Cookie. Happy baking!
Make Ahead Options
These delightful Easter Cookies are perfect for meal prep, allowing you to reduce stress and save time! You can prepare the cookie dough up to 48 hours in advance—just refrigerate it in an airtight container to maintain freshness and prevent browning. Alternatively, you can scoop the dough into balls and freeze them for up to 3 months. When you’re ready to bake, simply place the frozen dough on a baking sheet and add a couple of extra minutes to the baking time. This way, you can enjoy soft, chewy Easter Cookies with minimal effort, making them the ideal treat for any spring gathering!
How to Store and Freeze Easter Cookies
Airtight Container: Store your Easter Cookies in an airtight container at room temperature for up to one week to keep them soft and chewy.
Freezer-Friendly: For longer storage, freeze the cookies in a single layer on a baking sheet, then transfer to a freezer-safe bag. They can be frozen for up to 3 months.
Reheating Tips: To enjoy your Easter Cookies warm, simply pop them in the microwave for about 10-15 seconds or reheat in a preheated oven at 350°F until warmed through.
Dough Storage: Unbaked cookie dough can be refrigerated for up to 48 hours or frozen for longer. Just thaw it in the fridge before scooping and baking!
What to Serve with Delightful Easter Cookies
Springtime gatherings become so much sweeter with thoughtful pairings.
- Creamy Milkshake: A rich, cold treat that complements the sweetness of the cookies, perfect for dipping!
- Citrus Fruit Salad: Juicy and refreshing, this vibrant salad balances out the sugary cookies and brings bright flavors to the table.
- Decadent Chocolate Sauce: Drizzle this over the cookies for an irresistible twist that enhances their creamy white chocolate chips.
- Fruity Smoothie: Blend your favorite fruits with yogurt for a light, sweet beverage that adds a refreshing touch to your dessert spread.
Pair these delightful options with your Easter Cookies to create a well-rounded, festive meal perfect for celebrating spring!
Expert Tips for Easter Cookies
-
Keep it Cool: Refrigerate your dough for at least 30 minutes before baking to enhance flavor and texture, ensuring that your Easter Cookies turn out soft and chewy.
-
Don’t Overmix: After adding the dry ingredients, mix gently to avoid tough cookies. This ensures the perfect soft texture that makes your Easter Cookies enjoyable.
-
Fresh Ingredients Matter: Always use fresh eggs and vanilla extract. Their quality significantly impacts the flavor, making your Easter Cookies taste their absolute best.
-
Storage Is Key: Allow cookies to cool completely before storing them in an airtight container to maintain their delicious softness and flavor longer.
-
Use the Right Tools: A cookie scoop helps ensure even-sized cookies that bake uniformly. This small tool makes creating delightful Easter Cookies a breeze!
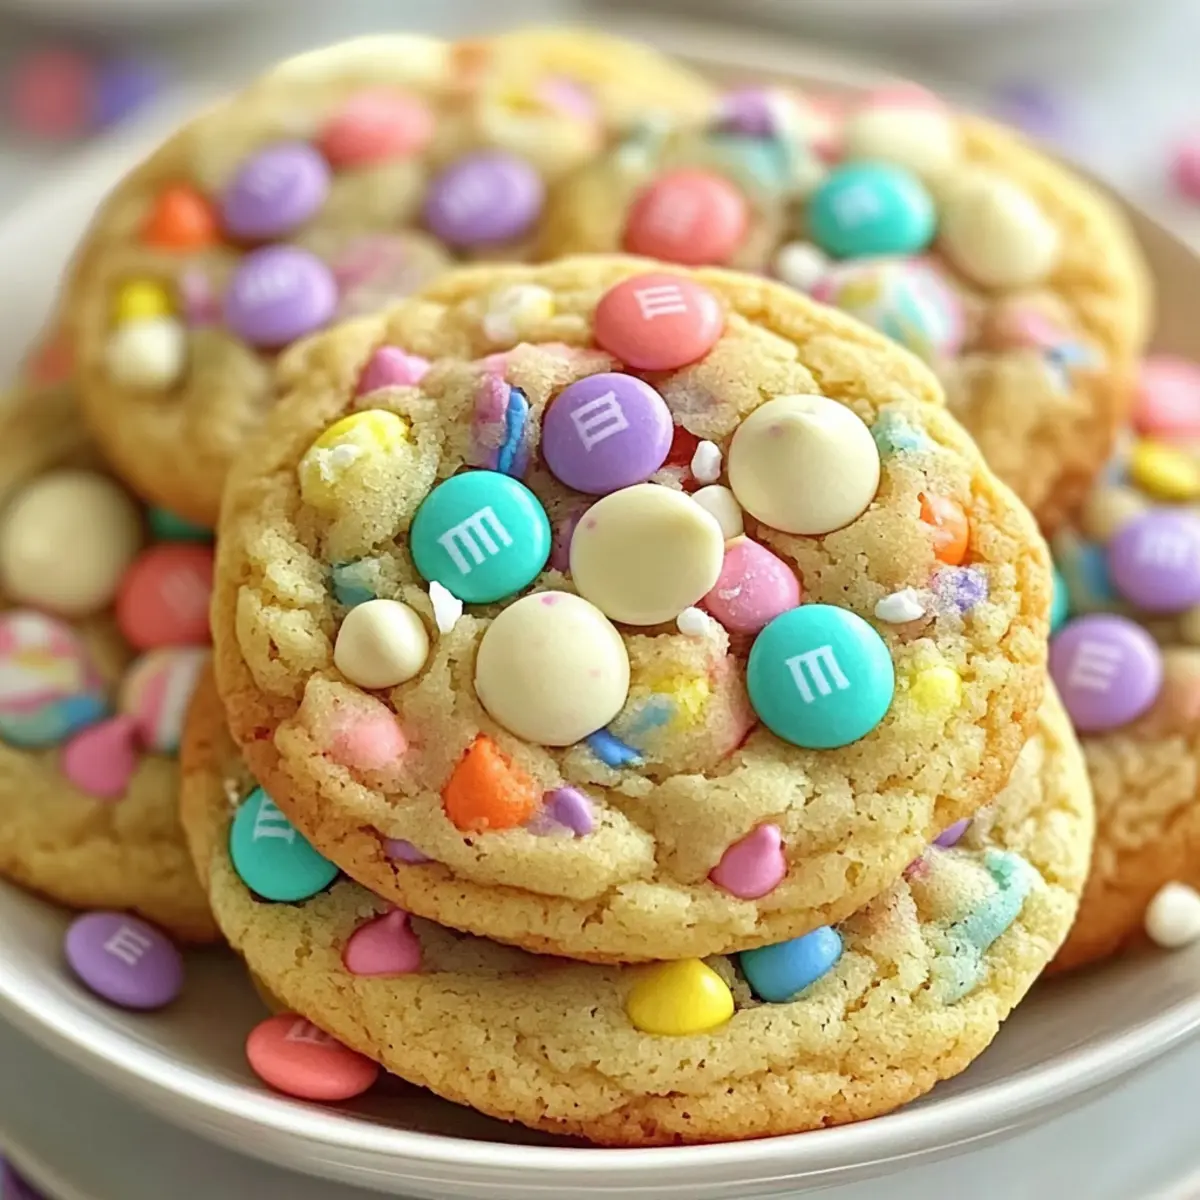
Easter Cookie Recipe FAQs
How do I choose the right ripeness of ingredients?
Absolutely! For optimal results, ensure your eggs are at room temperature to help the dough mix smoothly. The butter should be softened but not melted; it should have a slight give when pressed. As for the flour, it’s best to use fresh and properly stored flour to avoid any off-flavors in your Easter Cookies.
What is the best way to store Easter Cookies, and how long do they last?
To keep your Easter Cookies fresh, store them in an airtight container at room temperature for up to one week. If you live in a humid climate, consider adding a piece of bread in the container to maintain moisture. This simple trick helps ensure your cookies remain soft and enjoyable throughout the week!
Can I freeze Easter Cookies, and how do I do it?
Yes, you can absolutely freeze your Easter Cookies! First, flash freeze the cookies in a single layer on a baking sheet. Once they’re firm, transfer them to a freezer-safe bag or container. They can be frozen for up to 3 months. When you’re ready to enjoy them, just thaw in the fridge overnight and gently reheat them in the microwave for 10-15 seconds or in an oven at 350°F.
What should I do if my cookies turn out too flat?
Very good question! If your Easter Cookies spread too much and turn out flat, it could be due to soft butter or overmixing the dough. Ensure your butter is at the right consistency—softened but not melted. Try refrigerating the dough for at least 30 minutes before baking to help them hold their shape.
Are these Easter Cookies safe for kids with allergies?
If you’re making these cookies for kids with allergies, a few adjustments can be made. Always check for allergy-friendly alternatives to ingredients like eggs, flour, and chocolate. For those avoiding gluten, you can substitute the all-purpose flour with a certified gluten-free blend. As always, consult with parents or guardians about specific dietary restrictions before sharing these delightful treats!
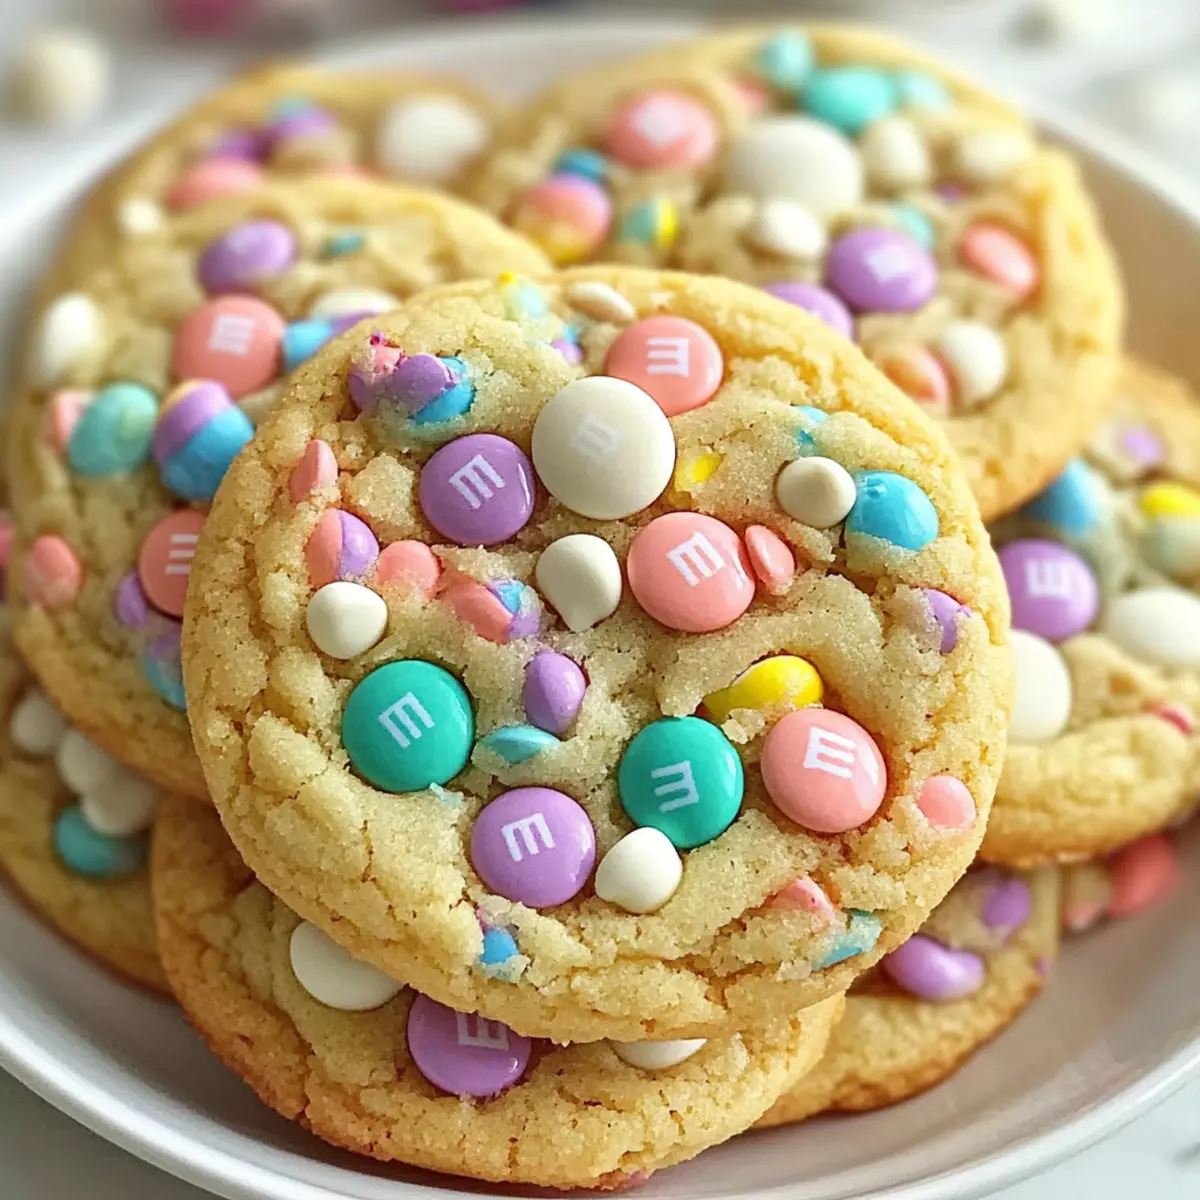
Easter Cookie Magic: Soft, Colorful Delights for Spring
Ingredients
Equipment
Method
- Preheat your oven to 350°F (175°C) and line your baking sheets with parchment paper.
- In a medium bowl, whisk together the all-purpose flour, baking powder, baking soda, and salt.
- In a large mixing bowl, cream the unsalted butter with granulated and brown sugars until light and fluffy.
- Add a cold egg and vanilla extract to the butter-sugar mixture; mix until just combined.
- Gradually combine the dry ingredients with the wet mixture until the dough is smooth.
- Fold in the pastel Easter M&M's and white chocolate chips gently.
- Scoop the dough into balls, optionally rolling in sprinkles before placing on baking sheets.
- Bake for 8-11 minutes or until the edges are set and centers look slightly underbaked.
- Let the cookies cool on the sheets for about 5 minutes before transferring to wire racks.