
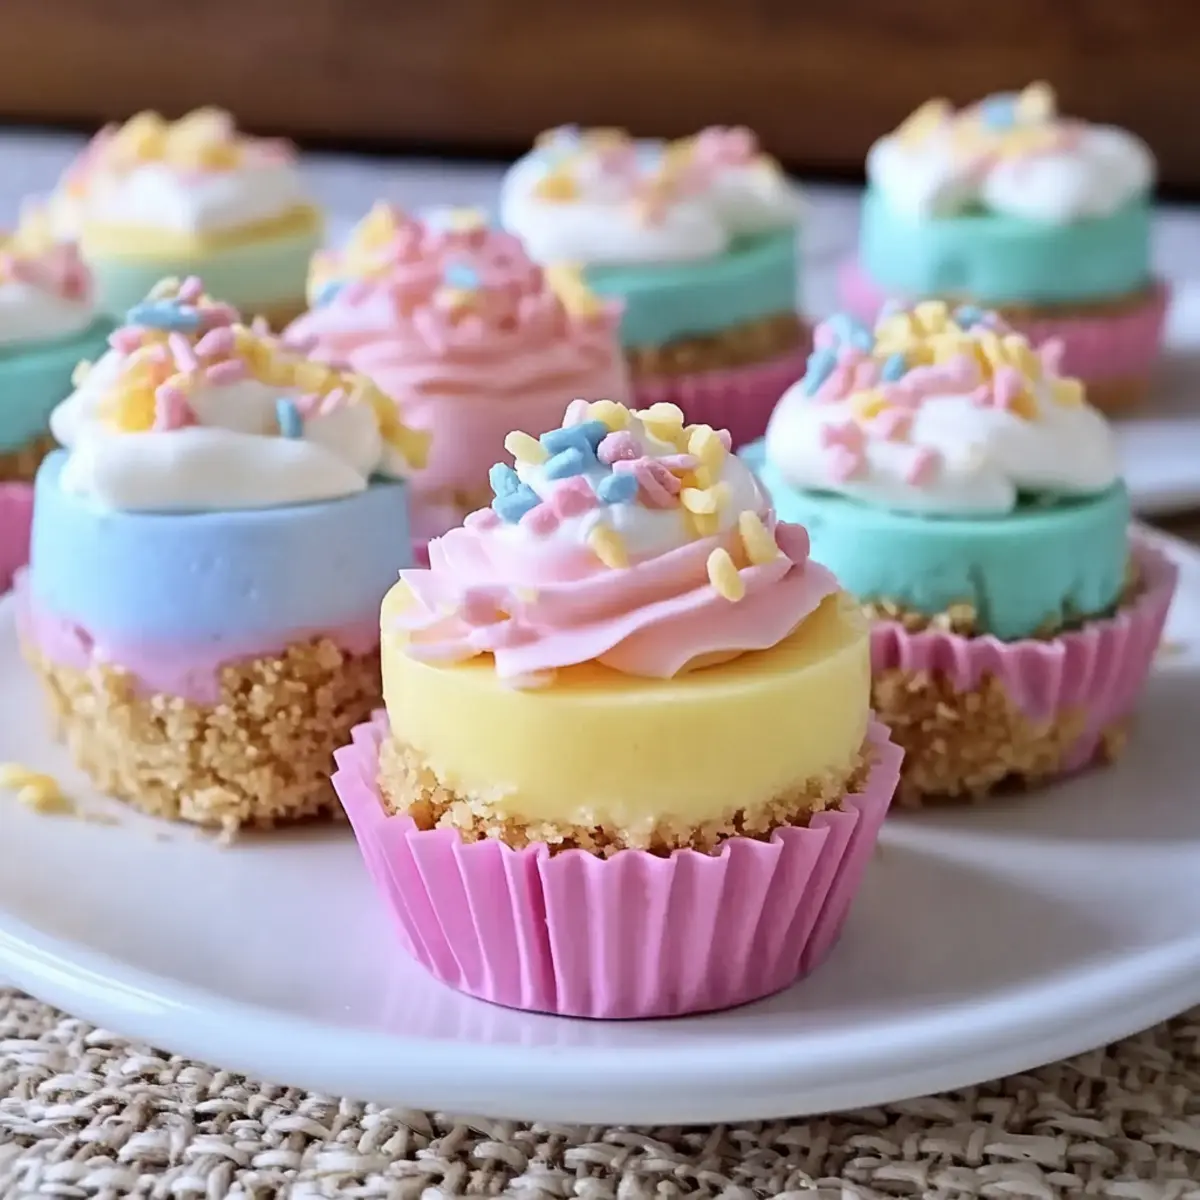
As I rummaged through my kitchen, dreaming of a light dessert to celebrate Easter, a thought struck me: what if we married the magic of spring with the joy of creamy cheesecakes? Enter these delightful Easter No-Bake Mini Cheesecakes, which transform simple ingredients into a sweet symphony of flavor. These charming bites are not only easy to whip up but also incredibly customizable, allowing a fun twist that can impress family and friends without the fuss. Their pastel colors make them an ideal centerpiece for any Easter gathering, embodying the freshness of the season while saving you time in the kitchen. Are you ready to create a dessert that’s both festive and hassle-free? Let’s dive into this creamy adventure!
Why Make These Mini Cheesecakes?
Simplicity: Preparing these Easter No-Bake Mini Cheesecakes requires minimal baking skills, making them perfect for any home cook.
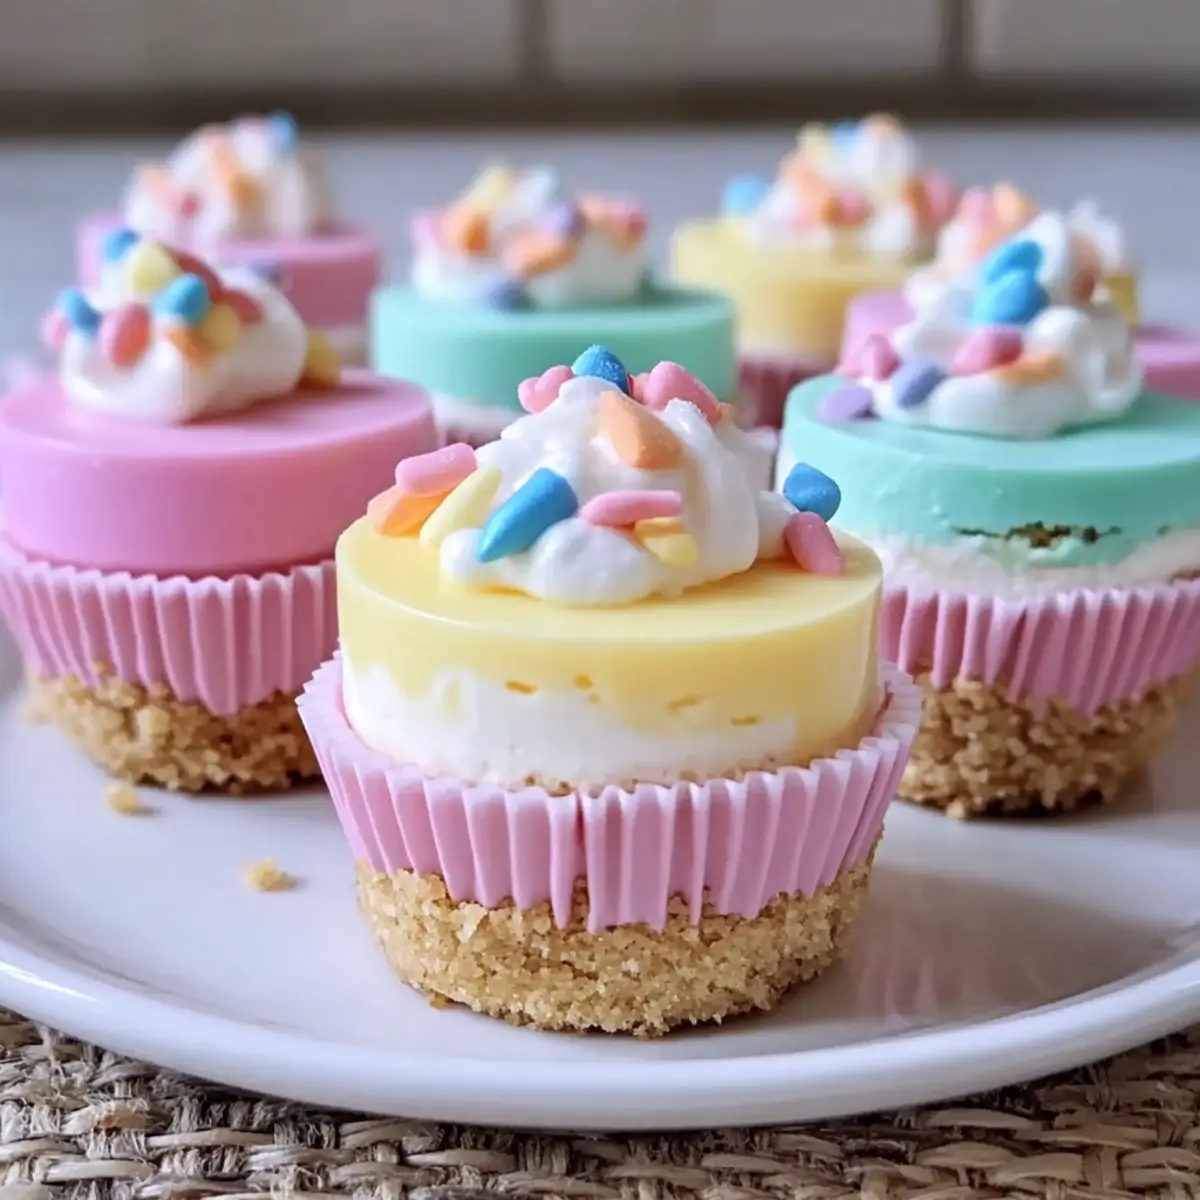
Creamy Indulgence: The silky texture combined with the crunchy graham cracker crust offers a delightful contrast that will have everyone coming back for more.
Customization: Feel free to experiment with flavors and colors, making each mini cheesecake uniquely yours. Add citrus zest or use alternative crusts for a creative twist.
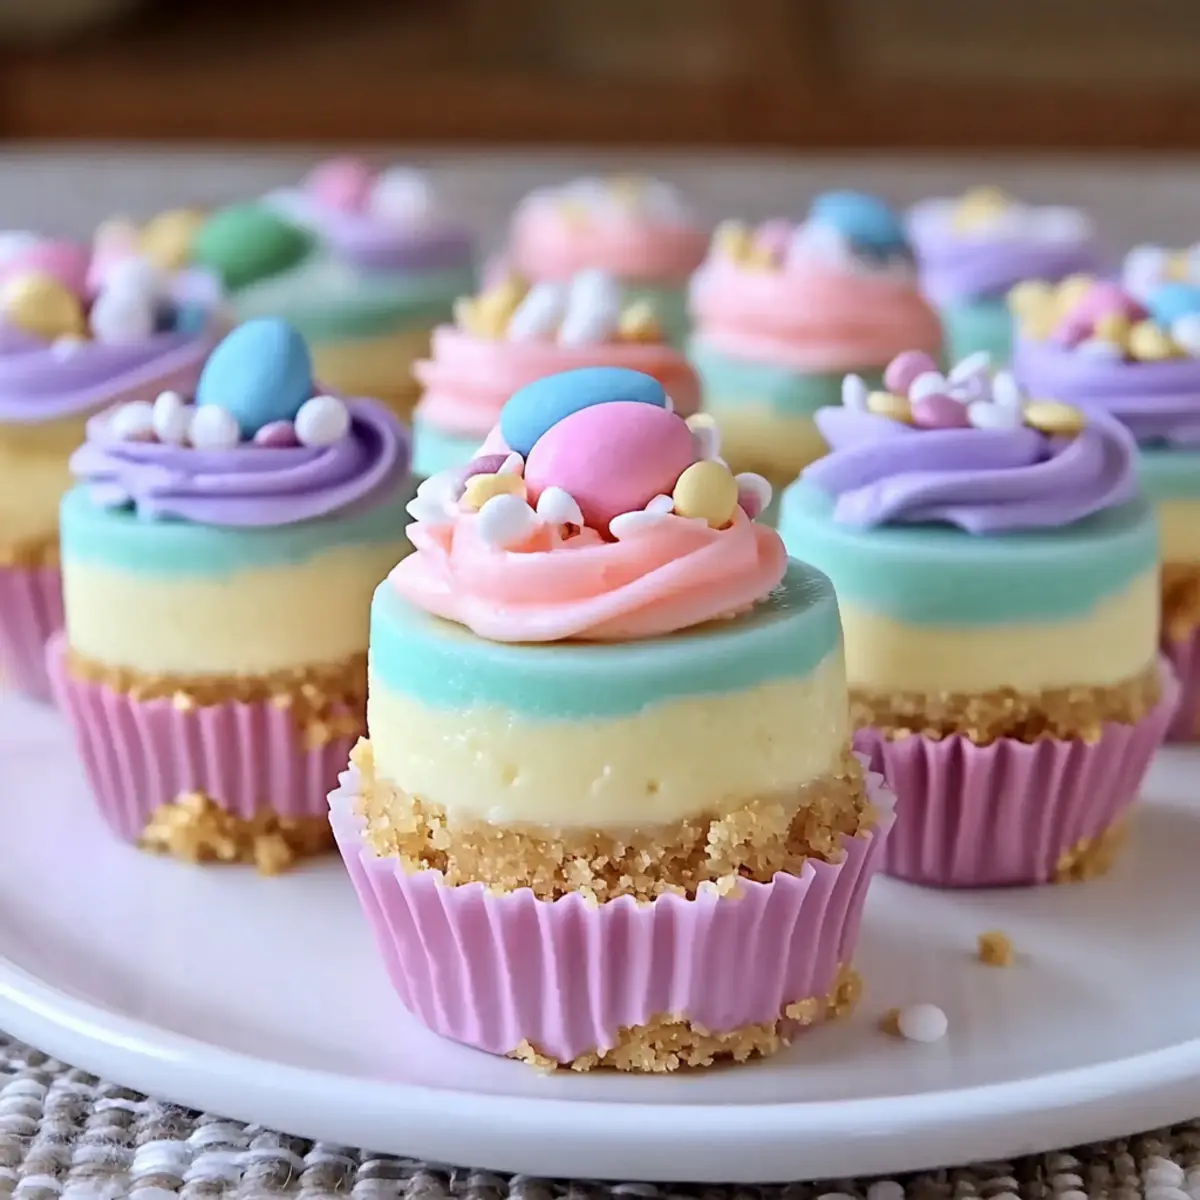
Eye-Catching Presentation: Their pastel hues not only brighten up your dessert table but also capture the essence of spring, making them a festive delight.
Time-Saving: With no oven required, you can whip these up with ease, giving you more time to relax and enjoy your Easter celebration.
Ready to impress? Serve them alongside fresh berries or a drizzle of chocolate for the ultimate treat!
Easter No-Bake Mini Cheesecakes Ingredients
For the Cheesecake Filling
- Cream Cheese – the base of the cheesecake, providing creamy tang; substitute with mascarpone for a richer flavor.
- Powdered Sugar – adds sweetness to balance the tangy cheese and dissolves smoothly for a velvety texture.
- Vanilla Extract – enhances the flavor profile, perfectly complementing the sweetness and creaminess.
- Heavy Whipping Cream – crucial for airiness and lightness, helping achieve that fluffy texture in the cheesecake.
- Food Coloring (pastel colors) – brightens up the mini cheesecakes, making them festive and perfect for Easter.
For the Crust
- Graham Cracker Crumbs – forms the crust, providing the crunch that beautifully contrasts the creamy filling; digestive biscuits work as a great alternative.
For Assembly
- Mini Cupcake Liners – perfect for portioning these delightful mini treats and enhancing their visual appeal.
With these ingredients, you’re all set to create your own Easter No-Bake Mini Cheesecakes that are not only delicious but also adorable!
Step‑by‑Step Instructions for Easter No-Bake Mini Cheesecakes
Step 1: Prepare Cream Cheese Mixture
In a large mixing bowl, beat 8 ounces of softened cream cheese together with 1 cup of powdered sugar and 1 teaspoon of vanilla extract using a hand mixer on medium speed. Continue mixing for about 2-3 minutes or until the mixture is smooth and creamy, free from lumps. Ensure the texture is velvety, as this will form the base of your Easter No-Bake Mini Cheesecakes.
Step 2: Whip Cream
In a separate bowl, pour 1 cup of heavy whipping cream and use an electric mixer to whip it on high speed. Whip for approximately 3-4 minutes until stiff peaks begin to form. The cream should look fluffy and hold peaks that stand upright. This step is essential for achieving lightness in your cheesecake filling, adding that airy texture everyone loves.
Step 3: Fold Mixtures
Carefully fold the whipped cream into the cream cheese mixture using a rubber spatula. Gently combine them over about a minute, making sure not to deflate the whipped cream. This process is vital for maintaining the fluffy consistency of your filling for the Easter No-Bake Mini Cheesecakes, resulting in a delightful airy dessert.
Step 4: Color the Cheesecake
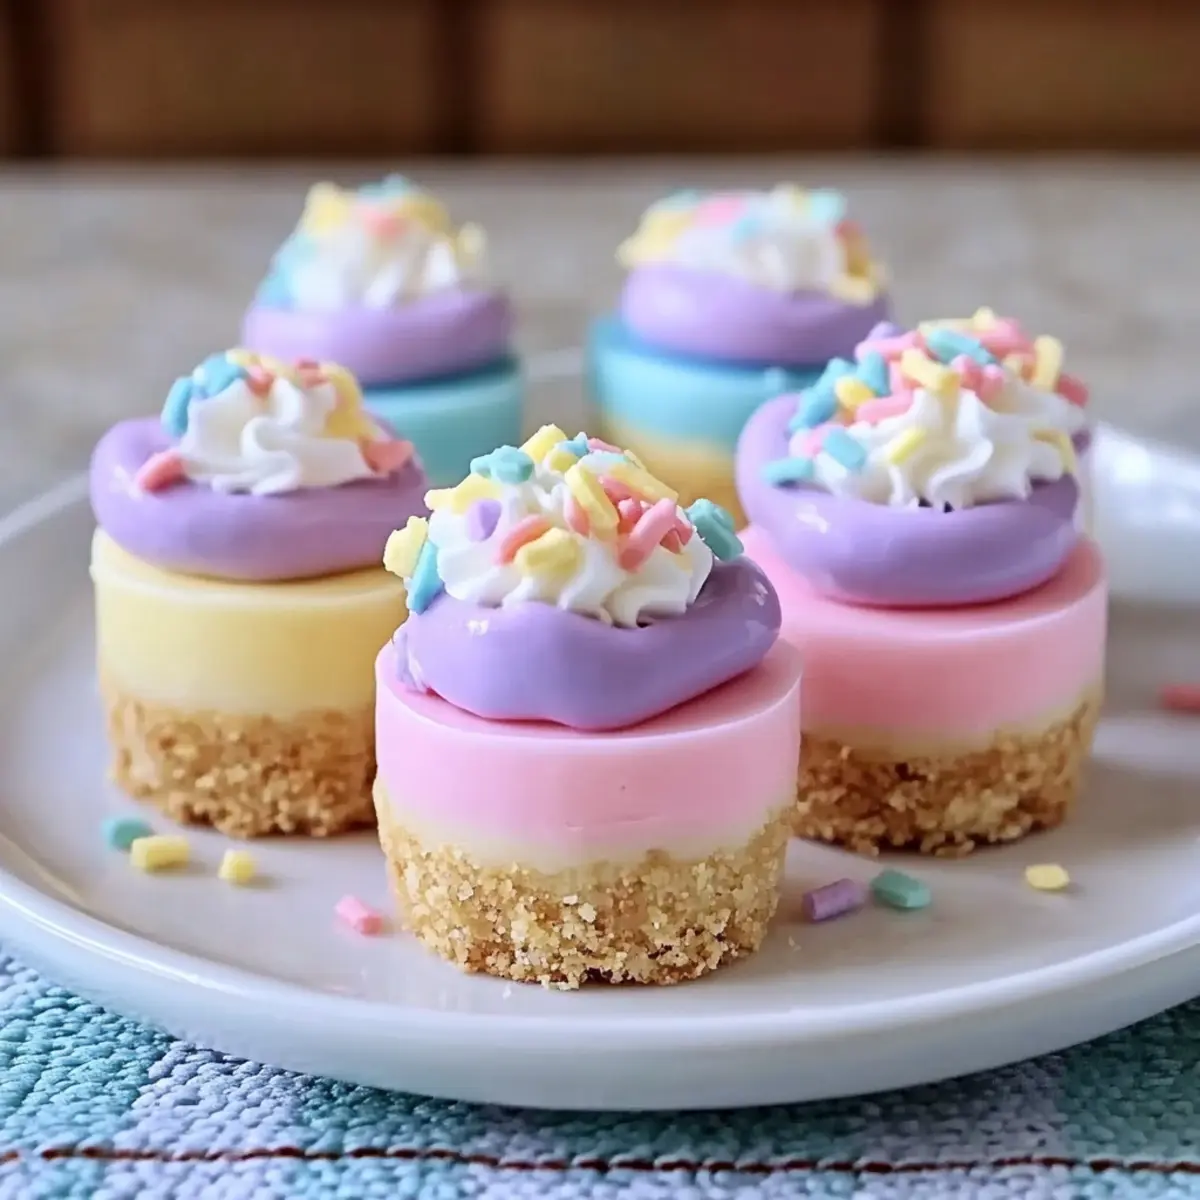
Divide the cheesecake mixture into separate bowls based on how many pastel colors you want to create. Add a few drops of food coloring to each bowl and gently mix until the colors are evenly distributed. Aim for soft pastel hues that evoke the spirit of Easter, ensuring they are visually appealing for your festive table.
Step 5: Layer in Cupcake Liners
Line a muffin tin with mini cupcake liners and begin layering the colored cheesecake mixtures. Start with one color, filling each liner about 1/3 full before adding a layer of another color. Repeat this process until all liners are filled, creating beautiful layers of pastel colors. This step not only looks stunning but also makes for a delightful surprise when biting into the Easter No-Bake Mini Cheesecakes.
Step 6: Chill to Set
Cover the muffin tin with plastic wrap and place it in the refrigerator. Chill the cheesecakes for at least 4 hours or until firmly set. This cooling time allows flavors to meld and the textures to solidify, ensuring that your mini cheesecakes maintain their shape when served.
Step 7: Serve & Savor
Once chilled, carefully peel the liners from the cheesecakes and transfer them onto a serving platter. Enjoy them cold, perhaps garnished with fresh berries, a drizzle of chocolate sauce, or a dollop of whipped cream. Each bite will be a creamy and delightful treat, perfectly embodying the essence of Easter!
Easter No-Bake Mini Cheesecakes Variations
Feel free to make these delightful mini cheesecakes your own by exploring a few fun and delicious variations!
-
Citrus Zest: Add lemon or orange zest to the filling for a bright and refreshing twist that complements the creaminess perfectly.
-
Berry Swirl: Incorporate fruit purees like strawberry or raspberry into each layer for a vibrant color contrast and fruity flavor boost.
-
Chocolate Crunch: Swap the graham cracker crust for crushed chocolate cookies for a rich, decadent take that’s simply irresistible.
-
Nutty Twist: Sprinkle some finely chopped nuts, like pecans or almonds, into the crust for added texture and depth of flavor, making every bite a surprise!
-
Tropical Flavor: Add coconut extract and fold in shredded coconut to the cheesecake mixture to create a tropical escape with each bite.
-
Alternative Sweeteners: For a healthier option, try using honey or agave syrup instead of powdered sugar, creating a lighter sweetness that works wonders.
-
Mini Cheesecake Bites: Instead of filling cupcake liners, pour the cheesecake mixture into a silicone mold for bite-sized cheesecake pops; perfect for entertaining!
And if you’re looking for ways to enhance presentation, consider pairing these sweets with a drizzle of chocolate sauce, or serve alongside fresh berries for a beautiful and tasty display. Whatever you choose, these Easter No-Bake Mini Cheesecakes are bound to be a hit at your next gathering!
How to Store and Freeze Easter No-Bake Mini Cheesecakes
Fridge: Keep your Easter No-Bake Mini Cheesecakes in an airtight container in the refrigerator for up to 5 days to maintain freshness and flavor.
Freezer: For longer storage, freeze the mini cheesecakes (without toppings) in an airtight container for up to 1 month. Thaw in the fridge overnight before serving.
Reheating: These cheesecakes are best enjoyed chilled. Simply remove from the fridge before serving and allow them to sit for a few minutes for optimal texture.
What to Serve with Easter No-Bake Mini Cheesecakes
Elevate your festive dessert table with charming accompaniments that enhance the creamy delight of your mini cheesecakes!
-
Fresh Berries: Bright strawberries, blueberries, or raspberries add a burst of flavor and a touch of freshness that complements the creamy texture of the cheesecakes.
-
Chocolate Sauce: A rich, velvety chocolate drizzle over the pastel layers elevates the sweetness and adds a decadent touch to your dessert.
-
Whipped Cream: Light and fluffy whipped cream on top provides a delightful contrast. Consider adding a sprinkle of colorful sprinkles for a fun, festive flair!
-
Mint Leaves: A few fresh mint leaves make a beautiful garnish and add a refreshing note that balances the sweetness of the cheesecake.
For an unforgettable experience, serve these alongside a chilled glass of sparkling lemonade. In addition to complementing the sweet flavors, the effervescence adds a celebratory touch perfect for Easter gatherings!
Expert Tips for Easter No-Bake Mini Cheesecakes
-
Choose Room Temperature Ingredients: Using room temperature cream cheese helps achieve a smooth, lump-free mixture, ensuring a perfect base for the Easter No-Bake Mini Cheesecakes.
-
Mind the Whipping: Avoid overmixing the whipped cream; it should be fluffy with stiff peaks to keep the cheesecake light and airy, a common mistake to bypass.
-
Chill Time is Crucial: Make sure to chill the cheesecakes for at least four hours, or overnight if you can. This allows them to fully set and improves the flavor meld.
-
Layer Carefully: When adding colored mixtures to cupcake liners, alternate evenly to create aesthetically pleasing layers. This ensures a delightful surprise of flavors and colors when served.
-
Customize Flavorfully: Don’t hesitate to experiment! Incorporate citrus zest or fruit purees for a personal touch, enhancing your Easter No-Bake Mini Cheesecakes with seasonal flavors.
Make Ahead Options
These Easter No-Bake Mini Cheesecakes are perfect for meal prep, making your celebration stress-free! You can prepare the cheesecake filling up to 24 hours ahead of time. Simply follow the initial steps, but instead of layering in the cupcake liners, store the individual colors in airtight containers in the fridge to maintain freshness. When you are ready to serve, layer the colored mixtures into mini cupcake liners, then chill for at least 4 hours to set. This method ensures your cheesecakes are just as delightful with minimal effort, allowing you more time to enjoy the festivities with family and friends!
Easter No-Bake Mini Cheesecakes Recipe FAQs
How do I select ripe ingredients for my no-bake mini cheesecakes?
Absolutely! For the best flavor, ensure your cream cheese is at room temperature, allowing it to blend smoothly. Look for heavy cream that has a thick, rich consistency, and check that your powdered sugar is free from lumps. If using fresh fruit purees for flavoring, choose ripe fruits that are fragrant and vibrant for the best results.
How should I store leftover mini cheesecakes?
Very! After preparing your Easter No-Bake Mini Cheesecakes, store them in an airtight container in the fridge for up to 5 days. This keeps them fresh and maintains that creamy texture. If you’re worried about them getting soggy, separate layers with parchment paper to absorb any excess moisture.
Can I freeze my mini cheesecakes? If so, how?
Absolutely! To freeze, first place the cheesecakes in an airtight container without any toppings. They can be frozen for up to 1 month. When you’re ready to enjoy, simply transfer them to the refrigerator and allow them to thaw overnight. This ensures you maintain that delightful creamy texture upon serving.
What if my cheesecake mixture doesn’t set properly?
If you find that your mini cheesecakes aren’t setting as they should, it could be due to insufficient chilling time. Make sure each cheesecake has at least 4 hours in the refrigerator. If they’re still too soft, try placing them in the freezer for about 30 minutes to firm them up. Remember, keeping cream cheese and whipped cream at the right temperatures during mixing is vital for a perfect texture!
Are these cheesecakes safe for kids and people with dietary restrictions?
Yes! Our Easter No-Bake Mini Cheesecakes are vegetarian-friendly as they do not contain any meat or gelatin. However, if you’re serving guests with allergies, it’s essential to check the specific brands of cream cheese and whipped cream, as some may contain trace allergens. For a dairy-free version, consider using coconut cream and dairy-free cream cheese alternatives!
Easter No-Bake Mini Cheesecakes: A Creamy Spring Delight
Ingredients
Equipment
Method
- In a large mixing bowl, beat together cream cheese, powdered sugar, and vanilla extract until smooth.
- In a separate bowl, whip heavy cream until stiff peaks form.
- Fold the whipped cream into the cream cheese mixture gently.
- Divide the mixture into separate bowls and add food coloring to create pastel colors.
- Line a muffin tin with mini cupcake liners and layer the cheesecake mixtures in each liner.
- Chill the cheesecakes in the refrigerator for at least 4 hours until set.
- Once set, peel the liners off and serve chilled with optional toppings.