

As the sun shines brighter and the days grow warmer, the allure of tropical flavors becomes irresistible. That’s when I turn to my favorite Hawaiian Chicken Sheet Pan — a delightful one-pan meal that transports me to sandy beaches with every bite. This recipe stands out not only for its vibrant colors and fragrant aromas, but also for its ease; it simplifies dinner prep and minimizes cleanup. You’ll enjoy the succulent chicken and sweet pineapple beautifully paired with crunchy bell peppers, all drenched in a mouthwatering teriyaki glaze. Perfect for busy weeknights, this customizable dish is a family favorite and can be adapted to whatever ingredients you have on hand. Are you ready to savor a taste of the islands right at your dinner table? Let’s dive into this easy-to-make delight!
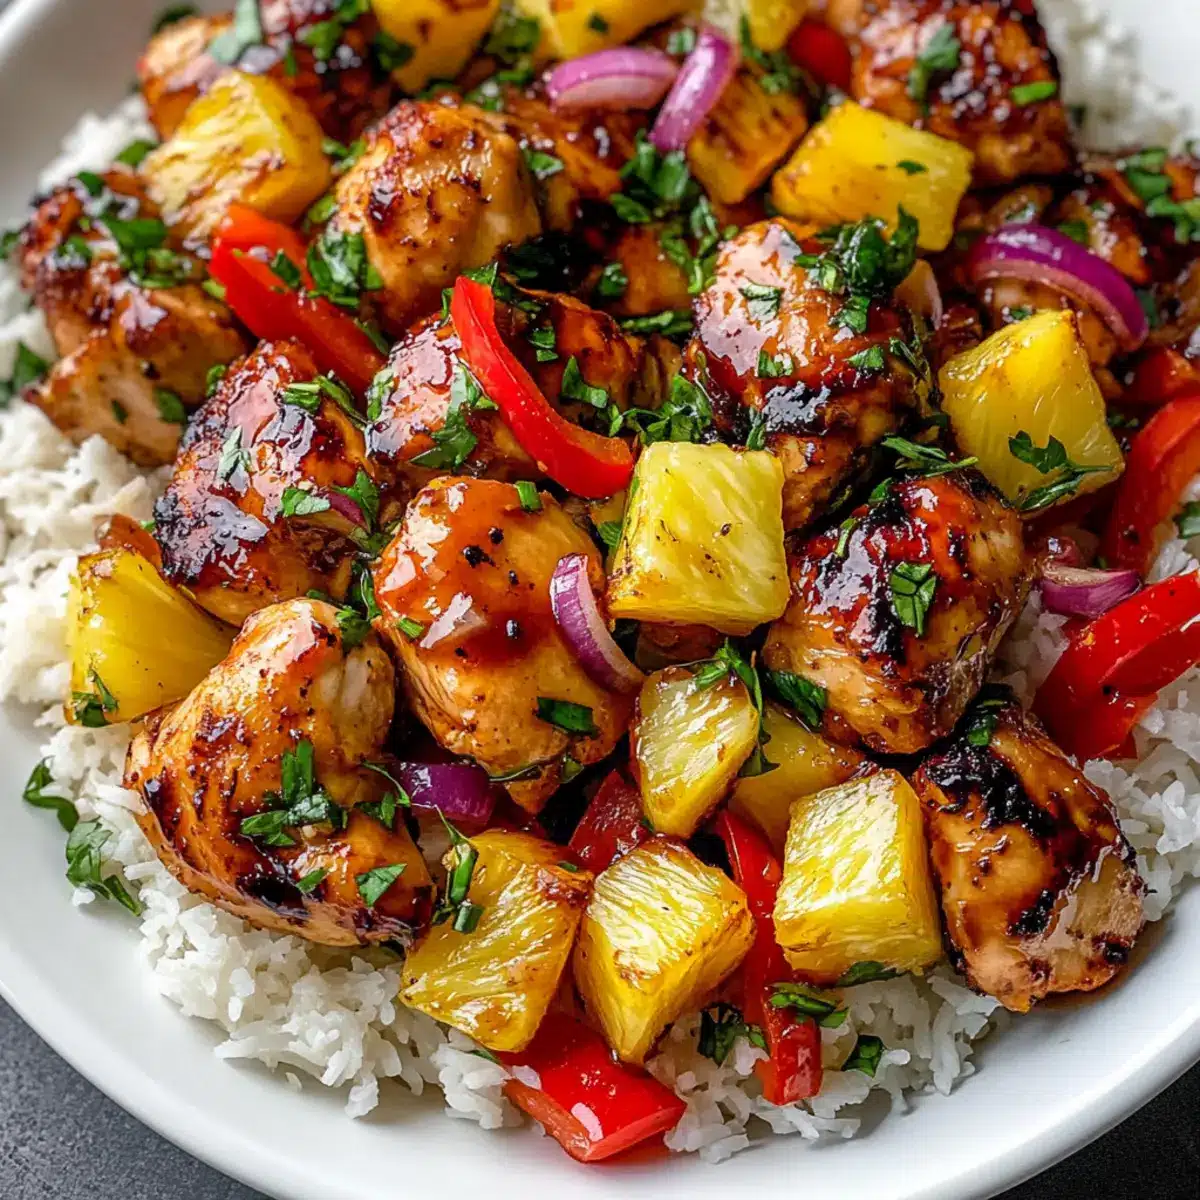
Why is this Hawaiian Chicken Sheet Pan special?
Simplicity at Its Best: This one-pan meal makes dinner prep a breeze with minimal effort and cleanup.
Vibrant and Colorful: Eye-catching bell peppers and golden pineapple create a feast for the eyes as well as the palate.
Customizable Options: Feel free to swap chicken for shrimp or tofu, or even change up the veggies for your family’s favorites.
Family-Friendly Flavors: The sweet and savory flavor profile appeals to adults and kids alike, ensuring everyone leaves the table satisfied.
Meal Prep Ready: This dish holds up beautifully, making it a fantastic choice for leftovers or meal prepping for the week.
Transform your dinner routine with this Hawaiian Chicken Sheet Pan, and check out other crowd-pleasers like the Santa Chicken Skillet or Garlic Chicken Broccoli for a week full of delicious dinners!
Hawaiian Chicken Sheet Pan Ingredients
For the Chicken
- Chicken Thighs – Juicy protein source; boneless, skinless thighs recommended for tenderness.
- Soy Sauce – Provides umami flavor; can be substituted with gluten-free tamari for a gluten-free version.
For the Vegetables
- Pineapple Chunks – Adds sweetness and acidity; fresh is ideal, but canned works well too!
- Bell Peppers (Red & Yellow) – Provide color and sweetness; feel free to mix with green or other veggies like zucchini.
- Red Onion – Introduces mild sharpness; yellow onion can be used as a flavorful swap.
For the Sauce
- Garlic – Adds aromatic depth; fresh minced garlic offers the best flavor.
- Pineapple Juice – From canned pineapple, adds sweetness and acidity; fresh juice enhances flavor.
- Honey or Brown Sugar – Sweetens the sauce; maple syrup is a great alternative sweetener.
- Rice Vinegar or Apple Cider Vinegar – Provides acidity; lemon juice can work well instead.
- Cornstarch + Water – Optional thickening agent for the sauce; can be omitted for a thinner glaze.
For the Cooking
- Olive Oil – Enhances caramelization; alternatives like avocado oil can also be used.
- Optional Garnish – Sesame seeds or fresh cilantro make lovely finishing touches.
Embrace the tropical essence of this Hawaiian Chicken Sheet Pan and customize it to suit your taste while enjoying a delightful meal that’s perfect for weeknight dinners!
Step‑by‑Step Instructions for Hawaiian Chicken Sheet Pan
Step 1: Preheat the Oven
Begin by preheating your oven to 400°F (200°C). While the oven heats up, prepare a large sheet pan by lining it with parchment paper or foil, which will aid in easy cleanup later. A well-prepared pan will help achieve the optimal caramelization on the chicken and vegetables during the baking process.
Step 2: Make the Sauce
In a mixing bowl, whisk together the soy sauce, pineapple juice, honey, garlic, and ginger until fully combined. This zesty sauce is the star of the Hawaiian Chicken Sheet Pan, adding a delightful balance of sweetness and umami. Set the sauce aside, allowing the flavors to meld while you prepare the chicken.
Step 3: Prep the Chicken
Pat the boneless, skinless chicken thighs dry with paper towels to ensure they roast evenly. Place the thighs in a bowl or zip-top bag and pour half of the prepared sauce over them. Allow the chicken to marinate for at least 15 minutes or up to 4 hours in the fridge for a fuller flavor depth, making sure to turn occasionally for even coverage.
Step 4: Assemble Ingredients
Using your prepared sheet pan, spread out the marinated chicken thighs evenly across it. Surround the chicken with the pineapple chunks, colorful bell peppers, and red onion slices. Drizzle the remaining olive oil over the veggies, ensuring everything is lightly coated for that caramelized look which you’ll enjoy in your Hawaiian Chicken Sheet Pan.
Step 5: Bake the Chicken
Place the sheet pan in the preheated oven and roast for 25-30 minutes. At the halfway point, flip the chicken to ensure it’s cooked evenly and achieves a delightful golden brown finish. During the last 10 minutes of baking, brush the remaining sauce over the chicken for an irresistible glossy glaze that enhances the dish’s appeal.
Step 6: Optional Caramelizing
For an extra touch of flavor and texture, switch your oven to broil on high for an additional 2-3 minutes once baking is complete. This step will give the chicken a beautifully caramelized edge. Keep a close eye to avoid burning, as broilers can vary vastly in heat distribution.
Step 7: Serve and Garnish
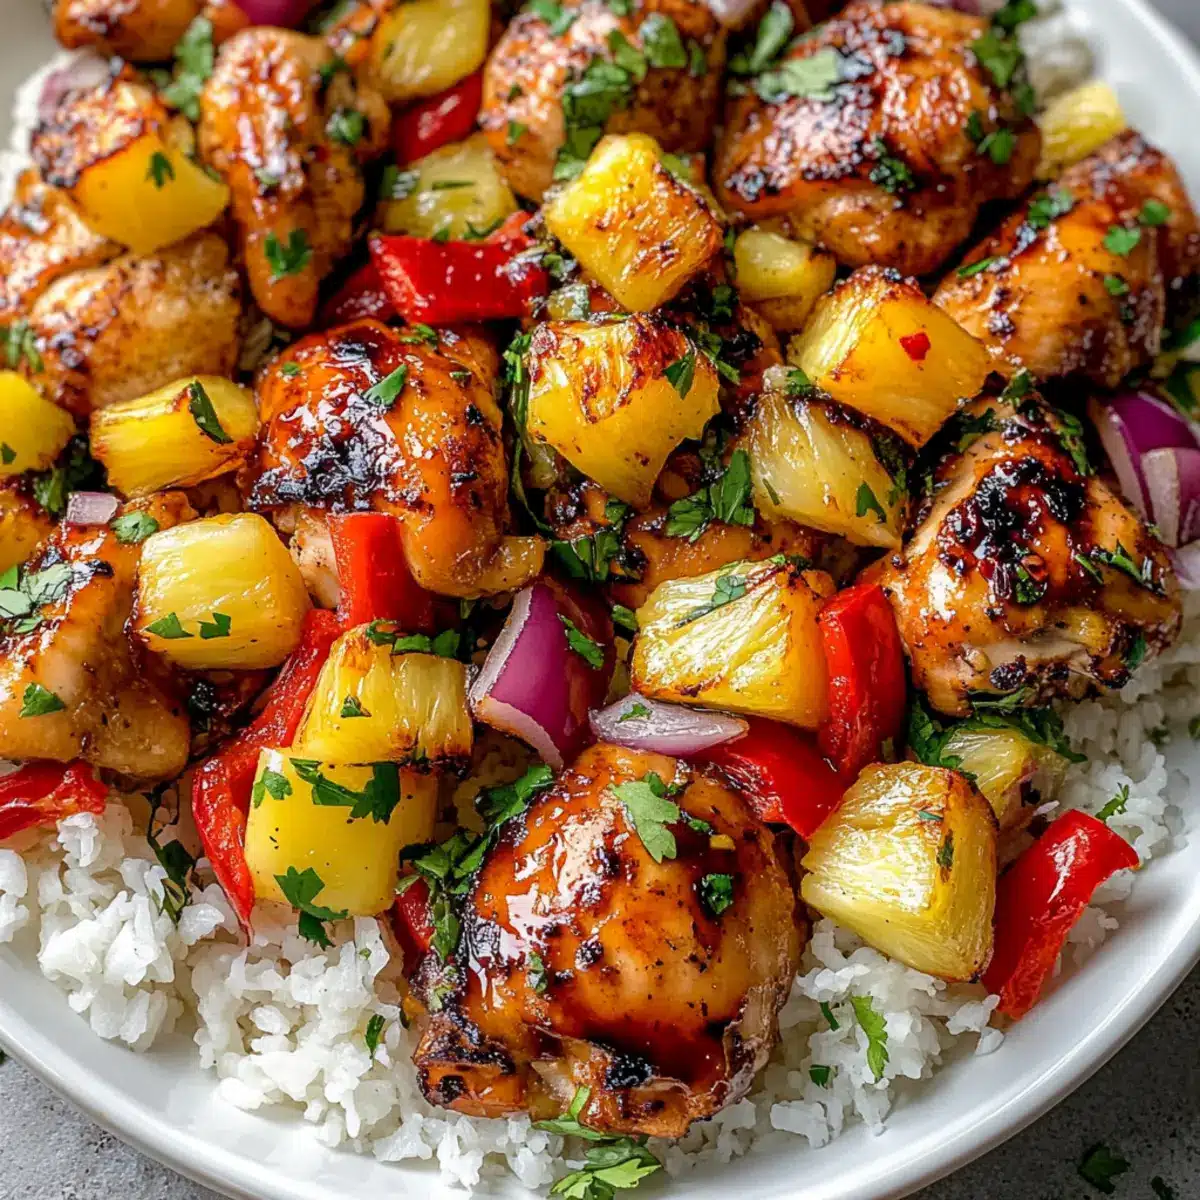
Once cooked, remove the Hawaiian Chicken Sheet Pan from the oven and allow it to rest for a couple of minutes. For presentation, sprinkle sesame seeds or fresh cilantro on top. This dish is fantastic served over rice, soaking in all its flavorful juices, turning your meal into a vibrant tropical feast!
Storage Tips for Hawaiian Chicken Sheet Pan
Refrigerate: Leftovers can be stored in an airtight container in the fridge for up to 4 days, ensuring you can enjoy this flavorful dish again soon.
Freeze: Cooked chicken and pineapple can be frozen for up to 2 months. It’s best to freeze them in separate containers to maintain texture, as veggies may soften upon thawing.
Reheat: To warm your Hawaiian Chicken Sheet Pan leftovers, use an oven or microwave until heated through. For best results, reheat in the oven covered with foil to retain moisture.
Meal Prep Friendly: This dish holds up well, making it perfect for meal prep. Just store in separate portions for easy weeknight dinners!
Expert Tips for Hawaiian Chicken Sheet Pan
-
Marination Time Matters: Longer marination (up to 4 hours) allows the chicken to absorb the teriyaki flavors deeply, creating a more delicious Hawaiian Chicken Sheet Pan experience.
-
Watch the Bake Time: Cooking time may vary based on chicken size; ensure the meat reaches 165°F (74°C) for safety and juiciness.
-
Thicker Sauce Option: For a richer glaze, simmer the sauce on the stovetop until it thickens before adding it to the chicken in the oven.
-
Veggie Swap: Don’t hesitate to replace bell peppers with your family’s preferred vegetables, like zucchini or broccoli, for added texture.
-
Frozen Pineapple Tips: If using frozen pineapple, make sure to thaw and drain it well to prevent excess moisture from affecting the dish’s texture.
-
Leftovers Storage: Store leftovers in an airtight container in the fridge for up to 4 days, making this Hawaiian Chicken Sheet Pan a great meal prep option!
What to Serve with Hawaiian Chicken Sheet Pan
As you savor each bite of this vibrant, tropical dish, consider these delightful pairings to elevate your meal and create a full dining experience.
-
Fluffy White Rice: This classic side absorbs the savory sauce perfectly, providing a comforting base to enhance the dish’s flavors.
-
Coconut Rice: Adding a subtle sweetness and aroma, coconut rice brings out the tropical notes of the Hawaiian Chicken, making it a wonderful companion.
-
Garlic Green Beans: Crisp-tender green beans sautéed with garlic introduce a fresh crunch that balances the sweetness of the pineapple and chicken.
-
Grilled Pineapple Slices: Intensifying the sweet notes found in the dish, grilled pineapple offers additional caramelization and a delightful char, enhancing your tropical theme.
-
Sweet Potato Wedges: Roasted sweet potatoes provide a hearty texture and earthy flavor, complementing the dish’s sticky glaze while adding a pop of color.
-
Cucumber Salad: A refreshing, tangy cucumber salad brightens the plate and offers a textural contrast to the warm chicken and veggies.
-
Tropical Smoothie: Blend coconut milk, pineapple, and banana for a creamy drink that echoes the sweet flavors in your meal—perfect for kids and adults alike!
-
Chocolate-Coconut Macaroons: For a sweet finish, these delightful bites offer a chewy texture and rich taste that echoes the tropical vibes of your dinner.
Enjoy mixing and matching these pairings for a memorable Hawaiian-inspired feast!
Make Ahead Options
These Hawaiian Chicken Sheet Pan meals are perfect for busy home cooks looking to save time during the week! You can marinate the chicken thighs in the sauce and refrigerate them for up to 24 hours to enhance the flavors. Additionally, you can chop the bell peppers and onion, storing them in an airtight container in the fridge for up to 3 days to maintain their crunch. When you’re ready to cook, simply arrange the marinated chicken and prepped veggies on the sheet pan, drizzle with olive oil, and bake as directed. This way, you’ll enjoy a delicious, hassle-free dinner without compromising quality!
Hawaiian Chicken Sheet Pan Variations
Feel free to play around with these ideas to make this Hawaiian Chicken Sheet Pan even more delightful!
-
Vegetable Variation: Add zucchini, snap peas, or broccoli for extra color and nutrition. Each veggie brings a unique flavor that complements the dish beautifully, making mealtime more exciting.
-
Protein Swap: Substitute the chicken for shrimp, salmon, or tofu to cater to your family’s preferences. Each protein option offers a distinct taste and texture that’ll surprise your taste buds!
-
Spice it Up: Incorporate sriracha or red pepper flakes into the sauce for a flavorful kick. A little heat enlivens the sweetness, creating a harmonious balance that will get everyone’s attention.
-
BBQ Twist: For a change of pace, replace soy sauce with your favorite BBQ sauce. This gives the dish a smoky flavor that adds an exciting twist, perfect for outdoor cookouts.
-
Dairy-Free Version: If you’re looking to keep things light, use coconut aminos instead of soy sauce and eliminate the honey for a completely dairy-free and gluten-free meal. Your taste buds won’t even notice the difference!
-
Herb Infuser: Experiment with adding fresh herbs like basil or cilantro to the sauce. These fresh herbal notes will brighten up the dish, making it feel vibrant and refreshing.
-
Tropical Fruit Medley: Mix in other fruits like mango or bell pepper for a tropical flair. The sweetness of the fruit enhances the main ingredients, making every bite a mini paradise.
-
Cauliflower Rice Base: Serve your Hawaiian Chicken over cauliflower rice instead of traditional rice for a low-carb option. It absorbs the sauce beautifully, keeping your meal both healthy and flavorful.
With all these variations, you can keep dinner fresh and exciting! You might also enjoy trying out the flavors in my Dragon Chicken recipe or the tasty Bang Bang Chicken Bowl for even more culinary inspiration. Your dinner table will never be boring again!
Hawaiian Chicken Sheet Pan Recipe FAQs
What should I look for when selecting chicken thighs?
Absolutely! When selecting chicken thighs, look for pieces that are plump and moist with a pink hue. Avoid those with dark spots or an overpowering odor. Boneless, skinless thighs are recommended for tenderness and ease of preparation. If you prefer, you can use chicken breasts, but be sure to reduce the cooking time by about 5-7 minutes, as breasts tend to cook faster.
How can I store leftovers of the Hawaiian Chicken Sheet Pan?
Great question! Leftovers should be stored in an airtight container within the fridge. They will stay fresh for up to 4 days, allowing you to enjoy this delicious meal more than once! If you’d like to keep it longer, the cooked chicken and pineapple can be frozen for up to 2 months. I often portion them out for easy meal prep on busy evenings.
Can I freeze the Hawaiian Chicken Sheet Pan?
Absolutely! If you want to freeze the dish, first allow it to cool down completely. Place the chicken and pineapple in a freezer-safe container, and you can freeze them for up to 2 months. I recommend freezing the veggies separately as they may soften upon thawing. When you’re ready to enjoy, just thaw in the fridge overnight and reheat in the oven or microwave until heated through.
What are some common troubleshooting tips for this recipe?
Very! If your chicken isn’t browning nicely, ensure you’re using enough olive oil and that your oven is fully preheated. If you find the sauce is too thin, you can thicken it by simmering it on the stovetop with a bit of cornstarch and water mixture until desired thickness is achieved. Always ensure that your chicken reaches a safe internal temperature of 165°F (74°C) to ensure it’s fully cooked.
Are there any dietary considerations I should keep in mind?
Yes, indeed! If you or someone you’re cooking for has dietary restrictions, the Hawaiian Chicken Sheet Pan can easily be made gluten-free by substituting the soy sauce with tamari or coconut aminos. If you have a family member who’s allergic to certain vegetables, feel free to swap in or exclude any that don’t suit your dietary needs—this recipe is quite customizable. And of course, it’s always a good idea to double-check all ingredient labels!
What can I use instead of pineapple chunks?
Very much! If pineapple isn’t your favorite or you need to avoid it, opt for fresh or canned peaches, mango, or bell peppers instead. Each of these will bring their unique flavor while maintaining that sweet-savory balance in your Hawaiian Chicken Sheet Pan!
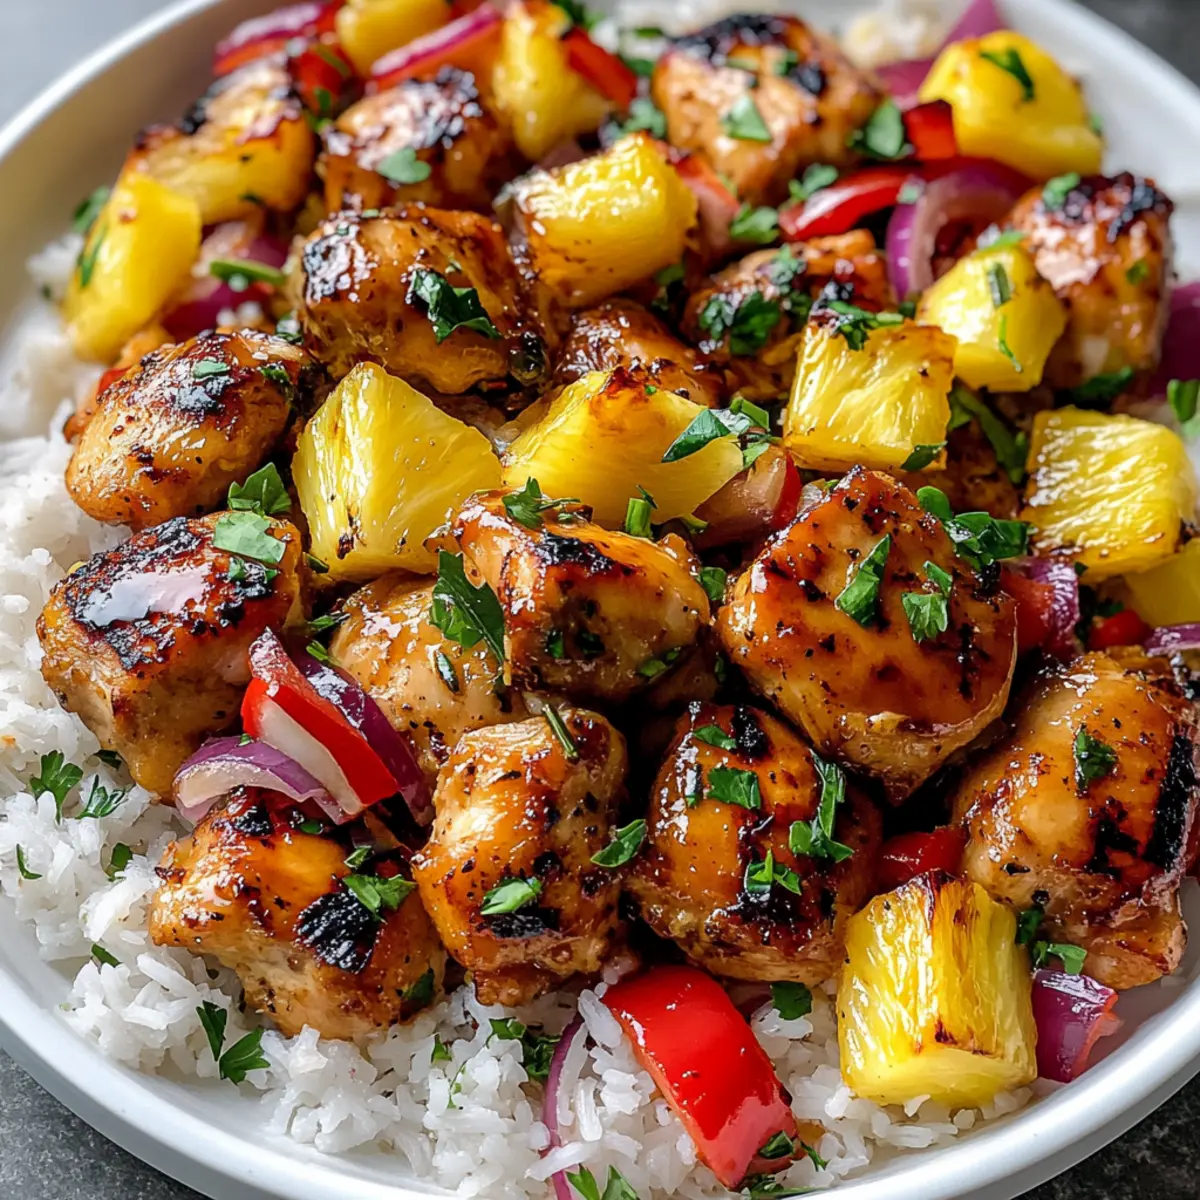
Hawaiian Chicken Sheet Pan for a Flavor-Packed Family Feast
Ingredients
Equipment
Method
- Preheat your oven to 400°F (200°C) and prepare a large sheet pan by lining it with parchment paper or foil.
- In a mixing bowl, whisk together the soy sauce, pineapple juice, honey, garlic, and ginger until fully combined. Set aside.
- Pat the chicken thighs dry, coat with half the sauce, and marinate for at least 15 minutes.
- Spread the chicken on the sheet pan, surround with pineapple, bell peppers, and red onion, drizzle with olive oil.
- Bake for 25-30 minutes, flipping halfway, and brush remaining sauce over chicken for the last 10 minutes.
- Optional: Broil on high for 2-3 minutes for extra caramelization.
- Remove from oven, let rest, garnish, and serve over rice.