

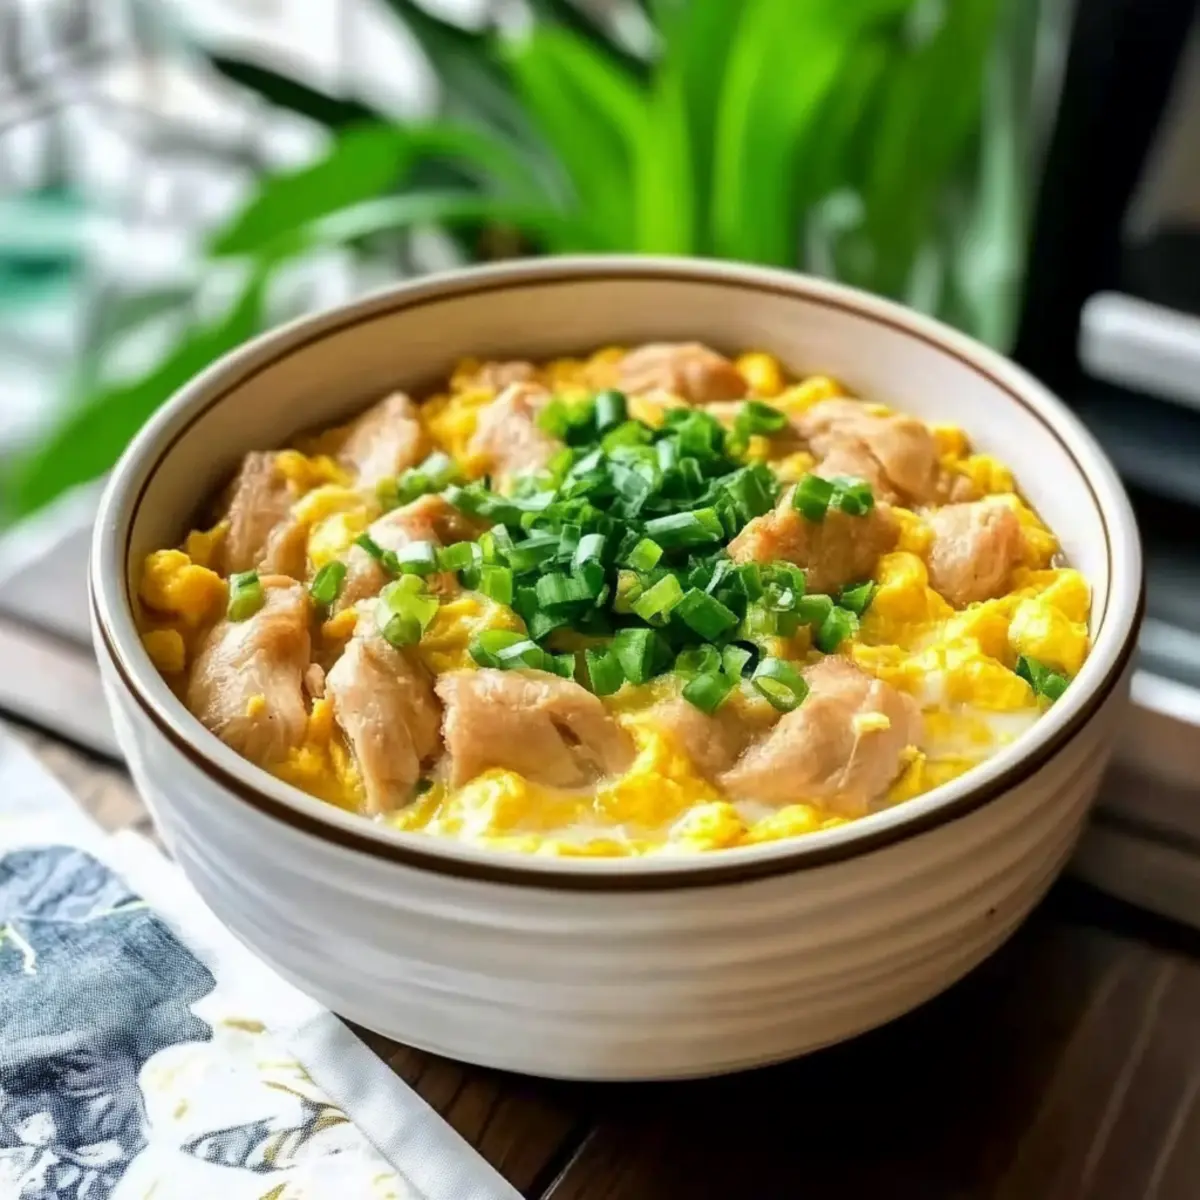
As I stirred the bubbling pot, a delightful aroma wafted through my kitchen, instantly transporting me to a cozy izakaya in Tokyo. Oyakodon, or Japanese Chicken and Egg Rice Bowl, is a dish I turn to when I crave comfort without the fuss. In just 15 minutes, this quick meal brings tender chicken gently simmered in a sweet-savory broth, blanketed in a soft egg scramble, all served over fluffy rice. It’s perfect for those busy weekdays when you want something satisfying yet effortless. Plus, it’s a one-pan wonder, which means minimal cleanup and maximum flavor. Are you ready to create a delightful bowl that warms the soul? Let’s dive into this easy recipe!
Why is Oyakodon a Must-Try?
Quick and Easy: This recipe transforms plain ingredients into a vibrant dish in just 15 minutes, making it your go-to for busy evenings!
Heartwarming Flavor: The harmony of sweet mirin and savory soy sauce creates a delightful broth, enveloping tender chicken and fluffy eggs for a comforting meal that’s truly satisfying.
One-Pan Greatness: No need for multiple pots; everything cooks in one pan, simplifying both preparation and cleanup, a real win for any home cook!
Versatile Customization: Add your favorite vegetables or swap chicken for tofu; this dish adapts effortlessly to your cravings and dietary needs. For more ideas, check out our Chicken Rice Bowl and Garlic Chicken Broccoli for delicious variations!
Crowd-Pleasing Delight: Whether entertaining guests or feeding the family, Oyakodon is sure to impress, bringing restaurant-quality comfort to your dining table.
Japanese Chicken & Egg Rice Bowl Ingredients
For the Protein
• Chicken Thighs (150g) – Tender and juicy, these are perfect for a rich flavor; substitute with chicken breast for a lighter option.
• Eggs (2 large) – Fresh eggs add creaminess to the dish; fresher eggs yield the best flavor.
For the Broth
• Chicken Stock/Dashi (1/2 cup) – Provides a savory base for the dish; use vegetable broth for a vegetarian version.
• Soy Sauce (1 tbsp) – Adds a burst of umami flavor; consider tamari for a gluten-free alternative.
• Mirin (1 tbsp) – Sweetens the broth and adds depth; rice vinegar mixed with sugar can be a quick substitute.
• Sugar (1 tsp) – Balances out the savory notes in the broth; adjust according to your taste preference.
For the Aromatics
• Onion (1/2 medium) – Infuses sweetness and aroma; green onions or shallots can work well too.
For the Base
• Cooked Rice (1.5 cups) – Serves as the comforting foundation of the meal; short-grain rice is recommended for authenticity.
For the Garnish
• Garnishes – Green onions, sesame oil, nori, and/or togarashi enhance both flavor and presentation; customize to your liking.
Enjoy the simple pleasure of your homemade Japanese Chicken & Egg Rice Bowl that’s as nourishing as it is quick!
Step‑by‑Step Instructions for Japanese Chicken & Egg Rice Bowl
Step 1: Marinate Chicken
In a medium bowl, combine the chicken thighs with soy sauce, mirin, and sugar. Mix thoroughly to coat the chicken evenly in the marinade. Allow the chicken to sit for about 5-10 minutes—this helps infuse it with rich flavors, making your Japanese Chicken & Egg Rice Bowl even more delicious.
Step 2: Prepare Egg Mixture
Crack the two large eggs into a separate bowl and beat them lightly until the yolks and whites are just combined. It’s okay if some whites remain visible; this will help you achieve a fluffy texture later on. Set this aside while you cook the chicken and onion.
Step 3: Cook Onion & Chicken
Heat a small pan over medium heat and pour in the chicken stock or dashi, bringing it to a gentle boil. Once boiling, add the sliced onion and cook for about 1 minute until it becomes slightly translucent. Next, introduce the marinated chicken into the pan, cooking for 1-2 minutes on each side until they’re nearly cooked through.
Step 4: Add Eggs
Pour the prepared egg mixture evenly over the chicken and onions in the pan. Let it sit for a moment until the edges start to set slightly, then gently stir to create a light scramble while ensuring the mixture remains a bit runny—this will yield a creamy result in your Japanese Chicken & Egg Rice Bowl.
Step 5: Serve
Spoon the warm, fluffy rice into bowls, creating a cozy base for your dish. Carefully top the rice with the chicken and egg mixture, allowing the delicious broth to soak into the rice for added flavor. Don’t forget to garnish with green onions or other favorites to elevate your presentation.
Make Ahead Options
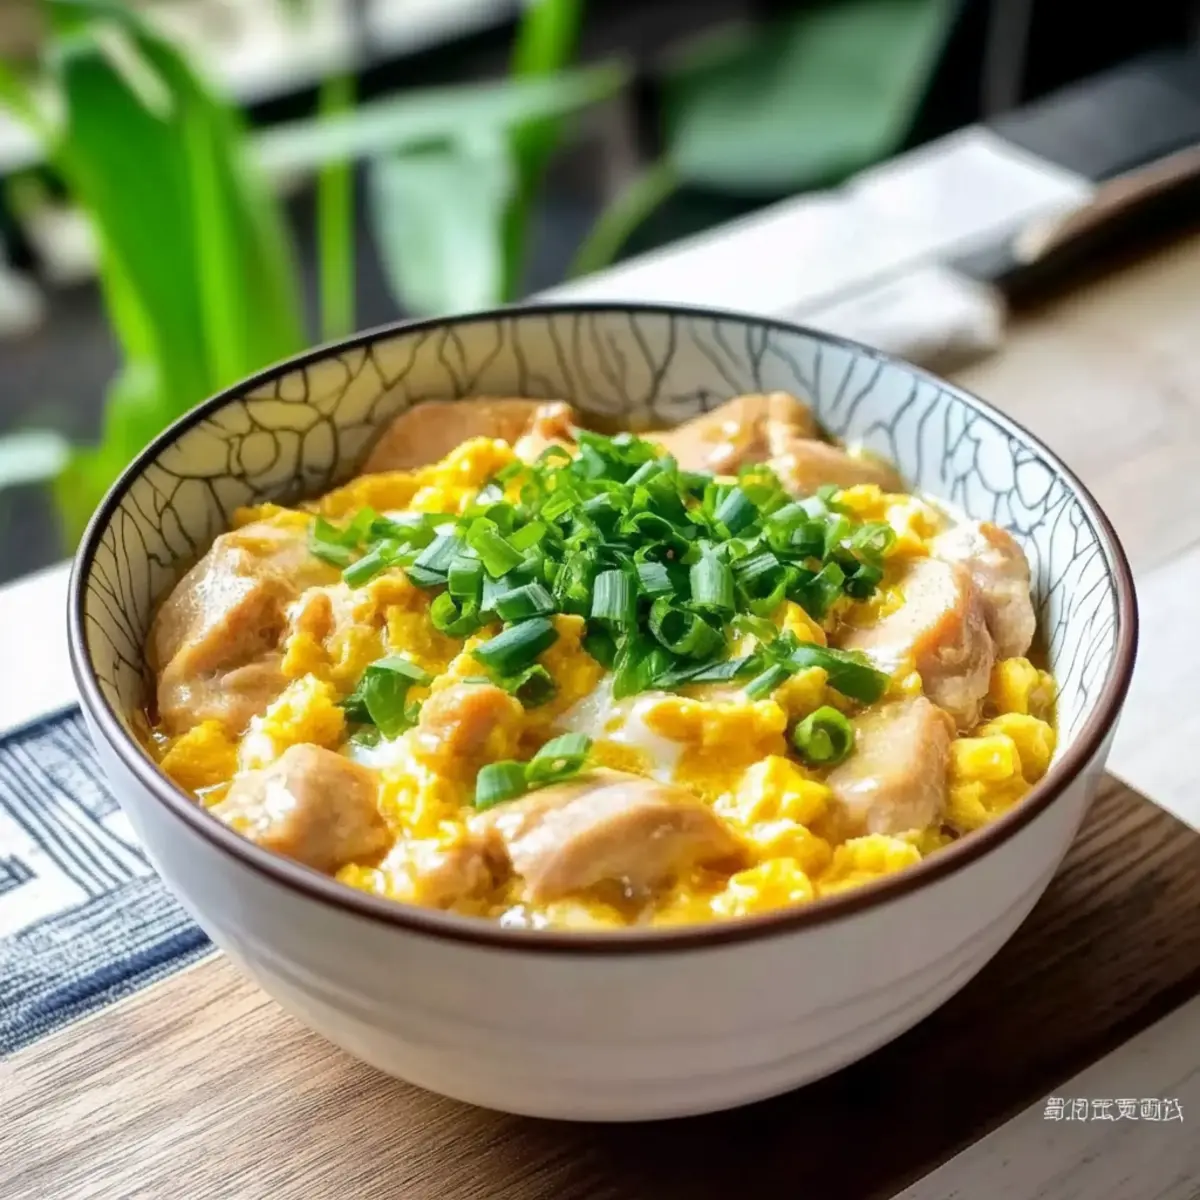
These delightful Japanese Chicken & Egg Rice Bowls are perfect for meal prep aficionados! You can marinate the chicken with soy sauce, mirin, and sugar up to 24 hours in advance, allowing those flavors to deeply infuse. Additionally, you can prepare the egg mixture and store it in the refrigerator for up to 3 days. When it’s time to cook, simply heat the chicken and onions in a pan, add the prepped egg mixture, and follow the final cooking steps as outlined to achieve a creamy, comforting bowl just as delicious as if made fresh. This means you can serve a cozy meal with minimal time and stress on those busy weeknights!
What to Serve with Quick & Easy Oyakodon
As you savor your warm bowl of Oyakodon, consider enhancing your meal experience with these delightful pairings.
-
Fresh Cucumber Salad: Crisp and refreshing, this salad adds a crunchy contrast, balancing the richness of the dish.
-
Pickled Vegetables: Bright and tangy, pickled vegetables bring zing to your plate, creating a lovely medley of flavors.
-
Miso Soup: A warm cup of miso soup rounds out your meal with a light, umami-rich complement to the savory broth of Oyakodon.
-
Steamed Edamame: These protein-packed beans offer a subtle sweetness and a fun, pop-in-your-mouth texture to accompany your meal.
-
Japanese Green Tea: Enjoying a cup of warm green tea elevates the meal experience, providing a calming finish that ties together the flavors beautifully.
-
Sesame Spinach Salad: Tossed in a light sesame dressing, this salad adds nutrients and a nutty flavor, enhancing the overall meal with vibrant greens.
How to Store and Freeze Oyakodon
Fridge: Store any leftover Japanese Chicken & Egg Rice Bowl in an airtight container for up to 2 days to maintain freshness. Reheat gently in the microwave or on the stovetop.
Freezer: While Oyakodon is best enjoyed fresh, it can be frozen for up to 1 month. Store the chicken and egg mixture in a freezer-safe container, but it’s recommended to freeze the rice separately.
Reheating: When ready to enjoy, thaw your frozen Oyakodon overnight in the fridge. Reheat on the stovetop over low heat with a splash of broth or water to revive the flavors and prevent drying out.
Room Temperature: Avoid leaving Oyakodon at room temperature for more than 2 hours to ensure food safety and quality.
Japanese Chicken & Egg Rice Bowl Variations
Explore the delightful ways to customize your Oyakodon and make it your own!
-
Vegetable Boost: Add sautéed mushrooms, spinach, or bell peppers for a nutritious twist that adds color and crunch.
-
Tofu Alternative: Swap the chicken for firm tofu to create a vegetarian option that’s just as tasty and satisfying. Press the tofu before cooking for a firmer texture!
-
Spicy Kick: Incorporate a dash of sriracha or red pepper flakes into the broth for a bit of heat that complements the savory flavors wonderfully.
-
Herb Infusion: Use fresh herbs like cilantro or basil as a garnish, adding a fragrant layer that brightens the entire dish. These herbs bring a refreshing contrast to the comforting elements!
-
Coconut Creamy: Replace half of the chicken stock with coconut milk for a creamy, tropical twist that adds a unique flavor profile while keeping it rich and warming.
-
Add Nuts: Toss in some chopped cashews or almonds for a delightful crunch that elevates the dish’s texture and adds healthy fats.
-
Citrus Zest: Grate some lemon or lime zest over the dish just before serving to introduce a zesty brightness that lifts the flavor beautifully.
For further inspiration, you might enjoy our Santa Chicken Skillet or explore the flavors in our Bang Chicken Bowl. Happy customizing!
Expert Tips for Japanese Chicken & Egg Rice Bowl
-
Perfect Rice Texture: Use slightly less water when cooking your rice. This allows it to soak up the flavorful broth of the Japanese Chicken & Egg Rice Bowl beautifully.
-
Egg Mixing Technique: Be sure to whisk the eggs until just combined. Avoid over-beating, as this can make the eggs less fluffy and alter the creaminess of the final dish.
-
Veggie Boost: Consider adding pre-cooked mushrooms or seasonal vegetables. Just pan-fry them beforehand and adjust the seasoning to keep your broth deliciously saucy.
-
Don’t Overcook: When pouring the egg mixture over the chicken and onions, only cook until slightly runny. Removing it from heat at this stage ensures a creamy texture that enhances the overall dish.
-
Fresh Ingredients: Using fresh eggs will significantly elevate the flavor of your Japanese Chicken & Egg Rice Bowl, making each bite richer and more satisfying.
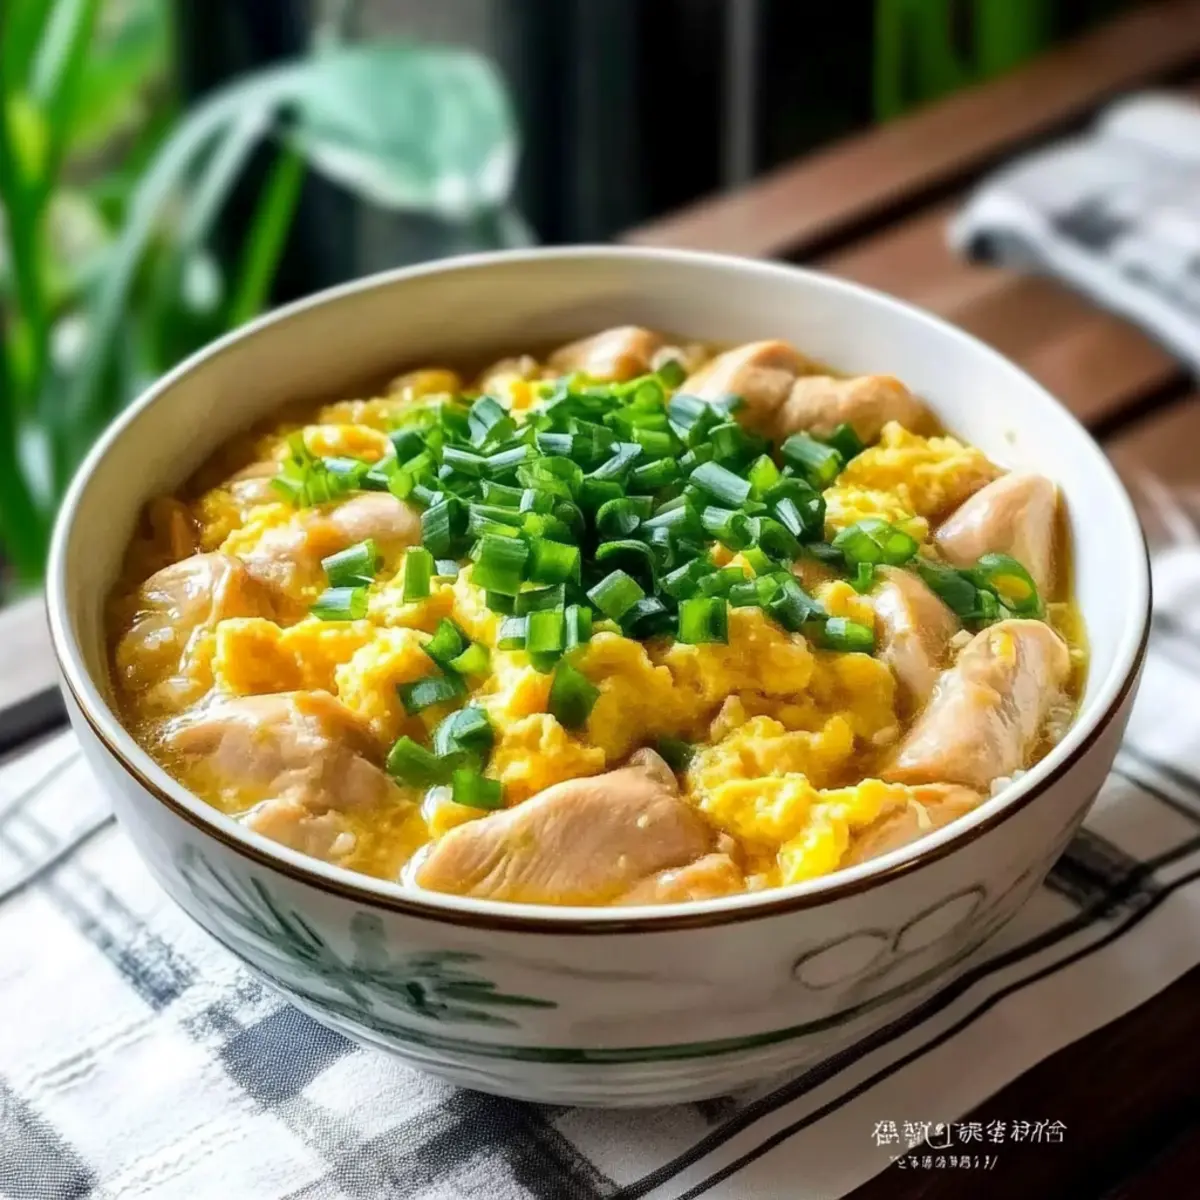
Oyakodon (Japanese Chicken & Egg Rice Bowl) Recipe FAQs
How do I select the best chicken for Oyakodon?
Absolutely! For the juiciest and most flavorful dish, I recommend using chicken thighs. They have a richer taste and maintain tenderness during cooking. If you prefer a leaner option, chicken breasts can be substituted, but they may require a bit more care during cooking to avoid dryness.
How should I store leftovers of the Oyakodon?
Leftover Japanese Chicken & Egg Rice Bowl can be stored in an airtight container in the refrigerator for up to 2 days. Reheat gently in the microwave or on the stovetop with a splash of broth to revive the flavors. Always remember to enjoy within this timeframe for the best taste and safety!
Can I freeze Oyakodon?
Very! Freezing Oyakodon is a great option if you want to make it in advance. To freeze, store the chicken and egg mixture in a freezer-safe container for up to 1 month. It’s best to freeze the rice separately to maintain texture. When ready to enjoy, thaw in the fridge overnight and reheat on the stovetop over low heat with a bit of broth to retain moisture and flavor.
What if I accidentally overcook the eggs?
Don’t worry! If you overcook the eggs, they may become rubbery rather than creamy. To prevent this, cook the egg mixture just until the edges begin to set slightly and remove it from the heat while still a bit runny. This technique will keep it fluffy. If you find yourself with overcooked eggs, you can always remix the dish with freshly scrambled eggs on top before serving!
Are there any allergies I need to consider when making Oyakodon?
Of course! This dish contains chicken and eggs, which are common allergens. Additionally, soy sauce contains gluten, so if you’re allergic or sensitive, you can opt for a gluten-free tamari substitute. Consider informing your guests of these ingredients if you plan to serve this comforting Japanese Chicken & Egg Rice Bowl to others.
Can I customize the ingredients in Oyakodon?
Absolutely! Oyakodon is wonderfully versatile. You can add sautéed vegetables like mushrooms, spinach, or bell peppers for added nutrition. If you’d like to make it vegetarian, swap the chicken for tofu or tempeh, and use vegetable broth instead of chicken stock. The more, the merrier! Enjoy experimenting with flavors that cater to your taste buds.
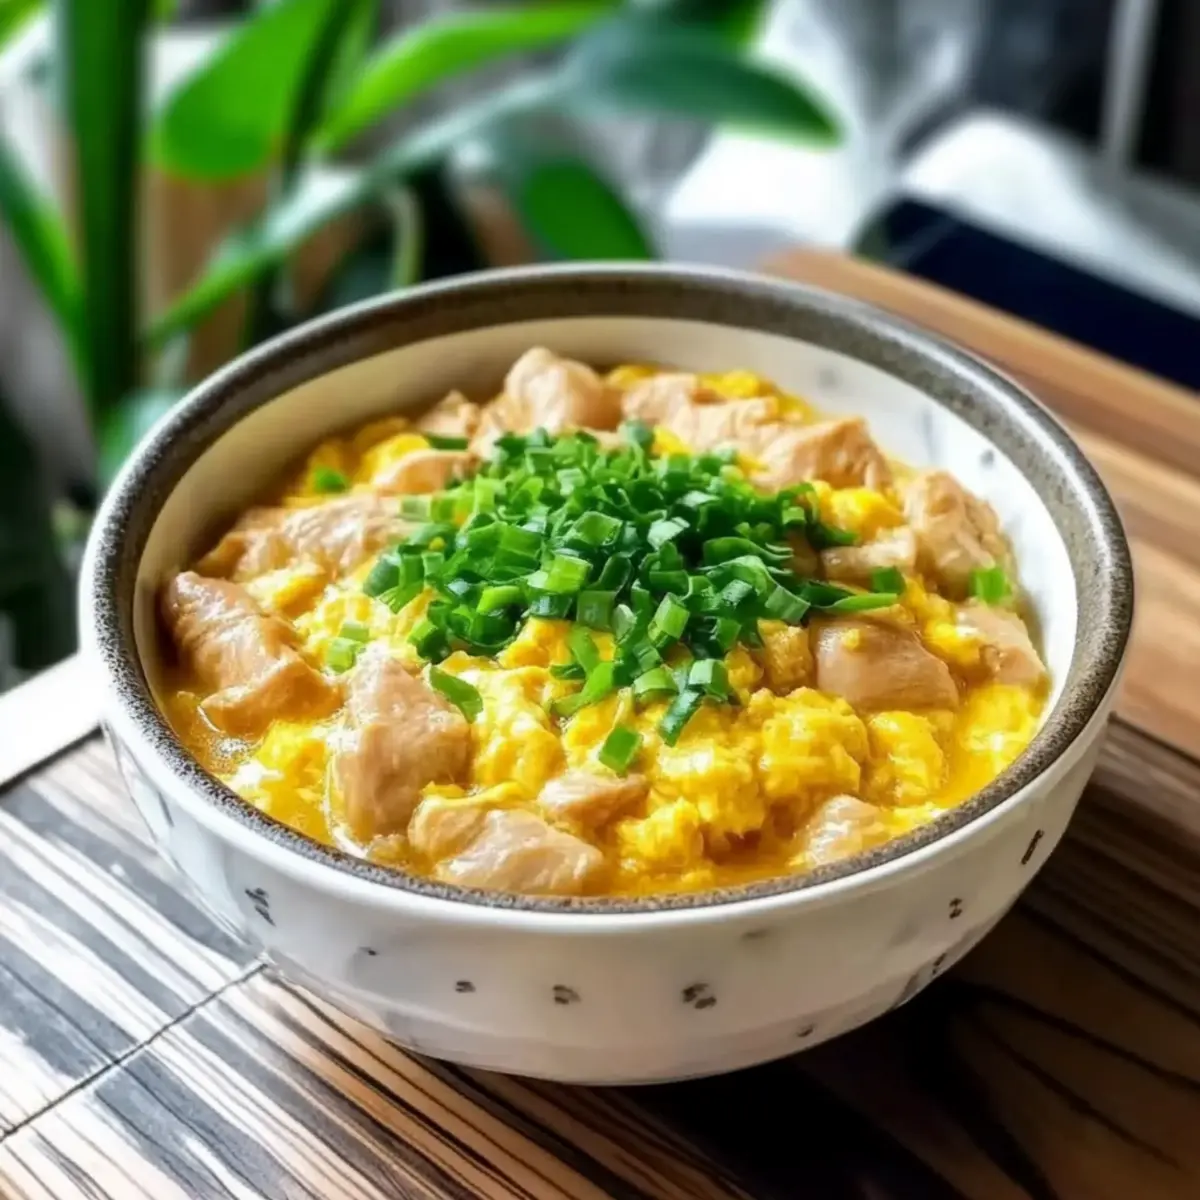
Savor Cozy Nights with Japanese Chicken & Egg Rice Bowl
Ingredients
Equipment
Method
- In a medium bowl, combine the chicken thighs with soy sauce, mirin, and sugar. Mix thoroughly to coat the chicken evenly in the marinade. Allow the chicken to sit for about 5-10 minutes.
- Crack the two large eggs into a separate bowl and beat them lightly until the yolks and whites are just combined. Set this aside while you cook the chicken and onion.
- Heat a small pan over medium heat and pour in the chicken stock or dashi, bringing it to a gentle boil. Once boiling, add the sliced onion and cook for about 1 minute until it becomes slightly translucent. Next, introduce the marinated chicken into the pan, cooking for 1-2 minutes on each side until they’re nearly cooked through.
- Pour the prepared egg mixture evenly over the chicken and onions in the pan. Let it sit for a moment until the edges start to set slightly, then gently stir to create a light scramble while ensuring the mixture remains a bit runny.
- Spoon the warm, fluffy rice into bowls, creating a cozy base for your dish. Top the rice with the chicken and egg mixture, allowing the delicious broth to soak into the rice for added flavor. Garnish with green onions or other favorites.