

As I stood in my kitchen, the sun pouring through the window, a vibrant idea struck me: No-Bake Key Lime Cheesecake Cups, the perfect solution for satisfying my sweet tooth without the fuss of baking. These delightful cups bring a refreshing twist to dessert, featuring a creamy filling enriched with zesty key lime flavor and a buttery graham cracker crust that’s a breeze to assemble. What’s more, they adapt beautifully to your favorite toppings, making them easily customizable for any occasion. With minimal prep time and a cool, airy texture, these treats are not only a crowd-pleaser but also a fantastic way to brighten up your dessert game—especially during warm weather! Are you curious to dive into the refreshing world of these cheesecake cups? Let’s whip them up together!
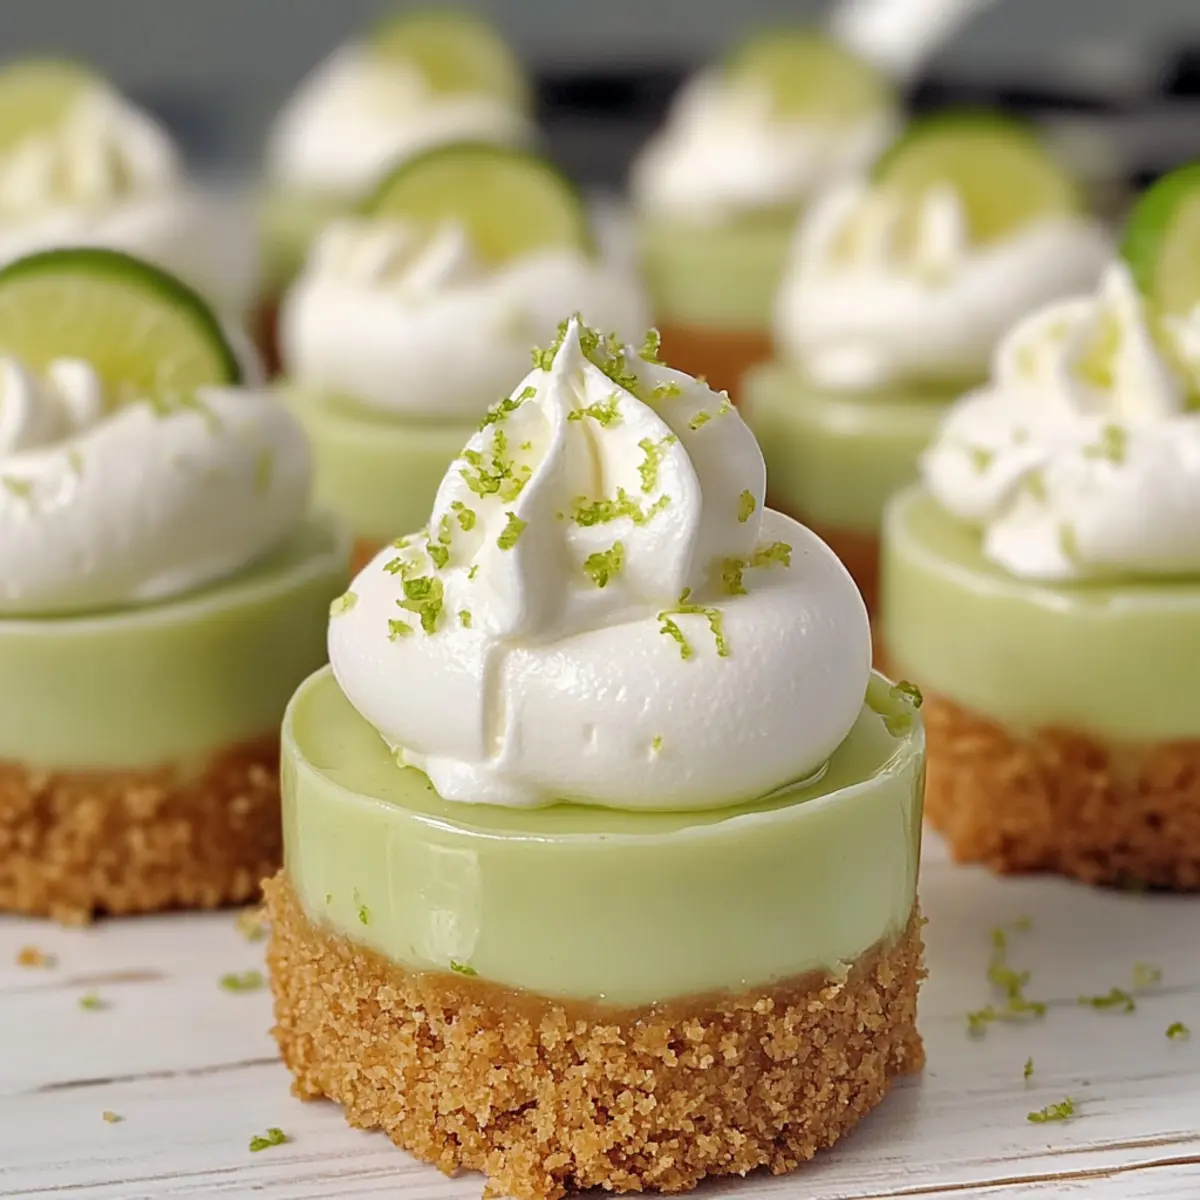
Why Are Key Lime Cheesecake Cups a Hit?
Ease of Preparation: With no baking required, these cups are quick to prepare, perfect for busy weekdays or spontaneous gatherings.
Customizable Delight: Get creative with toppings like fresh berries or whipped cream, making each serving unique and tailored to your taste.
Refreshing Zest: The tangy key lime flavor provides a delightful lift, making it an ideal dessert for warm days, just like Cheesecake Stuffed Strawberries.
Crowd Favorite: Their individual servings make them perfect for entertaining, sure to impress friends and family alike.
Smooth, Lush Texture: Experience the luxurious creaminess combined with a crunchy graham cracker base, creating a balanced bite that leaves you wanting more.
Key Lime Cheesecake Cups Ingredients
For the Crust
- Graham Cracker Crumbs – Provides the crust base for a crunchy texture; substitute with digestive biscuits for a different flavor.
- Granulated Sugar – Adds sweetness to the crust; can substitute with coconut sugar for a deeper flavor.
- Melted Butter – Binds the crust ingredients together; use coconut oil for a dairy-free option.
For the Filling
- Cream Cheese – Creates the creamy filling; consider using vegan cream cheese for a dairy-free version.
- Powdered Sugar – Sweetens the cheesecake filling, ensuring a smooth texture; no substitution recommended for consistency.
- Key Lime Juice – Provides the signature tangy flavor; regular lime juice can be used in place of key lime juice for a similar taste.
- Lime Zest – Enhances the lime flavor in the filling; it’s optional but recommended for an extra zing.
- Whipped Topping – Adds lightness and fluff to the filling; vegan whipped topping can be used for a dairy-free alternative.
Step‑by‑Step Instructions for Key Lime Cheesecake Cups
Step 1: Make the Crust
In a medium bowl, combine graham cracker crumbs, granulated sugar, and melted butter, stirring until fully incorporated. Press this mixture firmly into the bottom of serving cups using the back of a spoon or your fingers, creating an even layer. Once done, set aside while you prepare the filling.
Step 2: Prepare Filling
In a large mixing bowl, beat the room-temperature cream cheese using an electric mixer on medium speed until smooth and creamy, about 2 minutes. Gradually add in powdered sugar, blending well before incorporating key lime juice and lime zest, mixing until fully combined and fluffy, about another minute.
Step 3: Incorporate Whipped Topping
Gently fold in the whipped topping to the cream cheese mixture using a spatula, being careful not to deflate it. Continue folding until no visible streaks remain, and the filling is light and creamy. This step is crucial for the airy texture of the Key Lime Cheesecake Cups.
Step 4: Assemble Cups
Spoon the prepared lime filling over the crusts in each cup, smoothing the tops with the back of the spoon. Make sure to distribute the filling evenly among the cups for a beautiful presentation. Once filled, cover each cup with plastic wrap to keep the filling fresh while chilling.
Step 5: Chill
Place the assembled Key Lime Cheesecake Cups in the refrigerator and let them chill for at least 2 hours. Chilling allows the filling to set properly, achieving a smooth and firm consistency. The longer they chill, the firmer they become; ideally, aim for 4 hours.
Step 6: Garnish and Serve
After the cups have set, remove them from the refrigerator and uncover. Garnish each cup with a dollop of whipped topping and a sprinkle of lime zest for an appealing look. These delightful Key Lime Cheesecake Cups are now ready to be served and enjoyed!
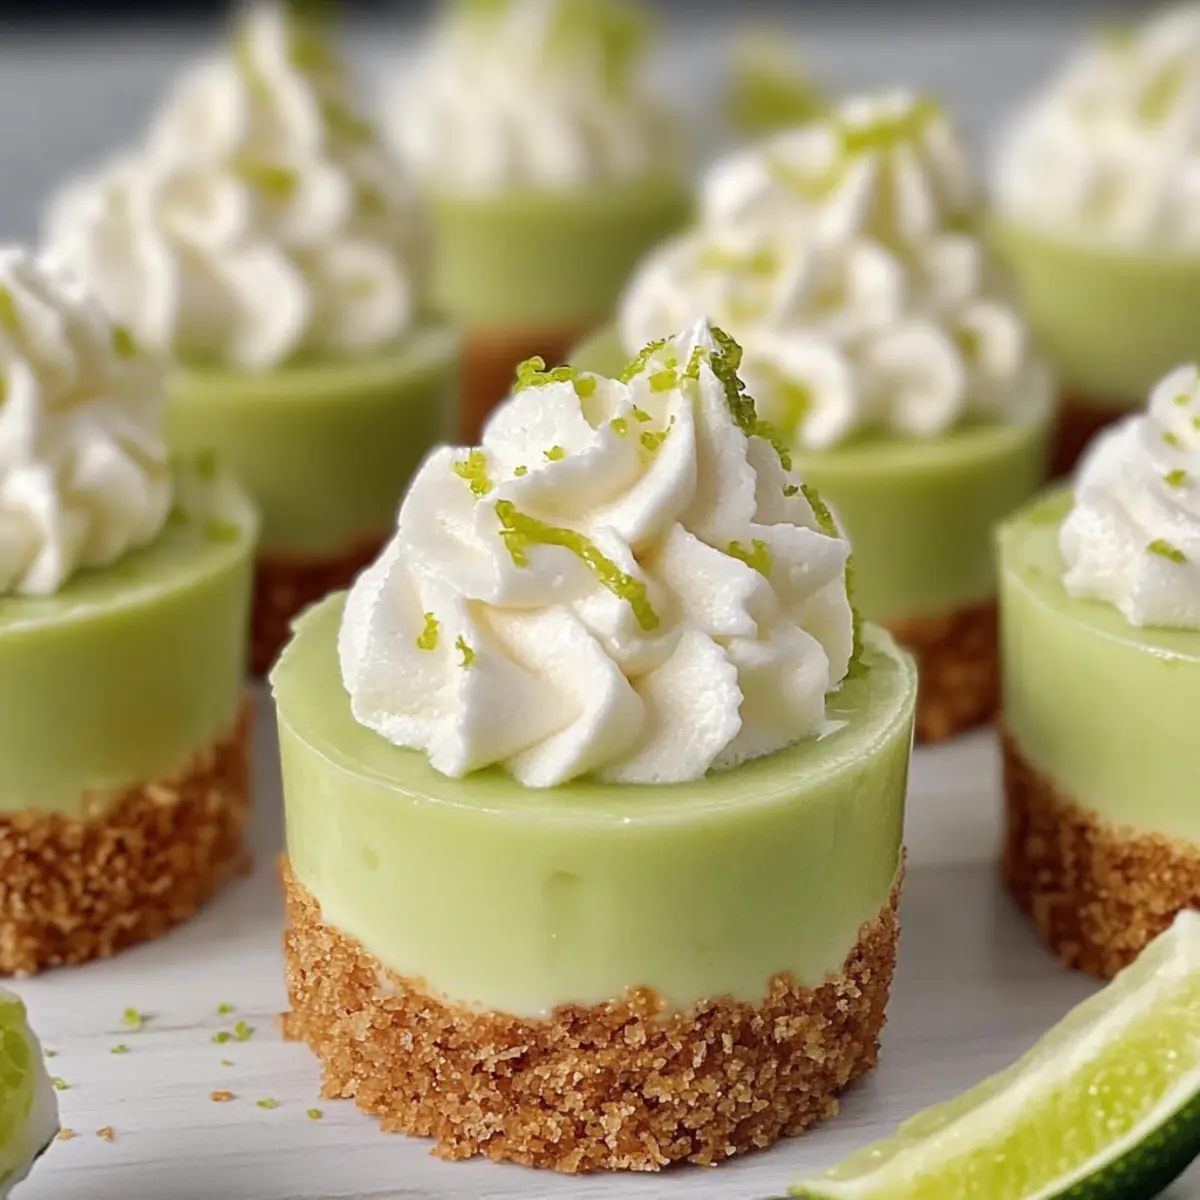
What to Serve with No-Bake Key Lime Cheesecake Cups
Indulging in these creamy, zesty cheesecake cups opens the door to delightful pairings for the perfect dessert experience.
-
Fresh Berries: The vibrant sweetness of strawberries or blueberries excels at balancing the tartness of the cheesecake, adding a refreshing bite.
-
Mint Leaves: A sprinkle of fresh mint adds a lovely aromatic dimension, enhancing the dessert’s refreshing qualities and brightening up every spoonful.
-
Coconut Whipped Cream: Smooth and fluffy, this topping brings a tropical flair that complements the key lime flavor beautifully, creating an unforgettable texture.
-
Graham Cracker Crumble: Adding a sprinkle of crushed graham crackers on top gives an extra crunch and echoes the cheesecake’s crust, heightening that nostalgic flavor.
-
Chilled Green Tea: Serve these cups alongside a refreshing glass of iced green tea for a serene experience that perfectly tones down the sweetness.
-
Mango Puree: Drizzling a sweet mango puree over the cheesecake enhances the tropical theme, introducing a luscious, fruity flavor that pairs beautifully with lime.
-
Sparkling Water with Lime: Offer sparkling water garnished with lime for a light and bubbly beverage that cleanses the palate between bites, making the dessert even more enjoyable.
-
Chocolate Drizzle: A swirl of chocolate ganache over the cheesecake cups lends richness that contrasts with the zesty lime, elevating dessert sophistication.
Make Ahead Options
These No-Bake Key Lime Cheesecake Cups are a fantastic option for meal prep enthusiasts! You can easily prepare the crust up to 24 hours in advance; simply mix the graham cracker crumbs, sugar, and melted butter, pressing it into the cups and refrigerating until ready to fill. The cheesecake filling can also be made ahead and stored in the fridge for up to 3 days. Just remember to cover it tightly to maintain its creamy texture. When you’re ready to serve, just spoon the filling over the crusts, chill for a couple of hours until set, and garnish as desired for a delicious, stress-free dessert that’s just as delightful as when freshly made!
Key Lime Cheesecake Cups Variations
Get ready to elevate your dessert game with these delightful twists on your Key Lime Cheesecake Cups!
- Berry Burst: Top with fresh strawberries, blueberries, or raspberries for a burst of fruity flavor that complements the tangy lime.
- Chocolate Lover: Drizzle chocolate ganache over the whipped topping for an indulgent chocolate twist that harmonizes beautifully with the citrus.
- Vegan Version: Swap cream cheese for vegan cream cheese and use coconut whipped topping to keep this dessert entirely dairy-free.
- Zesty Layer: Add a layer of lemon curd atop the lime filling for a delicious citrus medley that enhances the refreshing vibe.
- Nutty Crust: Replace the graham cracker crust with a mixture of ground nuts for a gluten-free alternative that adds a delightful crunch.
- Spicy Kick: Mix in a hint of cayenne pepper or cinnamon into the filling for a surprising yet tasty flavor boost. Just a pinch will do!
- Tropical Twist: Use coconut nectar instead of sugar and sprinkle toasted coconut flakes on top for a delightful tropical flair.
- Frozen Treat: Freeze the assembled cups for 1-2 hours and enjoy them as a popsicle treat on hot days!
Don’t forget, if you’re craving more unique treats, check out these delightful Cheesecake Stuffed Strawberries or get inspired by the perfect pairing for summer desserts. Your creativity knows no bounds!
How to Store and Freeze Key Lime Cheesecake Cups
Fridge: Keep your Key Lime Cheesecake Cups stored in the refrigerator for up to 3 days. Cover them with plastic wrap or place them in an airtight container to maintain freshness.
Freezer: For longer storage, freeze the cheesecake cups in an airtight container for up to 2 months. Be sure to wrap them individually in plastic wrap before placing them in the container to prevent freezer burn.
Thawing: To enjoy, simply remove the cups from the freezer and transfer them to the fridge to thaw overnight. This preserves their creamy texture for delightful enjoyment later on.
Reheating: These cups are best served cold, so no reheating is needed. Just garnish them fresh before serving for that perfect finish!
Expert Tips for Key Lime Cheesecake Cups
-
Room Temperature Cream Cheese: Ensure your cream cheese is at room temperature; this makes it easier to blend smoothly into the filling without lumps.
-
Gentle Folding: When incorporating the whipped topping, be gentle. Overmixing can cause the filling to lose its airy texture, ruining those delightful Key Lime Cheesecake Cups.
-
Adequate Chilling: Chill for at least 2 hours, but 4 is better! A longer chilling time results in a firmer filling, enhancing the overall experience.
-
Sweetness Balance: Taste your filling before chilling. If using regular lime juice, you may need a bit more sugar to balance out the tartness.
-
Customizable Toppings: Experiment with different toppings, like crushed berries or chocolate drizzle, to personalize your Key Lime Cheesecake Cups and bring out new flavors.
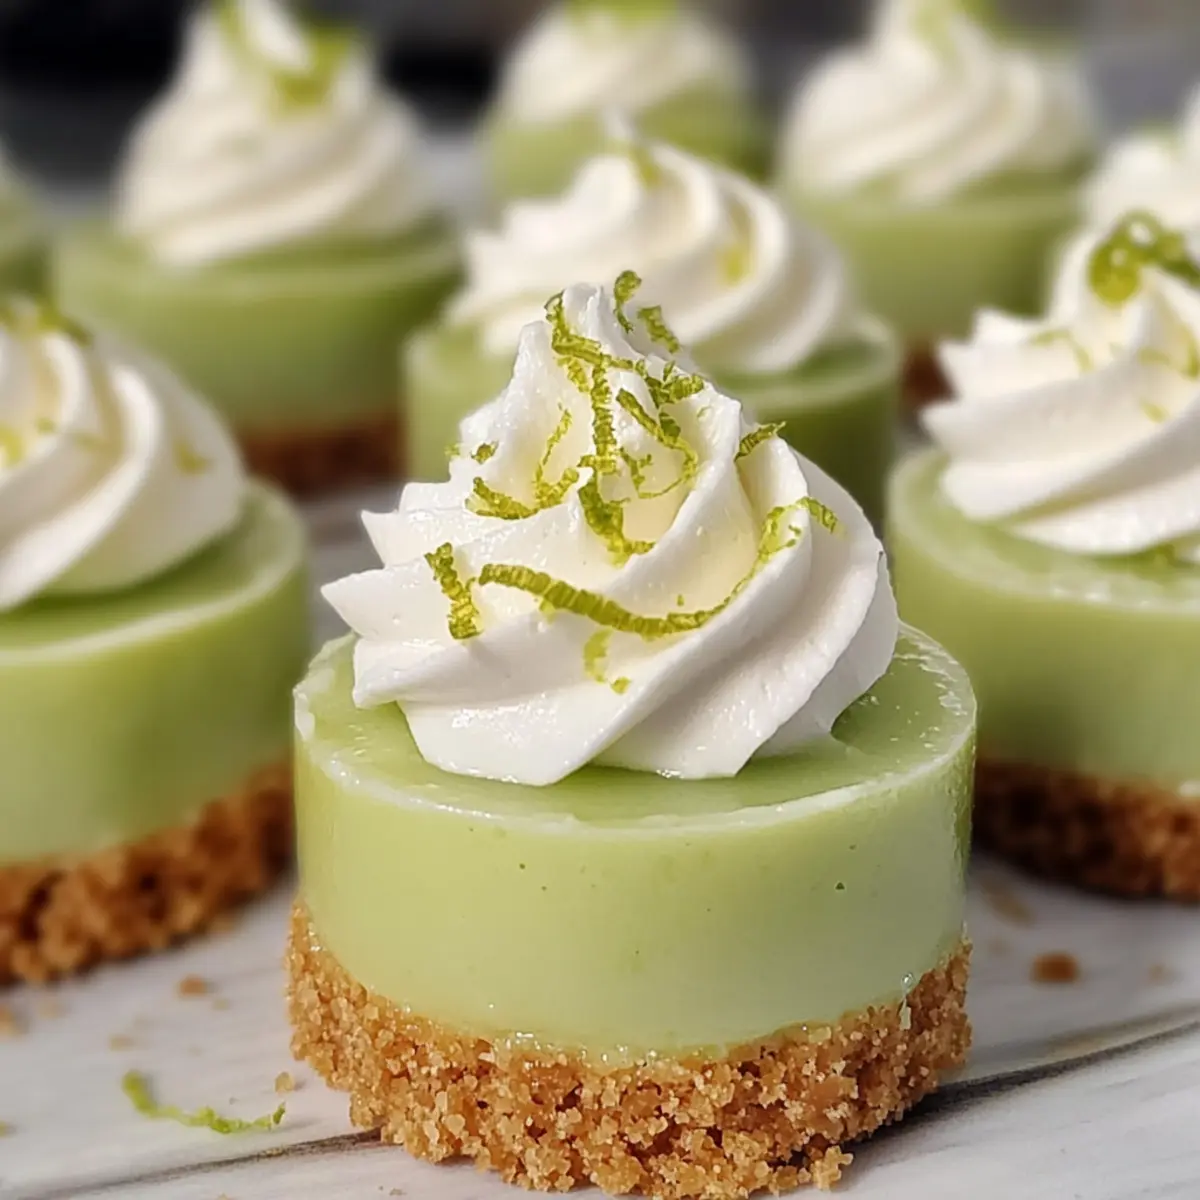
Key Lime Cheesecake Cups Recipe FAQs
How do I choose ripe key limes for my cheesecake cups?
Absolutely! When selecting key limes, look for those that are slightly firm but yield to gentle pressure. They should have a vibrant green color and a fragrant, zesty aroma. Avoid any limes with dark spots or wrinkles.
What’s the best way to store Key Lime Cheesecake Cups?
You can store your Key Lime Cheesecake Cups in the refrigerator for up to 3 days. Just make sure to cover them with plastic wrap or keep them in an airtight container to keep the filling fresh and flavorful.
Can I freeze Key Lime Cheesecake Cups?
Yes! For longer storage, you can freeze your cheesecake cups in an airtight container for up to 2 months. I recommend wrapping each cup in plastic wrap first to prevent freezer burn. When you’re ready to enjoy them, simply transfer to the fridge to thaw overnight.
What should I do if my filling is too runny?
If your filling turns out runny, it’s often due to not enough chilling time or using cream cheese that wasn’t at room temperature. To troubleshoot, try chilling the cups for longer, ideally 4 hours or more, to firm them up. You can also add a bit more powdered sugar to help thicken the mixture.
Are Key Lime Cheesecake Cups safe for pets?
No, it’s essential to keep key lime cheesecake away from pets. The cream cheese and sugar content can be harmful to them. Always check ingredients and keep human desserts safely out of reach of your furry friends.
Do I need to use key lime juice specifically?
Not at all! While key lime juice provides that classic tangy flavor, you can substitute regular lime juice in place of key lime juice for a similar taste profile. Just be mindful that different limes can vary in sweetness and tartness, so a taste test before chilling can help you adjust flavors.
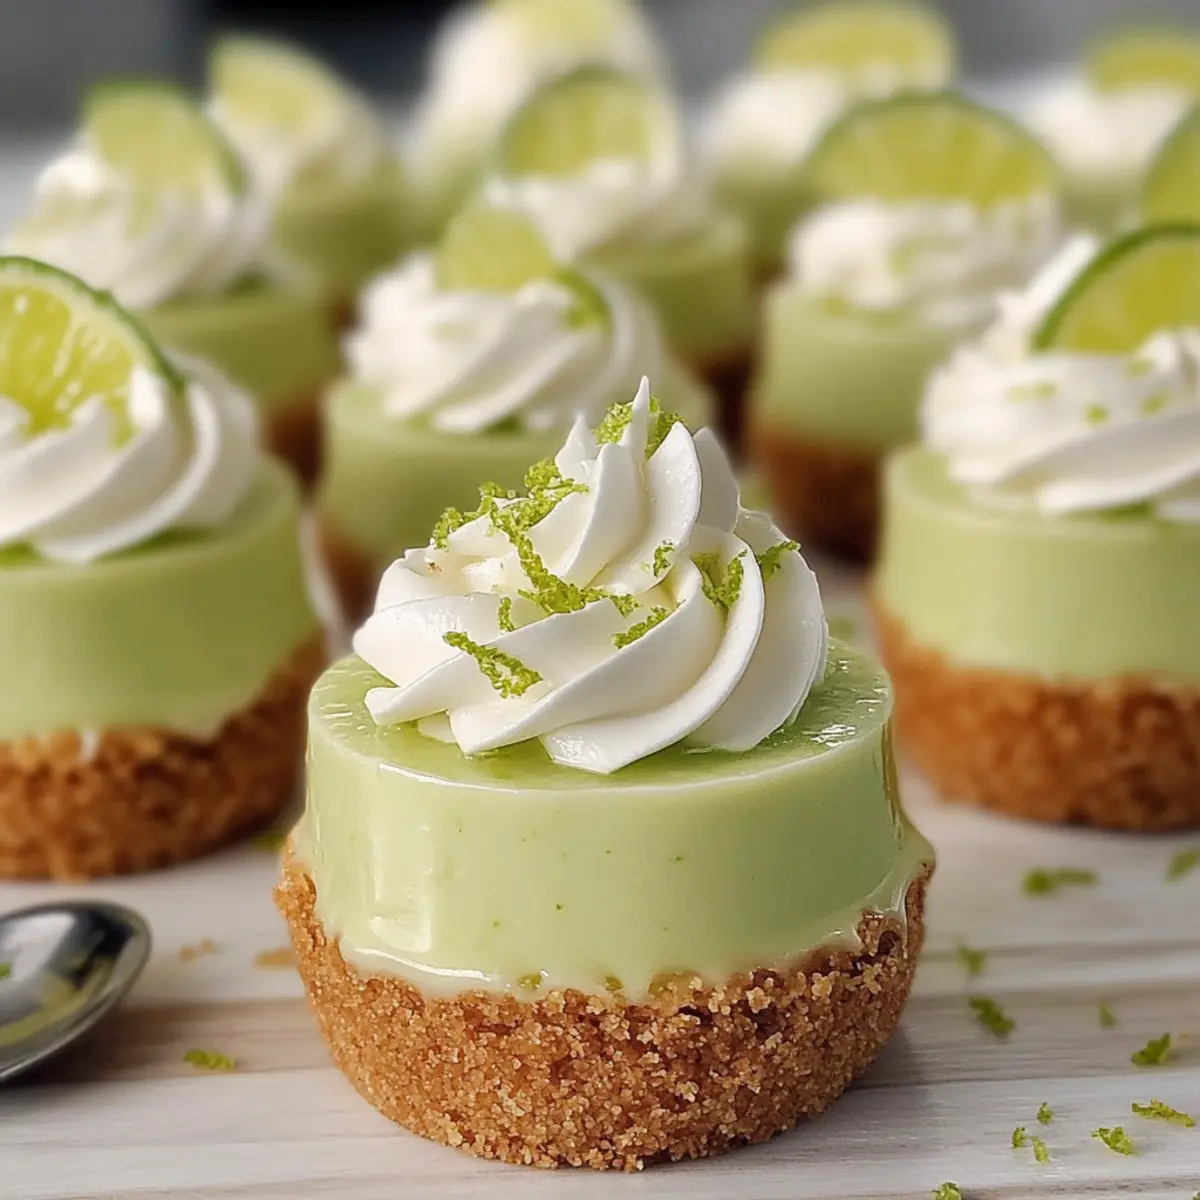
Refreshing Key Lime Cheesecake Cups for Sweet Summer Bliss
Ingredients
Equipment
Method
- In a medium bowl, combine graham cracker crumbs, granulated sugar, and melted butter, stirring until fully incorporated. Press this mixture into the bottom of serving cups.
- In a large mixing bowl, beat the cream cheese using an electric mixer on medium speed until smooth and creamy, about 2 minutes. Gradually add in powdered sugar, blending well before incorporating key lime juice and lime zest, mixing until fluffy.
- Gently fold in the whipped topping to the cream cheese mixture using a spatula, ensuring no visible streaks remain for a light and airy filling.
- Spoon the prepared lime filling over the crusts in each cup, smoothing the tops with the back of the spoon. Cover with plastic wrap to chill.
- Place the assembled cups in the refrigerator and chill for at least 2 hours, or ideally 4 hours for a firmer consistency.
- Garnish each cup with a dollop of whipped topping and a sprinkle of lime zest before serving.