
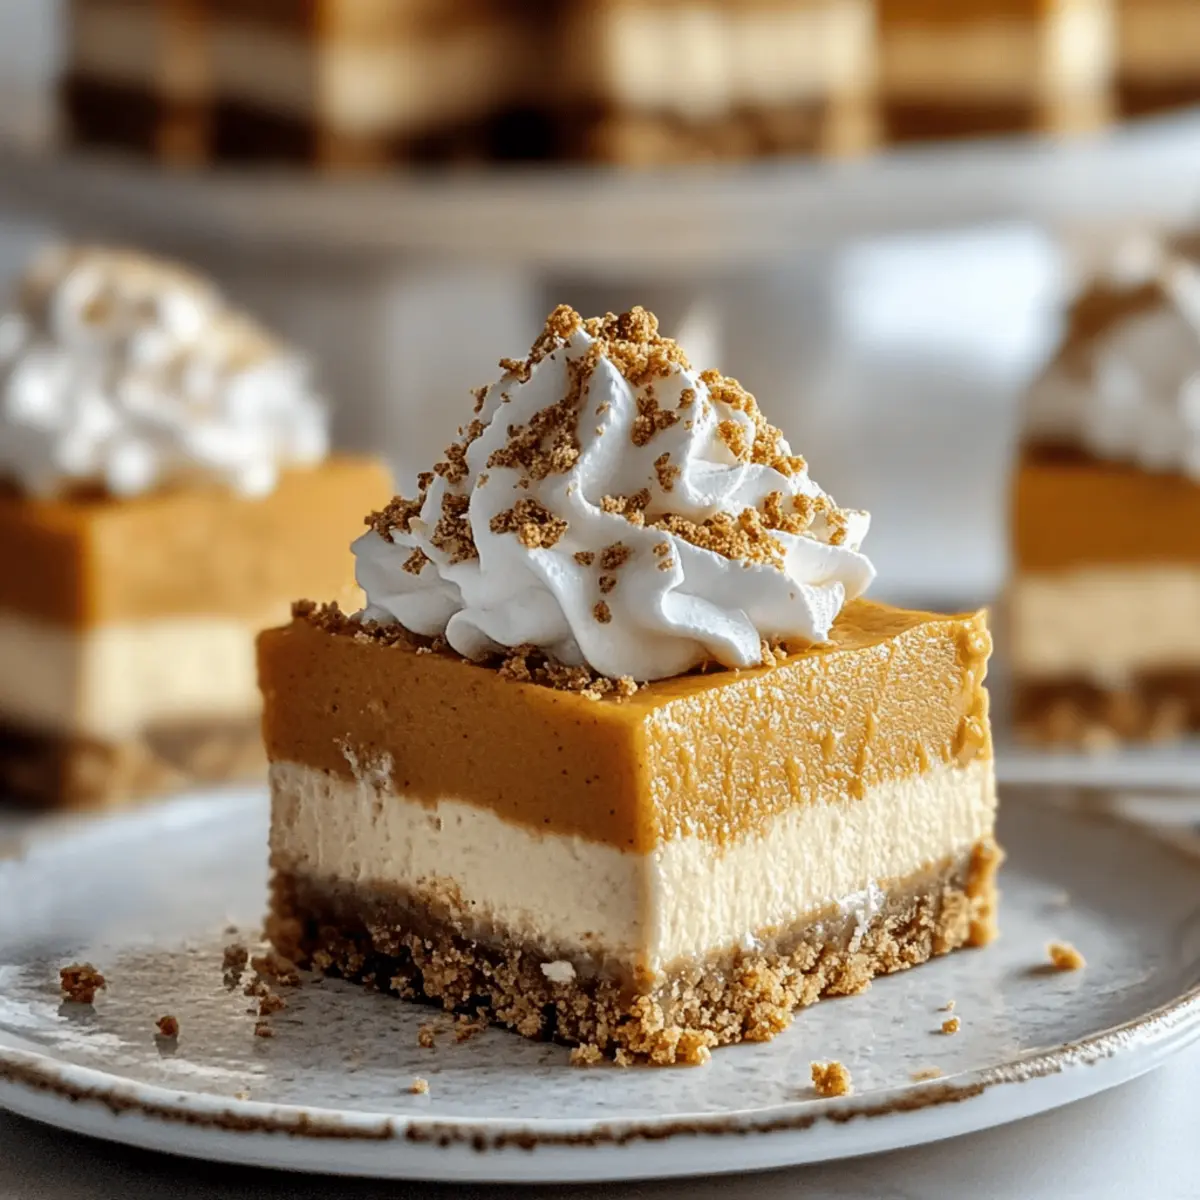
A cool breeze swirls through the kitchen as the aroma of autumn spices fills the air, igniting my love for fall desserts. That’s when I decided to whip up these Easy No Bake Pumpkin Cheesecake Bars, a delightful treat that lets you savor the season without breaking a sweat in the kitchen. With minimal effort and no oven required, these creamy bars blend smooth pumpkin puree, rich cream cheese, and warming spices atop a satisfying graham cracker crust. Perfect for busy weeknights or casual gatherings, they’re a crowd-pleaser that brings the flavors of cozy family gatherings right to your table. Curious to see just how simple this delicious fall dessert can be? Let’s dive into the creamy goodness!
Why Will You Love These Pumpkin Cheesecake Bars?
Simplicity at its Best: No need to turn on your oven, making this an ideal dessert for busy days.
Rich, Creamy Flavor: The luscious blend of pumpkin and cream cheese creates a velvety filling that’s hard to resist.
Fall-Inspired Spices: Notes of cinnamon and nutmeg whisk you into the cozy vibes of autumn, elevating every bite.
Versatility: Customize your bars easily—go gluten-free with alternative crusts or swap in low-fat ingredients without sacrificing taste.
Crowd-Pleasing Appeal: Whether for family dinners or gatherings with friends, these bars are sure to impress your guests!
Don’t forget to explore Cheesecake Stuffed Strawberries for an equally delightful twist on dessert!
No Bake Pumpkin Cheesecake Bars Ingredients
For the Crust
• Graham Cracker Crumbs – Provides structure and crunch; can use store-bought or crush your own for a fresher taste.
• Unsalted Butter – Binds the crust together, adding richness; substitute with margarine for a dairy-free option.
• Granulated Sugar – Sweetens the crust; feel free to use half brown sugar for a deeper flavor profile.
For the Filling
• Cream Cheese – Base for the filling; ensure it’s softened to blend smoothly. Low-fat cream cheese can make these No Bake Pumpkin Cheesecake Bars lighter.
• Canned Pumpkin Puree – Infuses classic pumpkin flavor and moisture; opt for pure pumpkin to manage sweetness better.
• Powdered Sugar – Adds the sweetness and smooth texture necessary for a creamy filling.
• Vanilla Extract – Enhances flavor depth; pure vanilla gives the best results.
• Ground Cinnamon – Adds warm spice notes; fresh ground offers a more aromatic experience.
• Ground Nutmeg & Ground Ginger – These spices complement the pumpkin nicely; feel free to adjust according to taste preference.
• Heavy Cream – Lightens the filling with airy texture; can swap for whipped topping if you’re looking to save prep time.
These No Bake Pumpkin Cheesecake Bars are the perfect blend of comfort and ingenuity, making your autumn desserts effortless and delightful! Get ready to impress with these easy-to-make treats.
Step‑by‑Step Instructions for No Bake Pumpkin Cheesecake Bars
Step 1: Prepare the Crust
In a medium bowl, mix together graham cracker crumbs, melted unsalted butter, and granulated sugar until well combined. The mixture should be sandy in texture. Press this crumb mixture firmly into the bottom of a lined 9×9-inch baking dish, creating an even layer. Chill in the refrigerator for about 15 minutes to set the crust before proceeding.
Step 2: Make the Filling
In a large mixing bowl, beat the softened cream cheese with an electric mixer on medium speed until smooth and creamy, about 2 minutes. Gradually add the canned pumpkin puree, powdered sugar, vanilla extract, ground cinnamon, nutmeg, and ginger, mixing until thoroughly combined and fluffy. The filling should be rich in color and texture, showcasing that vibrant pumpkin hue.
Step 3: Whip the Cream
In a separate bowl, use a hand mixer to whip the heavy cream until stiff peaks form, which should take about 3-4 minutes. Be cautious not to over-whip, as this can lead to a butter-like texture. Gently fold the whipped cream into the pumpkin mixture using a spatula until just combined, ensuring a light and airy filling for your No Bake Pumpkin Cheesecake Bars.
Step 4: Assemble the Bars
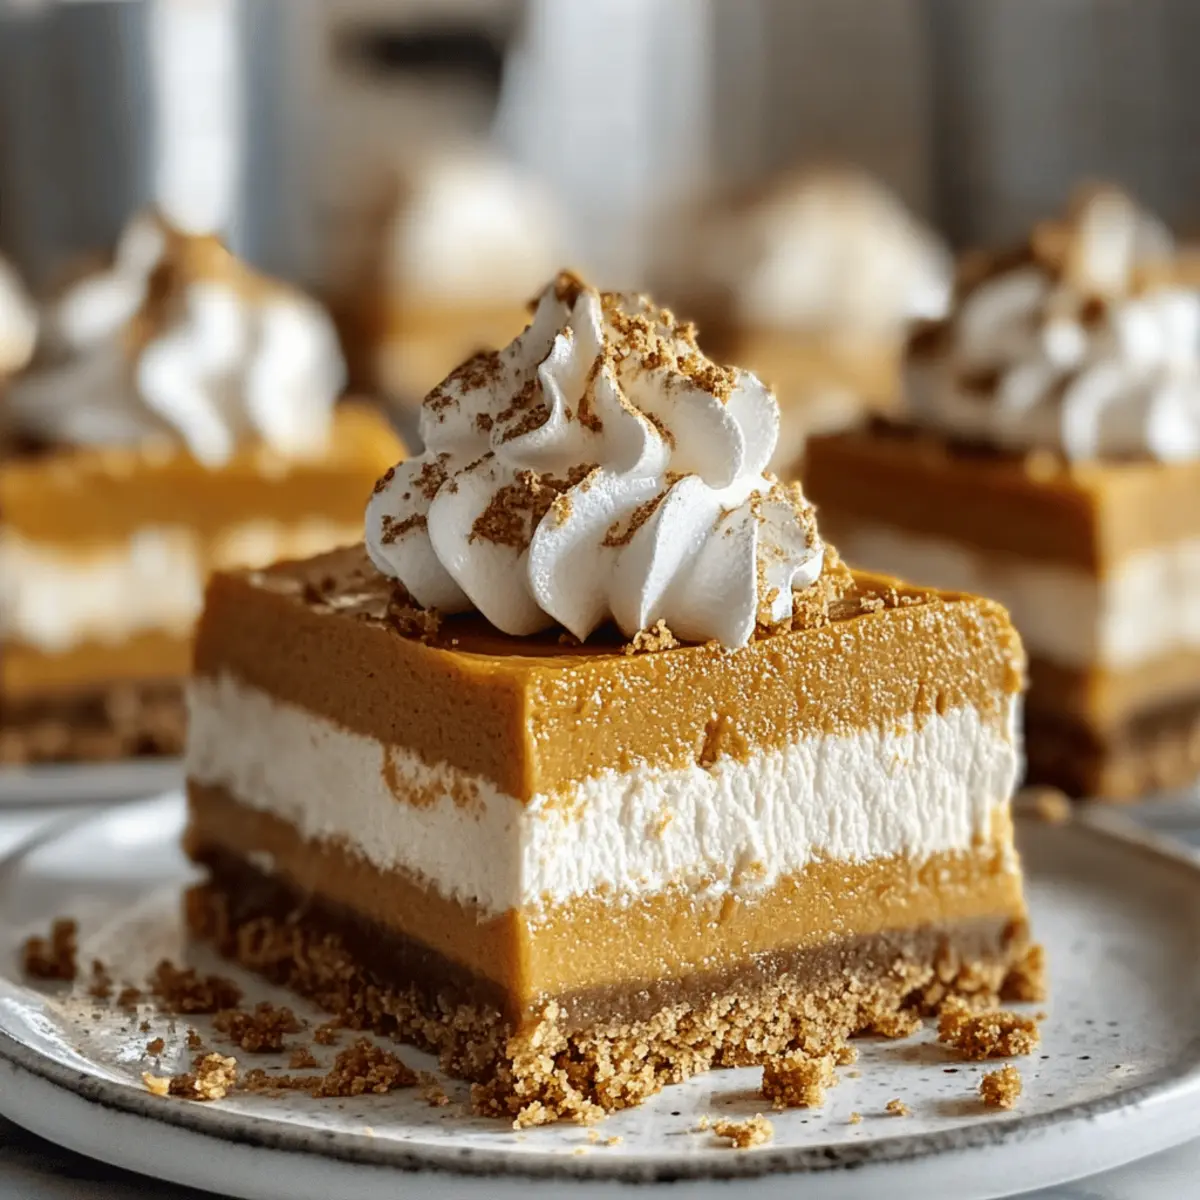
Pour the creamy pumpkin filling over the chilled crust, spreading it evenly with a spatula. Ensure the filling reaches the edges for a uniform look. Smooth the top gently with your spatula, making it visually appealing. This layer should be thick and luscious, showcasing that delectable pumpkin filling waiting to be enjoyed.
Step 5: Chill
Cover the baking dish with plastic wrap or a lid and refrigerate the bars for at least 3 hours, or overnight if possible. This chilling period allows the No Bake Pumpkin Cheesecake Bars to firm up and develop their flavors, resulting in a beautifully set treat that’s perfect for slicing.
Step 6: Serve
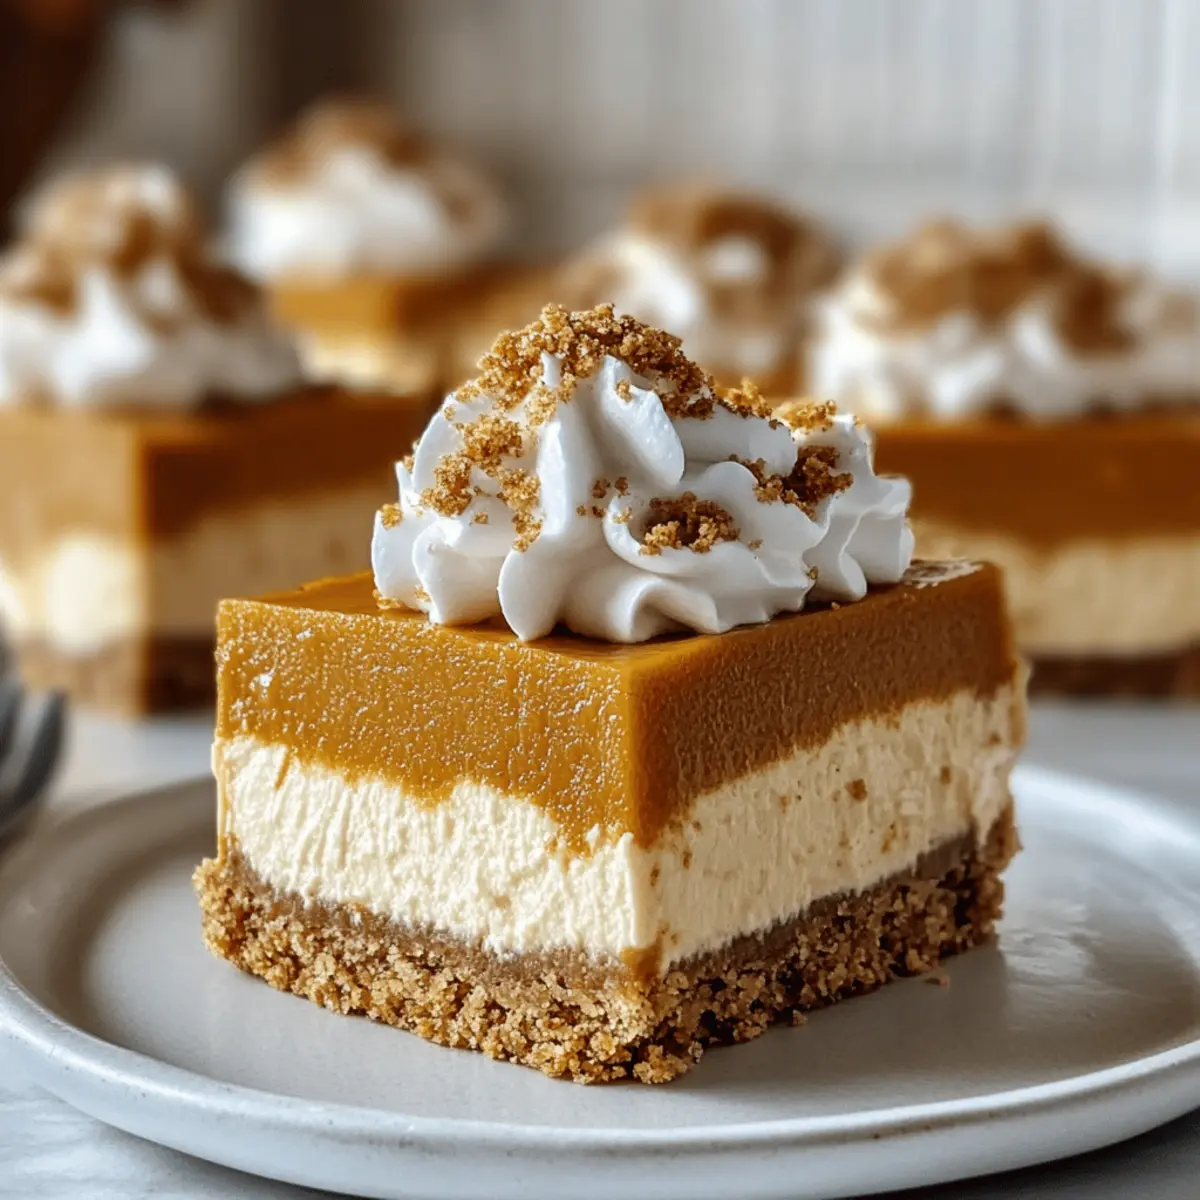
Once fully chilled, lift the bars from the baking dish using the parchment paper overhang. Cut into squares with a sharp knife, wiping the blade between cuts for clean slices. Serve chilled, and enjoy the creamy simplicity of these No Bake Pumpkin Cheesecake Bars at your next gathering or cozy family dinner!
Storage Tips for No Bake Pumpkin Cheesecake Bars
Fridge: Store leftover No Bake Pumpkin Cheesecake Bars tightly covered in the refrigerator for up to 5 days, maintaining their creamy texture and flavor.
Freezer: For longer storage, wrap individual squares in foil and place them in a zip-top bag. They can be frozen for up to 2 months; just thaw in the fridge before serving.
Reheating: Enjoy these bars chilled straight from the fridge. They don’t require reheating, ensuring the creamy filling remains perfectly smooth and luscious.
Serving Freshness: For the best experience, consume the bars within the first week, as flavors might mellow over time.
Helpful Tricks for No Bake Pumpkin Cheesecake Bars
-
Perfect Chill Time: Ensure you refrigerate the bars for at least 3 hours, or overnight if possible, to achieve a firm and sliceable texture.
-
Smooth Creamy Filling: Beat the cream cheese until fully smooth before adding other ingredients to avoid lumps in your No Bake Pumpkin Cheesecake Bars.
-
Avoid Over-Whipping: When whipping the cream, stop once you see stiff peaks. Over-whipping can turn it grainy, affecting your filling’s texture.
-
Graham Cracker Crust: For a firmer crust, press the crumb mixture down firmly into the pan and let it chill well before adding the filling.
-
Cleanup Made Easy: Line your baking dish with parchment paper before pressing in the crust. This not only makes removal easier but also keeps cleanup simple.
-
Flavor Boosting: Don’t hesitate to experiment with spices; adding a pinch of cloves or allspice can elevate the flavor of your No Bake Pumpkin Cheesecake Bars!
What to Serve with No Bake Pumpkin Cheesecake Bars
Experience a delightful fall feast by pairing these creamy dessert bars with complementary dishes that elevate your meal.
-
Whipped Cream:
A dollop of freshly whipped cream adds an airy touch, enhancing the smooth texture of the cheesecake bars. -
Spiced Apple Cider:
The warm, cinnamon-infused flavors of spiced apple cider create a cozy ambiance that perfectly matches the fall vibe. -
Ginger Snap Cookies:
These crunchy cookies provide a beautiful contrast in texture, while their spicy notes harmonize with the pumpkin flavors. -
Pecans or Walnuts:
Toasted nuts add a delightful crunch, offering a wholesome element that rounds out the dessert experience beautifully. -
Maple Glazed Carrots:
For a savory note, serve with sweet maple-glazed carrots; their earthy sweetness complements the rich dessert. -
Autumn Salad:
A fresh salad with mixed greens, pears, and candied pecans brings a lightness to the table while echoing the flavors of the season. -
Pumpkin Spice Latte:
Embrace the season with a steaming cup of pumpkin spice latte. The creamy beverage enhances the dessert’s richness with its own comforting notes. -
Vanilla Ice Cream:
Scoops of vanilla ice cream create a delicious, creamy element that can be drizzled on top or served alongside for a decadent indulgence.
Make Ahead Options
These No Bake Pumpkin Cheesecake Bars are perfect for meal prep and can be made ahead of time, saving you precious moments on busy days! You can prepare the crust and filling up to 24 hours in advance; simply mix and chill in the refrigerator. To maintain the quality, store the bars tightly covered to prevent any drying out or odors from other foods. When you’re ready to serve, just let them sit out for a few minutes to soften slightly for easier slicing, and enjoy a delightful dessert that’s just as delicious as if you made it fresh that day!
No Bake Pumpkin Cheesecake Bars Variations
Feel free to explore different twists to make these bars your own, enhancing the flavors and textures to suit your taste!
-
Gluten-Free: Use gluten-free cookies or almond flour mixed with butter for the crust to keep these bars deliciously inclusive.
-
Dairy-Free: Swap cream cheese with a plant-based alternative and use coconut cream instead of heavy cream for a delightful twist.
-
Low-Fat Option: Choose low-fat cream cheese and substitute heavy cream with whipped topping to lighten up these decadent treats.
-
Spice It Up: Experiment by adding more cinnamon or a dash of cloves for an extra spice kick that enhances the autumn flavors.
-
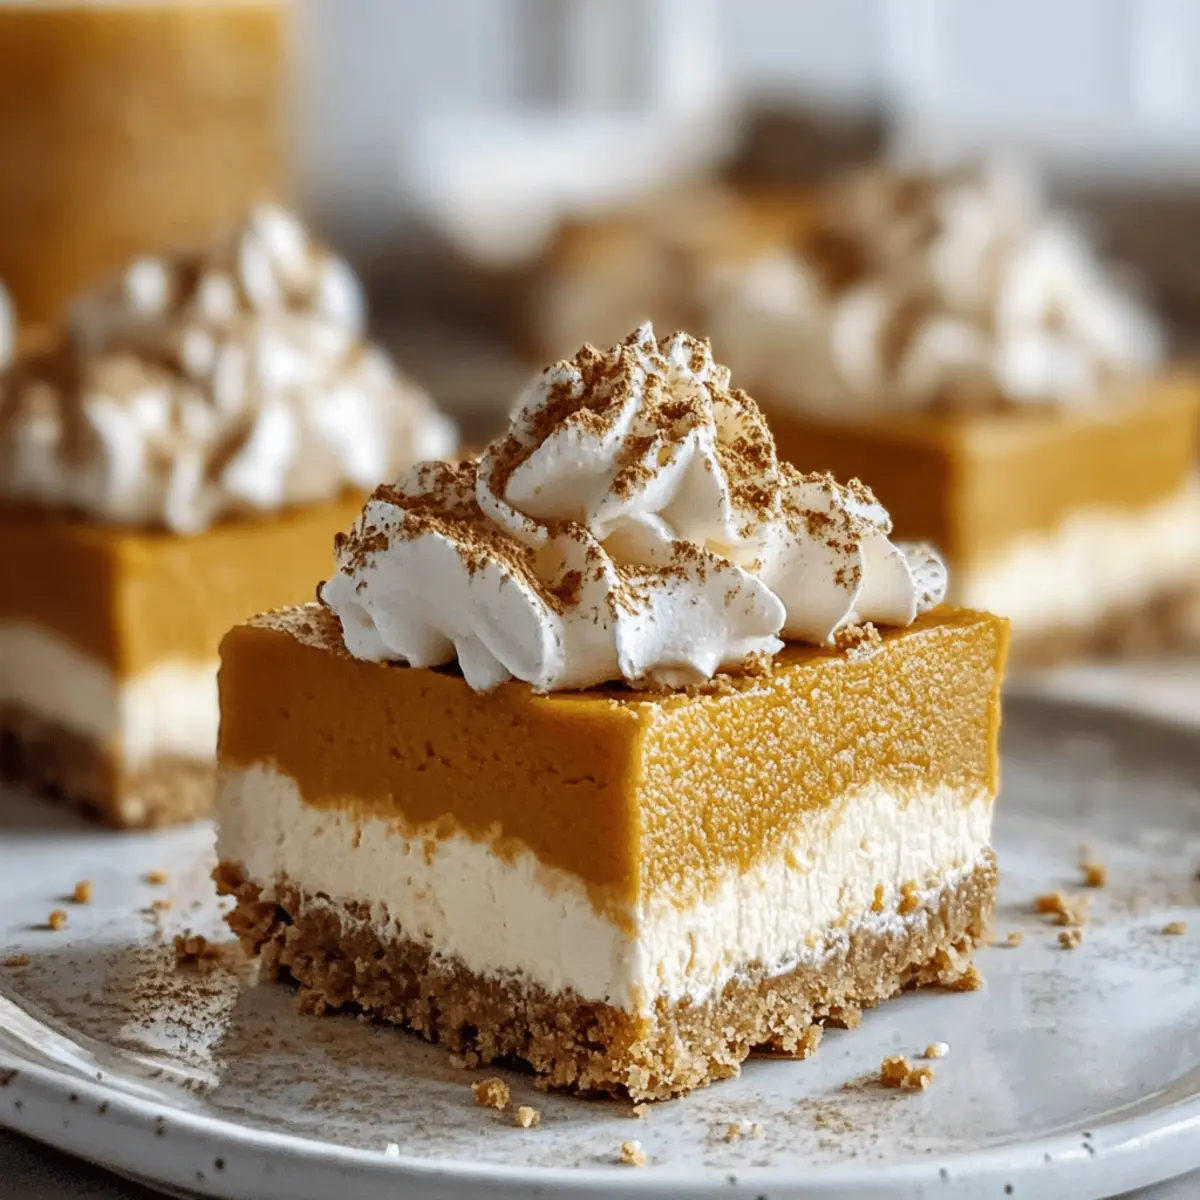
Decadent Toppings: Garnish with a dollop of whipped cream, a sprinkle of cocoa powder, or drizzle with caramel sauce for added elegance.
-
Fruit Compote: Serve with a warm fruit compote to introduce a mellow sweetness that complements the pumpkin perfectly.
-
Nutty Crunch: Incorporate crushed pecans or walnuts in the crust for a delightful crunch that adds texture and a nutty flavor contrast.
-
Mini Dessert Cups: Instead of bars, layer the filling in individual cups, alternating with crust for pretty, personal-sized treats that are perfect for gatherings.
These customizable options will ensure that your No Bake Pumpkin Cheesecake Bars can be enjoyed no matter the dietary preference. And while you’re experimenting, why not check out these delectable options too: Baked Lemon Butter or a cozy Garlic Potato Bake for your next fall feast? Happy baking!
No Bake Pumpkin Cheesecake Bars Recipe FAQs
How do I know if my pumpkin puree is fresh?
Absolutely! Always opt for canned pumpkin puree with no added ingredients for the best flavor. Look for a rich, deep orange color and a smooth texture, free from any dark spots or separation. If you’re using fresh pumpkin, choose one that feels firm and heavy for its size, and avoid any with cuts or soft spots.
How should I store leftover No Bake Pumpkin Cheesecake Bars?
Store your leftover No Bake Pumpkin Cheesecake Bars tightly covered in the refrigerator for up to 5 days. Ensure they are well-wrapped to maintain their creamy texture and prevent absorbing other odors from the fridge.
Can I freeze No Bake Pumpkin Cheesecake Bars?
Very! For longer storage, wrap individual squares in foil and place them in a zip-top bag. These delicious bars can be frozen for up to 2 months. When you’re ready to enjoy them, simply thaw in the refrigerator overnight for the best texture.
What should I do if my cream cheese is lumpy after mixing?
If you’re facing lumps, there’s no need to fret! Make sure the cream cheese is softened before mixing—let it sit at room temperature for about 30 minutes. If lumps persist, mix on medium speed for an additional minute or two until the mixture is smooth. Always beat the cream cheese first before adding other ingredients for a silky filling.
Can I make these bars gluten-free?
Absolutely! To make gluten-free No Bake Pumpkin Cheesecake Bars, substitute graham cracker crumbs with gluten-free cookie crumbs or a blend of almond flour and butter. You’ll still get that delightful texture and pumpkin flavor without the gluten.
Are there any substitutions for heavy cream?
The more the merrier! You can replace heavy cream with whipped topping for a quicker alternative, or use coconut cream for a dairy-free option. Just be sure to choose a brand that provides a consistent whip for the best texture.
No Bake Pumpkin Cheesecake Bars That Wow Every Fall Gathering
Ingredients
Equipment
Method
- In a medium bowl, mix together graham cracker crumbs, melted unsalted butter, and granulated sugar until well combined. Press this mixture into the bottom of a lined 9x9-inch baking dish and chill for 15 minutes.
- In a large mixing bowl, beat the softened cream cheese until smooth and creamy. Gradually add the canned pumpkin puree, powdered sugar, vanilla extract, ground cinnamon, nutmeg, and ginger, mixing until thoroughly combined.
- In a separate bowl, whip the heavy cream until stiff peaks form. Gently fold the whipped cream into the pumpkin mixture until just combined.
- Pour the pumpkin filling over the chilled crust, spreading evenly. Smooth the top with a spatula.
- Cover with plastic wrap and refrigerate for at least 3 hours, or overnight.
- Once chilled, lift the bars from the dish using the parchment paper. Cut into squares and serve chilled.