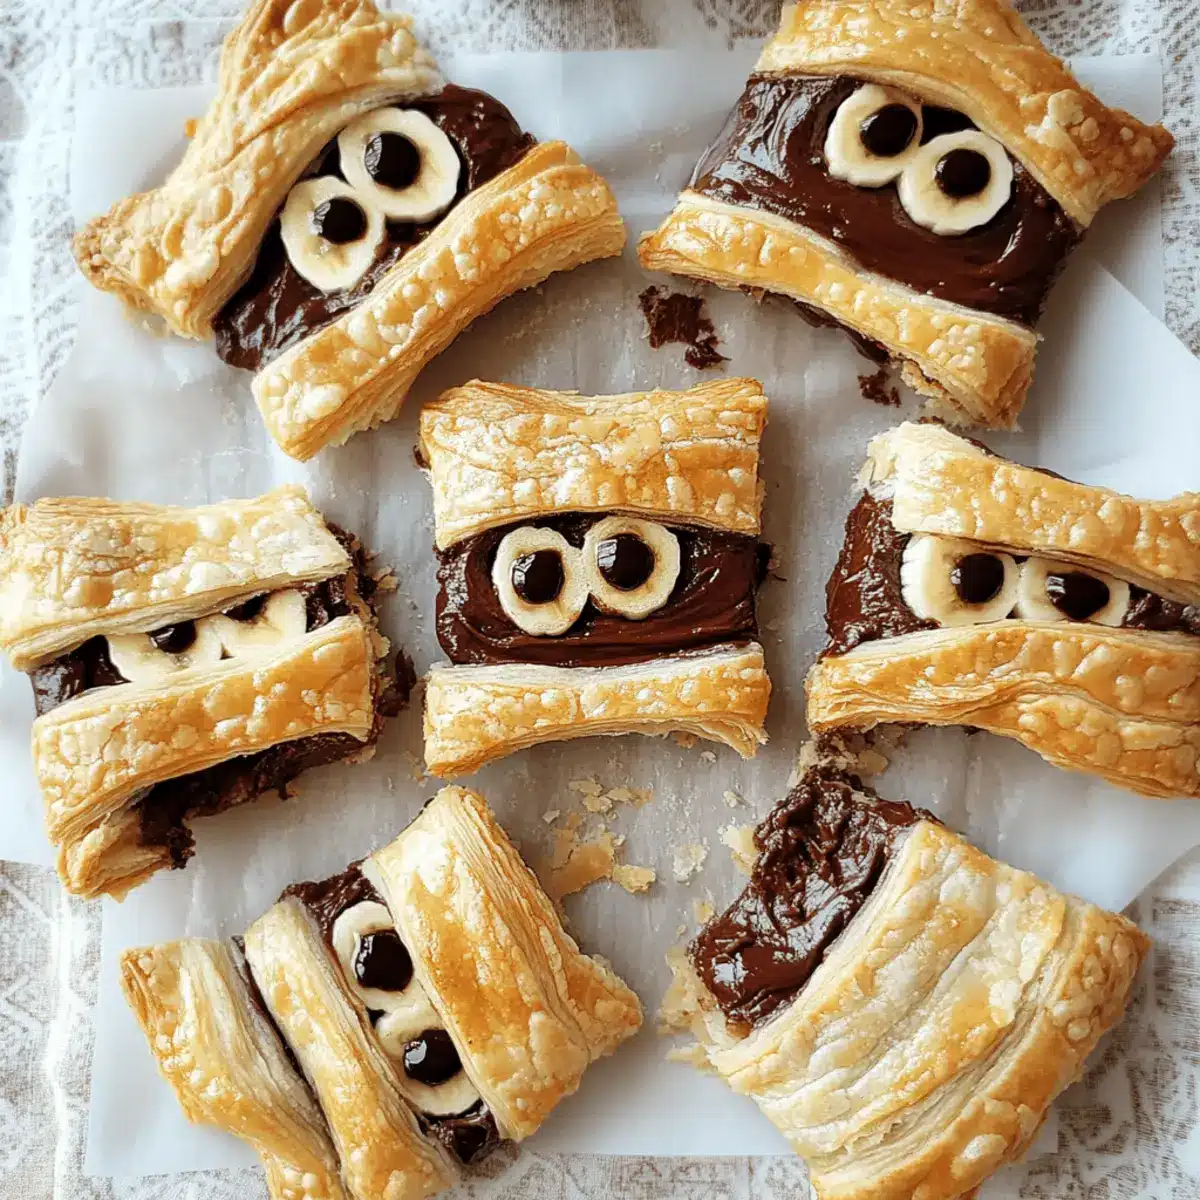
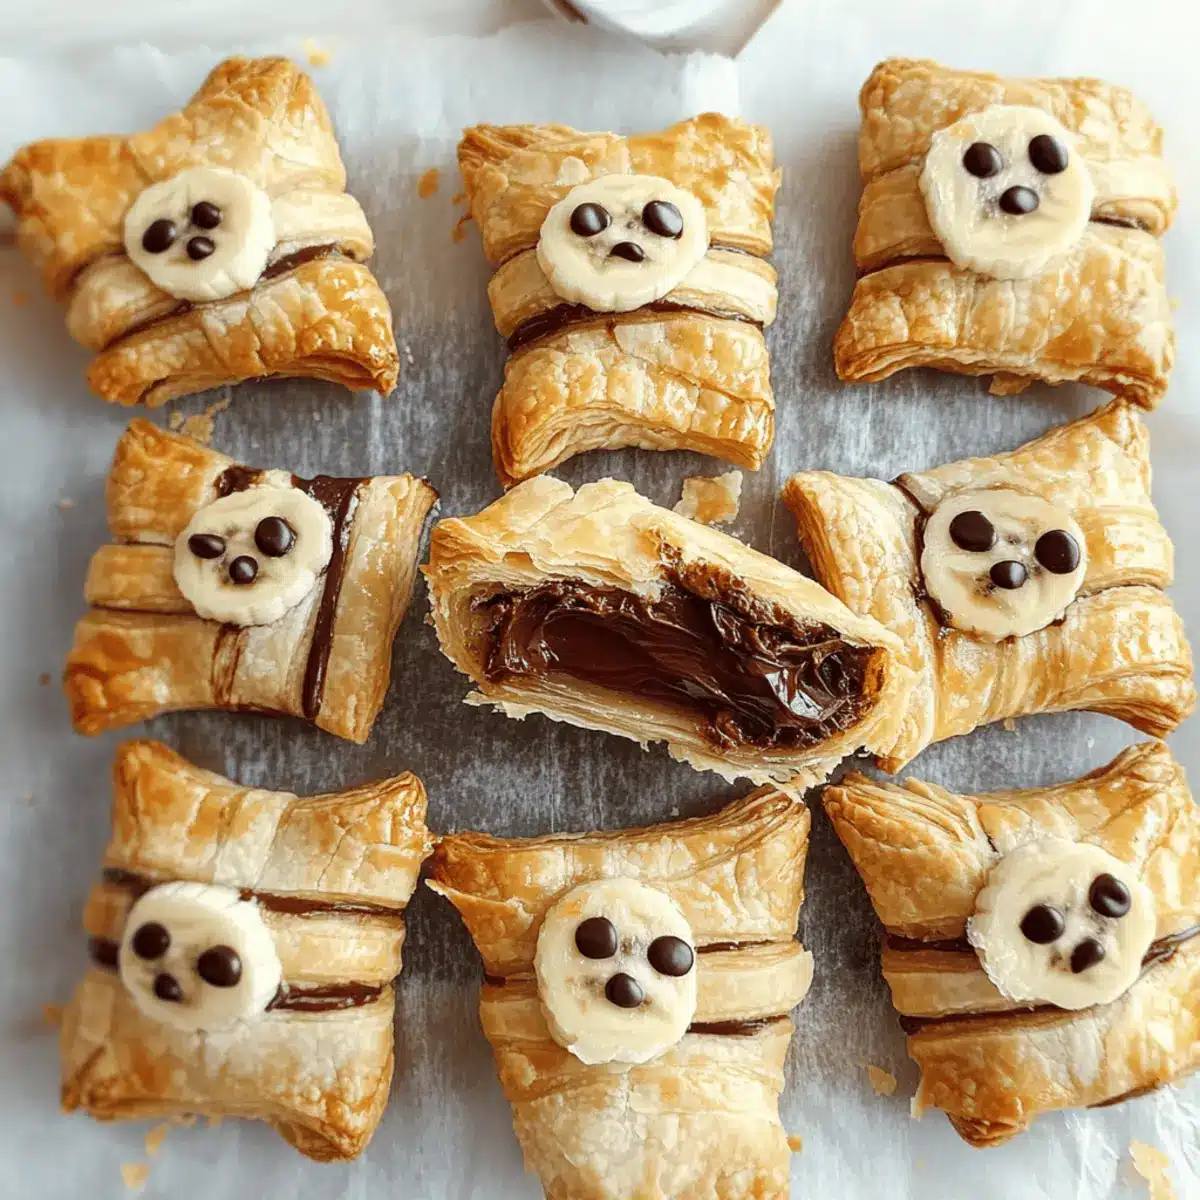
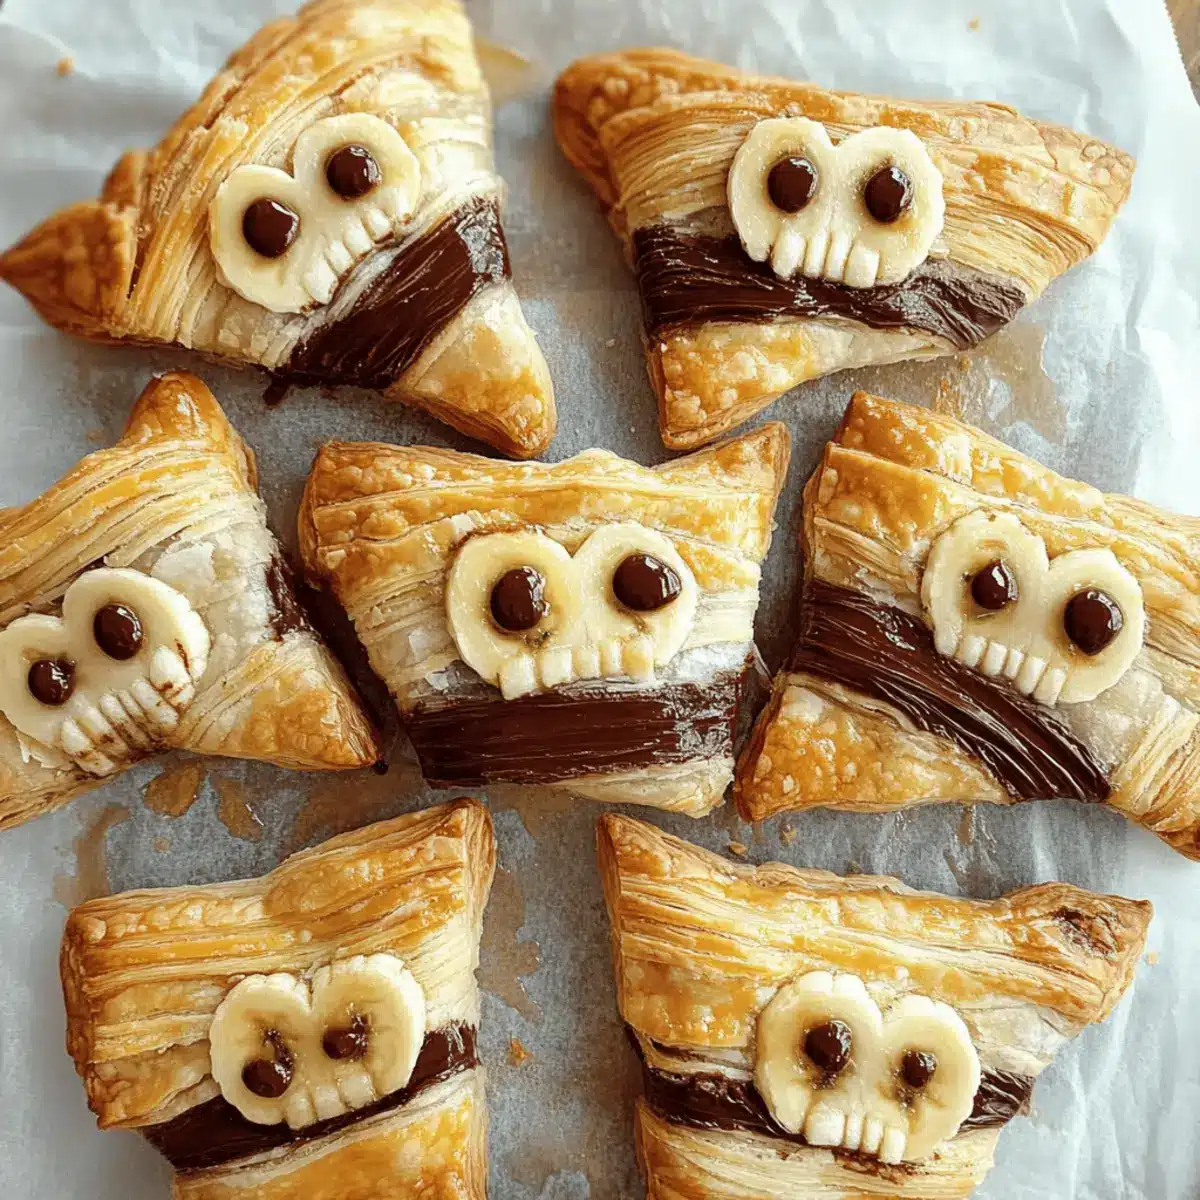
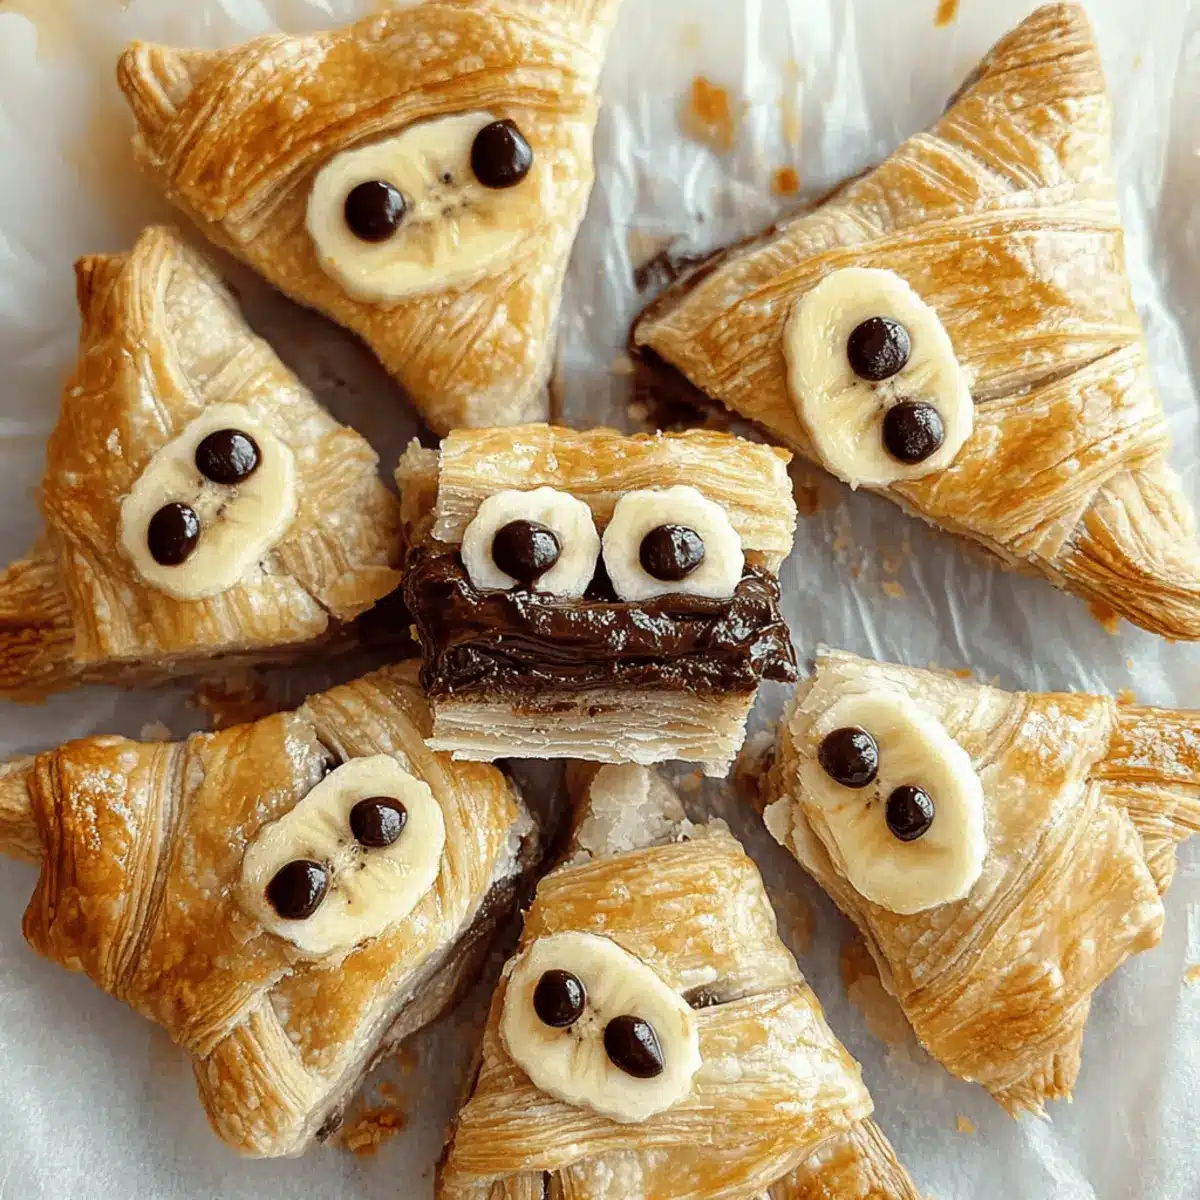
As the leaves turn and the air grows crisp, a sense of nostalgia envelops me, bringing back memories of playful Halloween nights filled with laughter and sweet treats. This season always calls for something special, and that’s where my Easy Vegan Nutella Mummy Hand Pies come in—deliciously cute and perfectly spooky! Made with flaky, golden puff pastry that’s both vegan and gluten-free, these mummy hand pies are a breeze to whip up, requiring just four simple ingredients. They are not only a fun addition to your Halloween festivities but also a delightful way to indulge in a homemade treat without the fuss. With a creamy Nutella center complemented by sweet banana slices, you’re in for a texture and flavor surprise that’s sure to impress. Curious about how to make these adorable pastries your new go-to Halloween delight? Let’s dive in!
Why Are Nutella Mummy Hand Pies Irresistible?
Easy to Make: The straightforward process means you can whip these up quickly, perfect for last-minute Halloween gatherings.
Allergy-Friendly: With vegan, gluten-free, and egg-free options, everyone can enjoy these delightful treats.
Decadent Filling: Each bite is a heavenly combination of rich Nutella and fresh bananas, creating a deliciously gooey experience.
Fun Presentation: The spooky mummy design adds a playful twist, making these hand pies a hit among kids and adults alike!
Versatile Options: Not a fan of bananas? Try swapping them for berries or another nut butter for a unique flavor every time.
These Nutella Mummy Hand Pies are the perfect way to elevate your Halloween celebrations while keeping things simple and delicious!
Nutella Mummy Hand Pies Ingredients
• Ready to create something spook-tacular? Here’s what you’ll need!
For the Pastry
- Ready-Roll Puff Pastry – Ensure it’s vegan and gluten-free for the perfect flaky texture.
- Dairy-Free Milk – Use any plant-based milk for brushing the pastry, enhancing its golden finish.
For the Filling
- Vegan Nutella – This rich spread provides that decadent chocolatey element.
- Bananas – This adds natural sweetness and moisture; feel free to substitute with applesauce for a different twist.
For Decoration
- Granulated Sugar – Optional but enhances the sweetness and browning effect on the pastry.
- Googly Eyes – Fun and whimsical, they elevate the mummy effect—definitely a crowd-pleaser!
- Dairy-Free White Chocolate Buttons & Icing Sugar – Perfect for crafting those adorable eyeballs, or swap for dark chocolate if you prefer.
These Nutella Mummy Hand Pies are bound to be an enchanting addition to your Halloween festivities! Enjoy whipping them up in just a few easy steps.
Step‑by‑Step Instructions for Nutella Mummy Hand Pies
Step 1: Preheat and Prepare
Begin by preheating your oven to 180°C (fan) and lining two baking trays with greaseproof paper. This ensures your Nutella Mummy Hand Pies bake evenly and don’t stick. While the oven is heating up, gather all your ingredients and equipment, including the ready-roll puff pastry, a rolling pin, and a sharp knife for cutting.
Step 2: Roll and Cut Pastry
Lightly roll out the puff pastry sheets on a floured surface to prevent sticking. Cut the dough into rectangles, approximately 4″x2.5″, for the base of your Nutella Mummy Hand Pies. Then, slice narrow strips of pastry that will create the mummy look. Once cut, refrigerate the pieces for about five minutes to keep them firm and easier to work with.
Step 3: Fill and Assemble
Take your pastry rectangles out of the refrigerator and pipe or spread a generous amount of vegan Nutella into the center of each rectangle. Add a few banana slices on top for added sweetness. Then, brush a thin layer of dairy-free milk around the edges to help seal each pastry closed, ensuring a delicious filling doesn’t leak out during baking.
Step 4: Create the Mummy Look
Using the narrow strips of pastry you’ve cut, lay them across the filling in a zig-zag pattern to mimic a mummy’s bandages. Gently press the edges down to seal the pastry securely, making sure not to let any filling ooze out. The fun design will add a delightful flair to your Nutella Mummy Hand Pies!
Step 5: Brush and Sweeten
Once assembled, brush the tops of the hand pies generously with more dairy-free milk. If you like a touch of sweetness and a beautiful golden crust, lightly sprinkle granulated sugar over the tops. This step enhances the visual appeal of your mummies and gives them a lovely golden finish once baked.
Step 6: Bake to Perfection
Place your Nutella Mummy Hand Pies in the preheated oven and bake for 15 to 18 minutes. Keep an eye on them, as they should turn a beautiful golden brown and puff up nicely. This time ensures that the pastry becomes flaky and crisp while the filling warms to gooey perfection.
Step 7: Cool and Decorate
After baking, remove the hand pies from the oven and allow them to cool on a wire rack for a few minutes. This cooling period is essential before adding any decorations, such as googly eyes made from melted dairy-free chocolate, to ensure they don’t melt or lose their shape.
Enjoy your festive Nutella Mummy Hand Pies, perfect for Halloween gatherings and sweet treats!
What to Serve with Nutella Mummy Hand Pies?
Indulging in these delightful treats is just the beginning—complement them with tasty sides and drinks for a festive Halloween feast!
-
Dairy-Free Ice Cream: A scoop of creamy vanilla or chocolate-dairy-free ice cream adds a cool, rich contrast to the warm hand pies.
-
Fresh Fruit Salad: Light and refreshing, a medley of seasonal fruits balances the sweetness of the Nutella filling, providing a burst of freshness.
-
Chocolate-Covered Strawberries: Enhance the dessert theme with luscious strawberries dipped in dairy-free chocolate, making it a whimsical and delicious pairing.
-
Pumpkin Soup: A hearty bowl of creamy pumpkin soup brings in fall flavors, perfectly matching the Halloween vibe while offering a savory element to your meal.
-
Spiced Apple Cider: Sip on warm, spiced apple cider for a cozy drink that enhances the flavors of the hand pies, inviting nostalgia with every sip.
-
Caramel Sauce Dip: Enhance the enjoyment of the hand pies with a side of warm caramel for dipping, adding a decadent touch to the chocolate and banana flavors.
Serve up these delightful accompaniments alongside your Nutella Mummy Hand Pies for a spook-tacular Halloween spread!
Storage Tips for Nutella Mummy Hand Pies
- Room Temperature: Enjoy your Nutella Mummy Hand Pies fresh for the best taste and texture; if left out, they are best consumed within 2 hours.
- Fridge: Store any leftovers in a sealed container in the refrigerator for up to 2 days. They will remain tasty but should be warmed slightly before serving for optimal enjoyment.
- Freezer: If you’d like to save them for later, freeze the unbaked Nutella Mummy Hand Pies wrapped in plastic wrap for up to 1 month. Bake from frozen, adding a few extra minutes to the baking time.
- Reheating: To reheat, place in a preheated oven at 180°C for about 5-10 minutes to restore crispiness while warming the delicious Nutella filling.
Make Ahead Options
These Nutella Mummy Hand Pies are perfect for busy home cooks looking to save time during Halloween festivities! You can prepare the pastry base and cut it into rectangles and strips up to 24 hours in advance; simply refrigerate them in an airtight container to maintain their flakiness. The filling can be spread with Nutella and topped with banana slices the night before, making assembly a breeze. When you’re ready to bake, just assemble the pies by laying the pastry strips in a mummy style, brush with dairy-free milk, and bake as directed. By prepping ahead, you can enjoy delicious, homemade treats without the last-minute rush!
Nutella Mummy Hand Pies Variations
Feel free to get creative and customize your Nutella Mummy Hand Pies with these delightful twists!
-
Nut Butter Substitute: Swap Nutella for almond butter or sunflower seed butter for a unique nutty flavor.
This opens up a whole new world of taste while keeping it nut-free for those with allergies! -
Berry Burst: Replace bananas with sliced strawberries or a mix of seasonal berries for a fruity explosion.
Not only will this add a pop of color, but the tartness of the berries will beautifully complement the chocolate filling. -
Gluten-Free Pastry: Use a gluten-free puff pastry option for an equally flaky and tasty treat.
With so many options available today, you won’t miss out on that delightful crunch and texture! -
Heat It Up: Add a sprinkle of cayenne pepper or a few drops of chili oil to the Nutella for a spicy kick.
The contrast between sweet and spicy will surely surprise your taste buds and elevate the experience! -
Coconut Cream: Replace the bananas with a dollop of coconut cream for a tropical twist.
You’ll enjoy a creamy texture that pairs brilliantly with the chocolate, transforming your hand pies into tropical treats. -
Pumpkin Spice: Mix in a bit of pumpkin pie spice into the Nutella for a fall-inspired flavor.
This holiday twist is delightfully seasonal and will have your guests asking for seconds! -
Caramel Drizzle: Drizzle some dairy-free caramel sauce over the finished hand pies for added richness.
This extra layer of sweetness makes these treats even more decadent and irresistible! -
Mini Pies: Consider making mini versions of the hand pies for bite-sized treats perfect for parties.
These small delights are great for sharing and enjoyably poppable; everyone will love them!
Feel free to explore these options, and don’t hesitate to check out our Dairy-Free Ice Cream or Whipped Cream recipes for delicious pairings!
Tips for the Best Nutella Mummy Hand Pies
-
Filling Control: Avoid overfilling the pastries; too much filling may cause them to ooze while baking. Stick to a tablespoon of Nutella for best results.
-
Chill the Pastry: Refrigerate your cut pastry for a few minutes before baking. This helps maintain flakiness and prevents spreading in the oven.
-
Sealing Edges: Make sure to press down the edges firmly to seal the hand pies. This prevents any delicious Nutella filling from escaping during baking.
-
Perfect Browning: For even browning, brush the tops with dairy-free milk and sprinkle a little sugar. This gives your Nutella Mummy Hand Pies a delightful golden crust.
-
Cooling First: Allow the pastries to cool on a wire rack before adding decorations like googly eyes. This keeps the chocolate from melting and maintains their fun look.
Enjoy making these Nutella Mummy Hand Pies, and have fun with your spooky creations!
Nutella Mummy Hand Pies Recipe FAQs
How do I select ripe bananas for the filling?
Absolutely! When choosing bananas, look for ones that are slightly speckled with brown spots. This indicates they are perfectly ripe and will provide the best natural sweetness and moisture for your Nutella Mummy Hand Pies. Avoid bananas with dark spots all over, as they may be overripe and mushy.
What’s the best way to store leftover Nutella Mummy Hand Pies?
The more the merrier! For any leftovers, place the Nutella Mummy Hand Pies in a sealed container and store them in the refrigerator for up to 2 days. Make sure they are fully cooled before sealing to maintain their crispiness. To enjoy them at their best, allow them to reach room temperature or warm them slightly before serving.
Can I freeze Nutella Mummy Hand Pies, and if so, how?
Absolutely! You can freeze the unbaked Nutella Mummy Hand Pies. Wrap them tightly in plastic wrap and store them in the freezer for up to 1 month. When you’re ready to enjoy them, bake straight from the freezer at 180°C for 18-22 minutes, adding a few extra minutes to ensure they turn golden and flaky.
What should I do if my pastry is hard to work with?
Very! If your pastry is difficult to roll out, it might be a bit warm or soft. Simply place it back in the refrigerator for about 10-15 minutes to stiffen it up. It’s also beneficial to lightly flour your surface while rolling to prevent sticking. If your cuts are uneven, don’t worry! Just shape them as needed, and they will still turn out delicious.
Are these Nutella Mummy Hand Pies suitable for those with nut allergies?
I recommend it! If you’re accommodating nut allergies, you can substitute the Vegan Nutella with a seed butter like sunflower seed butter. For the filling, consider mashing up some applesauce or trying a different chocolate spread that suits your dietary needs. Just be cautious and check all ingredient labels to ensure they are nut-free.
Can pets eat any part of the Nutella Mummy Hand Pies?
Definitely not! While your dogs may look on with longing, keep these treats away from them. Ingredients like chocolate can be toxic to pets, so it’s best to enjoy these delightful hand pies without sharing them with your furry friends.

Mouthwatering Nutella Mummy Hand Pies for Spooky Delights
Ingredients
Equipment
Method
- Preheat your oven to 180°C (fan) and line two baking trays with greaseproof paper.
- Lightly roll out the puff pastry sheets on a floured surface, and cut into rectangles of approximately 4"x2.5".
- Pipe or spread a generous amount of vegan Nutella into the center of each rectangle, add banana slices, and brush edges with dairy-free milk.
- Lay narrow strips of pastry across the filling in a zig-zag pattern to create a mummy look.
- Brush the tops of the hand pies with more dairy-free milk and sprinkle with granulated sugar.
- Bake the hand pies for 15 to 18 minutes until golden brown and puffy.
- Cool on a wire rack for a few minutes before adding decorations.


