

As I stood in the kitchen, the aroma of Italian herbs danced through the air, instantly transporting me to my favorite Olive Garden restaurant. This Easy Olive Garden Pasta Salad is one of those dishes that captures that essence and brings it right to your dining table. Bursting with colorful veggies and tender rotini, it’s the ultimate make-ahead side dish—perfect for picnics or those busy weeknight dinners when you crave something fresh and satisfying. With its zesty Italian dressing, not only does this pasta salad brighten up any meal, but its quick prep also ensures more time for you to relax and enjoy good company. Ready to elevate your next gathering with a dish that’s as customizable as it is delicious? Let’s get started!
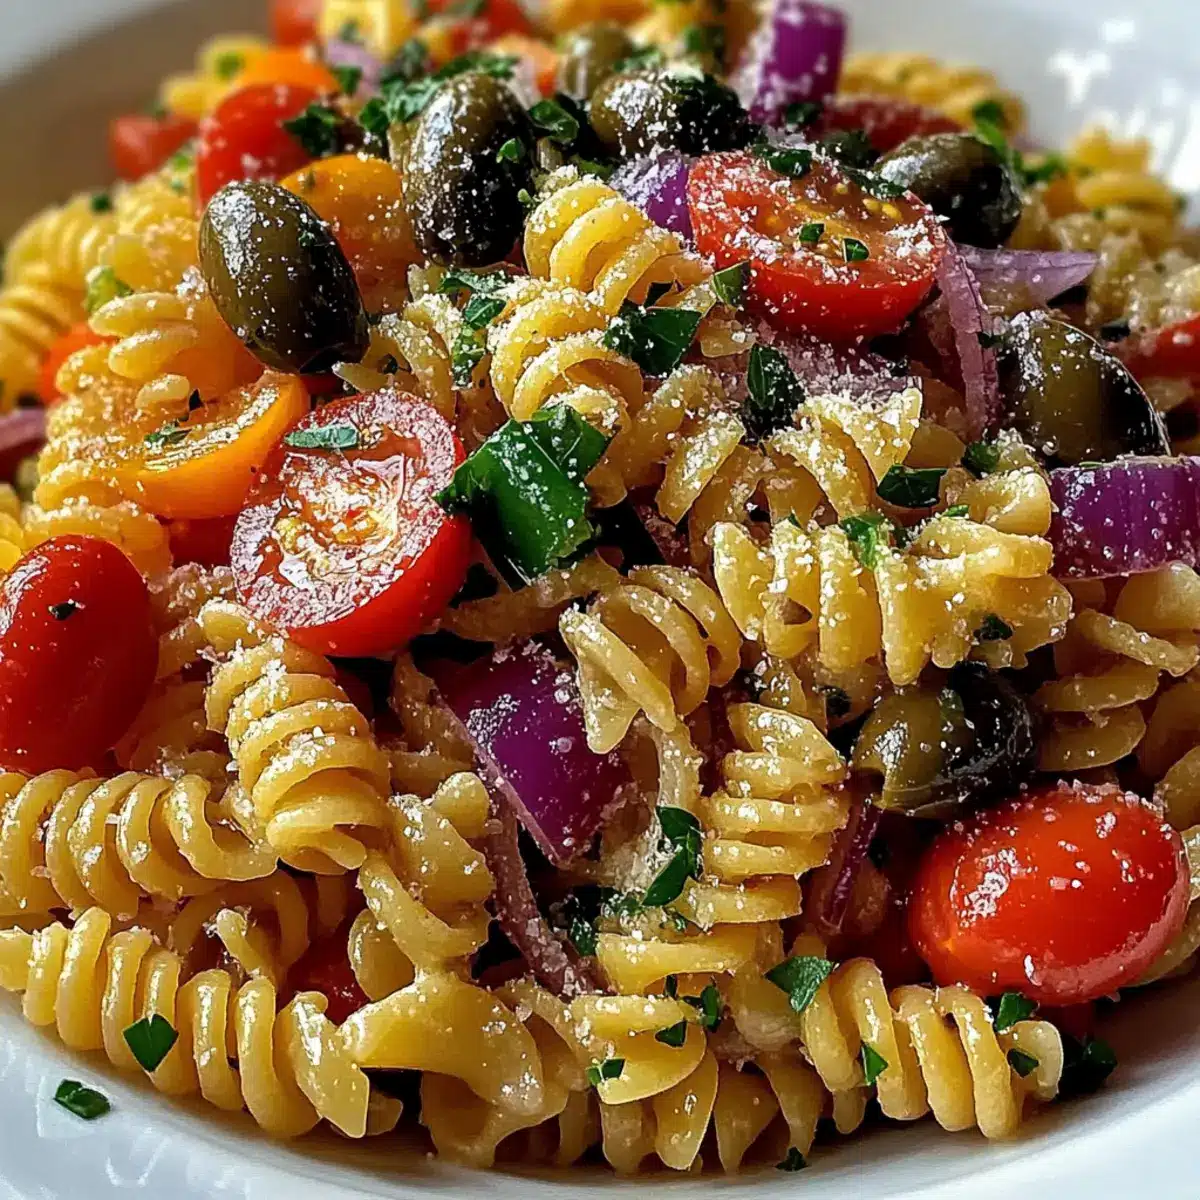
Why is this pasta salad a must-try?
Vibrant flavors: This zesty Olive Garden Pasta Salad bursts with the freshness of ripe cherry tomatoes and crunchy bell peppers, creating an irresistible taste that awakens the senses.
Customizable: Feel free to add your favorite proteins, like grilled chicken or shrimp, or explore different vegetables for a personal touch.
Make-ahead magic: Prep it in advance and let the flavors meld—perfect for busy schedules or picnics!
Easy to prepare: With minimal cooking skills needed, this dish is accessible to everyone. Plus, it comes together quickly, leaving more time for savoring good food and good company.
Crowd-pleaser: Whether served at a barbecue or a family dinner, this pasta salad is sure to impress guests and linger in their memories. Don’t miss out – it pairs beautifully with Garlic Butter Pasta or is a delightful option alongside Ground Beef Pasta!
Olive Garden Pasta Salad Ingredients
For the Pasta
- Rotini Pasta – The perfect base for your salad; its spiral shape captures the dressing and supports all the other flavors.
For the Vegetables
- Cherry Tomatoes – Bursting with sweetness and color; can be swapped for grape tomatoes for a similar taste.
- Red Onion – Adds sharpness and a satisfying crunch; green onions can be used for a more delicate flavor.
- Black Olives – Provide a salty depth; feel free to substitute with green olives if you prefer a milder taste.
- Green Bell Pepper – Brings freshness and crunch; yellow or red bell peppers can enhance the sweetness.
- Pepperoncini – Introduces a tangy kick; banana peppers can work as a milder alternative if needed.
For the Dressing
- Italian Salad Dressing – The key to flavoring your salad; for a twist, create your own by mixing olive oil, red wine vinegar, and Italian seasoning.
- Garlic Powder – Enhances flavor without raw garlic bites; fresh minced garlic is a fantastic substitute for those who prefer it.
- Salt and Pepper – Essential for seasoning to taste; adjust based on your personal preference.
For the Finish
- Parmesan Cheese – Adds a creamy, umami element; omit for a dairy-free version.
- Fresh Parsley – A beautiful garnish that adds a pop of color and freshness; basil can be substituted or omitted entirely if desired.
Step‑by‑Step Instructions for Olive Garden Pasta Salad
Step 1: Cook Pasta
Start by bringing a large pot of salted water to a boil over high heat. Once boiling, carefully add the rotini pasta and cook for 8-10 minutes until al dente. It should be tender yet firm to the bite. Drain the pasta in a colander and rinse it thoroughly under cold water to stop the cooking process and cool it down.
Step 2: Prep Vegetables
While the pasta is cooking, chop and prepare the vegetables. In a large mixing bowl, combine the halved cherry tomatoes, diced red onion, sliced black olives, diced green bell pepper, and sliced pepperoncini. The vibrant colors of these fresh veggies not only add flavor but also create a beautiful, appetizing base for your Olive Garden Pasta Salad.
Step 3: Combine Ingredients
Once the pasta has cooled, add it to the bowl with your fresh vegetables. Using a spatula, gently stir the mixture to ensure an even combination of pasta and vegetables. Be careful not to crush the delicate ingredients; you want them to retain their shape and texture for that lovely crunch and burst of flavor in every bite.
Step 4: Make Dressing
In a separate bowl, whisk together the Italian salad dressing, garlic powder, salt, and pepper. Aim for a smooth consistency. Taste the dressing and adjust the seasoning if needed, ensuring it’s flavorful enough to coat the pasta and vegetables evenly in your beautiful Olive Garden Pasta Salad.
Step 5: Toss Salad
Pour the prepared dressing over the pasta and vegetable mixture. Using your spatula or a large spoon, gently toss everything together until all ingredients are well coated with the dressing. This step is where the flavors truly meld together, creating that delicious, zesty taste you associate with Olive Garden Pasta Salad.
Step 6: Add Cheese
With the salad fully combined, gently fold in the grated Parmesan cheese. This adds a rich creaminess and enhances the overall flavor of the Olive Garden Pasta Salad. Be sure to distribute the cheese evenly throughout the salad for that delicious finish in every serving.
Step 7: Chill
Cover the pasta salad with plastic wrap or transfer it to an airtight container. Place it in the refrigerator for at least 30 minutes. Chilling allows the flavors to develop and blend, making the salad even more delightful and refreshing when served.
Step 8: Serve
When ready to serve, give the pasta salad a good stir to redistribute the dressing and ingredients. Garnish with freshly chopped parsley for an appealing touch of color and freshness. Your Olive Garden Pasta Salad is now ready to be enjoyed at your next gathering or family meal!
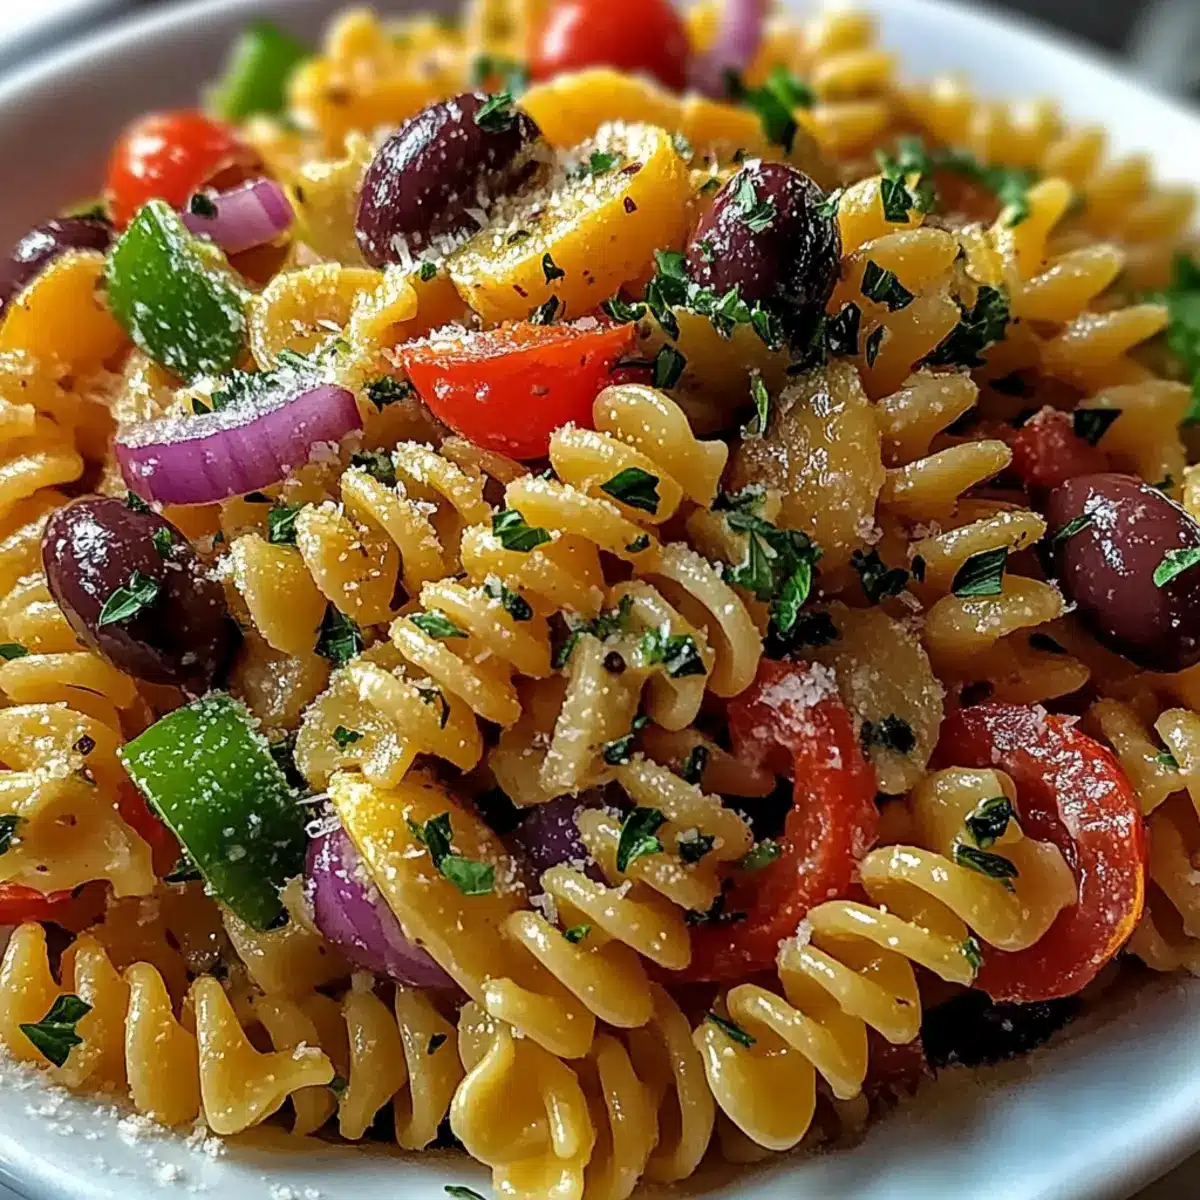
Expert Tips for Olive Garden Pasta Salad
- Cool Completely: Allow the pasta to cool fully before mixing to prevent a soggy salad and maintain the perfect texture.
- Seal Tight: Use an airtight container for storage; this keeps your Olive Garden Pasta Salad fresh and tasty for up to 3 days.
- Chill for Flavor: Letting the salad chill in the fridge for at least 30 minutes allows the flavors to meld beautifully—don’t skip this step!
- Taste and Adjust: Always taste and adjust the seasoning before serving, ensuring your salad is perfectly flavored to suit your palate.
- Veggie Variations: Feel free to swap in your favorite veggies—cucumbers or artichoke hearts can enhance freshness and add delightful crunch!
Storage Tips for Olive Garden Pasta Salad
- Fridge: Store your Olive Garden Pasta Salad in an airtight container in the refrigerator for up to 3 days. This helps maintain its taste and texture.
- Freezer: While not recommended for freezing due to potential texture changes, if needed, it can be stored for up to 1 month. Thaw in the fridge before serving.
- Reheating: This pasta salad is best served cold; however, if you prefer it warm, gently reheat it in the microwave until just warmed through.
- Serving Tip: Always give it a good stir before serving to redistribute the dressing and ingredients for maximum flavor.
Make Ahead Options
This Easy Olive Garden Pasta Salad is a wonderful make-ahead option that fits perfectly into any busy cook’s meal prep routine! You can prepare the pasta and chop the vegetables up to 3 days in advance, storing them separately in airtight containers in the refrigerator. To maintain the freshness and crunch, make sure the pasta is completely cooled before combining it with the veggies. When you’re ready to serve, simply toss the pasta with the prepared dressing and fold in the Parmesan cheese. This way, you can enjoy a deliciously fresh Olive Garden Pasta Salad with minimal effort on the day of your gathering, saving you valuable time!
What to Serve with Easy Olive Garden Pasta Salad
When planning your next meal, consider these delicious accompaniments that will elevate your Olive Garden Pasta Salad experience.
-
Grilled Chicken: Juicy, herb-marinated chicken adds protein and complements the salad’s vibrant flavors. It’s a filling option that’s also easy to prepare on the grill.
-
Garlic Bread: The buttery, garlicky flavor of warm bread pairs beautifully with the refreshing pasta salad. A crunchy texture contrasts wonderfully with the salad’s creamy notes.
-
Fresh Fruit Platter: Bright, seasonal fruits like watermelon and berries provide a sweet contrast. Their natural juiciness refreshes the palate, balancing the savory notes of the salad.
-
Caesar Salad: Offer a classic Caesar alongside for a rich, creamy addition. The crisp romaine and tangy dressing create a delightful contrast to the zesty pasta salad.
-
Roasted Vegetables: Add earthy, caramelized roasted vegetables for a taste of wholesome goodness. Their tender texture and rich flavors enhance the plate’s overall appeal, creating a satisfying meal.
-
Iced Lemonade: A glass of icy lemonade with its zesty, refreshing flavor pairs perfectly with the Italian allure of the salad. It’s an excellent way to cool down and quench your thirst!
-
Chocolate Chip Cookies: For dessert, warm chocolate chip cookies bring a sweet finish to your meal. Their gooey texture is a delightful contrast to the salad and will have everyone reaching for seconds!
Olive Garden Pasta Salad Variations
Feel free to get creative! This vibrant dish is perfect for personal touches that can elevate your dining experience.
-
Protein Boost: Add diced grilled chicken or shrimp for a hearty option, perfect for an entrée salad.
Transform this side dish into a satisfying main with the inclusion of protein. -
Veggie Upgrade: Mix in crisp cucumbers or artichoke hearts to introduce additional flavor and texture, enhancing nutrition.
They add a refreshing crunch that complements the existing colorful veggies beautifully. -
Cheese Swap: Use feta cheese instead of Parmesan for a tangy twist that perfectly melds with the Italian dressing.
The creamy addition offers a delightful surprise in each bite! -
Herb Infusion: Experiment with fresh basil or oregano instead of parsley for an aromatic lift.
These herbs will infuse additional depth and a garden-fresh aroma into your salad. -
Spicy Kick: Add sliced jalapeños or a dash of crushed red pepper flakes for a nice heat that awakens the taste buds.
This is a fantastic way to energize the flavor profile for those who like it hot! -
Dressing Variations: Try using ranch or balsamic vinaigrette in place of Italian dressing for a new flavor journey.
Each dressing will provide a unique spin that can redefine your Olive Garden Pasta Salad experience. -
Pasta Alternatives: Swap out rotini for gluten-free pasta or zoodles for a lighter, low-carb twist.
This variation ensures everyone can enjoy the dish, catering to different dietary preferences. -
Nuts for Crunch: Sprinkle in toasted pine nuts or walnuts for a delightful crunch and added richness.
The nutty flavor complements the pasta and veggies while enhancing the overall texture of the salad.
Embrace these adaptations, and don’t forget to serve your refreshed pasta salad alongside favorites like Creamy Tomato Beef Pasta for a delightful meal!
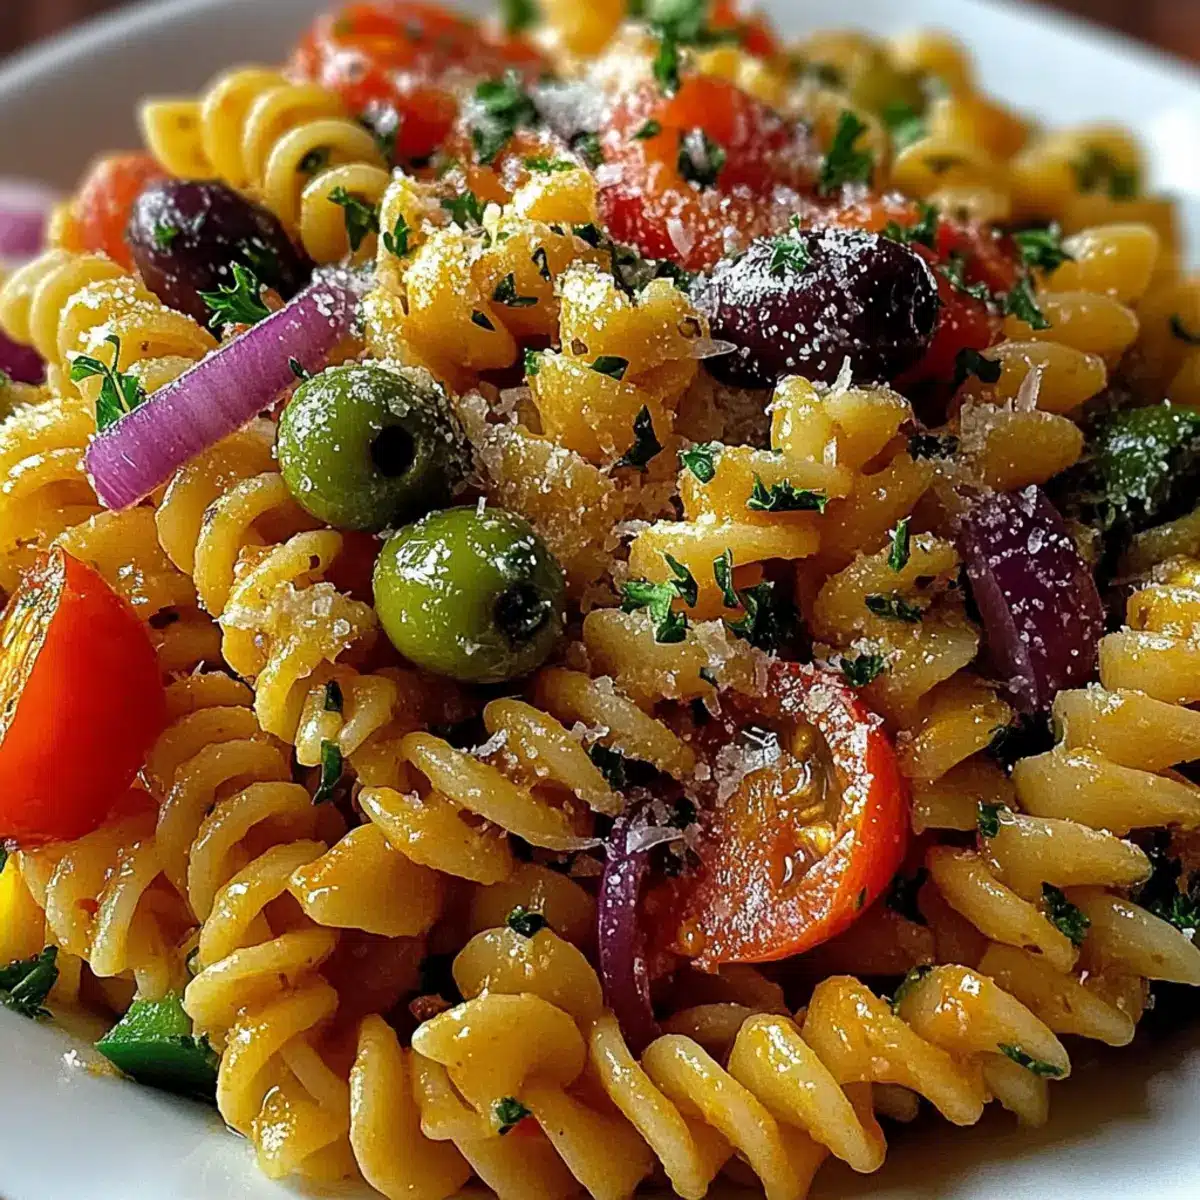
Olive Garden Pasta Salad Recipe FAQs
How do I select ripe ingredients for my pasta salad?
Absolutely! When choosing your ingredients, look for vibrant, firm cherry tomatoes without any dark spots or blemishes. For bell peppers, choose those that are brightly colored and firm to the touch. Fresh herbs like parsley should be bright green and not wilted, ensuring the best flavor for your Olive Garden Pasta Salad.
What’s the best way to store leftover pasta salad, and how long will it last?
Very! Store your Olive Garden Pasta Salad in an airtight container in the refrigerator for up to 3 days. This method keeps it fresh and maintains the flavors. If you notice any sogginess from the dressing, simply give it a stir before serving again—this helps reinvigorate the ingredients!
Can I freeze Olive Garden Pasta Salad?
I recommend avoiding freezing this pasta salad because the texture of the vegetables and pasta may change when thawed. However, if necessary, you can freeze it in a freezer-safe container for up to 1 month. When you’re ready to enjoy it, thaw it in the refrigerator overnight, and be sure to stir well before serving to enhance the flavor.
What should I do if my pasta salad seems dry after refrigerating?
Don’t worry, this can happen! If your Olive Garden Pasta Salad seems dry after being chilled, just drizzle a little extra dressing or olive oil over the salad and toss it gently. This will help revive the flavors and moisture. Always adjust the seasoning afterward to ensure every bite is delicious!
Is this recipe suitable for those with dietary restrictions?
Yes, it can be! For a dairy-free version, simply omit the Parmesan cheese or use a dairy-free alternative. Additionally, if you have nut allergies, check the ingredients in your Italian dressing to ensure it’s safe. If you’re preparing this for pets, avoid any ingredients that could be toxic to them, such as onions or garlic. Always prioritize health and safety!
How can I customize this pasta salad to suit my taste?
The more the merrier! Feel free to add in your favorite proteins like grilled chicken or shrimp for a heartier dish, or mix in other vegetables such as cucumbers or artichoke hearts for added texture. Adjusting the seasoning is also a great way to cater to different palates—play around until you find your perfect blend!
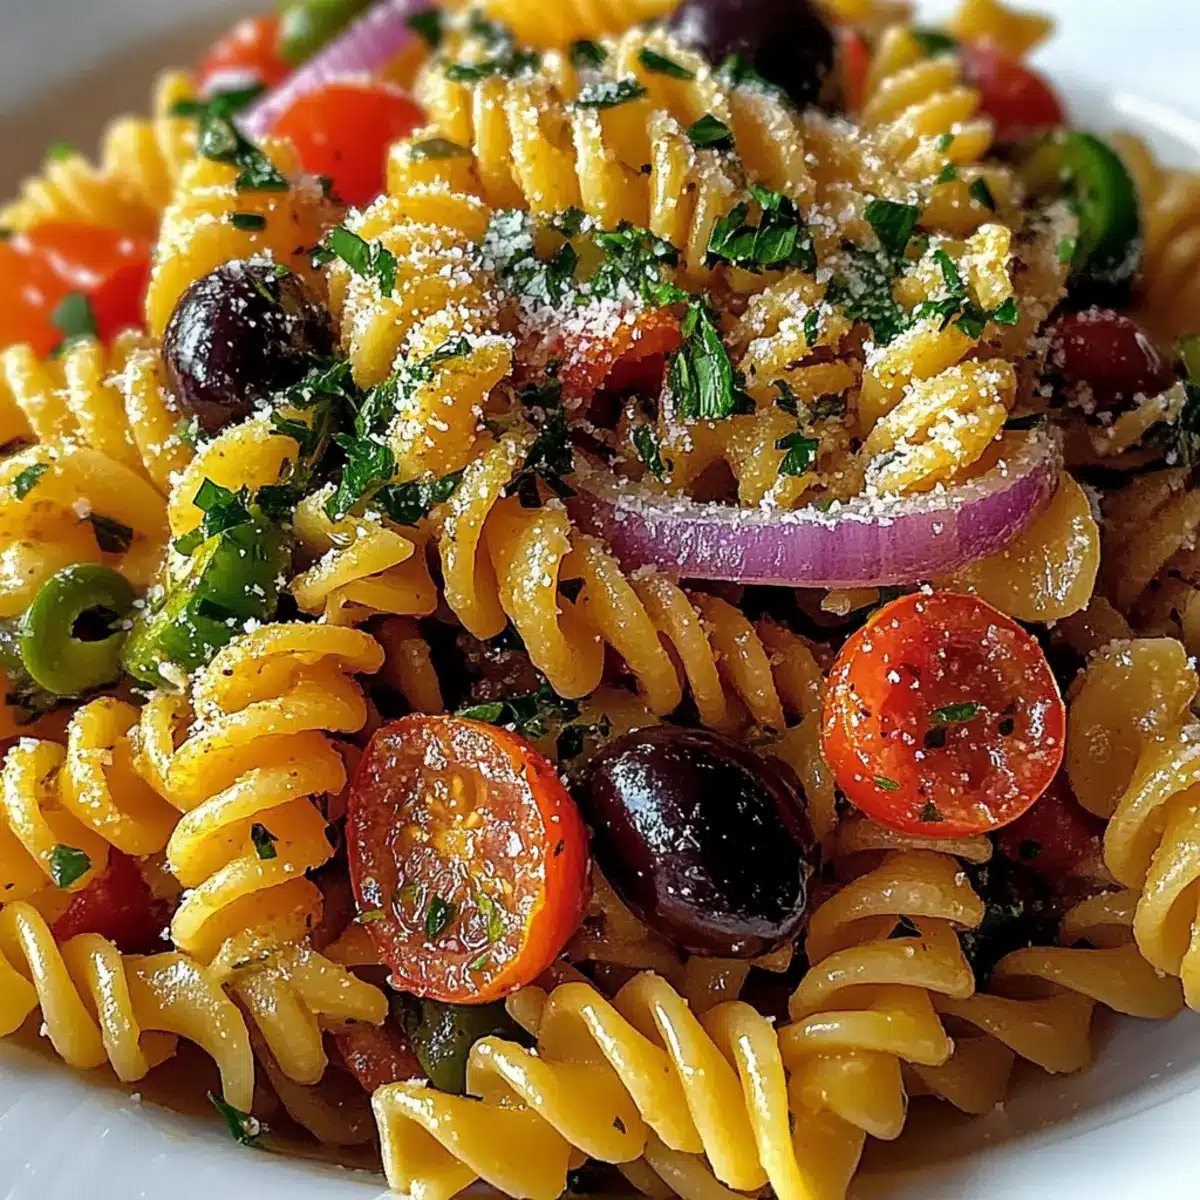
Zesty Olive Garden Pasta Salad - Your Perfect Picnic Side!
Ingredients
Equipment
Method
- Start by bringing a large pot of salted water to a boil over high heat. Once boiling, add the rotini pasta and cook for 8-10 minutes until al dente. Drain and rinse under cold water.
- Chop and prepare the vegetables. In a mixing bowl, combine the cherry tomatoes, red onion, black olives, green bell pepper, and pepperoncini.
- Once the pasta has cooled, add it to the bowl with the fresh vegetables and stir gently to combine.
- In a separate bowl, whisk together the Italian dressing, garlic powder, salt, and pepper.
- Pour the dressing over the pasta and vegetable mixture and toss to coat.
- Gently fold in the grated Parmesan cheese.
- Cover the salad and chill in the refrigerator for at least 30 minutes before serving.
- Before serving, stir the salad and garnish with freshly chopped parsley.