

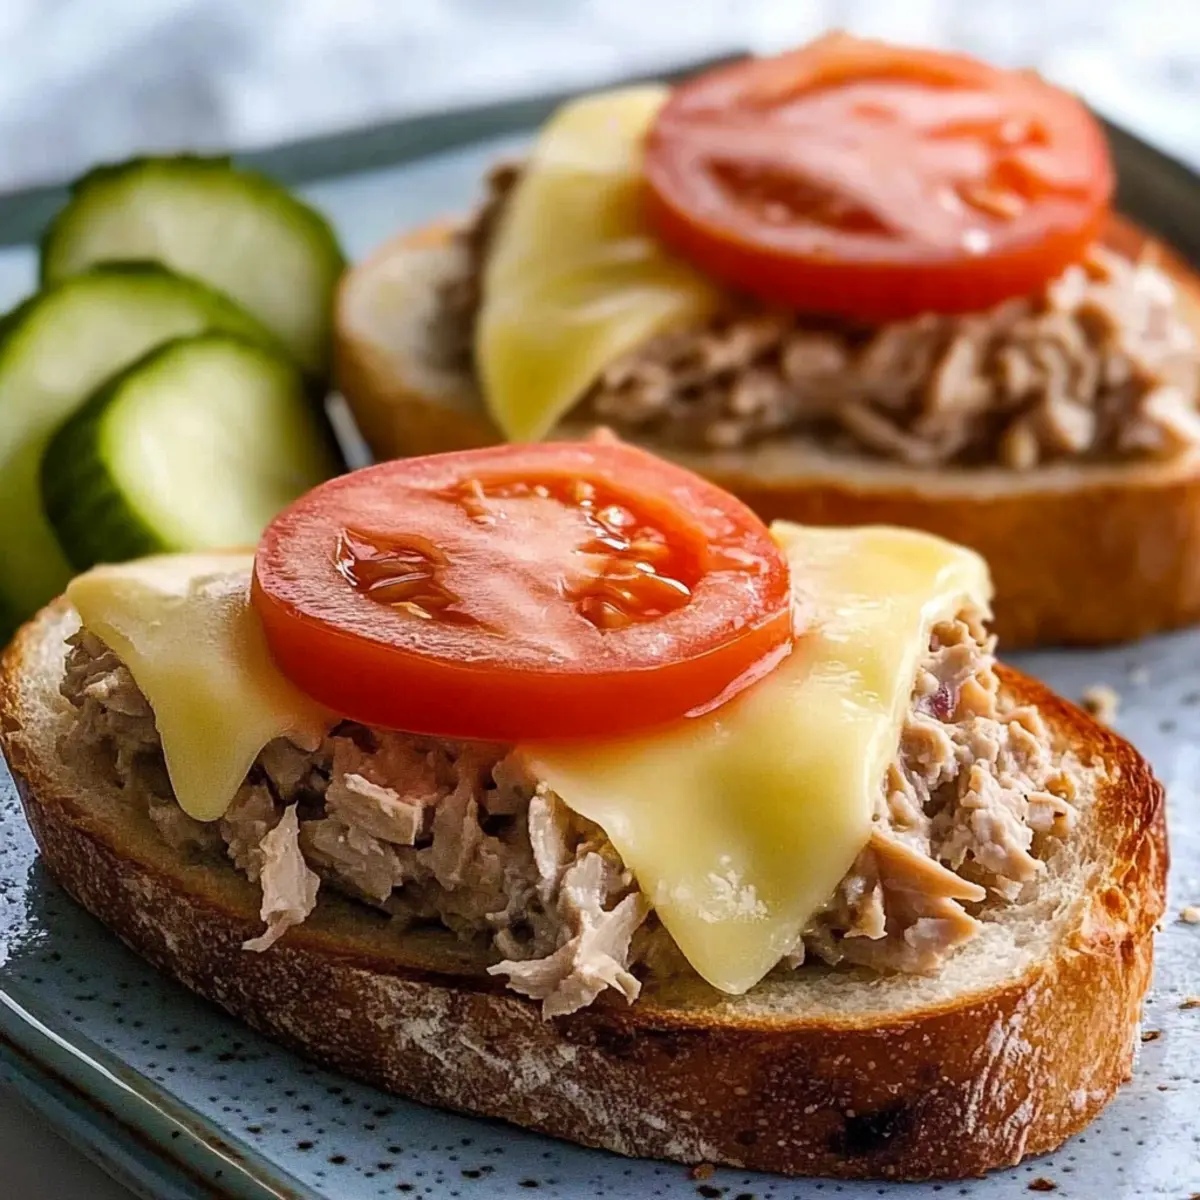
As I rummaged through the pantry, a can of tuna caught my eye, beckoning me to revisit a beloved childhood classic: the Open Face Tuna Melt Sandwich. With its creamy tuna salad layered with gooey melted cheese on crisp, toasted bread, this dish is a warm embrace on a busy day. In just 15 minutes of prep and a mere 10 minutes in the oven or under the broiler, you can whip up this easy lunch or dinner that’s equal parts satisfying and nostalgic. Not only does this recipe come together quickly, but it’s also a versatile crowd-pleaser that allows you to personalize it with your favorite toppings. Are you ready to indulge in this comfort food delight?
Why is the Open Face Tuna Melt Irresistible?
Simplicity: This recipe requires minimal ingredients and only a few basic cooking steps, making it perfect for everyone.
Quick Prep: With just 15 minutes of prep and 10 minutes of cooking, you’ll have a delicious meal ready in no time.
Customizable: Experiment with different toppings and bread types, like adding avocado or using sourdough, for a personal touch.
Crowd-Pleaser: It’s a nostalgic dish that brings comfort, making it a favorite for family dinners or casual gatherings.
Texture Bliss: Enjoy the contrast of a crispy base with creamy, savory tuna salad and melted cheese on top—pure bliss!
For a delightful twist, check out my Tuna Casserole Comfort recipe, which also highlights the versatility of tuna.
Open Face Tuna Melt Ingredients
• To create your own delicious masterpiece, here’s everything you need!
For the Tuna Salad
- Tuna – Provides protein and creaminess; opt for water-packed canned tuna for a moist filling.
- Celery – Adds crunch and freshness; finely diced for better texture distribution.
- Red Onion – Introduces a mild onion flavor; substitute with green onions for a gentler taste.
- Flat-Leaf Parsley – Adds fresh herbaceous notes; can be omitted for simplicity.
- Mayonnaise – Binds ingredients for creaminess; adjust based on your desired consistency.
- Dijon Mustard – Provides delightful tanginess; yellow mustard can be used as a milder alternative.
- Fresh Lemon Juice – Brightens up the mixture; always go for fresh juice for the best taste.
- Salt and Pepper – Simple seasoning that enhances all flavors to taste.
For the Base
- Bread – A sturdy base; choose from sourdough, ciabatta, rye, or toasted English muffins to prevent sogginess.
- Cheese – Adds creaminess and flavor to the dish; options include cheddar, Swiss, mozzarella, or Pepper Jack.
For the Toppings
- Tomatoes – Freshness and acidity; slice them thinly for even distribution on the melts.
- Butter (optional) – Used to toast the bread, adding extra flavor and crispiness.
Whether you’re having a quick lunch or prepping dinner for a cozy gathering, this Open Face Tuna Melt Sandwich is sure to satisfy your cravings!
Step‑by‑Step Instructions for Open Face Tuna Melt Sandwich
Step 1: Prep Tuna Salad
In a medium mixing bowl, combine the drained tuna, finely diced celery, red onion, and chopped parsley. Add the mayonnaise, Dijon mustard, fresh lemon juice, and sprinkle in salt and pepper. Mix everything thoroughly until well combined and creamy, ensuring an even distribution of ingredients. This flavorful tuna salad will be the heart of your Open Face Tuna Melt Sandwich.
Step 2: Choose Cooking Method
Decide whether you’d like to broil or bake your Open Face Tuna Melt Sandwich. For broiling, preheat your oven to broil and butter one side of your bread slices. Toast the buttered slices on a baking sheet for about 2-3 minutes until golden brown. If you’re baking, preheat the oven to 400°F. Butter one side of each slice, bake for 5 minutes, flip, then add the tuna salad and cheese.
Step 3: Assemble Sandwiches
Once your bread is toasted, layer generous spoonfuls of your prepared tuna salad on top of the bread slices, spreading it out evenly for maximum coverage. Sprinkle your choice of shredded cheese generously over the tuna salad. This will create a gooey, melted layer that makes the Open Face Tuna Melt irresistible.
Step 4: Cooking Until Gooey
If you’re broiling, return the assembled sandwiches to the oven and broil for 2-4 minutes, keeping a close eye until the cheese is bubbly and golden. If baking, place your sandwiches back in the oven at 400°F for about 5-7 minutes until the cheese has melted beautifully. The aroma of melted cheese will envelop your kitchen!
Step 5: Finishing Touches
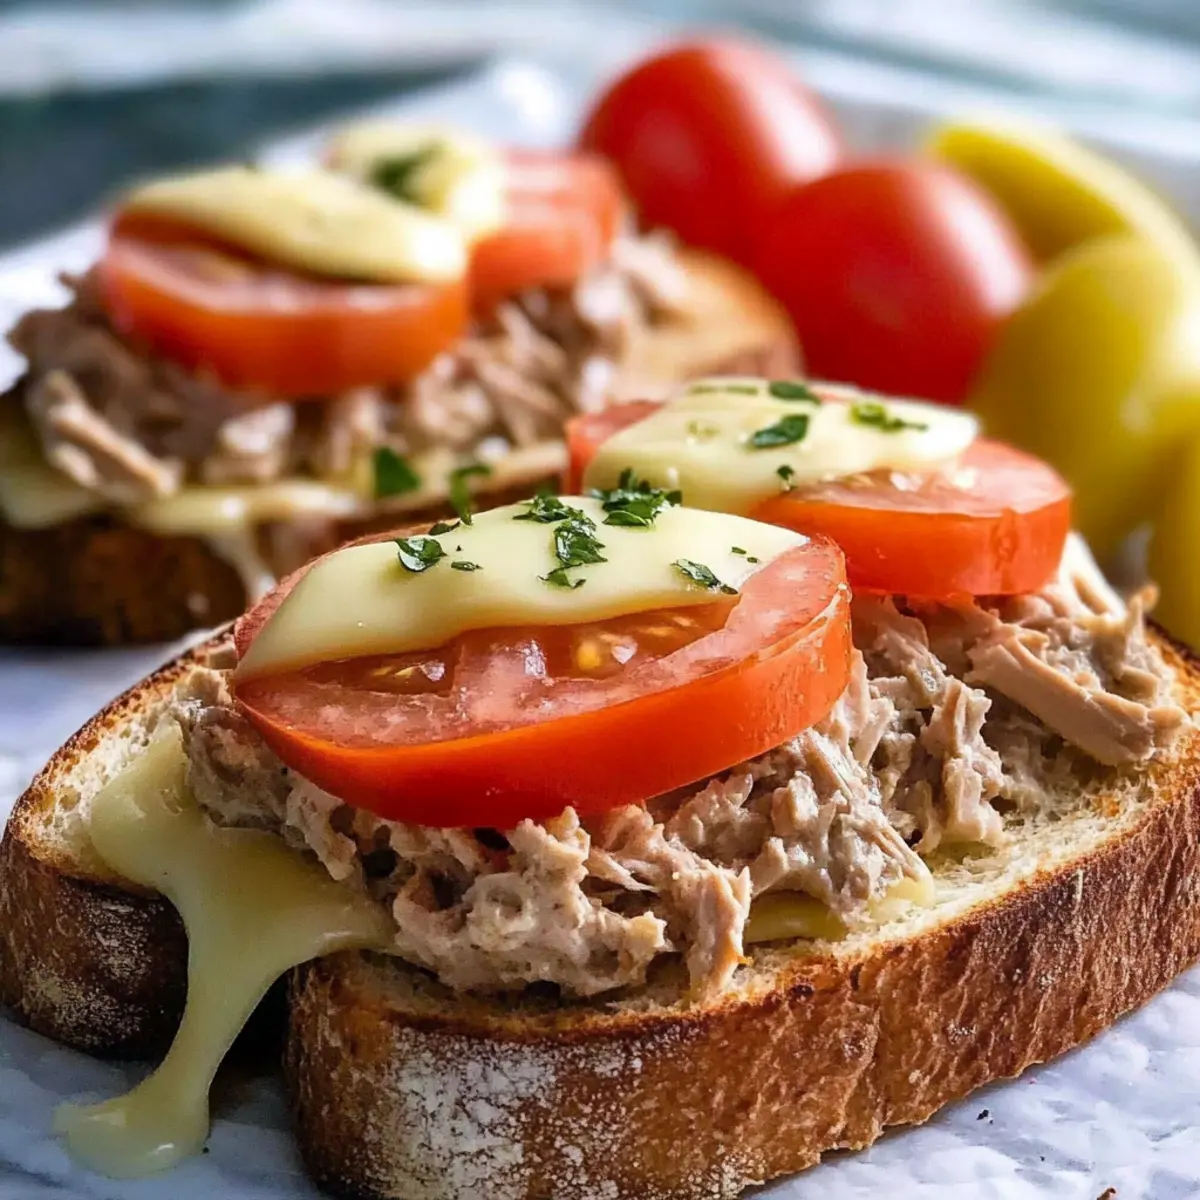
When the cheese has melted to your liking, carefully remove the Open Face Tuna Melts from the oven. Top each sandwich with thinly sliced tomatoes for freshness, and season with salt and pepper to taste. You’ll want to serve these beauties immediately while the cheese is warm and gooey, perfect for delighting your family or guests.
Expert Tips for Open Face Tuna Melt Sandwich
-
Adjust Creaminess: If you prefer your tuna salad creamier, feel free to add more mayonnaise. Just remember, a little goes a long way!
-
Perfectly Toasted Bread: Always toast both sides of the bread for a sturdy foundation that won’t get soggy under the creamy tuna salad.
-
Watch the Oven: When broiling the sandwiches, keep a vigilant eye on them. Broiling can go from golden to burnt in seconds!
-
Personalize Your Toppings: Don’t hesitate to get creative! Add pickles, sliced jalapeños, or even a sprinkle of paprika for an extra flavor kick.
-
Serve Immediately: For the best texture and flavor, serve your Open Face Tuna Melt Sandwich right after cooking. Enjoy the gooey, cheesy goodness while it lasts!
-
Storage Tips: If you have leftovers, store them in an airtight container in the fridge for up to 3 days. Reheat gently in an oven or air fryer to maintain crispiness.
What to Serve with Quick and Easy Open Faced Tuna Melts
Imagine a cozy gathering where each bite balances rich flavors and textures, creating a comforting meal experienced together.
- Crispy Side Salad: A fresh salad with mixed greens, cherry tomatoes, and a light vinaigrette offers a refreshing crunch that complements the creaminess of the melts.
- Homemade Potato Chips: Thin, crispy chips lend a satisfying crunch and are perfect for dipping into your favorite salsa or dressing, enhancing the flavor experience.
- Pickle Spear: The zesty tang of a pickled cucumber cuts through the rich cheese and tuna, adding brightness to each bite.
- Roasted Vegetables: Oven-roasted seasonal vegetables like zucchini and bell peppers bring a warm, caramelized sweetness that balances the savory tones of the tuna melts.
- Coleslaw: The creamy, tangy crunch provides a delightful texture contrast, making every forkful an exciting mix of flavors.
- Iced Lemonade: A refreshing glass of homemade lemonade perfectly offsets the savory richness of the tuna melt, creating a harmonious pairing.
- Fresh Fruit Salad: A light medley of seasonal fruits adds a sweet, fruity contrast to the savory flavors, making for a playful finish.
- Classic Beer: A cold, crisp lager or pale ale works beautifully to cleanse the palate between each cheesy, savory bite, enhancing the overall experience.
- Chocolate Chip Cookie: End the meal on a sweet note with warm, gooey cookies, balancing the savory comforting goodness of your Open Face Tuna Melt Sandwich.
Open Face Tuna Melt Variations
Feel free to get creative and customize your Open Face Tuna Melt with these delightful variations!
-
Salmon Swap: Substitute canned tuna with canned salmon for a different flavor that’s equally delicious. The subtle sweetness of salmon adds a new twist to this beloved classic.
-
Pickle Perks: Add diced pickles or a spoonful of relish to your tuna salad for a zesty kick. This brightens the flavor profile and adds a satisfying crunch with each bite.
-
Avocado Addition: Top your tuna melt with sliced avocado for a creamy texture and healthy fats. Its richness complements the cheesy tuna salad beautifully.
-
Spice it Up: Incorporate sliced jalapeños or a dash of hot sauce to elevate the heat level. This fiery addition will tantalize your taste buds with every mouthful.
-
Herb Infusion: Mix in fresh dill or chopped chives for an aromatic lift. The herbal notes will enrich the overall flavor, making your tuna melt feel even more gourmet.
-
Cheese Choices: Experiment with different cheeses like feta or goat cheese for a tangy twist. Each cheese brings its own character, making each melt uniquely enticing.
-
Bread Variety: Switch up your bread to include whole grain or a crusty baguette for a different texture experience. This allows for a delightful chewy contrast to the creamy filling.
-
Tomato Twist: Layer in sun-dried tomatoes for a burst of umami flavor. Their intense sweetness pairs wonderfully with the savory tuna and creamy cheese.
For more ways to enjoy tuna in delightful recipes, don’t forget to check out my Melt Mouth Chicken or revisit the comforting vibes of Tuna Casserole Comfort. Happy cooking!
Make Ahead Options
These Open Face Tuna Melts are a fantastic choice for meal prep aficionados! You can prepare the tuna salad up to 3 days in advance by combining drained tuna, finely diced celery, red onion, mayonnaise, Dijon mustard, lemon juice, and seasoning it to taste—just store it in an airtight container in the refrigerator. To keep the bread crispy when you’re ready to serve, toast it just before assembly. The assembled melts can be refrigerated for up to 24 hours before broiling or baking; simply cover them well! When it’s time to cook, just pop them in the oven for a quick melt and enjoy the same deliciousness with less rush on your busy weeknights.
Storage Tips for Open Face Tuna Melt Sandwich
- Fridge: Store leftover Open Face Tuna Melt Sandwich in an airtight container for up to 3 days. This keeps the toppings fresh and prevents sogginess.
- Freezer: You can freeze the unassembled tuna salad (without bread) for up to 1 month. Thaw in the fridge before assembly for your next quick meal.
- Reheating: For the best results, reheat the sandwiches in the oven or air fryer. This ensures the bread remains crispy while the cheese melts beautifully.
- Avoid Sogginess: If storing, keep the tuna salad separate from the bread until ready to serve to maintain the perfect texture.
Open Face Tuna Melt Sandwich Recipe FAQs
How do I choose the right tuna for my Open Face Tuna Melt Sandwich?
When selecting tuna, I recommend opting for water-packed canned tuna. It provides more moisture, ensuring your tuna salad stays creamy without being too dry. Look for cans with a good expiration date and no dark spots, which can indicate age or spoilage.
How should I store leftover Open Face Tuna Melts?
Leftover Open Face Tuna Melt Sandwiches should be stored in an airtight container in the refrigerator for up to 3 days. This helps keep the toppings fresh and prevents sogginess. To reheat, use an oven or air fryer to maintain that crispy texture instead of using the microwave, which can make the bread soggy.
Can I freeze the tuna salad for later use?
Absolutely! You can freeze the prepared tuna salad (without the bread) for up to 1 month. Just place it in an airtight container or freezer bag, ensuring excess air is removed. When you’re ready to enjoy, thaw it in the fridge overnight and then assemble your Open Face Tuna Melt Sandwich. This way, you can have a quick meal ready in no time!
What should I do if my tuna salad is too dry?
If you find your tuna salad is too dry after mixing, don’t worry! Simply add more mayonnaise or a splash of fresh lemon juice for extra creaminess and flavor. Mix thoroughly until you reach the desired consistency. If you want additional flavor, consider adding in some diced pickles or relish, which can provide moisture as well!
Are there any dietary considerations I should keep in mind?
Yes, it’s essential to keep in mind any food allergies or dietary preferences when making your Open Face Tuna Melt Sandwich. For those with seafood allergies, consider swapping the tuna for canned chicken or chickpeas. Additionally, if you’re watching calories, you can use light mayonnaise or Greek yogurt as a substitute, which will still keep the salad creamy and delicious!
How can I ensure my bread doesn’t get soggy?
To prevent sogginess, I highly recommend toasting both sides of the bread before adding the tuna salad. If you’re baking, keep the tuna salad and cheese separate until the bread reaches a golden crisp. This method protects the bread from moisture and keeps that delightful crunchy texture intact.
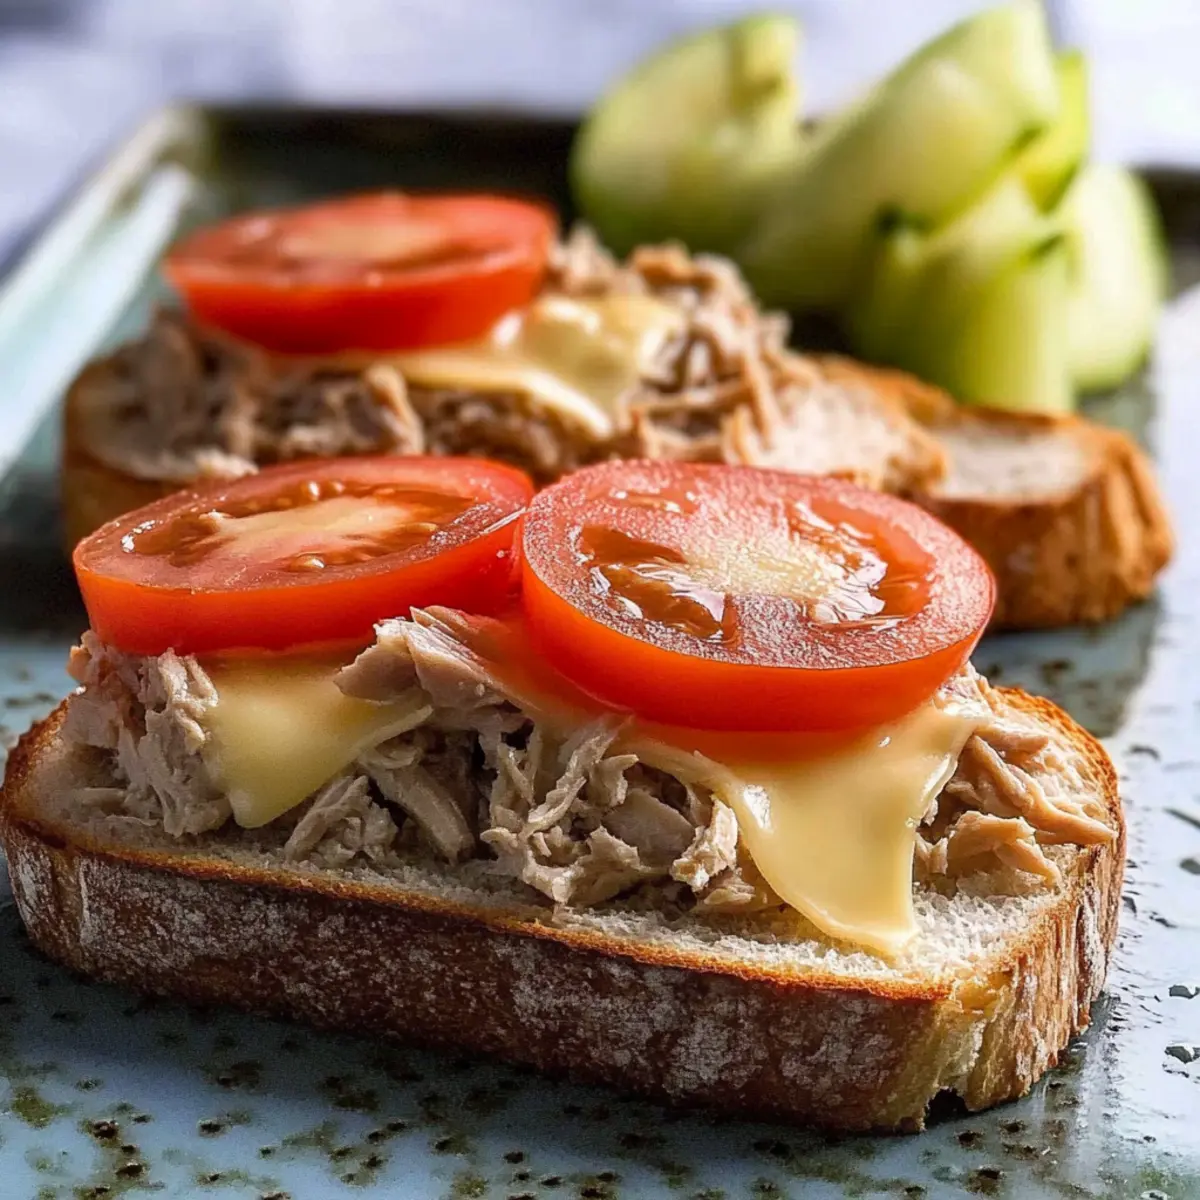
Delicious Open Face Tuna Melt Sandwich You’ll Crave Daily
Ingredients
Equipment
Method
- In a medium mixing bowl, combine drained tuna, finely diced celery, red onion, and parsley. Add mayonnaise, Dijon mustard, fresh lemon juice, and sprinkle with salt and pepper. Mix until creamy.
- Decide to broil or bake. For broiling, preheat oven to broil, butter one side of bread slices, toast for 2-3 minutes. For baking, preheat oven to 400°F, butter one side, bake for 5 minutes, flip, then add tuna salad and cheese.
- Layer tuna salad on toasted bread slices, spreading evenly. Sprinkle shredded cheese over the tuna.
- If broiling, return to oven for 2-4 minutes until cheese is bubbly. If baking, back in the oven for about 5-7 minutes until melted.
- Remove from oven, top with sliced tomatoes, season with salt and pepper to taste. Serve immediately while warm and gooey.