
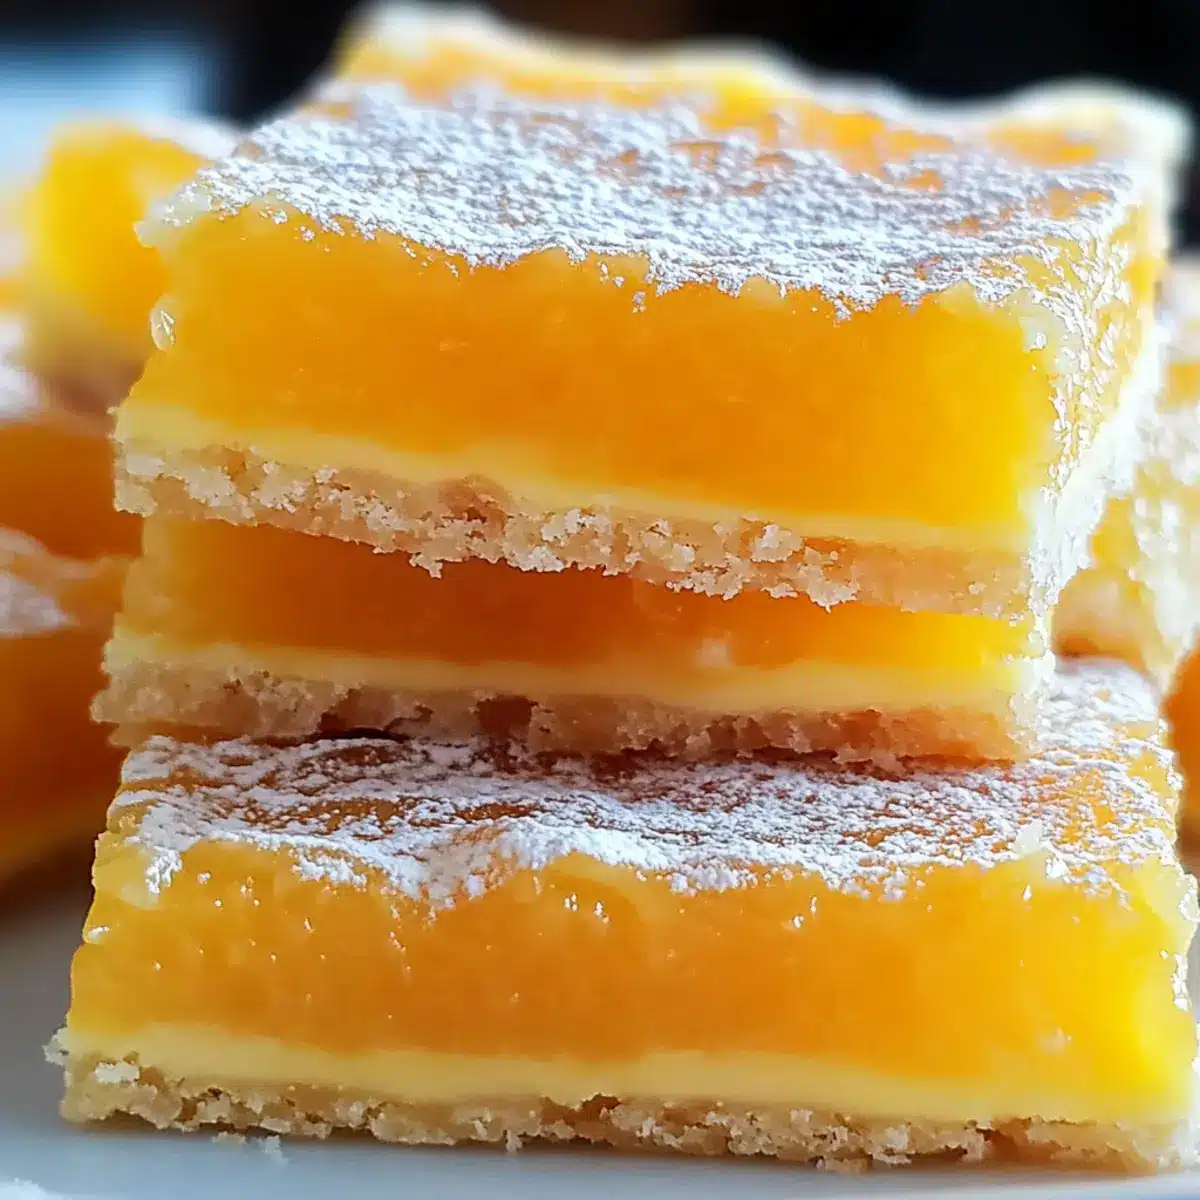
I remember the first time I bit into a perfectly baked orange bar—its sunlit flavor danced on my palate and instantly brightened my day. These Orange Bars are not just a treat; they’re a delightful escape from the mundane, ideal for any gathering or cozy afternoon at home. With a buttery base that crumbles just right and a zesty citrus filling that strikes a perfect balance between sweet and tart, they’re a refreshing twist on the classic lemon bar. Best of all, this recipe is simple to follow, making it accessible even for those new to baking. As a bonus, they’re family-friendly and sure to lift spirits, no matter the occasion. Are you ready to embrace a slice of sunshine in your kitchen?
Why Will You Love These Orange Bars?
Simplicity at Its Best: The recipe is easy to follow, requiring just a few common ingredients—perfect for novice bakers looking to impress.
Bright, Citrus Flavor: With fresh orange juice and zest, these bars burst with a delightful tangy flavor that brings a taste of sunshine to your table.
Perfect for Any Occasion: Whether it’s a family gathering or a cozy afternoon snack, these Orange Bars are a crowd-pleaser that will brighten everyone’s mood.
Versatile Serving Options: Enjoy them as a vibrant breakfast treat with your morning coffee or as a light dessert paired with ice cream and berries.
Quick and Time-Saving: Ready in just a little over an hour, these delicious bars make it easy to whip up something special without fuss. Try them alongside our Orange Chicken Homemade for an all-citrus meal!
Orange Bars Ingredients
For the Crust
- All-purpose flour – Provides structure; use fresh flour to avoid lumps.
- Granulated sugar – Adds sweetness; substitute with coconut sugar for a caramel-like twist.
- Unsalted butter – Contributes richness; ensure it’s softened but not melted for the best texture.
- Large eggs (4) – Binds the mixture; room temperature eggs mix better for a smooth consistency.
For the Filling
- Fresh orange juice (0.5 cup) – Primary flavoring agent; opt for fresh juice for the best taste.
- Orange zest (2 tablespoons) – Enhances citrus flavor; use only the colorful part of the peel to avoid bitterness.
- Vanilla extract (1 teaspoon) – Rounds out the flavor; can be omitted if desired.
- Granulated sugar (additional) – Balances tartness in the filling; use less if you prefer a tangier taste.
- Cornstarch – Acts as a thickener for the filling; ensure it’s well combined to avoid graininess.
For the Glaze
- Powdered sugar – For sweetness and smoothness in the glaze; can use less for a lighter touch.
- Fresh orange juice – Enhances brightness; use the same as in the filling for consistency.
- Orange zest – Optional, but adds an extra kick to the glaze; a small amount goes a long way.
With these simple yet essential ingredients, you’ll create delectable Orange Bars that are not only a delight to bake but also a joy to share with family and friends!
Step‑by‑Step Instructions for Orange Bars
Step 1: Preheat the Oven
Begin by preheating your oven to 350°F (175°C). This ensures an even baking temperature for your Orange Bars. As the oven warms up, you can focus on preparing your baking pan, which is a crucial step in achieving perfect bars.
Step 2: Prepare the Baking Pan
Grease an 8×8 or 9×13 inch baking pan with a little butter or non-stick spray. Then, line it with parchment paper to make it easy to lift out your Orange Bars once they’re baked. The parchment paper will also prevent sticking, ensuring a clean presentation.
Step 3: Mix the Dry Ingredients
In a medium mixing bowl, combine all-purpose flour, granulated sugar, and a pinch of salt. Add two tablespoons of fresh orange zest to the mixture. Whisk these ingredients together until thoroughly combined, creating a fragrant dry mix that will form the base of your bars.
Step 4: Combine the Wet Ingredients
In another bowl, blend the softened unsalted butter with the four large eggs until smooth. The butter should be creamy but not melted. Once blended, gradually mix in the dry ingredients until just combined. This step is crucial—overmixing can lead to dense bars, so be gentle.
Step 5: Bake the Crust
Spread the batter evenly into the prepared pan, smoothing the top with a spatula. Place the pan in the preheated oven and bake for 15–20 minutes, or until the edges are slightly golden and a toothpick comes out clean. This forms a sturdy, buttery base for your Orange Bars.
Step 6: Prepare the Filling
While the crust is baking, whisk together granulated sugar and cornstarch in a separate bowl. Once well combined, add the four eggs, half a cup of fresh orange juice, two tablespoons of orange zest, and one teaspoon of vanilla extract. Mix until smooth and all ingredients are fully incorporated for a luscious filling.
Step 7: Bake the Filling
Retrieve your crust from the oven and pour the smooth orange filling over it, ensuring even coverage. Return the pan to the oven and bake for another 30–35 minutes, or until the filling is set and slightly puffed. It should have a vibrant, glossy appearance when finished, signaling that it’s ready.
Step 8: Cool the Bars
After baking, remove the pan from the oven and allow it to cool completely at room temperature. This cooling process helps the filling to firm up, making it easier to slice your Orange Bars neatly later on.
Step 9: Glaze the Bars
Once the bars have cooled, prepare the glaze by whisking together powdered sugar, fresh orange juice, and a bit of orange zest until smooth and desired thickness is achieved. Drizzle this bright glaze over the cooled Orange Bars for that extra citrusy finish and an appealing shine.
Step 10: Slice & Serve
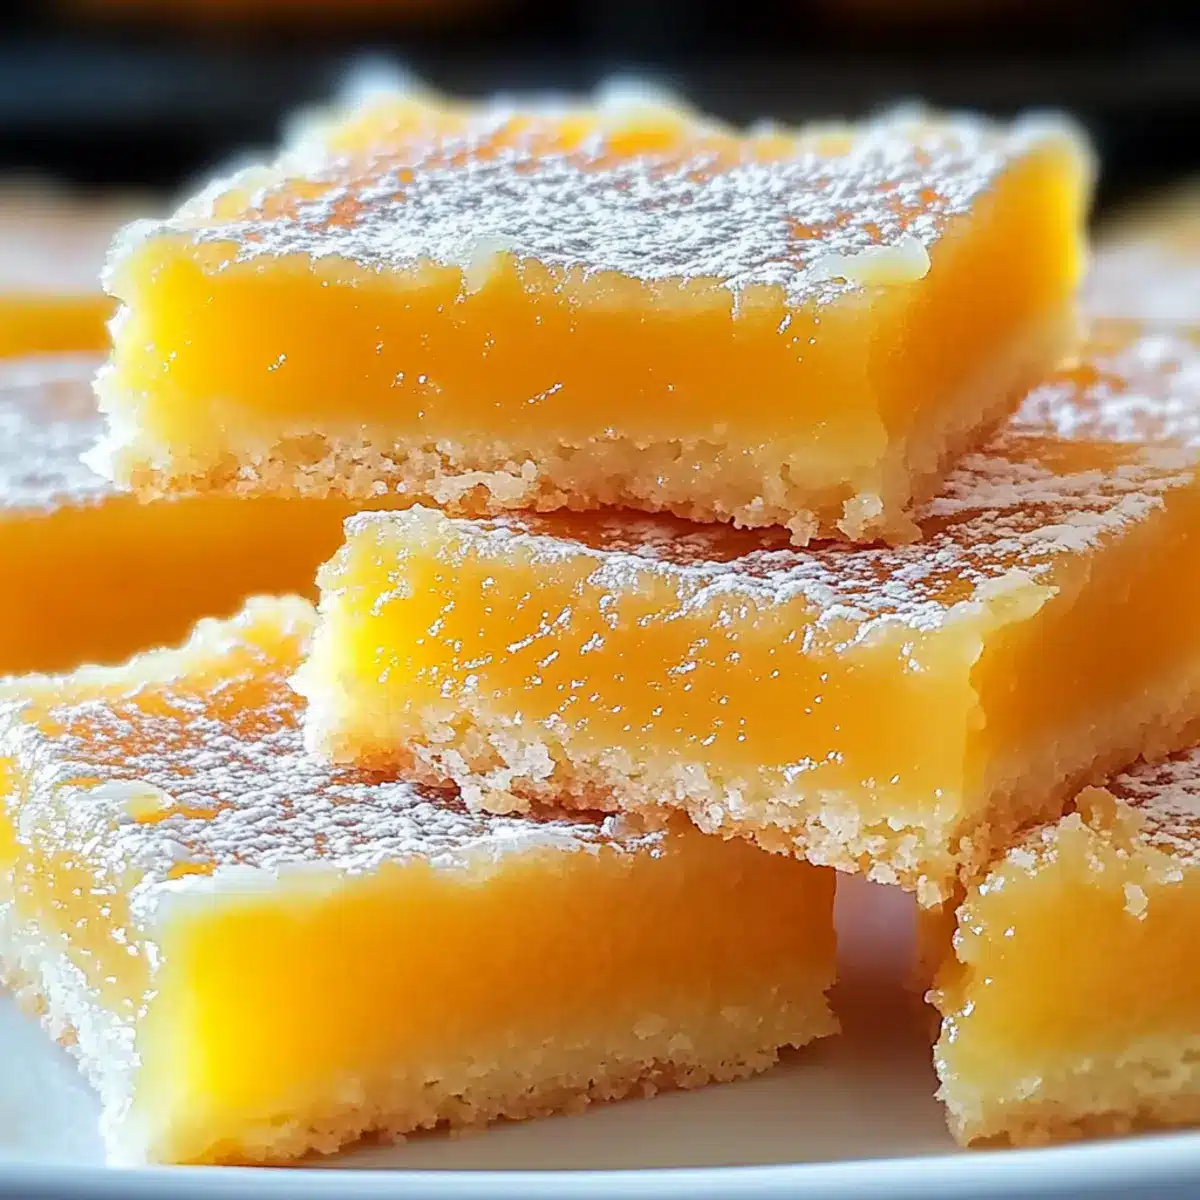
Finally, using the parchment paper, lift the bars out of the pan. Cut them into squares, revealing the gorgeous layers inside. These delightful Orange Bars are now ready to brighten up your dessert table, perfect for sharing or savoring all for yourself!
Orange Bars Variations & Substitutions
Feel free to mix things up and infuse these Orange Bars with your personal touch—let your creativity flow!
-
Citrus Fusion: Substitute half of the orange juice with lemon juice for a zesty twist that brightens the flavor even more. This will give your bars a delightful balance of sweet and sour that will impress everyone.
-
Almond Essence: Add a couple of drops of almond extract to the filling or glaze for a nutty depth that complements the orange beautifully. The subtle hint of almond can surprise your palate in the most comforting way.
-
Spice It Up: Introduce warming spices like cardamom or ginger to the filling for an unexpected yet delightful warmth. It’s a lovely way to elevate your Orange Bars into a sweet treat that evokes cozy gatherings.
-
Dairy-Free: Swap the unsalted butter with coconut oil or a plant-based butter alternative for a dairy-free option. This will create a light, tropical flavor that pairs wonderfully with the citrus.
-
Whole Wheat Twist: Use whole wheat flour instead of all-purpose flour for a healthier take on these bars. This option boosts fiber content while still delivering a deliciously tender base.
-
Extra Fruity: Fold in some diced strawberries or mango alongside the orange filling for a delightful fruit medley. This will add color and a burst of flavor that feels festive and fresh.
-
Heat It Up: For those who love a bit of spice, add a pinch of cayenne pepper to the glaze for a surprising kick. It gives your Orange Bars a unique flavor profile that will keep everyone guessing.
-
Syrupy Layer: Drizzle a layer of honey or agave syrup on top before the glaze for an added level of sweetness. This variation enhances the overall flavor and adds a delightful stickiness to each bite.
These variations not only keep things exciting but allow you to cater to different tastes! Pair your freshly made Orange Bars with our Orange Chicken Homemade for a meal that truly celebrates the citrus theme!
How to Store and Freeze Orange Bars
Room Temperature: Store your Orange Bars in an airtight container at room temperature for up to 3 days for best flavor and texture.
Fridge: If you want to keep them longer, refrigerate the Orange Bars for up to a week. Make sure they are covered to prevent them from drying out.
Freezer: You can freeze the bars before glazing for up to 2-3 months. Wrap them tightly in plastic wrap and aluminum foil to maintain freshness.
Reheating: If you prefer to enjoy them warm, simply thaw overnight in the fridge, then bring to room temperature before serving. Enjoy the citrusy goodness!
Make Ahead Options
These Orange Bars are perfect for meal prep enthusiasts! You can prepare the crust up to 24 hours in advance by baking it and cooling completely, then covering it tightly in plastic wrap. Additionally, the filling can be mixed and stored in the refrigerator for up to 3 days; just stir it well before using to ensure a smooth texture. When you’re ready to serve, simply pour the filling over the crust and bake until set, following the original baking instructions. By preparing ahead, you’ll save precious time on busy days while still enjoying these bright, tangy Orange Bars that are just as delicious as when made fresh!
What to Serve with Bright and Cheery Orange Bars?
These delightful treats are perfect for creating a well-rounded meal that tantalizes the taste buds.
-
Refreshing Fruit Salad: A vibrant mix of seasonal fruits provides a refreshing balance to the sweet and tangy flavors of the Orange Bars, adding a burst of color and nutrition to your dessert spread.
-
Creamy Vanilla Ice Cream: The soothing creaminess of vanilla ice cream pairs beautifully with the citrusy zest of the bars, creating a delightful contrast that enhances each bite.
-
Buttery Shortbread Cookies: Serve alongside golden shortbread cookies for a satisfying texture combination, as the rich, buttery taste complements the zesty goodness of the bars in an exquisite way.
-
Espresso or Coffee: A warm cup of freshly brewed coffee or a shot of strong espresso balances the sweetness, enhancing the bright flavors while providing a cozy, comforting end to your meal.
-
Sparkling Citrus Mocktail: Combine sparkling water with a splash of fresh orange juice and mint leaves for a refreshing drink that mirrors the flavors of the Orange Bars, making it a fun, festive option for gatherings.
-
Lemonade Iced Tea: This delightful fusion adds both sweetness and tang, echoing the citrus theme while quenching your thirst on warm days, creating a perfect complement to your sweet treat.
These pairing ideas elevate the joy of enjoying Orange Bars, turning them into a centerpiece for sharing and celebrating with loved ones.
Expert Tips for Perfect Orange Bars
-
Avoid Overmixing: Keep it gentle! Overmixing can lead to tough bars, so mix until just combined for a tender texture.
-
Check the Filling Consistency: Ensure your filling ingredients are smooth after mixing. Any lumps can result in a grainy texture, so blend well.
-
Fresh is Best: Always use fresh orange juice and zest for maximum flavor. If using bottled juice, choose high-quality to maintain that vibrant taste in your Orange Bars.
-
Mind the Cooling Time: Let the bars cool completely before glazing. This helps the filling to firm up and allows for cleaner slices and a beautiful presentation.
-
Storage Savvy: Store your Orange Bars in an airtight container at room temperature for up to three days, or refrigerate for a week. Enjoy them fresh or lightly chilled for a delightful twist!
Orange Bars Recipe FAQs
How do I choose ripe oranges for this recipe?
Absolutely! When selecting oranges, look for ones that are firm, heavy for their size, and have a vibrant orange color. Avoid any that have dark spots or are too soft, as these may indicate overripeness. Fresh, juicy oranges will give your bars the most delicious flavor!
What’s the best way to store leftover Orange Bars?
You can store your Orange Bars in an airtight container at room temperature for up to 3 days, or refrigerate them for up to a week. Make sure the container is sealed well to keep the bars moist and flavorful. They’re best when enjoyed fresh, but refrigeration will help preserve their tangy sweetness.
Can I freeze Orange Bars, and how?
Certainly! To freeze your Orange Bars, it’s best to do so before glazing. Wrap the cooled bars tightly in plastic wrap, then follow with aluminum foil to prevent freezer burn. They can be stored in the freezer for up to 2-3 months. When you’re ready to enjoy, simply thaw them overnight in the fridge and glaze them right before serving for that fresh finish.
What can I do if my Orange Bars turn out too dense?
Very! If your bars come out denser than expected, it’s likely that the batter was overmixed or the crust was baked too long. The key is to mix the batter just until combined and keep an eye on the baking time—remove them when the edges are golden, and not a minute longer. For a less dense outcome, ensure all ingredients are at room temperature and don’t rush the cooling process after baking!
Are Orange Bars safe for pets or people with allergies?
While the base ingredients of Orange Bars are generally safe, it’s essential to consider that they contain sugar and butter, which aren’t suitable for pets. Additionally, for those with allergies, be mindful of the eggs and gluten in the all-purpose flour. Alternative flours and egg substitutes can be explored for gluten-free or vegan options! Always double-check with individuals who have food allergies to ensure they can enjoy these cheerful treats.
Sweet and Tangy Orange Bars for a Cheerful Treat
Ingredients
Equipment
Method
- Preheat your oven to 350°F (175°C).
- Grease an 8x8 or 9x13 inch baking pan and line it with parchment paper.
- Combine all-purpose flour, granulated sugar, and a pinch of salt in a medium mixing bowl. Whisk until combined, then add orange zest.
- In another bowl, blend softened butter with eggs until smooth, then gradually mix in dry ingredients until just combined.
- Spread the batter evenly in the prepared pan and bake for 15–20 minutes until edges are golden.
- While the crust bakes, mix granulated sugar and cornstarch, then add eggs, orange juice, zest, and vanilla. Mix until smooth.
- Pour the orange filling over the baked crust and bake for another 30–35 minutes until set.
- Cool the bars completely at room temperature.
- Prepare the glaze by whisking together powdered sugar, orange juice, and zest until smooth.
- Lift the bars from the pan and cut into squares to serve.