
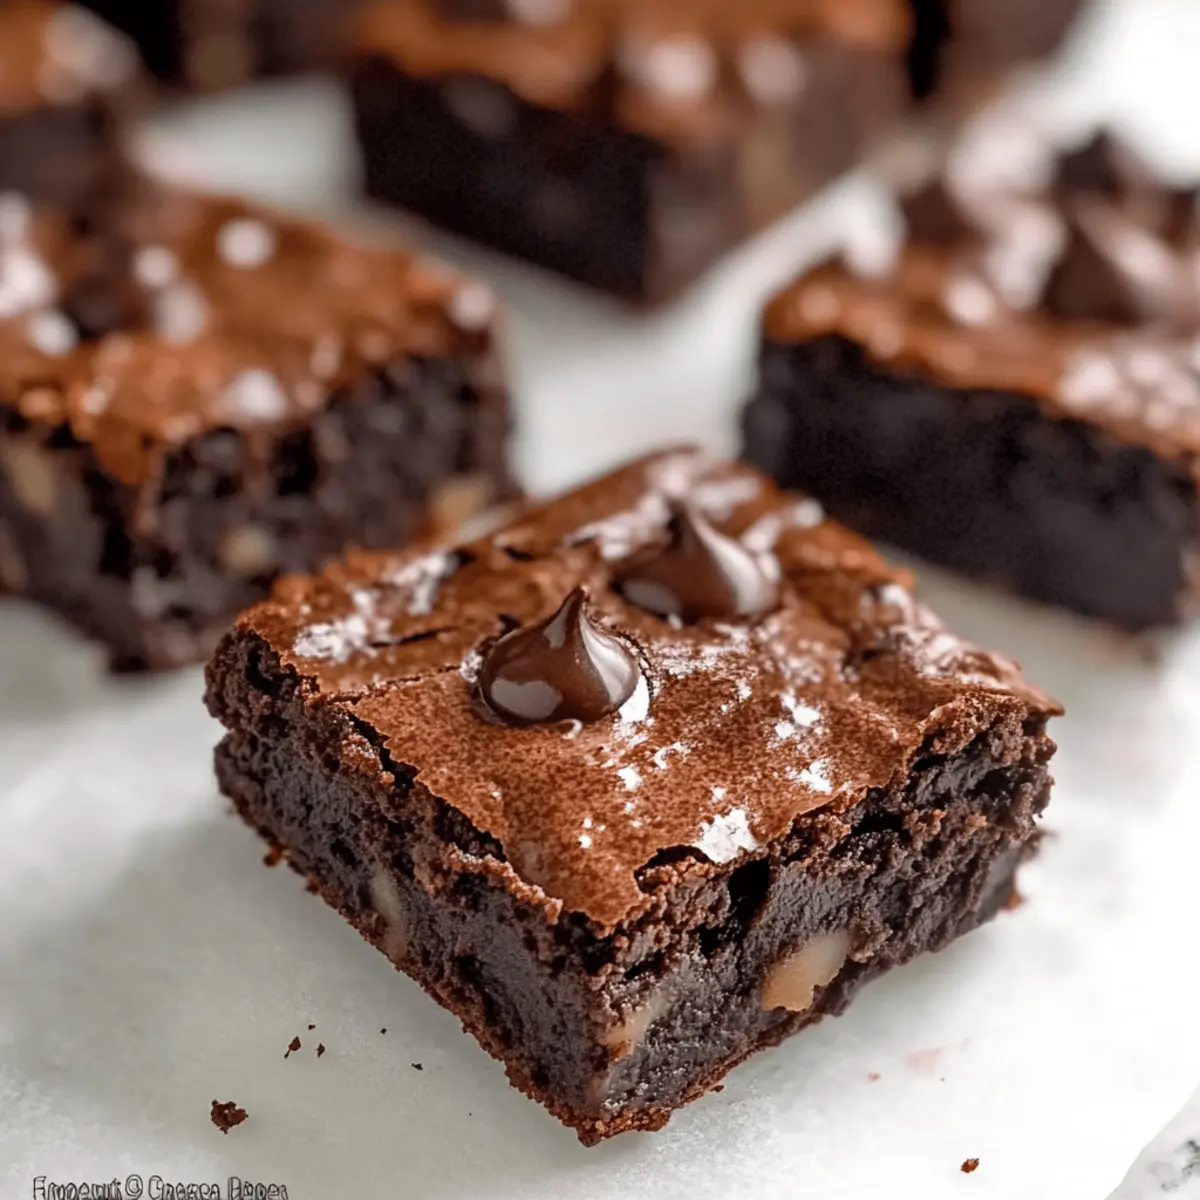
As the leaves turn and the air gets crisp, it’s time to embrace the warm, comforting flavors of fall. These 4-Ingredient Vegan Gluten-Free Pumpkin Brownies are my go-to snack when I crave something sweet yet healthy. With just a handful of ingredients, including velvety pumpkin puree and rich cocoa powder, you’ll whip up a delightful dessert that fits right into your busy schedule. Not only are these brownies incredibly simple to make, but they also deliver a fudgy texture that’s sure to please even the pickiest eaters. Plus, they’re perfect for anyone looking to indulge without the guilt. Why not treat yourself to a batch and experience the magic of fall in every bite? Your taste buds will thank you!
What Makes These Brownies Special?
Simplicity at its finest: With only four ingredients, you can easily whip these up in no time.
Fudgy texture: These brownies boast a rich, decadent consistency that rivals traditional desserts.
Vegan & gluten-free: Perfect for those with dietary restrictions, everyone can enjoy a treat without stress.
Guilt-free indulgence: At around 90 calories each, they satisfy your sweet tooth without the extra calories.
Versatile options: Customize with add-ins like nuts or chocolate chips for a flavor twist!
Let these delightful treats shine at your next gathering or cozy night in – they’ll be the star of the show!
Pumpkin Brownie Ingredients
• To create these luscious delights, gather only a few wholesome ingredients.
For the Brownies
- Pumpkin Puree – This key ingredient provides moisture and delicious fall flavor; ensure it’s pure pumpkin without additives.
- Almond Butter – A healthy binding agent that adds creaminess; feel free to substitute with peanut or cashew butter if preferred.
- Maple Syrup – A natural sweetener that enhances the brownies’ richness; alternatives like honey or agave syrup can be used if needed.
- Cocoa Powder – Essential for that deep chocolatey flavor; use unsweetened cocoa powder for the best results.
Optional Add-ins
- Vanilla Extract – A splash can elevate the flavor profile beautifully.
- Salt – Just a pinch helps to balance the sweetness and brings out the chocolate.
- Chocolate Chips – For those who want an extra treat, adding chocolate chips can create delightful pockets of melted chocolate within the brownies!
With these simple ingredients, you’re well on your way to making the most delightful Pumpkin Brownies that everyone will adore!
Step‑by‑Step Instructions for 4-Ingredient Vegan Gluten-Free Pumpkin Brownies
Step 1: Preheat and Prepare the Pan
Begin by preheating your oven to 350°F (180°C). While the oven warms up, line a 7×7 inch brownie pan with parchment paper, allowing some overhang for easy removal later. This preparation ensures that your delicious pumpkin brownies won’t stick and allows for easier slicing once they’re baked.
Step 2: Combine the Ingredients
In a mixing bowl, combine the pumpkin puree, almond butter, maple syrup, and cocoa powder. Use a whisk to blend everything together until the mixture is smooth and creamy, ensuring there are no lumps. This rich batter will be the base of your fudgy pumpkin brownies, so take your time to mix thoroughly.
Step 3: Add Optional Mix-Ins
If you’re feeling adventurous, this is the moment to fold in optional ingredients like vanilla extract, a pinch of salt, or chocolate chips for added richness. Stir gently until just combined, as you want to keep the brownie batter thick and indulgent. Now your mixture is ready to showcase the delightful flavors of pumpkin and chocolate!
Step 4: Pour and Spread the Batter
Carefully pour the brownie batter into the prepared pan. Use a spatula to evenly spread the mixture, ensuring it fills the corners and levels out nicely. The batter should have a glossy finish. This even distribution will help your brownies bake uniformly, creating a delectable treat everyone will love.
Step 5: Bake the Brownies
Place the pan in the preheated oven and bake for 25-30 minutes. Keep an eye on them as they bake; you’ll know they’re done when the edges look set and a toothpick inserted into the center comes out with a few moist crumbs. This ensures your 4-Ingredient Vegan Gluten-Free Pumpkin Brownies are perfectly fudgy.
Step 6: Cool and Slice
Once baked, remove the brownies from the oven and allow them to cool completely in the pan at room temperature. This cooling step is essential for achieving the right texture. After they’ve cooled, use the parchment overhang to lift them out, and slice them into squares to serve. Enjoy your delicious treats!
Make Ahead Options
These 4-Ingredient Vegan Gluten-Free Pumpkin Brownies are perfect for meal prep enthusiasts! You can prepare the batter up to 24 hours ahead by mixing the pumpkin puree, almond butter, maple syrup, and cocoa powder, then storing it in an airtight container in the refrigerator. Additionally, once baked, the brownies can be refrigerated for up to 4 days, helping them maintain their fudgy texture while allowing flavors to deepen. When ready to serve, simply slice them once they’ve cooled completely, and enjoy! This prep ahead approach not only saves time but also ensures you’ll have a delightful, healthy treat whenever the craving strikes!
How to Store and Freeze Pumpkin Brownies
Room Temperature: Store cooled pumpkin brownies in an airtight container at room temperature for up to 2 days for optimal freshness and taste.
Fridge: You can refrigerate the brownies for up to 4 days. Make sure they’re in an airtight container to retain moisture and flavor.
Freezer: For longer storage, wrap the brownies individually in plastic wrap and then in aluminum foil to prevent freezer burn. They will last up to 3 months in the freezer.
Reheating: To enjoy a warm treat, thaw brownies overnight in the fridge and reheat in the microwave for 10-15 seconds. Enjoy a delicious bite of pumpkin brownies any time!
Variations & Substitutions
Feel free to get creative with these pumpkin brownies—there’s no limit to how you can customize them for your taste!
- Nut Butter Swap: Substitute almond butter with peanut or cashew butter for a different flavor twist that still binds beautifully.
- Sweetener Alternatives: Use honey or agave syrup instead of maple syrup for a similar sweetness with a unique touch.
- Flavor Boost: Add a teaspoon of cinnamon or nutmeg for a warm, spiced flavor that complements the pumpkin perfectly.
- Extra Texture: Fold in chopped nuts or seeds for added crunch, giving your brownies a delightful textural contrast.
- Chocolate Lovers: Mix in chocolate chips or chunks for melty pockets of chocolate heaven—totally irresistible!
- Low-Calorie Option: Swap maple syrup for a sugar-free sweetener to cut down on calories without sacrificing sweetness.
- Dairy Touch: If you’re not strictly vegan, a dollop of whipped cream on top or a scoop of vanilla ice cream makes for a decadent serving.
- Zucchini Twist: For a fun twist, replace some of the pumpkin with finely grated zucchini, adding moisture and sneaking in more veggies!
By trying out these variations, you can create unique versions of these delightful pumpkin brownies that suit your cravings and dietary preferences. And if you’re ever looking for a delightful vegan option to pair with these brownies, consider serving them alongside a refreshing vegan chocolate smoothie!
What to Serve with 4-Ingredient Vegan Gluten-Free Pumpkin Brownies
These delightful pumpkin brownies are perfect to enjoy with additional flavors and textures that elevate your dessert experience.
- Coconut Whipped Cream: A light and airy topping that adds a tropical twist, balancing the rich chocolate flavors beautifully.
- Dark Chocolate Drizzle: A sweet touch of melted dark chocolate enhances each bite, creating a decadent treat that impresses everyone.
- Chopped Nuts: Sprinkle some toasted walnuts or pecans on top for a satisfying crunch and nutty flavor that complements the brownies wonderfully.
- Fresh Fruit Salad: Brighten up your dessert with a vibrant, refreshing fruit salad that adds a zesty contrast to the fudgy brownies.
- Mint Tea: A soothing cup of mint tea provides an herbal note that refreshes the palate and softens the richness of these brownies.
- Vanilla Ice Cream: Serve warm brownies with a scoop of creamy vanilla ice cream for a delightful à la mode experience that’s hard to resist!
- Chia Seed Pudding: A creamy and nutritious side, this pudding pairs well with the brownies and adds a fun texture to your dessert spread.
- Caramel Sauce: Drizzling a hint of caramel adds indulgence, creating a sweet harmony that enhances the pumpkin and chocolate flavors harmoniously.
- Homemade Hot Chocolate: A warm mug of rich hot chocolate provides the perfect drink pairing, intensifying the cozy autumn vibes with each sip.
- Coffee: Brew a pot of your favorite coffee to complement the dessert; the bitter notes play wonderfully against the sweetness of the brownies.
Expert Tips for Pumpkin Brownies
• Chill for Texture: Refrigerate the brownies before slicing for a denser, fudgier bite that enhances the flavors beautifully.
• Watch the Bake Time: Avoid overbaking by checking for doneness around 25 minutes; the brownies should be slightly soft in the center for the best texture.
• Pumpkin Selection: Always use pure pumpkin puree, not pumpkin pie filling, which contains added sugars and spices that won’t work with this recipe.
• Uniform Mixing: Ensure your mixture is well-mixed so there are no lumps; this keeps the texture smooth and the sweetness evenly distributed in your pumpkin brownies.
• Creative Add-ins: Try adding a pinch of cinnamon or nuts to elevate the flavor profile further while keeping it guilt-free and delicious!
Pumpkin Brownies Recipe FAQs
How do I choose the right pumpkin puree?
Absolutely! For the best flavor and texture, always opt for 100% pure pumpkin puree. Look for cans labeled as such, without added sugars or spices. Homemade is also a fantastic choice if you have access to fresh pumpkins. Simply roast, blend, and you’re good to go!
What’s the best way to store leftover brownies?
Very good question! You can store cooled pumpkin brownies in an airtight container at room temperature for up to 2 days. If you want them to last longer, they can be refrigerated for up to 4 days. Just be sure to check for any signs of spoilage, like dark spots or a dry surface.
Can I freeze these brownies?
Of course! Freezing is a great option if you want to enjoy your pumpkin brownies later. Carefully wrap each brownie individually in plastic wrap, followed by aluminum foil to prevent freezer burn. They will stay fresh for up to 3 months. To enjoy, just thaw them in the fridge overnight and reheat in the microwave!
What should I do if my brownies are too dry?
Don’t worry! If you find your brownies turn out dry, they may have been overbaked or the oven temperature might have been too high. To fix this for future batches, be sure to keep an eye on them around the 25-minute mark. Insert a toothpick to check; it should come out with moist crumbs, not dry. If that happens, consider adding a tiny bit more almond butter for moisture.
Are these brownies suitable for pets?
No, I recommend avoiding giving these brownies to pets. Ingredients like chocolate and maple syrup can be harmful to them. Always stick to pet-friendly treats to keep your furry friends safe!
Can I substitute ingredients for dietary preferences?
Definitely! These pumpkin brownies are quite versatile. You can substitute almond butter with peanut butter or cashew butter depending on preference or allergies. Maple syrup can be swapped for honey or agave syrup if that suits your dietary needs better. Just ensure to keep the same ratios for the best results!
Decadent Pumpkin Brownies That Are Vegan and Gluten-Free
Ingredients
Equipment
Method
- Preheat your oven to 350°F (180°C) and line a 7x7 inch brownie pan with parchment paper.
- In a mixing bowl, combine the pumpkin puree, almond butter, maple syrup, and cocoa powder. Whisk until smooth.
- Fold in optional ingredients like vanilla extract, salt, or chocolate chips.
- Pour the brownie batter into the prepared pan and evenly spread.
- Bake for 25-30 minutes until edges are set and a toothpick comes out with a few moist crumbs.
- Allow cooling in the pan at room temperature, then lift out and slice into squares.