

An unexpected culinary gem that hails from Italy, Spaghetti Aglio e Olio captures the heart as much as the palate. With just a handful of ingredients—zesty garlic, rich olive oil, and a touch of heat from red pepper flakes—this dish transforms a chaotic weeknight into an exquisite Italian dinner. It’s hard to believe that something so simple can be so satisfying, yet this traditional recipe delivers incredible flavor in a mere 20 minutes. Whether you’re hosting a casual gathering or need a comforting solo meal, this vegetarian delight is sure to impress without overwhelming your schedule. Imagine twirling those glossy strands of spaghetti around your fork, each bite infused with warmth and rustic charm. Ready to dive into this quick and easy cooking adventure? Let’s get started!
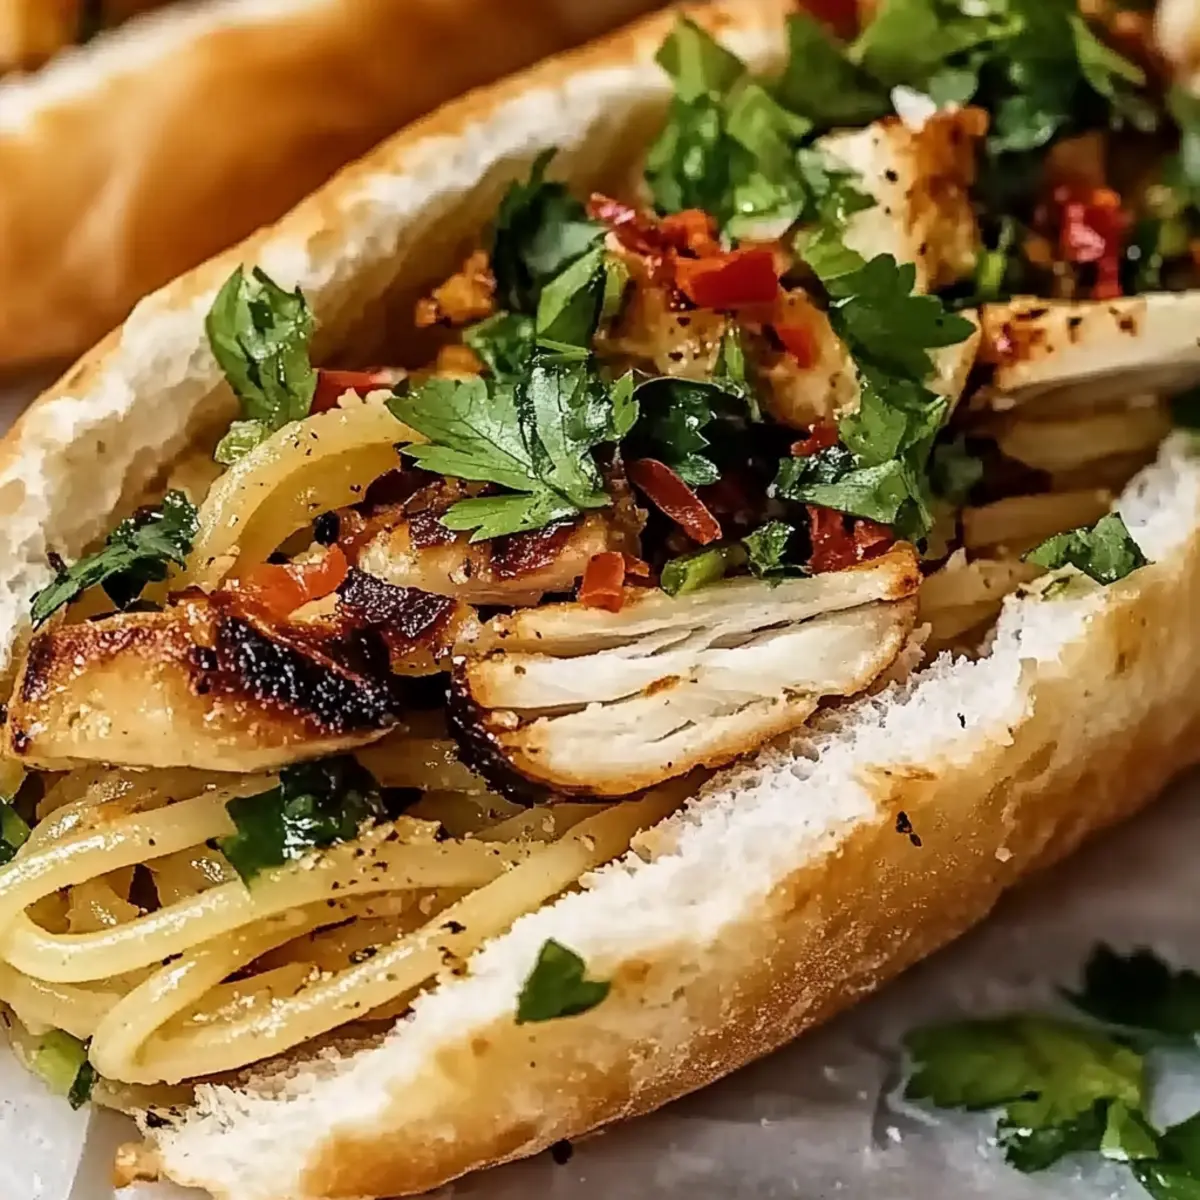
Why is Spaghetti Aglio e Olio a Must-Try?
Simplicity at Its Finest: With only five essential ingredients, this dish proves that dining well doesn’t require a lengthy ingredient list or complicated techniques.
Quick Cooking Time: On a busy evening? This recipe is your 20-minute solution, making it an ideal choice for weeknight dinners.
Bursting with Flavor: The savory garlic combined with the rich olive oil and spicy red pepper flakes creates an explosion of taste that will delight your palate.
Versatile Dish: Feel free to customize! Add a sprinkle of Parmesan, some fresh basil, or even toss in cooked shrimp or chicken for added protein, similar to our Garlic Chicken Broccoli.
Perfect for Any Occasion: Whether it’s a cozy date night or a quick meal for yourself, this recipe fosters an inviting atmosphere, much like our crowd-pleasing Bang Bang Chicken. Enjoy the charm of Italian cuisine at home!
Spaghetti Aglio e Olio Ingredients
Discover how simple ingredients can elevate your meals!
For the Pasta
- Spaghetti – The main star; use high-quality dried spaghetti for the best texture.
For the Sauce
- Garlic – Thinly sliced for optimal flavor; it’s the heart of this classic dish.
- Olive Oil – Extra virgin is preferred; it adds richness and depth to the sauce.
- Red Pepper Flakes – Adjust according to your spice tolerance for the perfect kick.
- Salt – Essential for seasoning the pasta water; enhances flavors wonderfully.
For Garnish
- Parsley (optional) – Fresh and vibrant; a great color contrast can be achieved by substituting with basil for a different twist.
This Spaghetti Aglio e Olio ingredients list not only ensures you’re set for a delightful meal but allows for variations that suit your tastes perfectly!
Step‑by‑Step Instructions for Irresistible Chicken Torta Sandwich
Step 1: Prepare the Chicken
Start by marinating your chicken breast in a mix of olive oil, garlic, lime juice, and your favorite spices for about 30 minutes. While it marinates, preheat your grill or skillet over medium-high heat. The oil should shimmer when ready. This will ensure the chicken develops a beautiful golden crust while staying juicy inside.
Step 2: Cook the Chicken
Place the marinated chicken breast on the grill or skillet, cooking for 6–7 minutes on each side. Use a meat thermometer to check for doneness; the internal temperature should reach 165°F. Let the chicken rest for a few minutes after removing it from heat. This step is crucial to locking in the juices that make your Chicken Torta Sandwich tender and flavorful.
Step 3: Prepare the Bread
While the chicken is resting, slice your bolillo or telera rolls in half. Lightly toast the cut sides on the grill or in a toaster until they are golden brown. This adds crunch and prevents the bread from becoming soggy when filled with delicious toppings.
Step 4: Assemble the Sandwich
Spread a generous layer of mayonnaise on both sides of the toasted bread. Next, slice the grilled chicken and layer it on one half of each roll. Add fresh toppings such as crisp lettuce, juicy tomatoes, and tangy pickled jalapeños. This combination brings brightness to your Chicken Torta Sandwich that complements the rich flavors wonderfully.
Step 5: Add Cheese and Finish
Sprinkle shredded cheese, such as Oaxaca or Monterey Jack, over the chicken. If desired, place the assembled sandwiches on the grill for a minute to melt the cheese slightly, making it extra delicious. Cover with the top half of the roll and press down gently to compact the sandwich and allow all those flavors to meld together.
Step 6: Serve and Enjoy
Cut the Chicken Torta Sandwichs in half to make them easier to handle and reveal that inviting layer of gooey cheese inside. Serve immediately with lime wedges on the side for a citrusy kick. Perfect for a quick lunch or a cozy dinner, this sandwich is bound to be a family favorite!
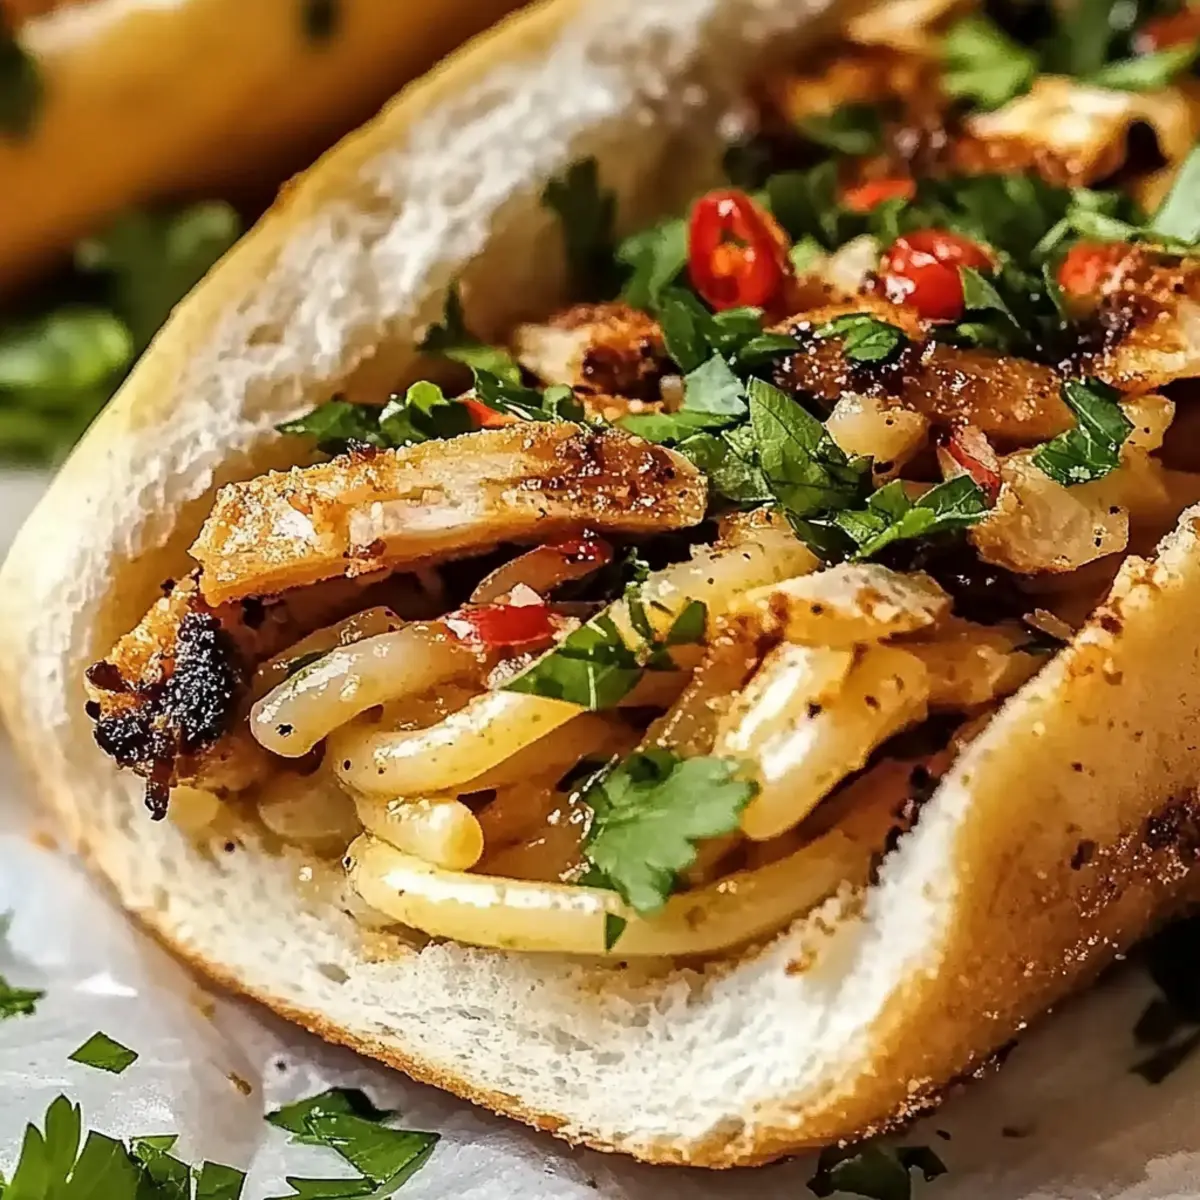
Variations & Substitutions for Spaghetti Aglio e Olio
Feel free to put your spin on this classic dish and make it your own!
-
Dairy-Free: Omit Parmesan cheese or use a plant-based alternative for a creamy flavor without dairy.
-
Whole Wheat Pasta: Swap spaghetti for whole wheat pasta for a heartier, more nutritious twist. It’s a simple change that adds a nice nutty flavor!
-
Vegetable Boost: Toss in some sautéed spinach or zucchini for extra vitamins and a pop of color. This addition enhances both texture and taste.
-
Protein-Packed: For a more filling meal, incorporate grilled chicken or shrimp to the mix. They soak up the aromatic garlic and pair beautifully with the olive oil.
-
Creamy Delight: Add a splash of heavy cream or a dollop of mascarpone for a luxurious twist. This will create a deliciously creamy sauce that is utterly irresistible!
-
Garlic-Infused Oil: Instead of adding fresh garlic to the dish, infuse your olive oil with garlic ahead of time for an intensified flavor. It’s simple but gives a delightful depth!
-
Zesty Lemon: Squeeze fresh lemon juice over the finished dish to brighten it up. This adds a refreshing zing that pairs wonderfully with the richness of the oil.
Don’t forget to try this dish alongside a light salad or some garlic bread for the perfect meal, just like with our delightful Santa Chicken Skillet!
Make Ahead Options
These Spaghetti Aglio e Olio are perfect for meal prep, allowing you to enjoy a delicious Italian dinner on busy weeknights! You can prepare the garlic oil up to 24 hours in advance by slicing the garlic and combining it with olive oil in a sealed container—this deepens the flavors beautifully. The spaghetti can be cooked a day ahead; just be sure to toss it in a little olive oil to prevent sticking. When you’re ready to serve, quickly reheat the garlic oil in a skillet, add the spaghetti, and toss with reserved pasta water to create that signature silky sauce. You’ll have a delightful dish that’s just as satisfying as when made fresh, saving you precious time during hectic evenings!
Storage Tips for Spaghetti Aglio e Olio
-
Room Temperature: Spaghetti Aglio e Olio is best enjoyed fresh. If left out, consume within 2 hours to ensure food safety.
-
Fridge: Store leftovers in an airtight container in the refrigerator for up to 2 days. Gently reheat on the stovetop over low heat, adding a splash of olive oil to refresh the dish.
-
Freezer: While freezing isn’t ideal for this dish, you can freeze it for up to 1 month. To enjoy, thaw overnight in the fridge and reheat with a touch of oil to prevent drying out.
-
Reheating: When reheating, use a sauté pan with a little olive oil. Stir frequently to heat evenly and maintain that delightful garlic flavor!
Expert Tips for Spaghetti Aglio e Olio
-
Garlic Perfection: Slice garlic thinly to enhance flavor. Avoid browning it too much, as burnt garlic can impart a bitter taste to your sauce.
-
Quality Oil Matters: Always choose high-quality extra virgin olive oil. It significantly elevates the taste of your Spaghetti Aglio e Olio.
-
Don’t Skip the Salt: Remember to season your pasta water generously with salt. It’s crucial for bringing out the flavors in your dish.
-
Moisture Control: Reserve some pasta water before draining. This starchy liquid is a lifesaver if your sauce needs a touch more creaminess.
-
Custom Spice Levels: Adjust red pepper flakes based on personal preference. Start with less if unsure, as you can always add more after tasting.
-
Freshness Counts: Garnish with freshly chopped parsley just before serving. This brings a vibrant pop of color and freshness to your dish.
What to Serve with Spaghetti Aglio e Olio
Elevate your dining experience with complementary dishes that perfectly complement the savory richness of this classic Italian delight.
-
Garlic Bread: A crunchy, buttery treat with a garlicky aroma that enhances the flavors in your spaghetti.
-
Caprese Salad: Fresh mozzarella, ripe tomatoes, and fragrant basil provide a refreshing contrast to the warm, oily pasta.
-
Grilled Vegetables: Smoky asparagus or zucchini adds texture and a colorful splash to your meal, balancing heartiness with freshness.
-
Bruschetta: Crisp toasted bread topped with tomatoes and basil mirrors the flavors in the spaghetti while inviting a fun, shareable starter.
-
Spinach Salad: Light, peppery greens dressed in a lemon vinaigrette offer a delightful contrast, cleansing the palate after the rich pasta dish.
-
Limoncello: This zesty lemon liqueur serves as a refreshing digestif, perfect for rounding out your Italian dining experience.
As you enjoy your Spaghetti Aglio e Olio, each of these pairings leads to a delightful culinary journey that embraces the heart of Italian cuisine!
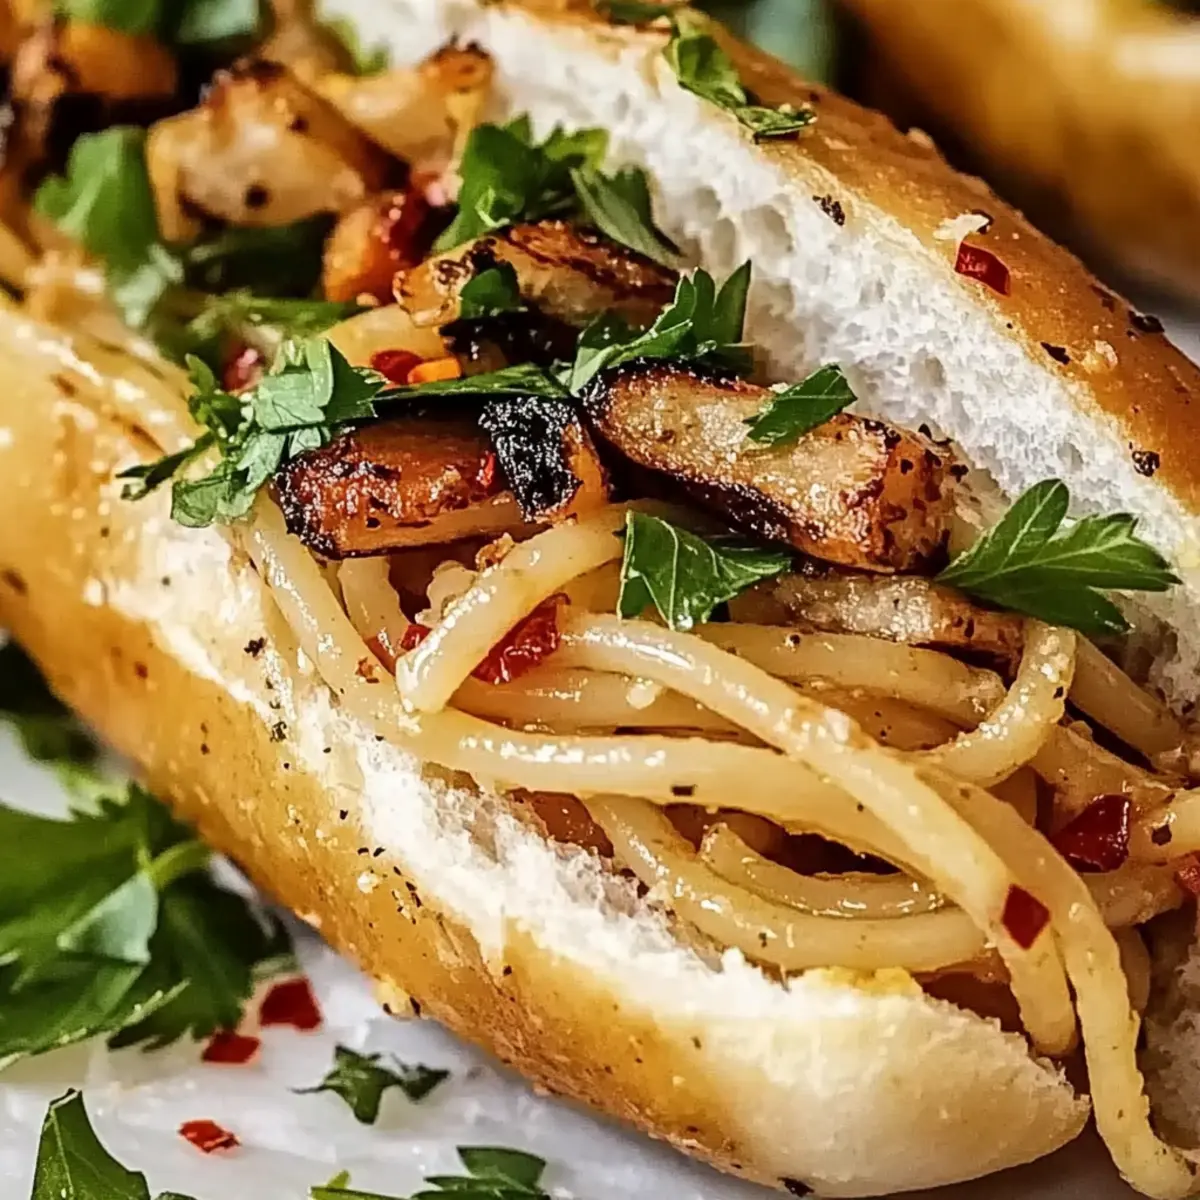
Spaghetti Aglio e Olio Recipe FAQs
What type of spaghetti should I use for Aglio e Olio?
Absolutely! For authentic Spaghetti Aglio e Olio, I recommend using high-quality dried spaghetti. This provides the perfect texture, ensuring each strand holds the luscious garlic oil beautifully.
How do I store leftovers of Spaghetti Aglio e Olio?
Leftover Spaghetti Aglio e Olio can be stored in an airtight container in the refrigerator for up to 2 days. When you’re ready to enjoy it again, gently reheat on the stovetop over low heat, adding a splash of olive oil to keep it moist and flavorful.
Can I freeze Spaghetti Aglio e Olio?
While freezing isn’t ideal for this dish due to the garlic flavor sometimes dulling, it can be frozen for up to 1 month if necessary. To freeze, let it cool completely, then place it in a freezer-safe container. When you’re ready to eat, thaw it overnight in the fridge, then reheat gently with a drizzle of olive oil.
What should I do if my garlic burns while cooking?
Very! If your garlic does burn, it’s best to start over because burnt garlic has a bitter taste that can ruin your dish. To avoid this in the future, cook garlic on medium heat and keep an eye on it, stirring frequently. If you see it turning golden, it’s time to add the red pepper flakes.
Is Spaghetti Aglio e Olio suitable for people with allergies?
Yes! It’s quite a friendly recipe for most diets, being vegetarian and free from many common allergens. However, be mindful of garlic allergies. Substitute garlic with sautéed shallots for a milder flavor. If you have a gluten sensitivity, you can use gluten-free pasta. Always double-check ingredient labels for any hidden allergens!
How can I customize the spiciness of my Spaghetti Aglio e Olio?
The more the merrier! Adjust the amount of red pepper flakes according to your spice tolerance. Start with a small pinch, taste the oil after stirring in, and gradually increase until you reach your desired heat level. This way, everyone can enjoy their own perfect spaghetti experience!
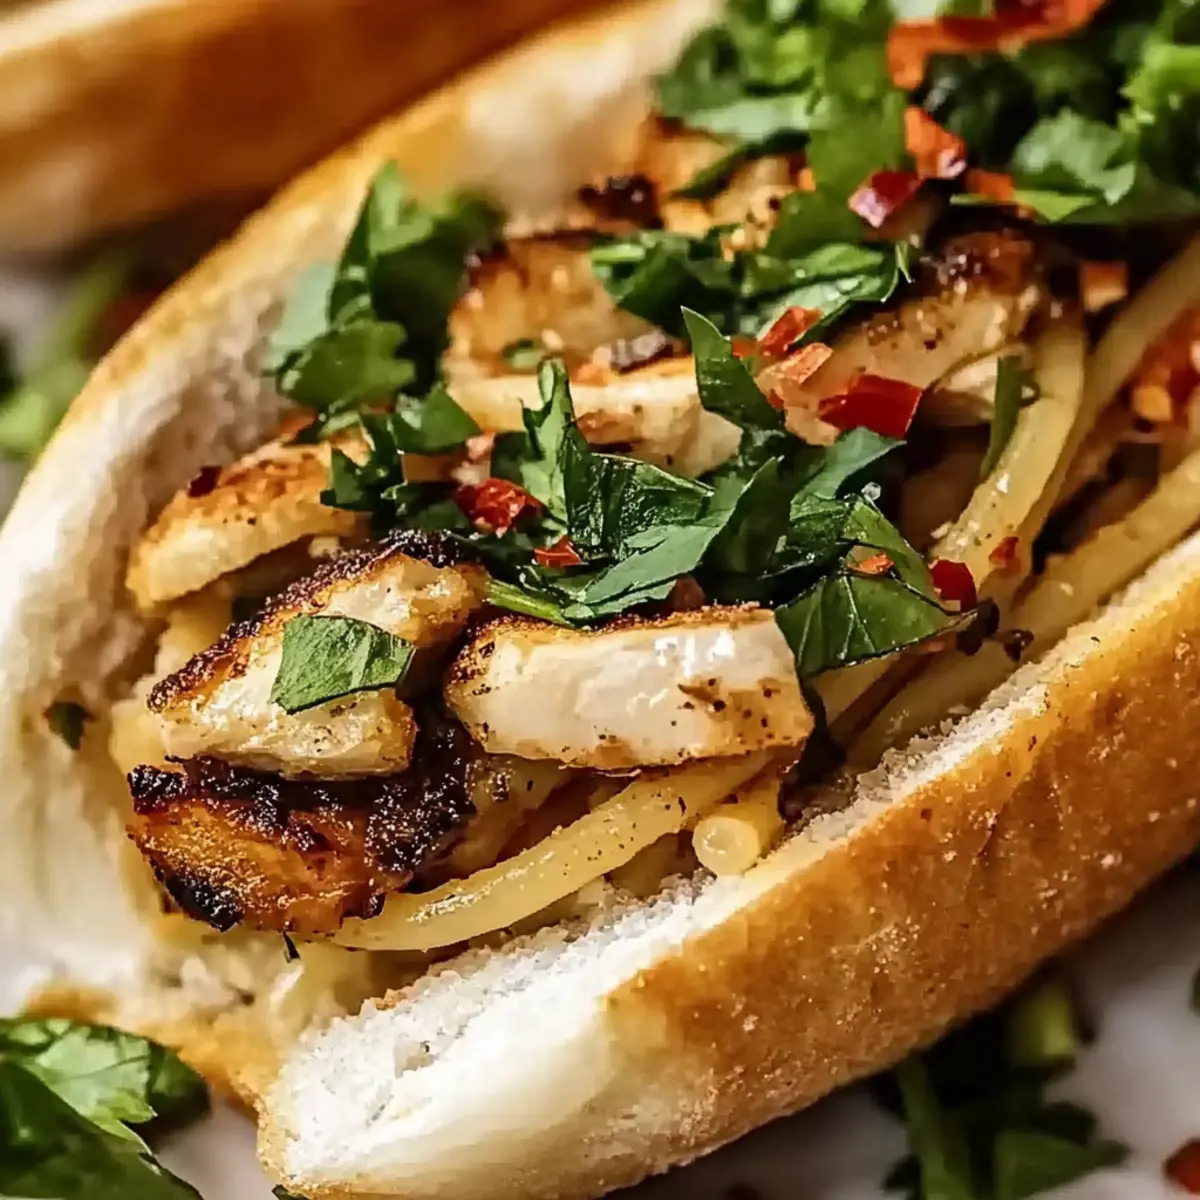
Irresistible Chicken Torta Sandwich: A Flavorful Homemade Delight
Ingredients
Equipment
Method
- Marinate the chicken breast in a mix of olive oil, garlic, lime juice, and your favorite spices for about 30 minutes.
- Preheat your grill or skillet over medium-high heat.
- Cook the marinated chicken breast for 6-7 minutes on each side or until the internal temperature reaches 165°F.
- Let the chicken rest for a few minutes after removing it from heat.
- Slice bolillo or telera rolls in half and toast the cut sides until golden brown.
- Spread mayonnaise on both sides of the toasted bread and slice the grilled chicken.
- Layer the chicken on one half of each roll and add fresh toppings.
- Sprinkle shredded cheese over the chicken and compress the sandwich.
- Cut the sandwiches in half and serve with lime wedges.