

As I stood in my kitchen, the scent of summer filled the air, and I couldn’t help but smile at the thought of a creamy, refreshing dessert that could bring a little joy to any gathering. Enter the Strawberry Icebox Cake, a delightful no-bake treat that boasts layers of luscious strawberries and fluffy vanilla whipped cream, all nestled between crunchy graham crackers. This easy dessert not only takes just 15 minutes to prep from scratch but also leaves room for creativity—feel free to swap in your favorite fruits or cookie bases! Perfect for those warm days when baking feels like a chore, this cake will impress your guests while allowing you to stay cool and collected. Are you ready to dive into this sweet summer delight?
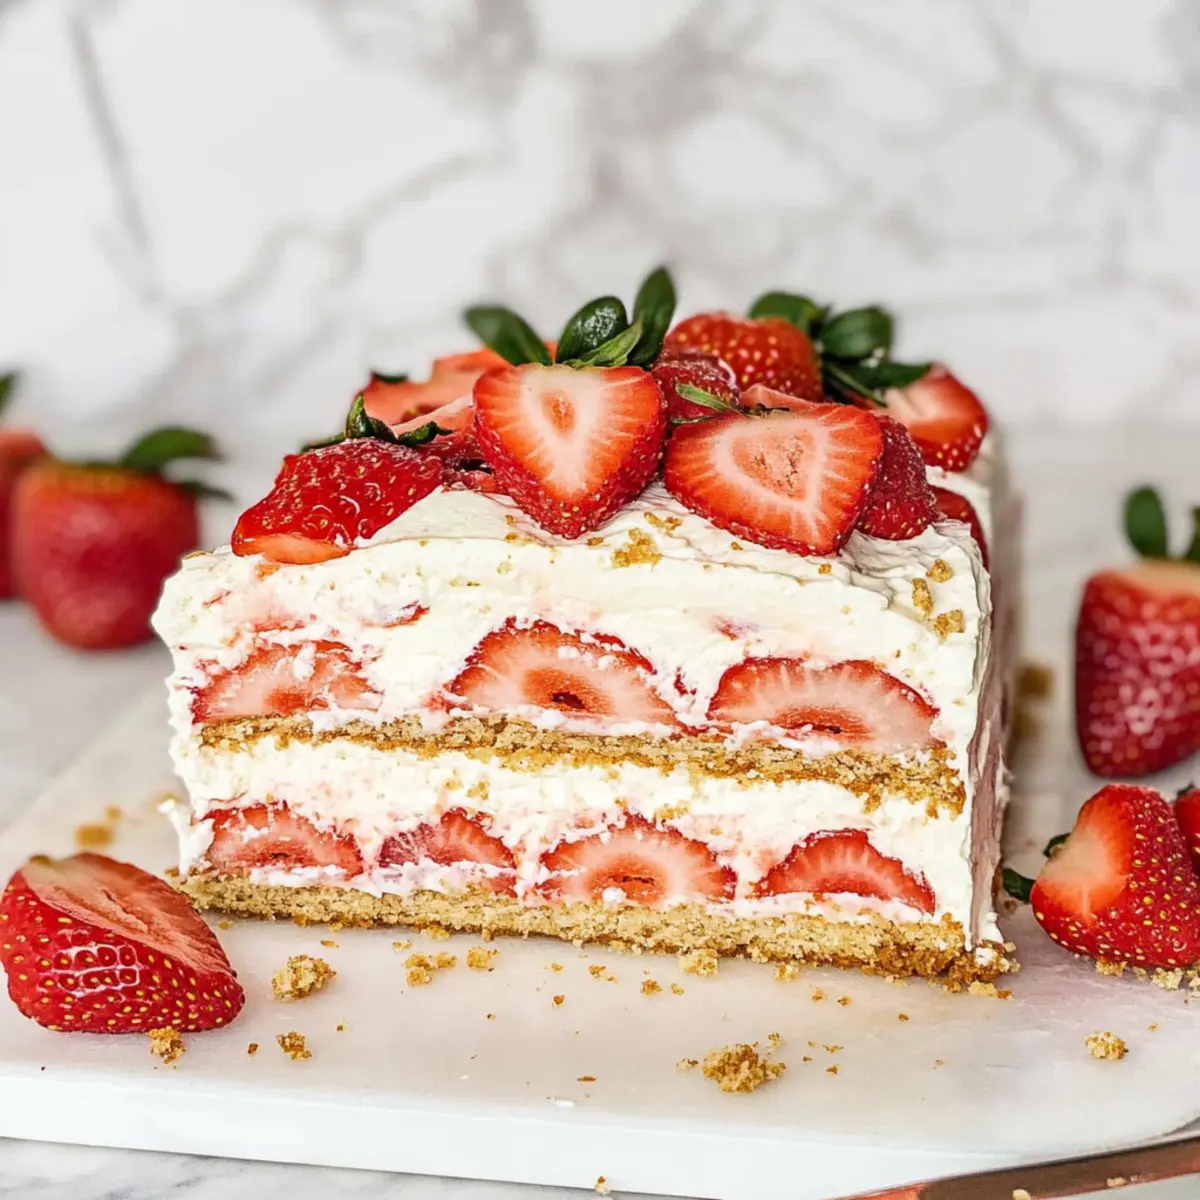
Why is Strawberry Icebox Cake a Must-Try?
No-Bake Delight: This strawberry icebox cake requires zero baking, making it perfect for busy summer days when you want dessert without the heat!
Short Prep Time: With just 15 minutes of prep, you can whip this beauty together in no time, leaving you more time to enjoy summer fun.
Customization Galore: The recipe welcomes creativity—swap strawberries for other fruits like raspberries or blueberries for a unique twist that suits your taste.
Elegant Presentation: Impress your guests with its gorgeous layers of vibrant strawberries and fluffy cream, perfect for brunches, picnics, or dinner parties.
Kid-Friendly: This delicious cake is not only a crowd-pleaser for adults but also a hit with kids, making it an ideal family-friendly dessert. Plus, if you love simple yet delightful treats, check out our Cinnamon Roll Cake for another easy indulgence!
Strawberry Icebox Cake Ingredients
• Dive into this refreshing creation with ease!
For the Cake Layers
- Graham Crackers – These crunchy treats provide the perfect structure for your strawberry icebox cake; gluten-free options work well too!
- Fresh Strawberries – Essential for that juicy flavor and bright color; remember to avoid frozen strawberries unless thawed and dried properly.
For the Whipped Filling
- Heavy Cream (36% fat) – This is crucial for whipping into a delightful, fluffy cream; make sure it’s cold for best results.
- Mascarpone (41% fat) – Adds a rich, creamy texture that complements the whipped cream beautifully; also ensure it’s cold before mixing.
- Powdered Sugar – Sweetens and stabilizes your whipped cream; if you’re out, consider using a powdered sugar alternative.
- Vanilla Extract – Enhances flavor and adds a lovely aroma; pure vanilla extract is preferred for the best taste.
For Garnish
- Decorative Strawberries – Use fresh or freeze-dried strawberries to elevate your cake’s presentation, giving it that bakery-style finish!
Step‑by‑Step Instructions for Strawberry Icebox Cake
Step 1: Prepare the Strawberries
Start by rinsing 2 cups of fresh strawberries under cold water. Remove the stems and slice the strawberries evenly to ensure they layer beautifully. Set aside the sliced strawberries while you prepare the cake layers, allowing their juicy essence to enhance the flavors of the Strawberry Icebox Cake.
Step 2: Line the Tin
Take a loaf tin (approximately 9×5 inches) and line it with aluminum foil or plastic wrap. Ensure that the lining overlaps the edges for easy removal later. This step is crucial for creating a beautiful presentation and makes it easy to lift the cake out once it has set.
Step 3: Whip the Filling
In a mixing bowl, combine 1 cup of cold heavy cream and 1 cup of cold mascarpone. Sift in 1/4 cup of powdered sugar and add 1 teaspoon of pure vanilla extract. Using an electric mixer, whip the mixture on medium speed for 2-3 minutes until it becomes fluffy and holds soft peaks. The filling should be creamy and light, perfect for layering.
Step 4: Start Layering
Begin the layering process by adding a generous portion of whipped cream at the bottom of the lined tin. Smooth it out using a spatula. Next, arrange a layer of graham crackers on top, followed by a layer of sliced strawberries. This combination will create the delightful foundation of your Strawberry Icebox Cake.
Step 5: Repeat the Process
Continue to alternate layers by adding more whipped cream, another layer of graham crackers, and more strawberries. Repeat until you run out of ingredients, ensuring the final layer is a light and smooth spread of whipped cream. This layering method creates a gorgeous, multi-textured cake.
Step 6: Chill the Cake
Once you have finished layering, cover the cake tightly with plastic wrap. Refrigerate it for at least four hours, allowing the graham crackers to soften beautifully and meld with the whipped cream and strawberries. For best results, let it chill overnight to enhance the flavors.
Step 7: Freeze for Slicing
When you are ready to serve, remove the cake from the refrigerator. For easier slicing, place the cake in the freezer for about 30 minutes. This helps firm up the layers, making it a breeze to invert the cake onto a serving platter without damaging its structure.
Step 8: Garnish and Serve
Once out of the freezer, carefully lift the cake from the loaf tin using the overhanging foil or wrap. Decorate the top with extra whipped cream, fresh sliced strawberries, and a sprinkle of freeze-dried strawberries for a pop of color. Cut into slices and relish the delightful Strawberry Icebox Cake!
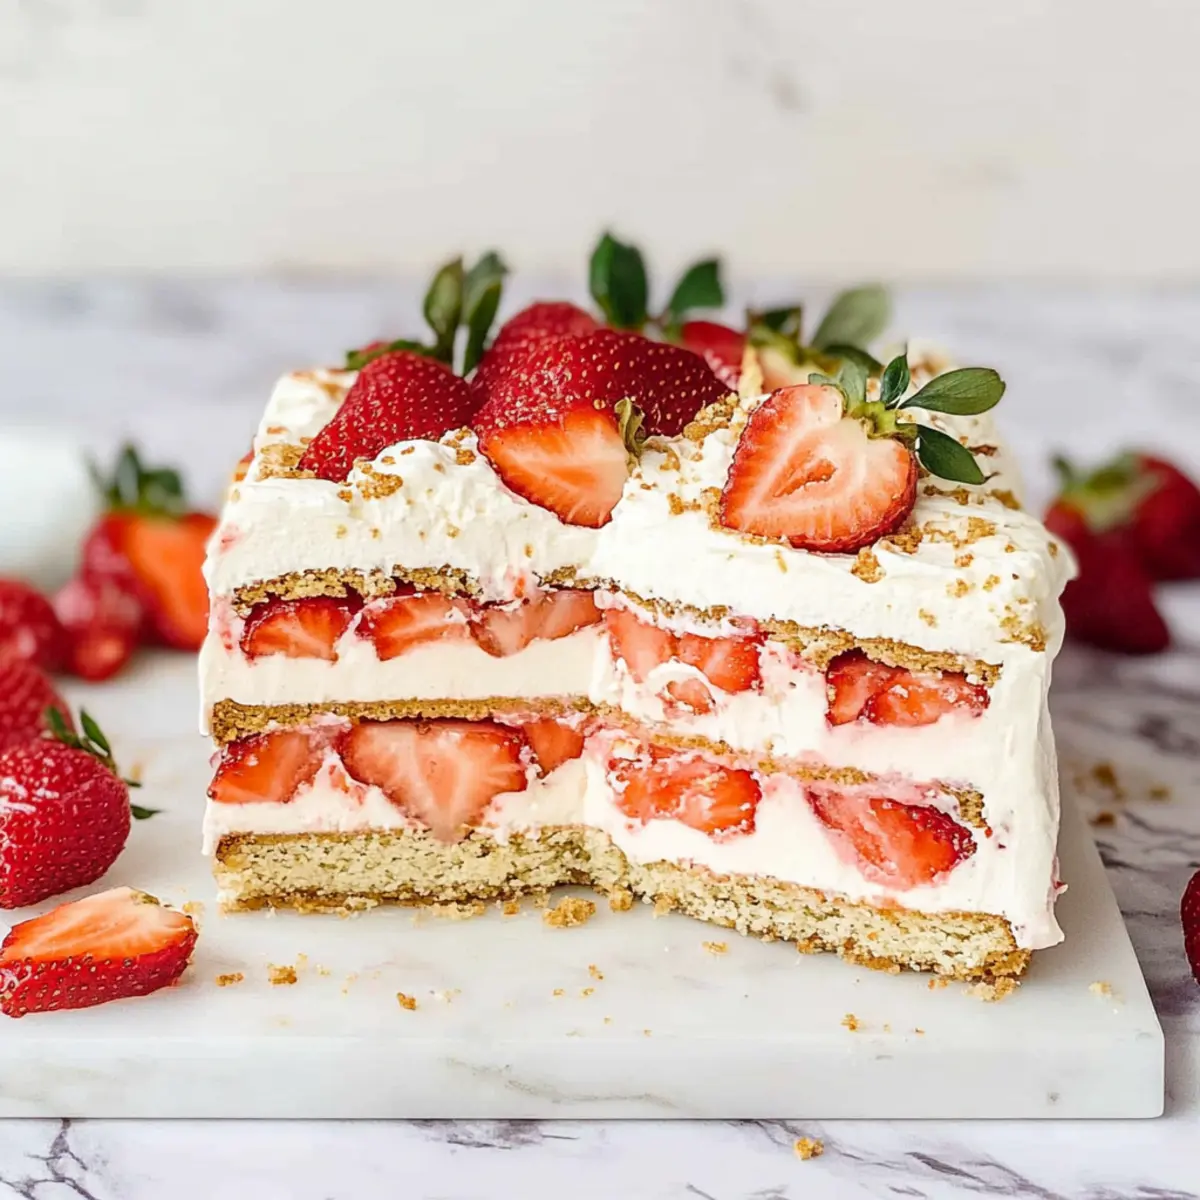
Make Ahead Options
These Strawberry Icebox Cakes are perfect for meal prep enthusiasts looking to save time on busy days! You can assemble the cake up to 24 hours in advance by layering the whipped cream, strawberries, and graham crackers in a lined loaf tin. Cover tightly with plastic wrap and refrigerate to keep it fresh and prevent the strawberries from browning. For optimal flavor, let it chill overnight, allowing the ingredients to meld together beautifully. When you’re ready to serve, simply freeze the cake for about 30 minutes before inverting it onto a platter—this makes slicing a breeze and ensures it’s just as delicious! Enjoy your effortlessly impressive dessert!
Strawberry Icebox Cake Variations
Feel free to let your creativity shine as you customize this dessert with exciting twists and substitutes!
-
Other Berries: Swap strawberries for raspberries, blueberries, or blackberries for a delightful change in flavor and color.
-
Cookie Alternatives: Try using chocolate wafer cookies or Oreo crumbles instead of graham crackers for a deliciously different base. The chocolate will add a rich depth, creating a fantastic contrast with the fruit.
-
Fruit Purees: Introduce interesting flavors by blending fruit purees (like mango or peach) into the whipped cream for a luscious taste that complements the fruity layers.
-
Cream Cheese Layer: Add a creamy layer of sweetened cream cheese above the whipped cream for a tangy twist that balances the sweetness. This unexpected layer can deepen the overall flavor profile.
-
Chocolate Twist: Mix in unsweetened cocoa powder into the whipped cream for a chocolatey version of the cake. This delightful twist will appeal to chocolate lovers!
-
Spicy Kick: Add a dash of cinnamon or a sprinkle of cayenne pepper for an unexpected kick that ignites the flavors of the strawberries and cream. It’s a fun conversation starter too!
-
Switch Up the Sugar: Use coconut sugar or a sugar substitute if you’re looking for a different sweetener. Adjust to taste to retain the delightful sweetness of the cake.
-
Layer with Jams: Consider spreading thin layers of strawberry jam or fruit preserves between the cake layers for a burst of flavor that enhances the overall taste experience.
Don’t forget to explore more delicious options, like the tangy flavors of our Lemon Velvet Cake or the rich indulgence of Biscoff Cake Gooey. Enjoy the delicious journey of creating your very own Strawberry Icebox Cake!
What to Serve with Strawberry Icebox Cake?
As you delight in the creamy layers of this chilled dessert, consider enhancing your meal with complementary flavors and textures.
-
Fresh Mint Sprig: Adds a vibrant pop of flavor to the rich sweetness. This aromatic herb serves as both garnish and palate cleanser.
-
Zesty Lemonade: A glass of homemade lemonade provides a refreshing citrus contrast, balancing the sweetness of the cake beautifully.
-
Chocolate-Covered Strawberries: Elevate your dessert experience with these indulgent treats. Gorgeous and luscious, they pair perfectly with the lightness of the icebox cake.
-
Coconut Whipped Cream: An alternative to traditional cream that offers a tropical twist. This light, airy topping adds an exotic flair and subtle sweetness to each bite.
-
Homemade Berry Sauce: Drizzle a vibrant sauce made from blended and strained berries. It introduces a fresh tartness that beautifully contrasts the creamy layers.
-
Nuts and Seeds: A sprinkle of toasted almonds or sunflower seeds adds a satisfying crunch that beautifully balances the soft textures of the cake.
-
Iced Herbal Tea: Cool down with a refreshing iced herbal tea. Its natural sweetness complements the fruity flavors of the cake without overpowering them.
-
Fruit Salad: A light fruit salad with a mix of seasonal fruits provides a refreshing and colorful complement, ensuring your dessert remains the star of the show.
-
Vanilla Ice Cream: A scoop of creamy vanilla ice cream adds richness and a delightful contrast to the cake’s fruity layers, creating a decadent dessert duet.
How to Store and Freeze Strawberry Icebox Cake
Fridge: Store any leftovers in an airtight container in the refrigerator for up to 2 days. The flavors will continue to meld, making it even more delicious!
Freezer: If you want to keep your strawberry icebox cake longer, it can be frozen for up to 3 months. Wrap it tightly in plastic wrap, then in aluminum foil to prevent freezer burn.
Thawing: When ready to enjoy, transfer the cake to the fridge and let it thaw overnight. This helps maintain the creamy texture of the cake.
Reheating: There’s no need to reheat; simply slice and serve chilled for the best experience of your luscious strawberry icebox cake!
Expert Tips for Strawberry Icebox Cake
• Chill Everything: Make sure both heavy cream and mascarpone are very cold before whipping. This helps create the perfect fluffy texture in your Strawberry Icebox Cake.
• Layer Smart: Alternate layers evenly to prevent sogginess. Use an even distribution of whipped cream and strawberries between graham crackers for a balanced flavor.
• Respect the Time: Never skip the chilling time! It allows the graham crackers to soften and meld with the filling, ensuring your cake is cohesive and delicious.
• Avoid Watery Cake: If you must use frozen strawberries, thaw them thoroughly and pat them dry first. This prevents excess moisture, keeping your dessert from becoming runny.
• Garnish Wisely: Enhance presentation by using a mix of fresh and freeze-dried strawberries on top. This not only looks beautiful but adds a delightful crunch too!
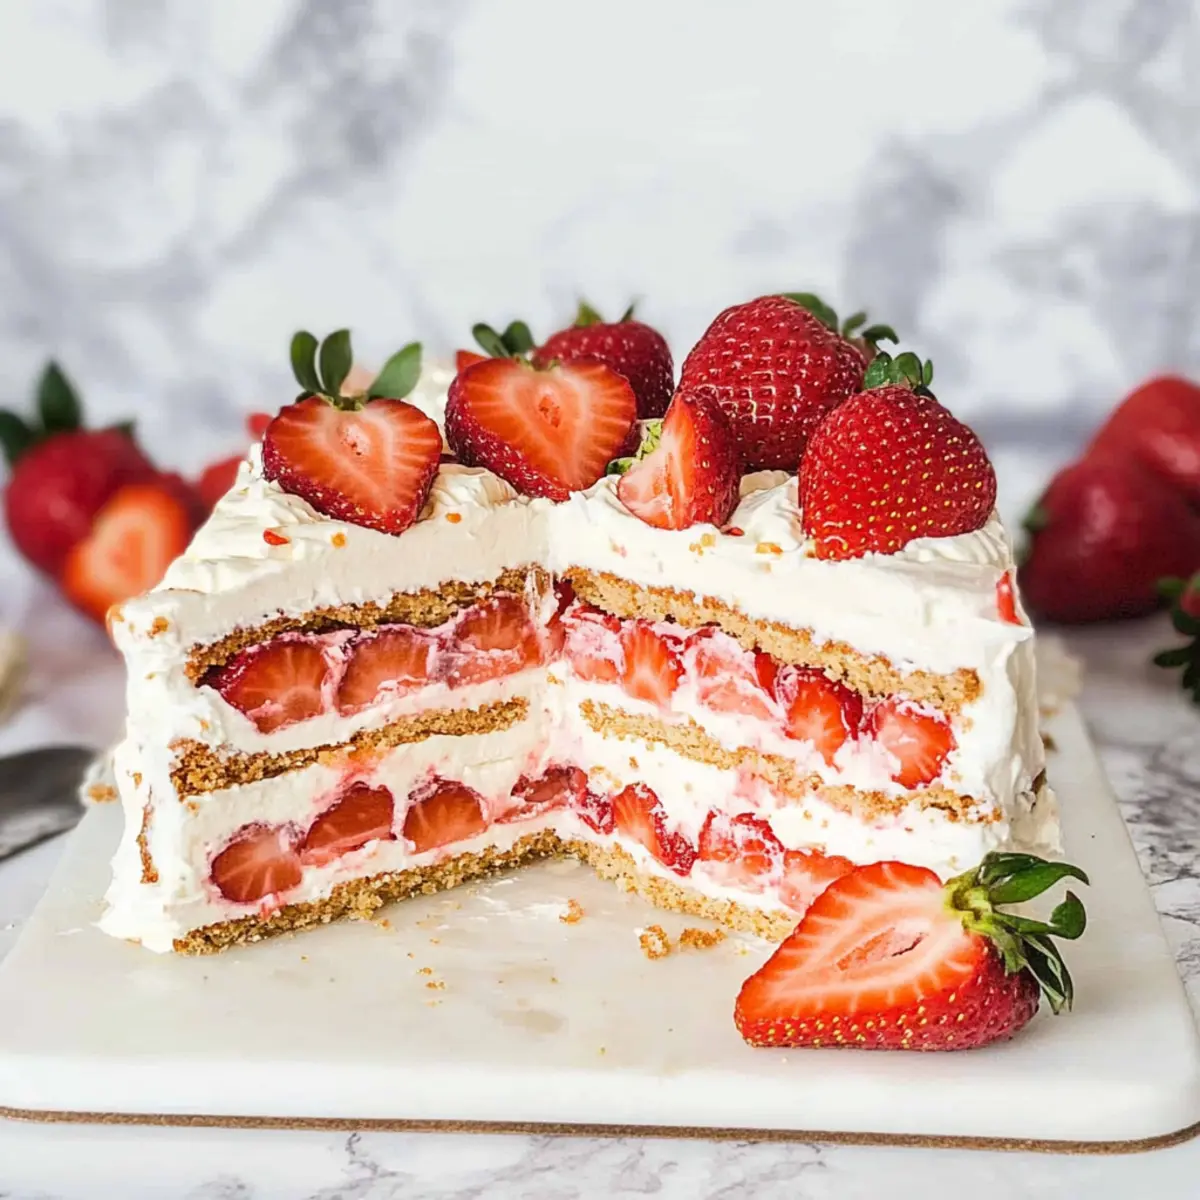
Strawberry Icebox Cake Recipe FAQs
What type of strawberries should I use for the best flavor?
Absolutely! Fresh strawberries are essential for this dessert, as they offer the most flavor and vibrant color. Look for strawberries that are bright red, plump, and firm without any dark spots. Avoid frozen strawberries unless they’re thoroughly thawed and patted dry since their excess moisture can make the cake soggy.
How should I store leftovers of the Strawberry Icebox Cake?
You can store any leftovers in an airtight container in the refrigerator for up to 2 days. The flavors will continue to meld together, making the cake even more delightful as it sits. However, for the best texture and flavor, I recommend enjoying it on the same day if possible!
Can I freeze the Strawberry Icebox Cake, and how?
Yes, you can freeze this cake for up to 3 months! To do so, wrap the entire cake tightly in plastic wrap, and then cover it with aluminum foil to prevent freezer burn. When you’re ready to enjoy it, simply move it to the fridge to thaw overnight. This method helps maintain its creamy texture while keeping it delicious!
What if my whipped cream doesn’t achieve soft peaks?
Very often, this happens if your cream or mascarpone isn’t cold enough, or if you’ve over-whipped it. To troubleshoot, start by ensuring both ingredients are chilled in the refrigerator before use. If it’s over-whipped, you can gently fold in a splash of heavy cream to help combine the mixture and achieve that light, fluffy texture again.
Can I customize the ingredients for dietary preferences?
The more the merrier! Feel free to swap strawberries for other fruits like raspberries or blueberries. You can also use gluten-free graham crackers to accommodate dietary restrictions. If you’re looking for a lower-fat version, consider substituting part of the mascarpone with a lower-fat cream cheese. Just ensure it remains cold for the best results!
Is this Strawberry Icebox Cake suitable for pets?
It’s best to avoid sharing this cake with pets, especially dogs. The whipped cream and sugar content can upset their stomachs; instead, opt for dog-friendly fruit treats or simply enjoy this delightful dessert all for yourself!
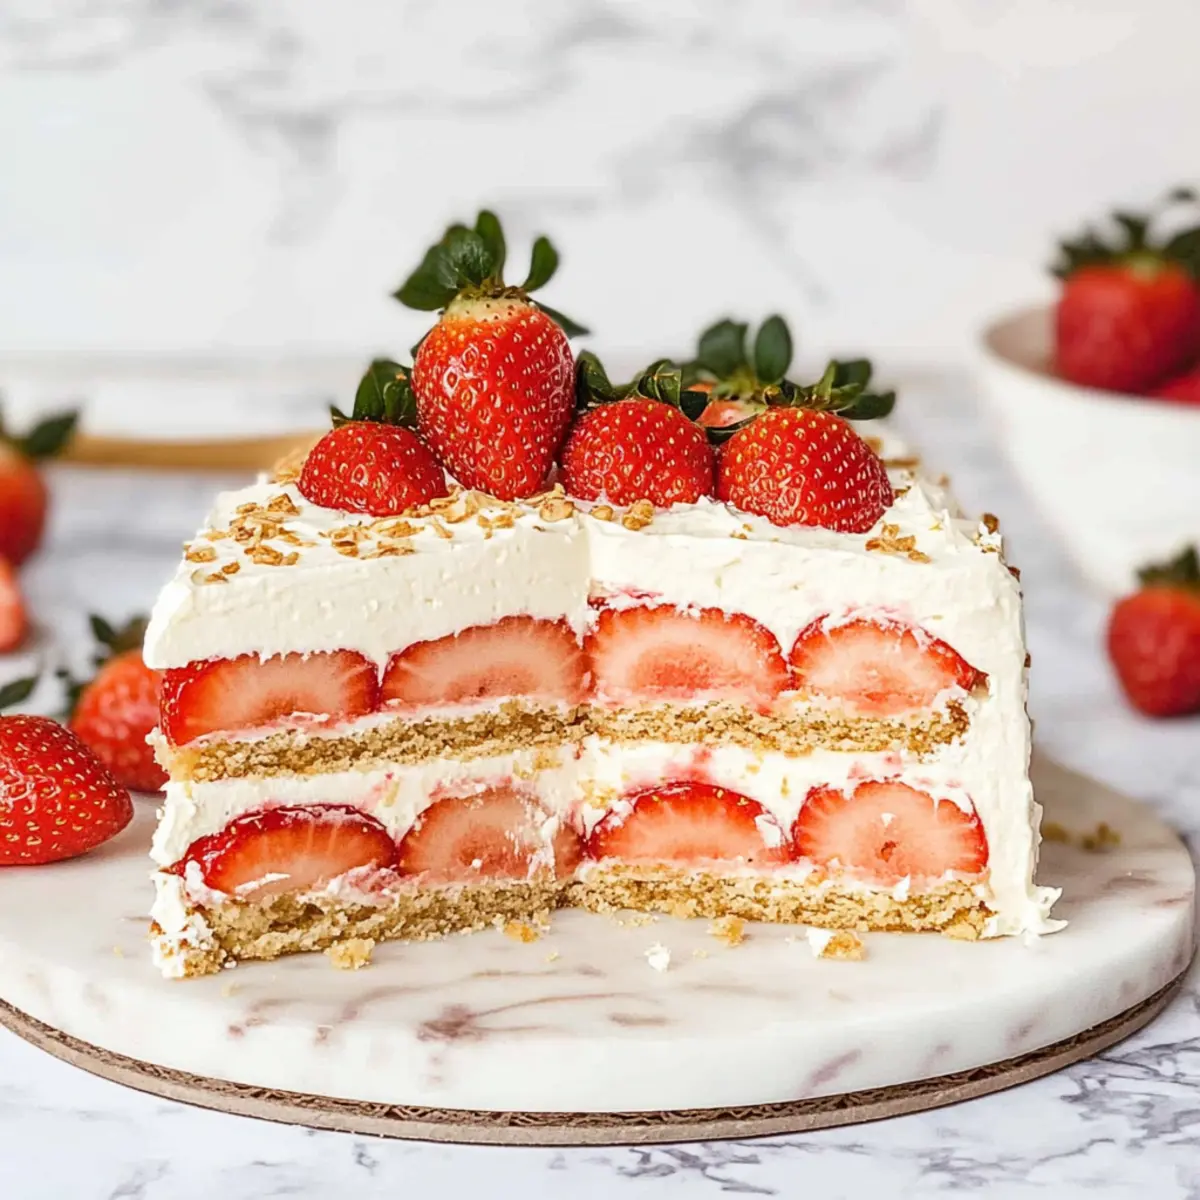
Refreshing Strawberry Icebox Cake for Easy Summer Indulgence
Ingredients
Equipment
Method
- Prepare the Strawberries: Rinse 2 cups of fresh strawberries, remove stems and slice evenly. Set aside to enhance flavors.
- Line the Tin: Line a 9x5 inches loaf tin with aluminum foil or plastic wrap for easy removal.
- Whip the Filling: In a bowl, combine 1 cup of cold heavy cream and 1 cup of cold mascarpone. Sift in 1/4 cup of powdered sugar and add 1 teaspoon of vanilla extract. Whip until fluffy.
- Start Layering: Add a portion of whipped cream at the bottom of the tin. Layer graham crackers and sliced strawberries on top.
- Repeat the Process: Alternate layers of whipped cream, graham crackers, and strawberries until ingredients are used, finishing with whipped cream.
- Chill the Cake: Cover tightly and refrigerate for at least 4 hours or overnight for best results.
- Freeze for Slicing: Before serving, freeze for about 30 minutes to help with slicing.
- Garnish and Serve: Lift from tin, decorate with whipped cream and strawberries, slice and enjoy!