

The scent of sweet cherries filled the air, transporting me back to summer days spent in my grandmother’s kitchen. If you’ve ever longed for that nostalgic flavor without fussing over a traditional pie crust, then you’re in for a treat with these Easy Cherry Pie Bars with Cherry Pie Filling. These bars offer a delightful, buttery crust paired with a quick cherry filling that’s a breeze to prepare, making them the perfect solution for any last-minute dessert cravings. They’re not only a crowd-pleaser at gatherings, but they also store beautifully, ensuring that any leftovers can be snacked on throughout the week. Ready to indulge in a classic that captures all the charm of homemade goodness? Let’s dive into this simple recipe that’s sure to satisfy your sweet tooth!
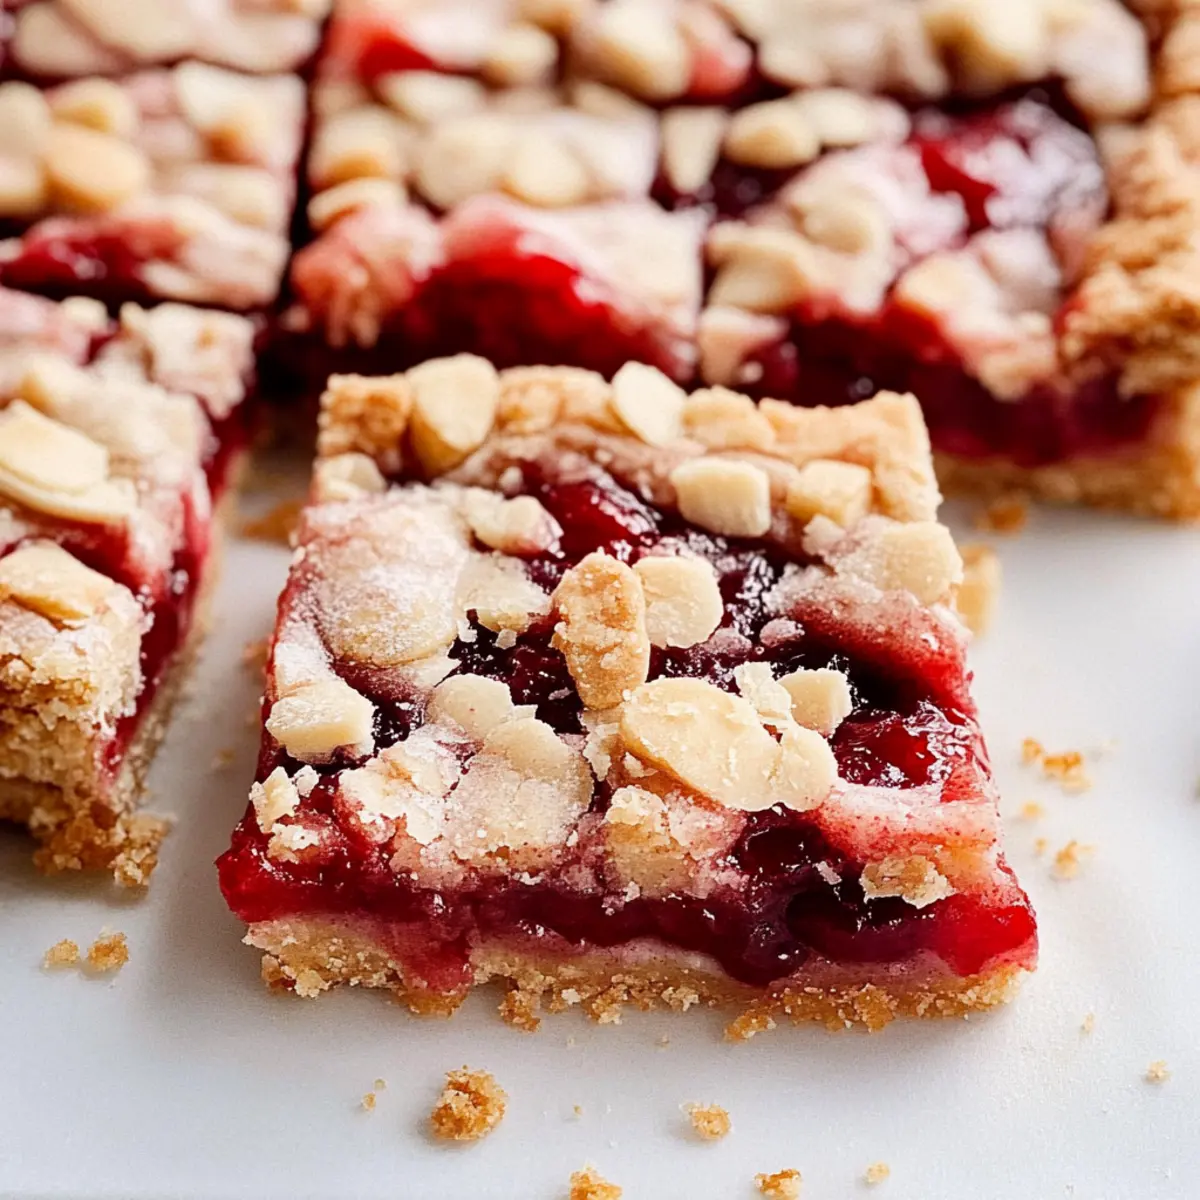
Why Make Cherry Pie Bars?
Easy Baking: With only a handful of ingredients, this recipe makes baking a delight, even for beginners.
Nostalgic Flavor: Each bite takes you back to those warm summer days—no fuss, just the taste of home!
Versatile Ingredients: Using canned cherry pie filling means quicker prep times, but feel free to swap in fresh cherries!
Perfect for Sharing: These bars are ideal for parties or family gatherings, providing a sweet treat that everyone will love.
Storage Friendly: They keep well for up to a week, so you can indulge in your homemade dessert any day of the week. Additionally, if you enjoy quick and satisfying dessert recipes, check out our Homemade Butter Chicken or Pasta Ground Beef for more culinary inspiration!
Cherry Pie Bars with Cherry Pie Filling
• Discover the perfect ingredients for a delightful treat!
For the Crust
- All-Purpose Flour – Crucial for structure; consider a gluten-free blend if needed.
- Baking Soda – Helps the bars rise for that perfect texture.
- Salt – Balances flavors; feel free to adjust to your preference.
- Ground Cinnamon – Adds warmth to the crust; omit if preferred.
- Unsalted Butter (melted) – A must for richness; vegan butter is a great substitute.
- Granulated Sugar – Sweetens the crust; brown sugar adds a touch of caramel flavor.
- Light Brown Sugar – Brings moisture and depth; can be replaced with granulated sugar.
- Vanilla Extract – Enhances sweetness with a lovely aroma; almond extract works too!
For the Cherry Filling
- Canned Cherry Pie Filling (21 oz) – This convenient ingredient delivers sweetness and tartness; fresh cherries are a great alternative with some adjustments.
- Cornstarch – Thickens the cherry filling; tapioca starch is a suitable substitute.
- Lemon Juice – Brightens the filling; fresh lemon juice is best!
For the Topping
- Sliced Almonds – Add a delightful crunch; walnuts or pecans are excellent alternatives.
With these ingredients for Cherry Pie Bars with Cherry Pie Filling, you’re all set to create a scrumptious dessert that will bring smiles all around!
Step‑by‑Step Instructions for Cherry Pie Bars with Cherry Pie Filling
Step 1: Preheat and Prepare
Begin by preheating your oven to 350°F (175°C). While the oven heats, grease a square baking pan (typically 9×9 inches) to ensure easy removal of your delicious cherry pie bars later. This step is crucial for achieving that perfect, golden crust that will hold the vibrant cherry filling.
Step 2: Mix Dry Ingredients
In a medium mixing bowl, whisk together 2 cups of all-purpose flour, 1 teaspoon of baking soda, ½ teaspoon of salt, and 1 teaspoon of ground cinnamon. This combination of dry ingredients will form the flavorful base of your crust. Look for an even, well-blended mixture that creates a wonderful aroma of warm spices as you incorporate everything together.
Step 3: Combine Wet Ingredients
In a large mixing bowl, combine ½ cup of melted unsalted butter, ¾ cup of granulated sugar, ¾ cup of light brown sugar, 2 teaspoons of vanilla extract, and ½ teaspoon of almond extract. Stir vigorously until creamy and well-blended. This sweet mixture will create a rich flavor that pairs beautifully with the cherry pie bars, so keep mixing until it’s smooth and inviting.
Step 4: Combine Mixtures
Gently fold the dry ingredients into the wet mixture using a spatula until just combined—take care not to overmix. In this step, reserve about ¾ cup of the dough to create a crumb topping. Stir in about ½ cup of sliced almonds into the remaining dough for added texture, ensuring each piece is coated in the sweet mixture for a delightful crunch.
Step 5: Press and Bake the Base
Take the remaining dough and press it evenly into the prepared baking pan, creating a solid base for your cherry pie bars. Bake in the preheated oven for 14 to 16 minutes, or until the edges are lightly golden and the center is set. Keep an eye on it—the crust should look slightly firm but still soft to the touch.
Step 6: Prepare Cherry Filling
While the crust is baking, prepare the cherry filling by combining a 21 oz can of cherry pie filling with 1 tablespoon of cornstarch slurry (mix cornstarch with a little cold water), 1 tablespoon of lemon juice, and a pinch of salt in a saucepan over medium heat. Stir gently and simmer for about 5 minutes until the mixture thickens slightly and becomes wonderfully aromatic, making sure to keep it from boiling.
Step 7: Assemble and Top
Once the crust is done, remove it from the oven and pour the thickened cherry filling evenly over the baked base. Then, sprinkle the reserved crumb topping over the cherries to create a beautiful contrast of textures. This topping will add a delightful crunch once baked, enhancing the overall experience of your cherry pie bars.
Step 8: Final Bake
Return the assembled pan to the oven and bake for an additional 38 to 40 minutes. Your cherry pie bars will be done when the topping has turned a lovely golden brown and the filling is bubbly and irresistible. The tantalizing scent will fill your kitchen, inviting everyone to gather around and catch a glimpse of the sweet treats.
Step 9: Cool and Serve
Allow the baked cherry pie bars to cool completely in the pan on a wire rack. This step is essential for clean slicing—aim for at least 30 minutes of cooling time. Once cooled, drizzle with vanilla glaze if desired, and cut into squares to serve. Each bite promises a sweet journey of nostalgia that will make these cherry pie bars a favorite at any gathering!
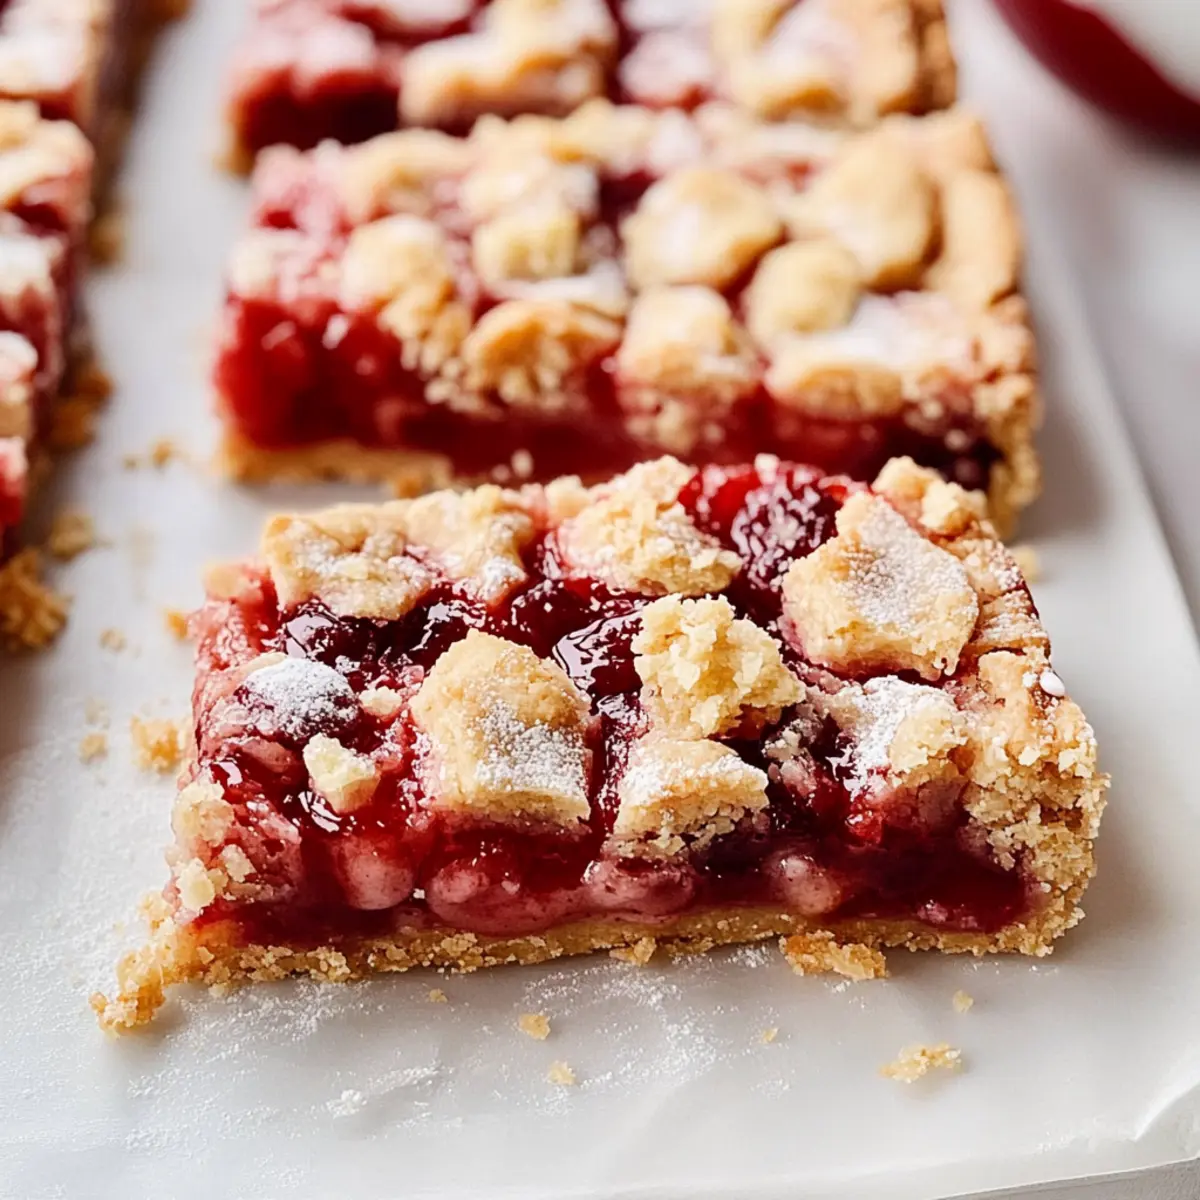
How to Store and Freeze Cherry Pie Bars
Room Temperature: Store leftover Cherry Pie Bars in an airtight container at room temperature for up to 3 days to maintain their delightful texture and flavor.
Fridge: If you prefer a chilled dessert, refrigerate the bars for up to a week. Simply cover with plastic wrap or place in a container to keep them fresh.
Freezer: For longer storage, freeze the bars for up to 8 weeks. Wrap individual pieces in plastic wrap and then place them in a freezer-safe bag; thaw in the fridge before serving.
Reheating: Enjoy these bars warmed! Microwave for 15-20 seconds or heat in an oven at 350°F (175°C) for about 10 minutes to restore that fresh-baked goodness.
Cherry Pie Bars with Cherry Pie Filling
Invite your taste buds on a journey of flavors and textures as you explore delightful variations of this unforgettable dessert bar!
- Gluten-Free: Use a gluten-free flour blend in place of all-purpose flour to accommodate dietary needs without sacrificing flavor.
- Fruit Flavors: Swap out cherry filling for other fruit purées, like raspberry or blackberry, for a unique twist that’s just as scrumptious.
- Homemade Filling: Create a homemade cherry filling by using fresh or frozen cherries, adding a touch of sugar and cornstarch to thicken.
- Oaty Crunch: Add a sprinkle of oats to the topping for an extra crunch that gives your bars a wholesome texture.
- Nuts About It: Replace sliced almonds with chopped walnuts or pecans for a different nutty flavor—each nut brings its own flair!
- Extra Zing: Boost the citrus flavor by incorporating lime juice instead of lemon juice for a refreshing twist.
- Spice It Up: Adjust the flavor profile with additional spices like nutmeg or cardamom mixed into the crust for a warm, comforting touch.
- Heat It Up: Elevate the flavor with a pinch of cayenne pepper in the cherry filling if you enjoy a subtle kick in your desserts.
With these simple twists, your Cherry Pie Bars with Cherry Pie Filling can shine with fresh interpretations all year long. Why not try serving them warm with a scoop of vanilla ice cream on top for that extra layer of indulgence?
Expert Tips for Cherry Pie Bars
-
Pre-cook Filling: Make sure to simmer the cherry filling before adding it to the crust. This thickens the filling, preventing a soggy bottom in your Cherry Pie Bars.
-
Cool Completely: Allow the bars to cool fully in the pan before slicing. This step ensures cleaner edges and preserves the lovely structure of your dessert.
-
Sharp Knife: Use a sharp knife to cut the bars once cooled. A dull knife can squish the edges and make them look less appealing.
-
Flavor Variations: If you have a favorite fruit filling, feel free to substitute! Raspberry or blackberry pie filling works wonderfully for a twist on traditional Cherry Pie Bars.
-
Even Baking: Rotate your baking pan halfway through the second bake to ensure even browning on the topping. This little trick enhances the texture and appearance!
What to Serve with Easy Cherry Pie Bars with Buttery Crust
Delight your senses and complete your dessert experience with perfect pairings that enhance the sweet-tart charm of these delightful bars.
-
Vanilla Ice Cream: A scoop of creamy vanilla ice cream adds a luscious contrast to the warm cherry filling, creating the ultimate indulgence.
-
Whipped Cream: Light and fluffy, a dollop of whipped cream complements the bars beautifully, enhancing the overall sweetness and creaminess. It’s a classic crowd-pleaser sure to impress.
-
Coffee: The rich, brewed aroma of freshly brewed coffee balances the sweetness of the cherry pie bars, elevating each bite to a whole new level.
-
Almond Biscotti: Crunchy almond biscotti provides a complementary nutty flavor and texture, perfectly dipping alongside each bite of the cherry-filled delight.
-
Fresh Cherries: For a pop of freshness, serve a handful of ripe cherries alongside to echo the cherry filling’s flavor, bringing a lively and vibrant touch.
-
Lemonade: A refreshing glass of homemade lemonade adds a tangy zing that cuts through the sweetness, making for a delightful contrast.
-
Chocolate Drizzle: Drizzling some dark chocolate over the bars infuses a decadent touch that enhances the overall dessert experience, making it truly irresistible.
-
Greek Yogurt: A dollop of tangy Greek yogurt pairs well with the sweet bars, offering a creamy texture and a hint of tartness that balances the flavors.
Make Ahead Options
These Cherry Pie Bars with Cherry Pie Filling are perfect for busy home cooks looking to save time during hectic weeks! You can prepare the crust and crumb topping up to 24 hours in advance; simply store them in airtight containers in the refrigerator. For the cherry filling, consider making it ahead of time too—just refrigerate for up to 3 days. When you’re ready to assemble, spread the filling over the pre-baked crust, sprinkle with the crumb topping, and pop them back in the oven for the final bake. This way, you’ll enjoy fresh, homemade treats with minimal effort, bringing all the charm of a classic dessert to your table!
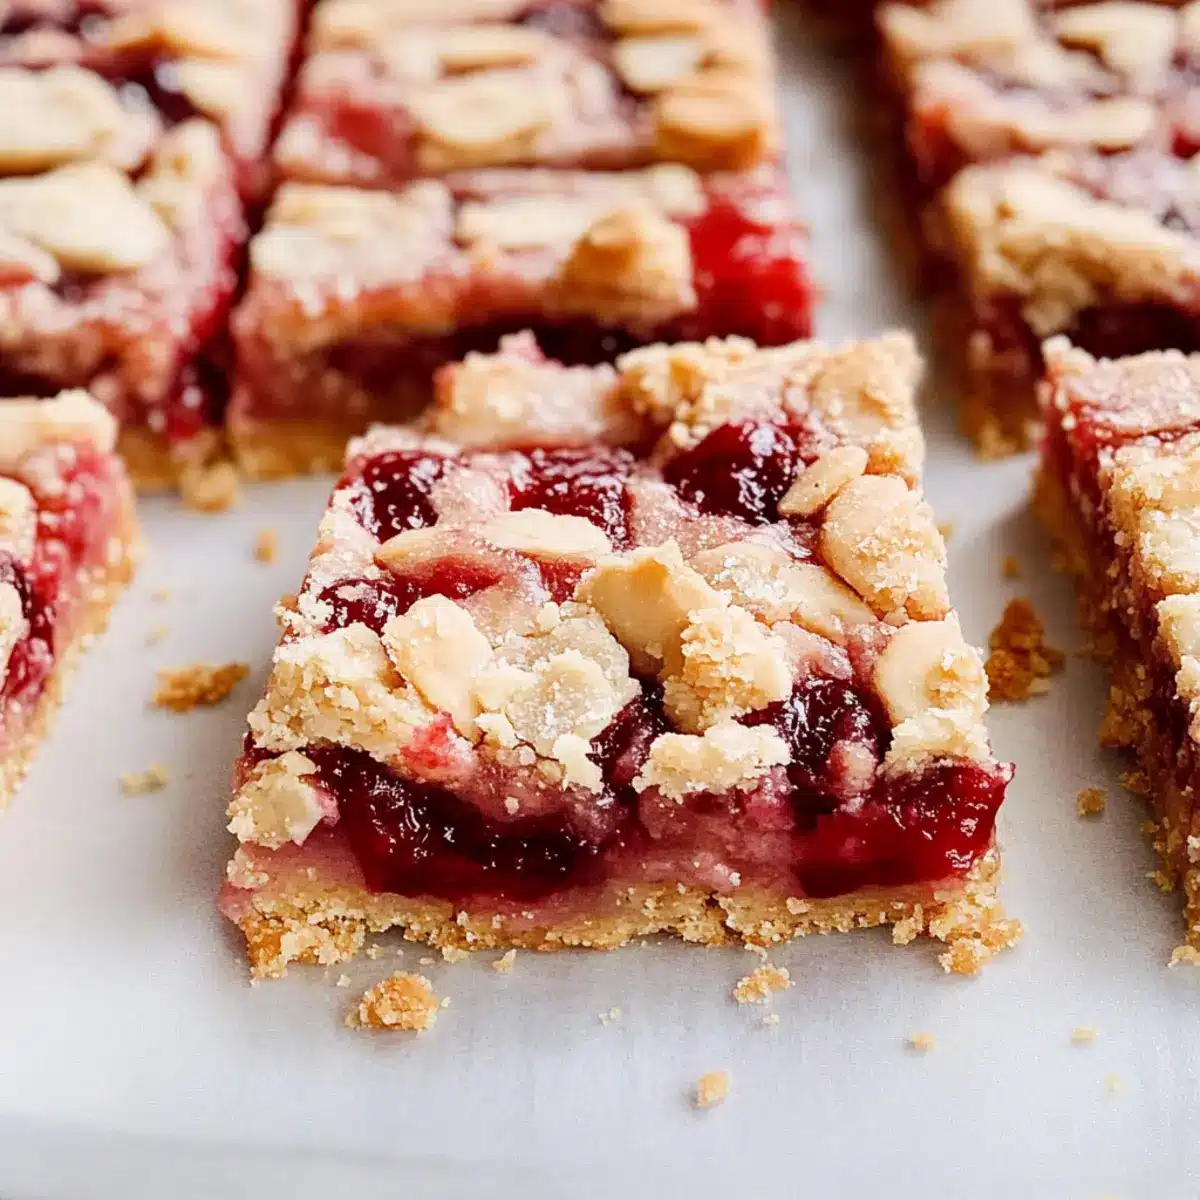
Cherry Pie Bars with Cherry Pie Filling Recipe FAQs
What kind of cherries are best for Cherry Pie Bars?
Absolutely! While this recipe calls for canned cherry pie filling for convenience, fresh or frozen sour cherries can also be used. If you choose fresh cherries, pit and slice them before simmering with a bit of sugar and cornstarch to achieve the right filling consistency. Aim for a balance of sweetness and tartness, adjusting the sugar to your preference.
How should I store leftover Cherry Pie Bars?
Store leftover Cherry Pie Bars in an airtight container at room temperature for up to 3 days. If you want them to last longer, refrigerate them for up to a week. To maintain their delightful texture, ensure they are covered tightly or placed in a sealed container.
Can I freeze Cherry Pie Bars?
Absolutely! You can freeze these delicious bars for up to 8 weeks. To do this, follow these steps: 1) Cut the bars into squares once they are completely cool. 2) Wrap each piece individually in plastic wrap, then place them in a freezer-safe bag, pressing out excess air. 3) When ready to enjoy, simply thaw them in the refrigerator overnight before serving or warm them briefly in the microwave.
My crust turned out too thick and dry. What went wrong?
Very! If your crust is too thick or dry, it may be due to using too much flour or overmixing the dough. Make sure to measure flour carefully—scoop it into the measuring cup and level it off with a knife. Also, avoid overmixing; only combine the dough until just incorporated for a tender crust.
Are these Cherry Pie Bars suitable for pets?
I recommend it! While cherries are safe for pets in small amounts, the sugar and additives in cherry pie filling might not be. It’s best to avoid giving these bars to your pets. Always check for any ingredients that may be harmful, such as chocolate or excessive sugar.
Can I substitute any ingredients in this recipe?
Very much so! If you need to make substitutions, you can use gluten-free flour for a gluten-free option and replace granulated sugar with coconut sugar for a lower glycemic alternative. Additionally, feel free to omit the almond extract if you prefer a simpler flavor profile; vanilla extract works beautifully on its own.
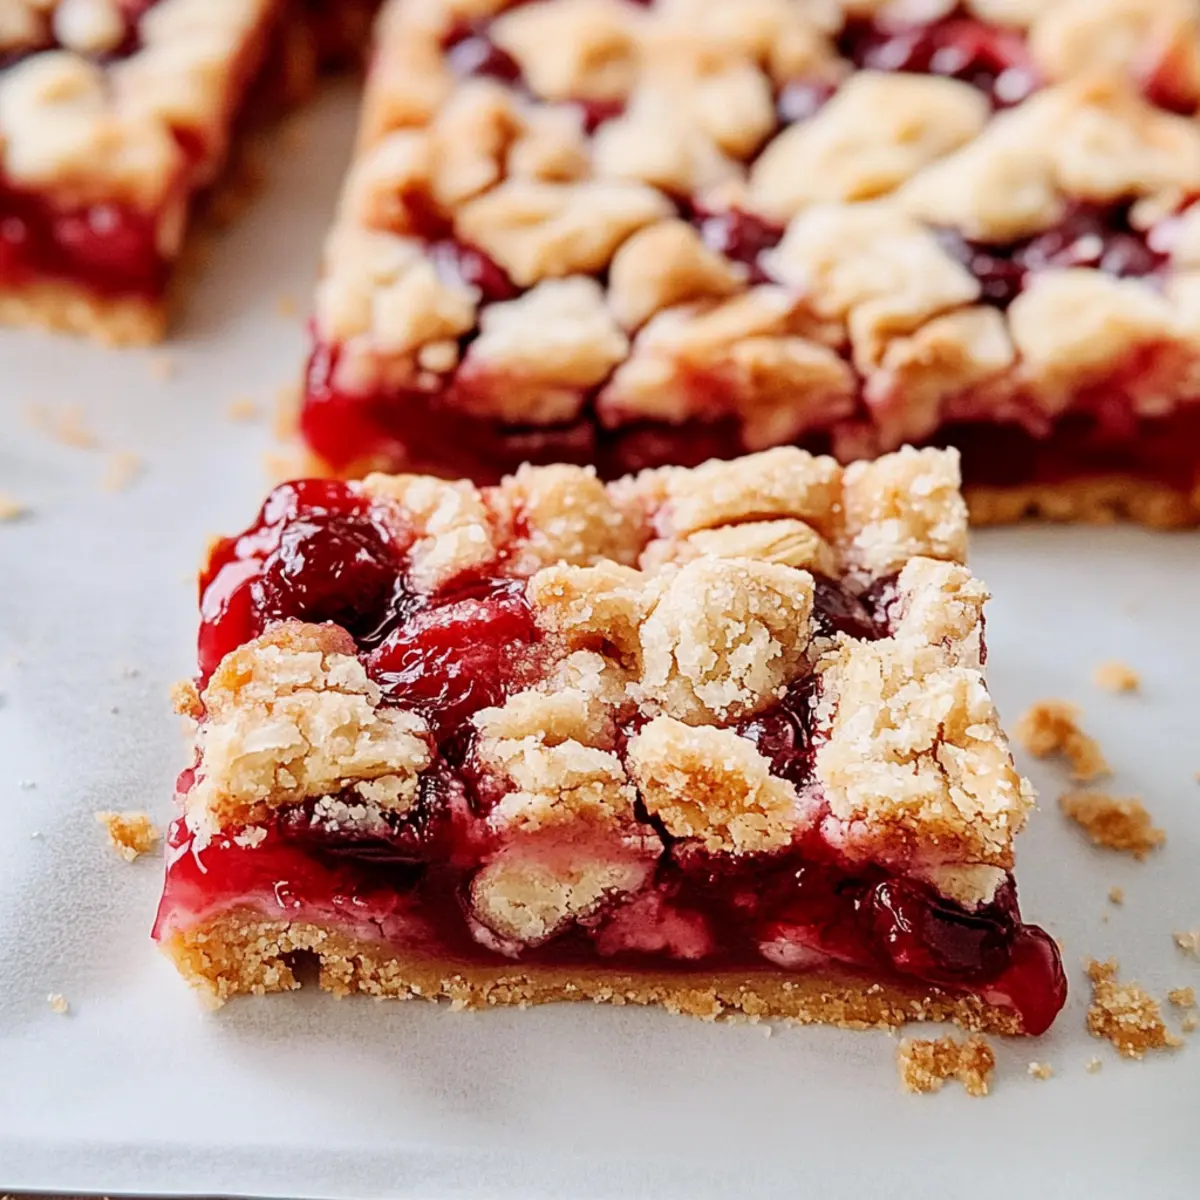
Cherry Pie Bars with Cherry Pie Filling: A Sweet Slice of Home
Ingredients
Equipment
Method
- Preheat your oven to 350°F (175°C) and grease a 9x9 inch baking pan.
- In a medium mixing bowl, whisk together flour, baking soda, salt, and cinnamon.
- In a large mixing bowl, combine melted butter, granulated sugar, light brown sugar, vanilla extract, and almond extract, stirring until creamy.
- Fold the dry ingredients into the wet mixture and reserve about ¾ cup of the dough for topping.
- Press the remaining dough into the greased baking pan and bake for 14 to 16 minutes until edges are lightly golden.
- Prepare the cherry filling by combining cherry pie filling, cornstarch slurry, lemon juice, and a pinch of salt in a saucepan over medium heat; simmer for about 5 minutes.
- Pour the cherry filling over the baked crust and sprinkle the reserved topping over the cherries.
- Bake for an additional 38 to 40 minutes or until the topping is golden brown and the filling is bubbly.
- Let cool completely in the pan for at least 30 minutes before slicing.