

Who knew a simple gummy could be a powerhouse for gut health? These Gut Healing Gummies are more than just a chewy indulgence; they’re your new favorite way to support digestion and feel great! With just a few ingredients—juices of your choice and high-quality gelatin—you can whip up a batch of these delightful snacks in no time. Not only are they incredibly easy to make, but they’re also gluten-free and packed with nutrients, making them a fun and healthy treat the whole family can enjoy. Perfect for a mid-afternoon pick-me-up or a post-workout boost, they’re sure to become a staple in your kitchen. Curious about how to customize them with your favorite flavors? Let’s dive into the juicy details!
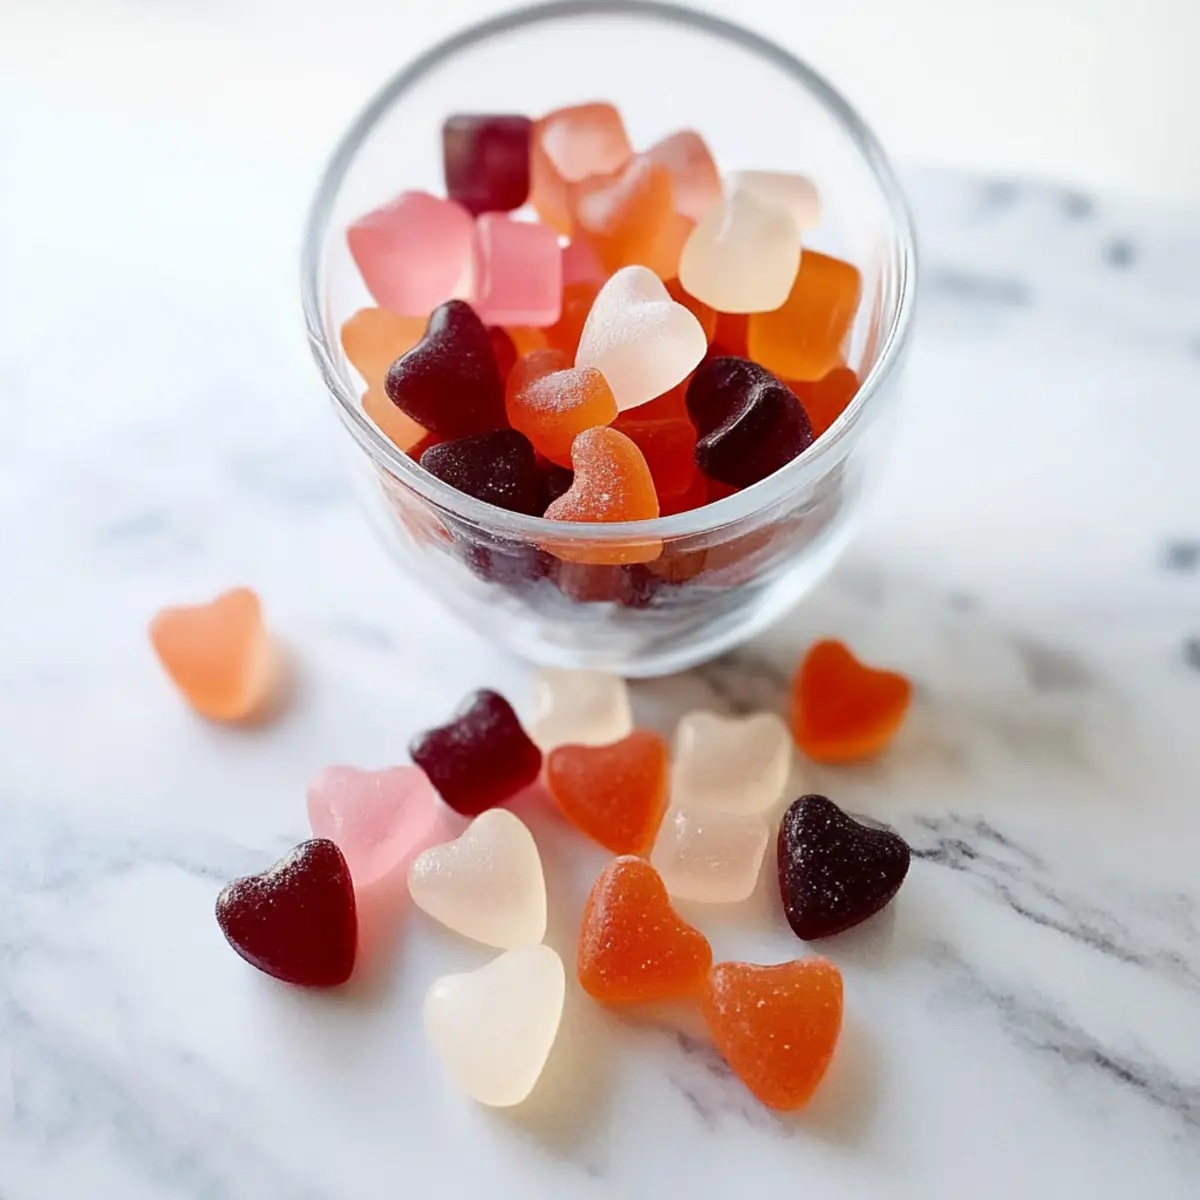
Why Are These Gummies a Must-Try?
Bursting with Flavor: Each bite delivers a delicious taste, whether you choose refreshing cranberry or tropical mango!
Easy to Make: With minimal ingredients and no complicated steps, anyone can whip up a batch of these Gut Healing Gummies, making them perfect for busy weekdays.
Gut-Friendly Nutrition: Packed with gut-boosting benefits, these gummies support digestion while satisfying your sweet tooth, aligning with your wellness goals.
Customizable Fun: Mix and match your favorite juices like peach or guava, ensuring endless flavor combinations for every palate.
Crowd-Pleasing Snack: Whether it’s a treat for kids or a fun snack for adults, these gummies are bound to charm everyone at home, leaving them asking for more!
Versatile Storage: Keep them fresh in an airtight container in the fridge for a week, so you can enjoy your homemade gummies anytime.
Gut Healing Gummies Ingredients
For the Gummies
- Coconut oil – Grease the pan to prevent the gummies from sticking for easy removal.
- Juice (any juice except pineapple) – Provides flavor and sweetness; try combinations like cranberry or mango, but avoid pineapple to ensure proper gelatin setting.
- Gelatin – Essential for structure; use high-quality gelatin like Vital Proteins from pasture-raised cows for the best results, as collagen won’t firm up correctly.
For Optional Flavor Variations
- Cranberry juice – Excellent for a tart twist and loaded with antioxidants, supporting gut health.
- Watermelon juice – Offers a refreshing, summery flavor that’s hydrating and naturally sweet.
- Coconut water – A tropical base that adds a light, sweet flavor and extra electrolytes.
- Mango juice – This fruity delight brings a vibrant taste while promoting digestion.
- Peach juice – Adds a juicy sweetness that the whole family will love.
- Guava juice – Introduces an exotic twist and is rich in vitamins and immune-boosting properties.
Feel inspired to create your own tasty Gut Healing Gummies for a delicious, healthy snack!
Step‑by‑Step Instructions for Gut Healing Gummies
Step 1: Grease the Pan
Start by lightly greasing an 8”x8” pan with coconut oil using a paper towel or your fingers. This will ensure the gummies release easily once set. Make sure to cover all corners to prevent sticking and prepare a smooth surface for pouring the mixture.
Step 2: Bloom the Gelatin
In a shallow bowl, sprinkle the gelatin over 3 cups of your chosen juice. Allow it to sit undisturbed for 3-5 minutes, letting the gelatin absorb the juice fully. You’ll know it’s ready when it transforms into a thick, jelly-like consistency that signals it’s primed for the next step.
Step 3: Heat the Remaining Juice
In a saucepan, pour in 1 cup of juice and place it over medium heat. Warm it gently until it’s hot but not boiling—aim for around 180°F. This step is essential as the heat will dissolve the bloomed gelatin completely when combined, creating the perfect base for your Gut Healing Gummies.
Step 4: Combine Gelatin and Juice
Once the juice is heated, carefully pour it into the bowl with the bloomed gelatin. Use a whisk to combine the two mixtures thoroughly, stirring until the gelatin has dissolved completely. Look for a smooth, uniform mixture without any lumps to ensure your gummies have a delightful texture.
Step 5: Pour the Mixture
Gently pour the combined mixture into your greased pan. Make sure to spread it evenly for consistent thickness. Allow any air bubbles to rise to the surface, then carefully pop them with a toothpick for a smooth final product. This step ensures your Gut Healing Gummies will set beautifully.
Step 6: Refrigerate to Set
Place the pan in the refrigerator and allow the mixture to set for 4-5 hours. It’s important not to rush this step—check that the gummies are firm to the touch, indicating they’re ready for cutting. Stay patient as they transform into a delightful, chewy treat!
Step 7: Cut and Serve
Once set, remove the pan from the fridge. Use a sharp knife to cut the gummies into your desired shapes or squares. If using molds, gently pop the gummies out and enjoy. Store any leftovers in an airtight container in the fridge for up to a week, keeping your Gut Healing Gummies fresh and ready for snacking!
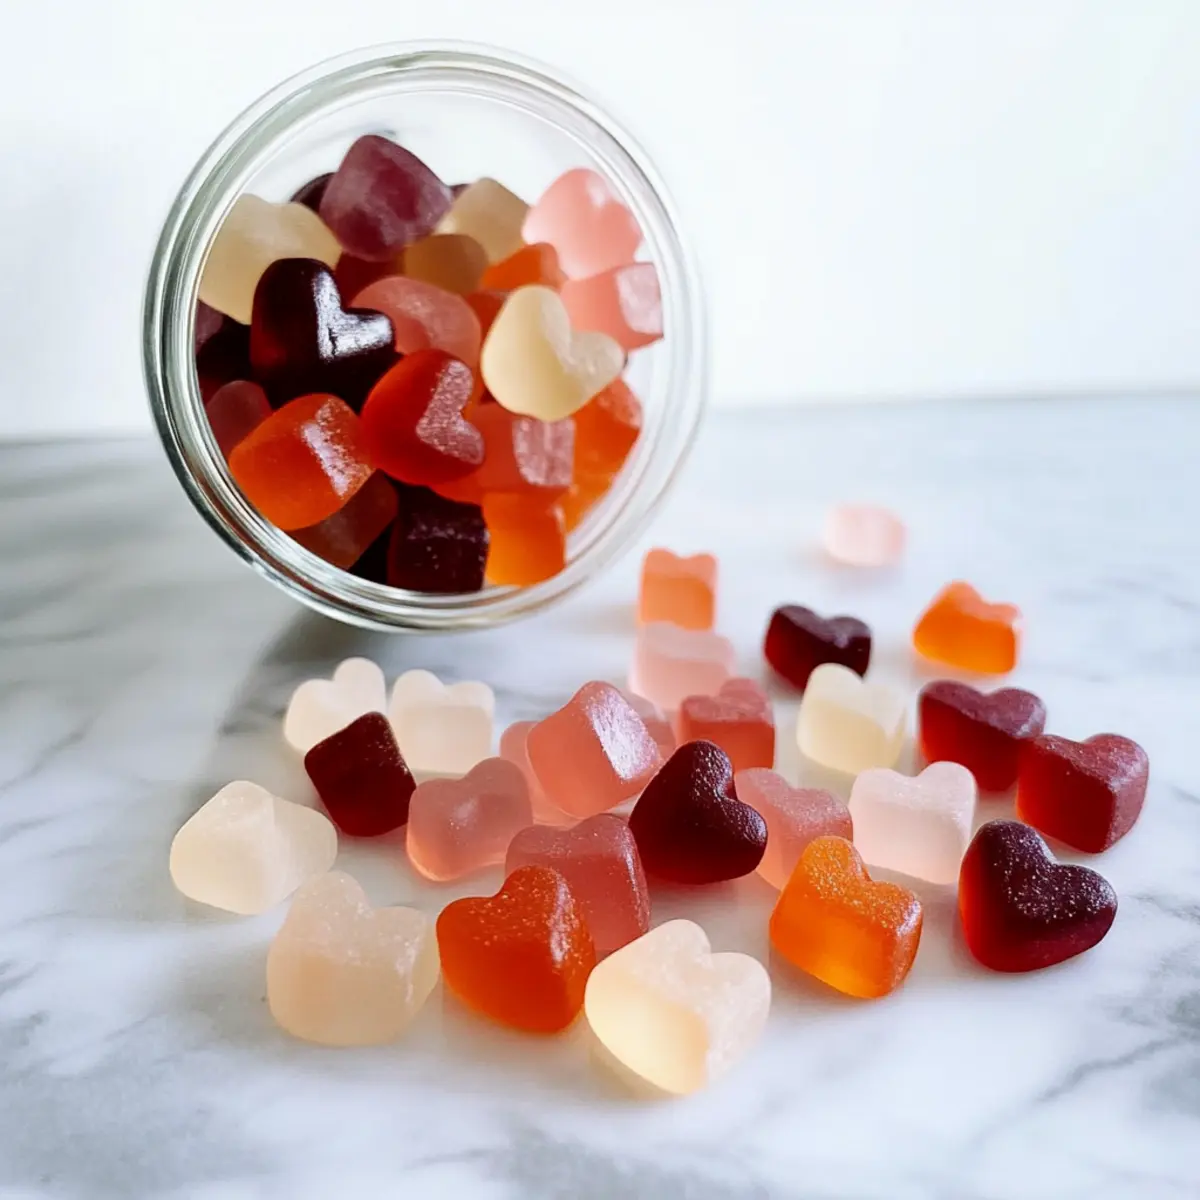
Expert Tips for Gut Healing Gummies
• Quality Ingredients Matter: Always use high-quality gelatin, like Vital Proteins, to achieve the perfect texture in your Gut Healing Gummies.
• Mind the Juice: Remember to avoid pineapple juice, as it can prevent the gelatin from setting properly. Stick to juices that complement your flavor choices!
• Perfect Setting Time: Allow the gummies to set in the refrigerator for a full 4-5 hours. Rushing this step may lead to a gooey mess instead of firm gummies!
• Fun with Shapes: If using silicone molds, be cautious as they can complicate cutting. Have a plan for how to remove the gummies cleanly.
• Storage Essentials: Store your gummies in an airtight container in the fridge, and aim to consume them within a week for the best taste and texture.
Gut Healing Gummies: Flavor Variations
Feel free to unleash your creativity and customize these gummies with exciting flavors that awaken your taste buds!
- Cranberry Twist: Swap half of the juice for tart cranberry for a delightful zing that screams “health boost!”
- Watermelon Refresh: Use fresh watermelon juice for a hydrating treat that’s perfect for summer snacking. Its sweet and juicy flavor is simply irresistible!
- Tropical Coconut: Mix in coconut water for a light, tropical base that adds a refreshing twist along with electrolytes.
- Mango Bliss: Incorporate mango juice for a luscious, sweet flavor that adds a delicious tropical vibe while promoting digestion.
- Peach Perfection: Try peach juice for that juicy sweetness, appealing to both kids and adults alike, making snack time a family favorite.
- Guava Experiment: Add guava juice for an exotic flair that’s also loaded with vitamins, bringing a fun and nutrient-rich twist to your gummies.
- Berry Blast: Combine mixed berry juices for an antioxidant-packed treat that’s bursting with flavor and color, a real visual delight!
- Citrus Zest: Add a splash of orange juice for a hint of tanginess that brightens every gummy bite, making them so vibrant you’ll want to share!
Feel empowered to adjust the flavors and explore different juice combinations for your perfect Gut Healing Gummies! Dive deeper into the world of homemade snacks with tips on healthy alternatives or discover snack pairings for a complete experience.
How to Store and Freeze Gut Healing Gummies
Airtight Container: Store your Gut Healing Gummies in an airtight container in the refrigerator to maintain freshness and prevent them from drying out. They are best enjoyed within a week.
Freezing: For longer storage, freeze the gummies in a single layer on a baking sheet first, then transfer to a freezer-safe bag. They can last up to 3 months frozen; just thaw before enjoying!
Reheating: If your gummies become slightly firm in the fridge, let them sit at room temperature for a few minutes before serving. Avoid microwaving, as it can alter their texture.
Texture & Quality: Always check for firmness and color before consuming; if they look dull or feel sticky, it’s best to discard them. Enjoy your delicious Gut Healing Gummies fresh for optimal flavor!
Make Ahead Options
Making these Gut Healing Gummies ahead of time is a fantastic way to streamline your snack planning! You can bloom the gelatin and combine it with your juice mixture up to 24 hours in advance, allowing you to prepare the base without adding to your busy day. Simply refrigerate the bloomed mixture in an airtight container, then follow the remaining steps to heat the juice, combine, and pour. When you’re ready to serve, just let the gummies set for 4-5 hours after pouring in the pan. This meal prep method ensures your gummies are just as delicious and fresh when it’s time to enjoy them! Enjoy your guilt-free snacking on those hectic days!
What to Serve with Gut Healing Gummies?
Create a nourishing and delightful spread to elevate your snack game and support your gut health!
-
Fresh Fruit Platter: A vibrant selection of melons, berries, and citrus; their bright flavors complement the gummies beautifully.
-
Greek Yogurt with Honey: Creamy, tangy yogurt topped with a drizzle of honey enhances the texture while adding proteins and probiotics for a gut-friendly boost.
-
Nut Butter Dip: Spread almond or peanut butter on apple slices for a crunchy, protein-rich pairing that balances sweetness with nutritious goodness.
-
Homemade Trail Mix: Combine nuts, seeds, and a sprinkle of dark chocolate for a satisfying and crunchy contrast to the soft texture of the gummies.
-
Herbal Iced Tea: A refreshing, caffeine-free option infused with herbs like mint or chamomile enhances relaxation while washing down the gummies delightfully.
-
Dark Chocolate Squares: Bitter-sweet chocolate provides a luxurious indulgence that harmonizes well with the fruity flavors of the gummies.
-
Coconut Water: Hydrating and naturally sweet, coconut water provides electrolytes that complement the gut-supportive benefits of the gummies.
-
Smoothie Bowls: Top off a nutritious smoothie bowl with crunchy granola and beautiful fruits, making a hearty meal alongside your delightful Gut Healing Gummies.
Dive into these pairings to create a luminous and health-conscious snacking experience!

Gut Healing Gummies Recipe FAQs
What type of juice should I use for gut healing gummies?
You can use any juice except pineapple, which prevents the gelatin from setting. Great options include cranberry for tartness, mango for sweetness, or coconut water for a tropical twist. Feel free to mix and match your favorites for delicious combinations!
How should I store my gut healing gummies?
Keep your gummies in an airtight container in the refrigerator to maintain freshness. They are best enjoyed within a week to ensure the perfect texture and flavor. If you’re planning to make them in advance, consider freezing for longer storage!
Can I freeze gut healing gummies?
Absolutely! To freeze your gummies, lay them in a single layer on a baking sheet before transferring them to a freezer-safe bag. They can be stored for up to 3 months. When you’re ready to enjoy, simply thaw them at room temperature for a tasty treat!
What should I do if my gummies don’t set properly?
If your gummies don’t set, it’s often due to either insufficient gelatin or the use of pineapple juice. Ensure you use high-quality gelatin and avoid pineapple for best results. If they’re too soft, you can try reheating the mixture gently and adding a bit more gelatin to thicken it up.
Are there any dietary considerations for gut healing gummies?
Yes! These gummies are gluten-free, but always check your juice labels for any allergens. If you’re making them for kids or pets, consider any sensitivities they may have to ingredients. Using organic juices can help avoid added sugars or preservatives, keeping them healthier.
Can I use a vegan alternative to gelatin in gut healing gummies?
Of course! You can use agar-agar as a vegan substitute for gelatin. However, it won’t offer the same gut health benefits. If you go this route, follow the agar package instructions for blooming and setting, as it often requires different preparation.
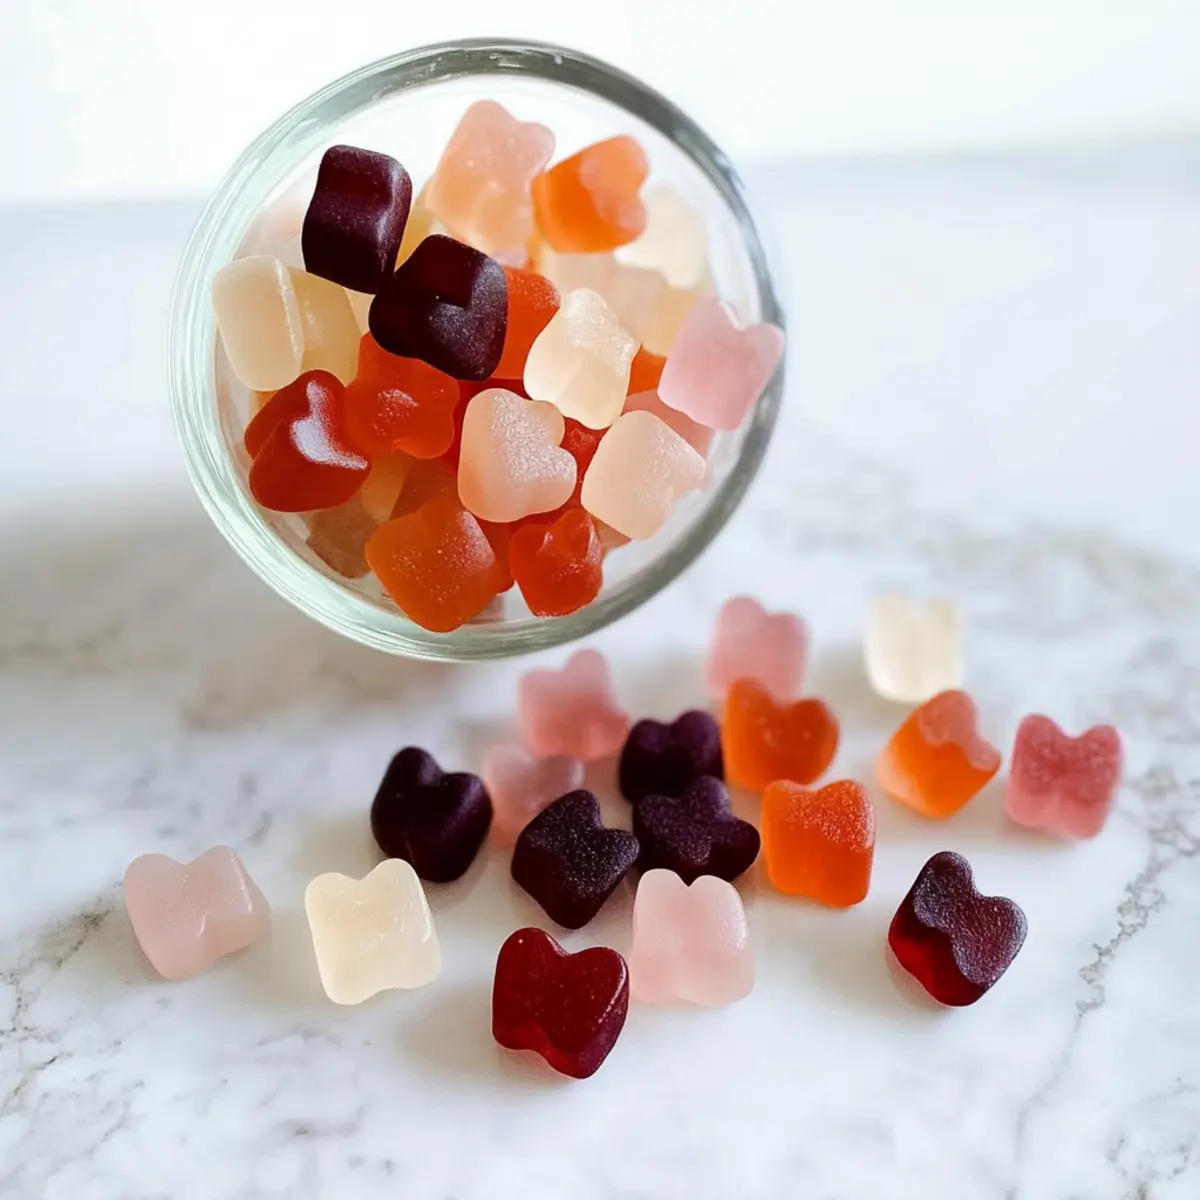
Gut Healing Gummies: Chewy Snacks for a Happy Belly
Ingredients
Equipment
Method
- Grease the pan by lightly applying coconut oil to an 8"x8" pan.
- In a bowl, sprinkle gelatin over 3 cups of chosen juice and let sit for 3-5 minutes.
- In a saucepan, gently heat 1 cup of juice until hot but not boiling (about 180°F).
- Combine the heated juice with the bloomed gelatin, whisking until fully dissolved.
- Pour the mixture into the greased pan evenly, popping any air bubbles.
- Refrigerate the pan for 4-5 hours until the gummies are firm.
- Cut into desired shapes or squares, then serve and store leftovers in an airtight container.