

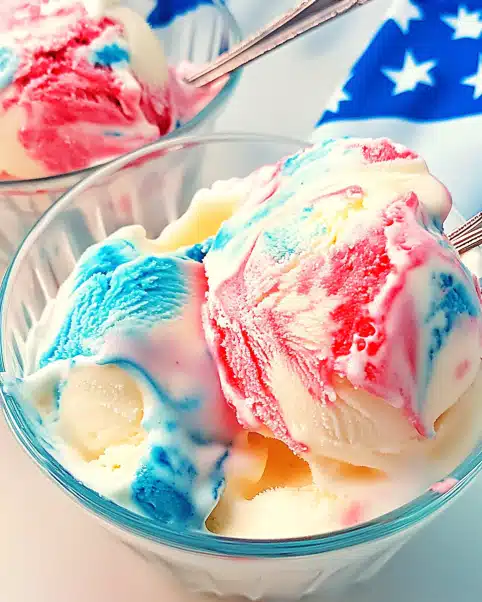
Introduction to Marble Ice Cream
There’s something magical about homemade Marble Ice Cream that takes me back to my childhood summers.
Those lazy afternoons spent in the kitchen, swirling together creamy vanilla and rich chocolate, felt like pure bliss.
This easy recipe is perfect for anyone looking to impress family or friends without spending hours in the kitchen.
With just a few simple ingredients, you can create a delightful treat that’s sure to bring smiles.
Whether it’s a hot day or a cozy night in, Marble Ice Cream is a quick solution to satisfy your sweet tooth and create lasting memories.
Why You’ll Love This Marble Ice Cream
This Marble Ice Cream is a game-changer for dessert lovers.
It’s incredibly easy to whip up, taking just 10 minutes of your time.
The combination of creamy vanilla and rich chocolate flavors creates a taste sensation that’s hard to resist.
Plus, you can customize it with your favorite mix-ins, making it a versatile treat for any occasion.
It’s the perfect way to cool down and indulge without the fuss!
Ingredients for Marble Ice Cream
To create this delightful Marble Ice Cream, you’ll need a handful of simple ingredients that pack a punch of flavor.
– **Heavy Cream**: This is the base of your ice cream, providing that rich, creamy texture we all love.
– **Sweetened Condensed Milk**: This adds sweetness and creaminess, making the ice cream smooth and luscious.
– **Vanilla Extract**: A splash of this brings warmth and depth to the flavor profile, enhancing the overall taste.
– **Chocolate Syrup**: The star of the marbling effect! It adds a rich chocolate flavor and creates those beautiful swirls.
– **Crushed Cookies**: Think Oreos or chocolate wafers. They add a delightful crunch and extra flavor, making each bite exciting.
Feel free to get creative! You can swap the chocolate syrup for fruit puree for a fruity twist or add nuts for an extra crunch.
For exact quantities, check the bottom of the article where you can find everything you need for printing.
How to Make Marble Ice Cream
Creating your own Marble Ice Cream is a breeze!
Follow these simple steps, and you’ll have a delicious treat ready to enjoy in no time.
Let’s dive into the process!
Step 1: Mix the Base
In a large mixing bowl, combine the heavy cream, sweetened condensed milk, and vanilla extract.
Using a hand mixer or a whisk, beat the mixture until it’s well combined and slightly thickened, about 2-3 minutes.
This step is crucial for achieving that creamy texture we all crave in homemade ice cream.
Step 2: Add the Chocolate Swirl
Drizzle the chocolate syrup into the cream mixture.
Gently swirl it with a spatula to create a marbled effect.
Be careful not to overmix; you want to see those beautiful ribbons of chocolate throughout the ice cream.
Step 3: Fold in the Crunch
Now it’s time to fold in the crushed cookies.
Make sure they’re evenly distributed throughout the mixture for that delightful crunch in every bite.
This is where the fun begins—imagine the texture and flavor explosion!
Step 4: Freeze and Enjoy
Pour the mixture into a freezer-safe container, smoothing the top with a spatula.
Cover it with a lid or plastic wrap and freeze for at least 4 hours, or until the ice cream is firm.
Before serving, let it sit at room temperature for about 5-10 minutes to soften slightly.
This makes scooping a breeze, and trust me, you’ll want to dig in right away!
Tips for Success
- Use cold heavy cream for a better whip; it helps achieve that fluffy texture.
- Don’t overmix the chocolate syrup; you want those beautiful swirls, not a solid color.
- Experiment with different cookie types for unique flavors and textures.
- For a creamier ice cream, let it churn in an ice cream maker if you have one.
- Always let the ice cream soften a bit before scooping for easier serving.
Equipment Needed
- Large mixing bowl: A sturdy bowl for combining ingredients; a stand mixer works too.
- Hand mixer or whisk: For whipping the cream; a whisk gives a workout!
- Spatula: Essential for folding in ingredients and creating that marbled effect.
- Freezer-safe container: Any airtight container will do for freezing your ice cream.
Variations
- **Fruity Marble Ice Cream**: Swap the chocolate syrup for fruit puree, like strawberry or raspberry, and add fresh fruit pieces for a refreshing twist.
- **Nutty Delight**: Incorporate chopped nuts or mini chocolate chips along with the crushed cookies for an extra crunch and flavor boost.
- **Coffee Infusion**: Add a tablespoon of instant coffee or espresso powder to the cream mixture for a delightful coffee-flavored marble ice cream.
- **Mint Chocolate Chip**: Mix in a few drops of peppermint extract and use mint chocolate cookies for a refreshing minty version.
- **Dairy-Free Option**: Substitute heavy cream with coconut cream and sweetened condensed milk with coconut milk for a dairy-free treat.
Serving Suggestions
- Serve Marble Ice Cream in waffle cones for a fun, nostalgic treat.
- Pair it with warm brownies or chocolate cake for a decadent dessert experience.
- Top with whipped cream and a cherry for a classic sundae look.
- Drizzle extra chocolate syrup or caramel sauce on top for added indulgence.
- Garnish with fresh mint leaves for a pop of color and freshness.
FAQs about Marble Ice Cream
Can I use low-fat cream instead of heavy cream?
While you can use low-fat cream, it won’t give you the same rich and creamy texture. Heavy cream is key for that indulgent mouthfeel in Marble Ice Cream.
How long can I store Marble Ice Cream in the freezer?
You can store it for up to two weeks. Just make sure it’s in an airtight container to prevent freezer burn.
Can I make this Marble Ice Cream without an ice cream maker?
Absolutely! This recipe is designed for easy preparation without an ice cream maker. Just follow the freezing instructions, and you’ll have delicious ice cream!
What can I substitute for sweetened condensed milk?
If you’re looking for a substitute, you can use a mixture of milk and sugar, but the texture and sweetness will differ. For a healthier option, try coconut cream with a bit of honey.
Is this Marble Ice Cream suitable for kids?
Definitely! Kids love the fun swirls and crunchy cookie bits. Just keep an eye on the sugar content if you’re watching their intake.
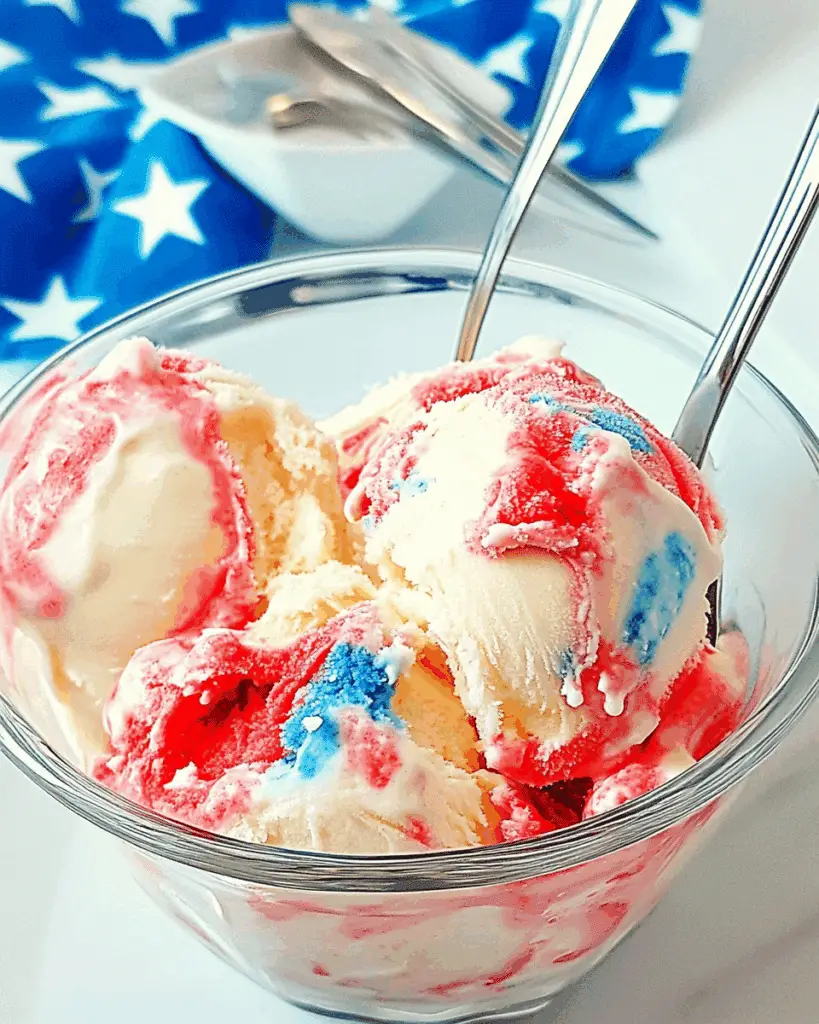
Final Thoughts
Creating Marble Ice Cream is more than just a recipe; it’s an experience that brings joy to both the maker and the eater.
The simple act of swirling together creamy vanilla and rich chocolate can transport you back to carefree days of summer.
Each scoop is a delightful blend of flavors and textures, making it a perfect treat for any occasion.
Whether you’re sharing it with family or enjoying a quiet moment alone, this homemade ice cream is sure to create sweet memories.
So grab your ingredients and let the magic of Marble Ice Cream brighten your day!
Marble Ice Cream: Delight in This Easy Recipe Today!
Ingredients
Method
- In a large mixing bowl, combine the heavy cream, sweetened condensed milk, and vanilla extract. Use a hand mixer or a whisk to beat the mixture until it is well combined and slightly thickened, about 2-3 minutes.
- Drizzle the chocolate syrup into the cream mixture and gently swirl it with a spatula to create a marbled effect. Be careful not to overmix; you want to see ribbons of chocolate.
- Fold in the crushed cookies, ensuring they are evenly distributed throughout the mixture.
- Pour the mixture into a freezer-safe container, smoothing the top with a spatula.
- Cover the container with a lid or plastic wrap and freeze for at least 4 hours, or until the ice cream is firm.
- Before serving, let the ice cream sit at room temperature for about 5-10 minutes to soften slightly for easier scooping.
Nutrition
Notes
- For a fruity twist, substitute the chocolate syrup with fruit puree, such as strawberry or raspberry, and add fresh fruit pieces.
- To make it a bit more decadent, add chopped nuts or mini chocolate chips along with the crushed cookies for added texture.