
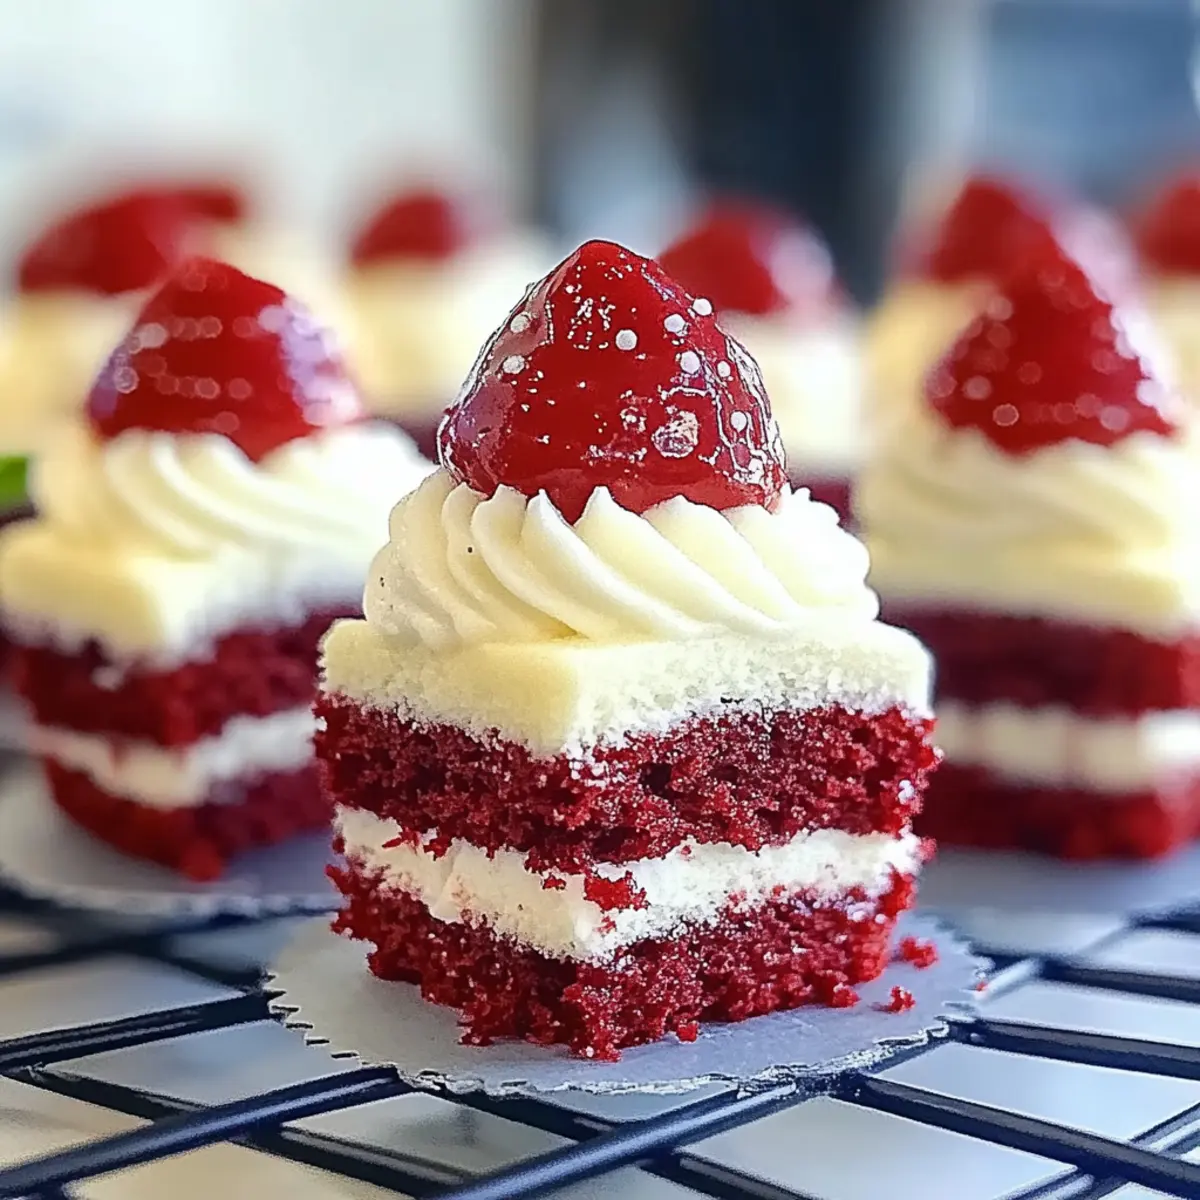
As I stood in my kitchen, the rich scent of cocoa wafted through the air, instantly lifting my spirits. There’s something uniquely comforting about baking, especially when it culminates in delightful Red Velvet Cake Minis. These little gems are not just a feast for the eyes with their vibrant hue but also a burst of soft, velvety sweetness with each bite. Perfect for any celebration, their mini size makes them an ideal crowd-pleaser—who can resist a treat that’s just the right amount of indulgence? Plus, with gluten-free and keto-friendly options available, everyone can join in on the fun. Curious to see how easy it is to whip these up for your next gathering? Let’s dive into this scrumptious recipe together!
Why Are Red Velvet Cake Minis Irresistible?
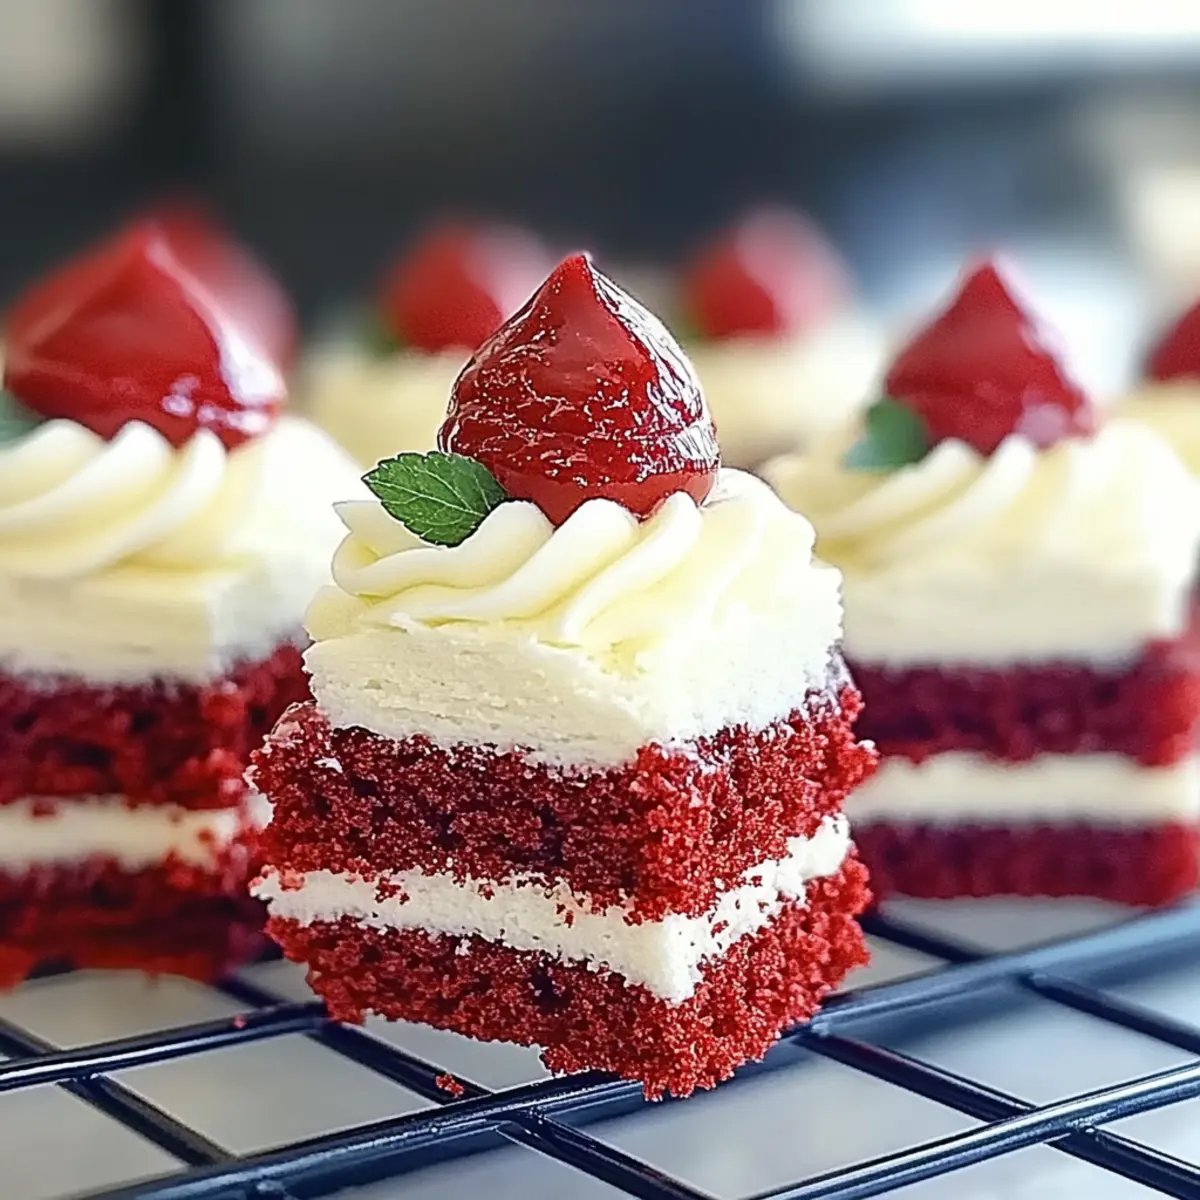
Bite-Sized Bliss: These Red Velvet Cake Minis are the perfect combination of adorable and delicious, making them a hit at any gathering!
Customizable Delight: With easy variations like adding almond extract or mini chocolate chips, you can tailor each batch to your taste.
Time-Saving Treat: Quick to bake and easy to frost, they save you time while delivering big flavor.
Gluten-Free Friendly: The option to use gluten-free flour means everyone can enjoy these scrumptious bites.
Crowd-Pleasing Appeal: Their vibrant color and rich taste are sure to impress guests, making them a standout on dessert tables alongside other favorites like Lemon Velvet Cake or Strawberry Shortcake Cake.
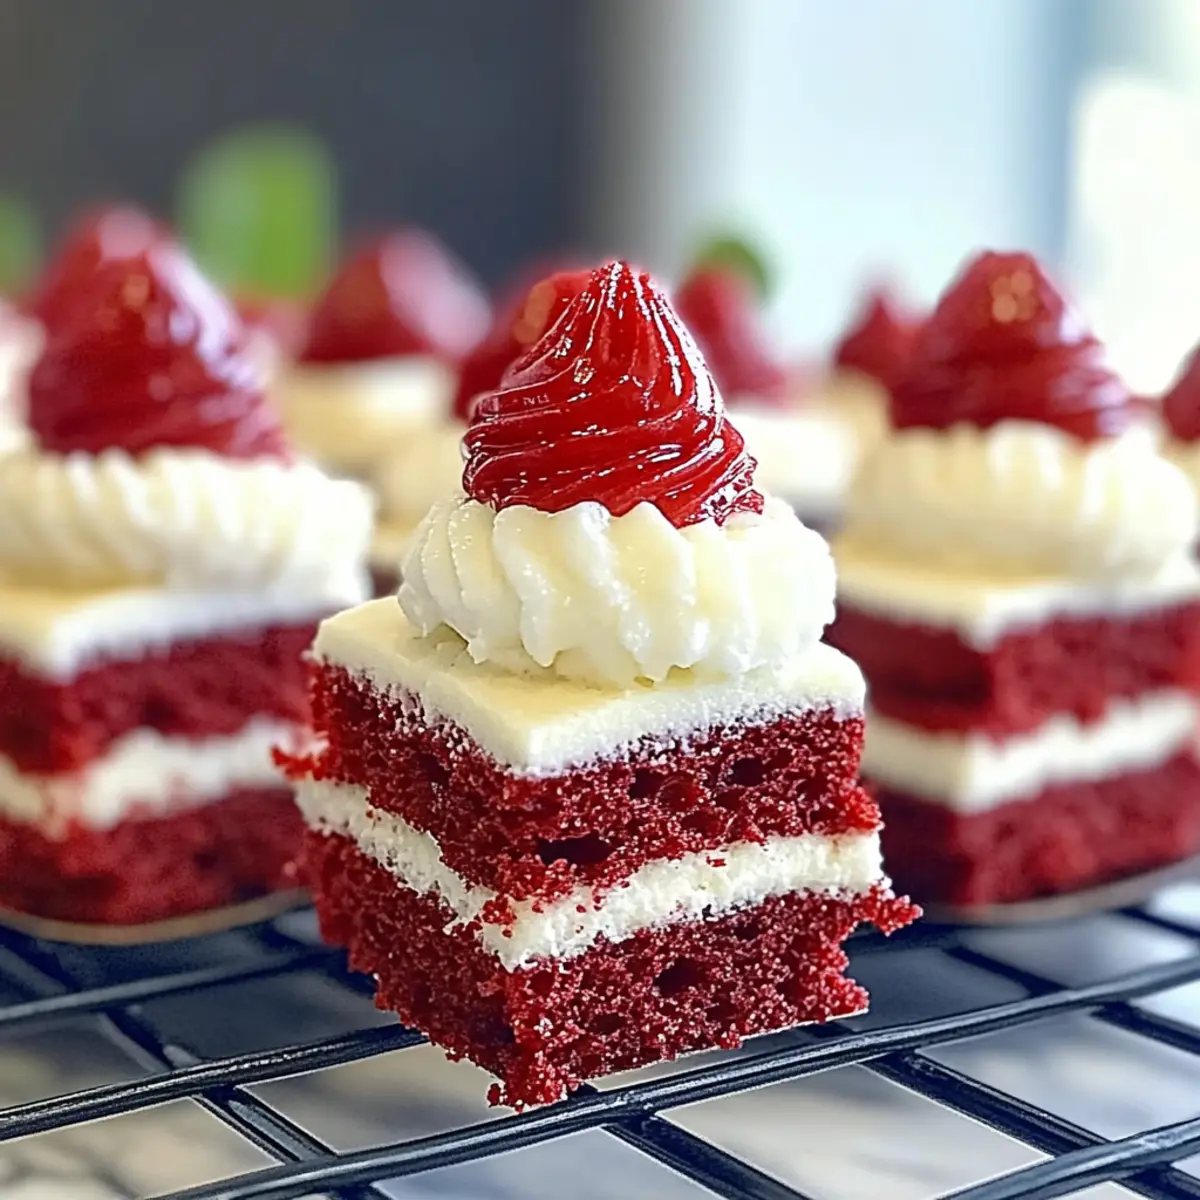
Decadent Frosting: The smooth cream cheese frosting takes these minis to another level of indulgence. Prepare to make sweet memories with each bite!
Red Velvet Cake Minis Ingredients
For the Cake
• All-Purpose Flour – Provides structure and texture; substitute with gluten-free flour if necessary.
• Cocoa Powder – Adds rich chocolate flavor; ensure it’s unsweetened for best results.
• Baking Soda – This leavening agent helps the minis rise to fluffy perfection.
• Salt – Enhances the flavor balance, making each bite taste even better.
• Granulated Sugar – Adds sweetness and moisture; consider using alternative sweeteners for a lower-calorie option.
• Vegetable Oil – Contributes moisture and richness; can be swapped for melted butter if you prefer.
• Eggs – Acts as a binding agent for the batter; ensure they’re at room temperature for better mixing.
• Buttermilk – Adds tenderness and a slight tang; substitute with milk mixed with vinegar for homemade buttermilk.
• Vanilla Extract – This flavor enhancer rounds out the sweetness; swap with almond extract for a nutty twist.
• Red Food Coloring – Provides the signature red hue; optional for those avoiding food dyes.
For the Frosting
• Cream Cheese – This is the base for your frosting; make sure it’s at room temperature for easy blending.
• Butter – Adds richness to the frosting; ensure it’s softened for smooth mixing.
Feel the excitement build as you gather these ingredients, envisioning the scrumptious Red Velvet Cake Minis you’ll soon be enjoying!
Step‑by‑Step Instructions for Red Velvet Cake Minis
Step 1: Preheat Oven
Begin by preheating your oven to 350°F (175°C). While the oven heats, prepare a mini muffin tin by lining it with paper liners or greasing it with non-stick spray. This ensures your Red Velvet Cake Minis will release easily after baking and helps achieve that perfect golden-brown finish.
Step 2: Mix Dry Ingredients
In a mixing bowl, whisk together 1 ½ cups of all-purpose flour, 1 tablespoon of unsweetened cocoa powder, 1 teaspoon of baking soda, and ½ teaspoon of salt until completely combined. This step not only blends the dry ingredients but also aerates the mixture, allowing your cake minis to rise beautifully and maintain a lovely texture as they bake.
Step 3: Combine Wet Ingredients
In another bowl, blend together 1 cup of granulated sugar and ½ cup of vegetable oil until smooth. Incorporate 2 large eggs one at a time, mixing well after each addition. Then, stir in 1 cup of buttermilk, 1 teaspoon of vanilla extract, and a few drops of red food coloring until fully combined. The vibrant mixture should be smooth and velvety, setting the stage for your Red Velvet Cake Minis.
Step 4: Incorporate Mixtures
Gradually add the dry ingredients to the wet mixture, using a spatula to gently fold them together. Be careful not to overmix; aim for a few lumps remaining. The batter should be thick and luscious, reflecting the velvety nature that makes Red Velvet Cake Minis such a delightful treat.
Step 5: Fill Muffin Tin
Spoon the batter into each muffin cup, filling them about two-thirds full. This allows space for the cakes to rise without overflowing. Bake the minis in your preheated oven for 15-18 minutes. They are done when a toothpick inserted into the center comes out clean or with a few crumbs attached.
Step 6: Cool and Frost
After removing the mini cakes from the oven, allow them to cool in the tin for about 5 minutes. Then, transfer the cakes to a wire rack to cool completely. While they cool, prepare your frosting by whipping together 8 ounces of room-temperature cream cheese and ¼ cup of softened butter until creamy. Gradually mix in 2 cups of powdered sugar until fully incorporated, resulting in a smooth and indulgent cream cheese frosting to top your delightful Red Velvet Cake Minis.
How to Store and Freeze Red Velvet Cake Minis
Airtight Container: Store your Red Velvet Cake Minis in an airtight container at room temperature for up to 3 days to keep them fresh and moist.
Refrigeration: If you need them to last longer, refrigerate in the same airtight container for up to a week; simply bring them to room temperature before serving.
Freezing: For extended storage, individually wrap each mini in plastic wrap and place them in a freezer-safe container. They will stay fresh for up to 3 months.
Reheating Tips: To enjoy warm, simply microwave for 10-15 seconds, allowing the frosting to soften while keeping that velvety cake texture!
Expert Tips for Red Velvet Cake Minis
- Prevent Overmixing: The key to fluffy minis is gentle mixing. Stop as soon as the dry ingredients are incorporated to avoid dense textures.
- Room Temperature Ingredients: Ensure eggs and cream cheese are at room temperature for smoother batter and frosting that mix easily.
- Color Adjustment: If you’re avoiding food dyes, feel free to skip the red food coloring; the flavor will still shine in your Red Velvet Cake Minis.
- Cooling Matters: Let the cakes cool completely before frosting to prevent melting and ensure your delicious cream cheese frosting stays intact.
- Frosting Variation: For a fun twist, try mixing in a teaspoon of almond extract with your cream cheese frosting for added depth.
Red Velvet Cake Minis Variations
Feel free to get creative with these delightful Red Velvet Cake Minis and customize them to your liking!
-
Almond Extract: Swap vanilla extract for almond extract to impart a delightful nutty flavor that pairs beautifully with the cocoa. This simple change can elevate your minis to a new level of sophistication.
-
Mini Chocolate Chips: Add a handful of mini chocolate chips to the batter for an extra layer of indulgence. The melted chocolate in each bite creates a lovely contrast against the velvety cake.
-
Gluten-Free Flour Blend: Use a gluten-free flour blend to make these cakes suitable for gluten-sensitive folks. With the right flour mix, you won’t miss the gluten at all!
-
Keto Sweetener: For a keto-friendly version, replace granulated sugar with a keto-friendly sweetener like erythritol. Your sweet tooth will thank you without the extra carbs!
-
Cream Cheese Swirl: After filling the muffin tins, drop in a spoonful of cream cheese frosting into the center of each mini before baking. This creates a delightful cream cheese surprise inside!
-
Spicy Kick: Add a pinch of cayenne pepper or cinnamon for a warm, spicy twist. Just a hint can elevate the flavor profile and keep your guests guessing about your secret ingredient.
-
Layered Frosting: Instead of one layer of frosting, try adding a filling of raspberry jam between two minis. The tartness of the jam complements the richness of the cake for a delightful contrast.
-
Themed Decorations: Consider decorating the tops with sprinkles or edible glitter that match your celebration theme. It’s a simple way to add visual appeal that’s perfect for parties!
As you experiment with these variations, you might also love pairing your creations with a slice of Cinnamon Roll Cake or serving them alongside a warm serving of German Pancakes. Whichever direction you choose, these minis will surely steal the show!
Make Ahead Options
These Red Velvet Cake Minis are perfect for busy bakers looking to save time without compromising on taste! You can mix the wet and dry ingredients up to 24 hours in advance and store the batter in an airtight container in the refrigerator. For those wanting an even faster prep, bake the minis and let them cool completely; they can then be stored in an airtight container at room temperature for up to 3 days. Just remember, to maintain that moist texture, frost them right before serving to keep the cream cheese frosting fresh and fluffy. With these simple steps, you can enjoy freshly baked Red Velvet Cake Minis with minimal effort!
What to Serve with Red Velvet Cake Minis?
Elevate your gathering with these charming little bites, perfectly paired with sensational sides and delights!
- Creamy Mashed Potatoes: These buttery, smooth potatoes provide a comforting contrast to the rich sweetness of the minis.
- Fresh Garden Salad: A crisp salad with a light vinaigrette balances the dessert’s sweetness, offering a refreshing crunch.
- Sparkling Lemonade: The bright and bubbly beverage enhances the flavor profile, making for a joyful pairing with each bite.
- Chocolate-Covered Strawberries: Indulge your guests further with these fruity bites, complementing the cake’s rich cocoa undertones.
- Coffee or Espresso: The bitterness of coffee harmonizes beautifully with the sweetness of the Red Velvet Cake Minis, creating a well-rounded dessert experience.
- Cheese Platter: Incorporating soft cheeses adds a sophisticated touch; try pairing with a tangy cream cheese or a rich brie to echo the frosting’s texture.
- Ice Cream Sundae Bar: Allow guests to create their own sundaes with vanilla ice cream and toppings; the warmth of the minis can melt into each scoop, making them a delightful treat!
Red Velvet Cake Minis Recipe FAQs
How do I select the best ingredients for Red Velvet Cake Minis?
Absolutely! When choosing your ingredients, opt for high-quality cocoa powder (unsweetened) and ensure your eggs are fresh and at room temperature, which helps achieve a better texture. For the flour, if you need a gluten-free option, select a gluten-free flour blend that’s suitable for baking; the right choice can make a significant difference in texture!
What is the best way to store leftover Red Velvet Cake Minis?
I often store my Red Velvet Cake Minis in an airtight container at room temperature, where they can stay fresh for up to 3 days. If you want them to last longer, transfer them to the refrigerator, which extends their lifespan to about a week. Just remember to let them come back to room temperature before serving for the best flavor!
Can I freeze Red Velvet Cake Minis?
Yes, indeed! To freeze, individually wrap each mini in plastic wrap and place them in a freezer-safe container. They will remain delicious for up to 3 months. When you’re ready to indulge again, simply microwave for about 10-15 seconds to warm them gently; this keeps the cake soft while softening the frosting perfectly!
What if my cake minis turn out dense or dry?
Very good question! If your Red Velvet Cake Minis come out dense, it’s often a sign of overmixing or too much flour. Always measure flour accurately—using the spoon-and-level method helps. Additionally, be careful not to overbake them; the tops should spring back and a toothpick should come out gently moist. If they do come out dry, a drizzle of simple syrup or a dollop of frosting can add moisture back in!
Are there any dietary considerations for these Red Velvet Cake Minis?
Indeed! If you have dietary restrictions, such as gluten sensitivity, you can easily substitute all-purpose flour with a quality gluten-free blend. And if you’re looking for a lower-calorie version, try using alternative sweeteners in place of granulated sugar! Those with lactose intolerance can swap out the buttermilk for a non-dairy yogurt mixed with a bit of milk or a plant-based milk combination—there are countless ways to enjoy these treats!
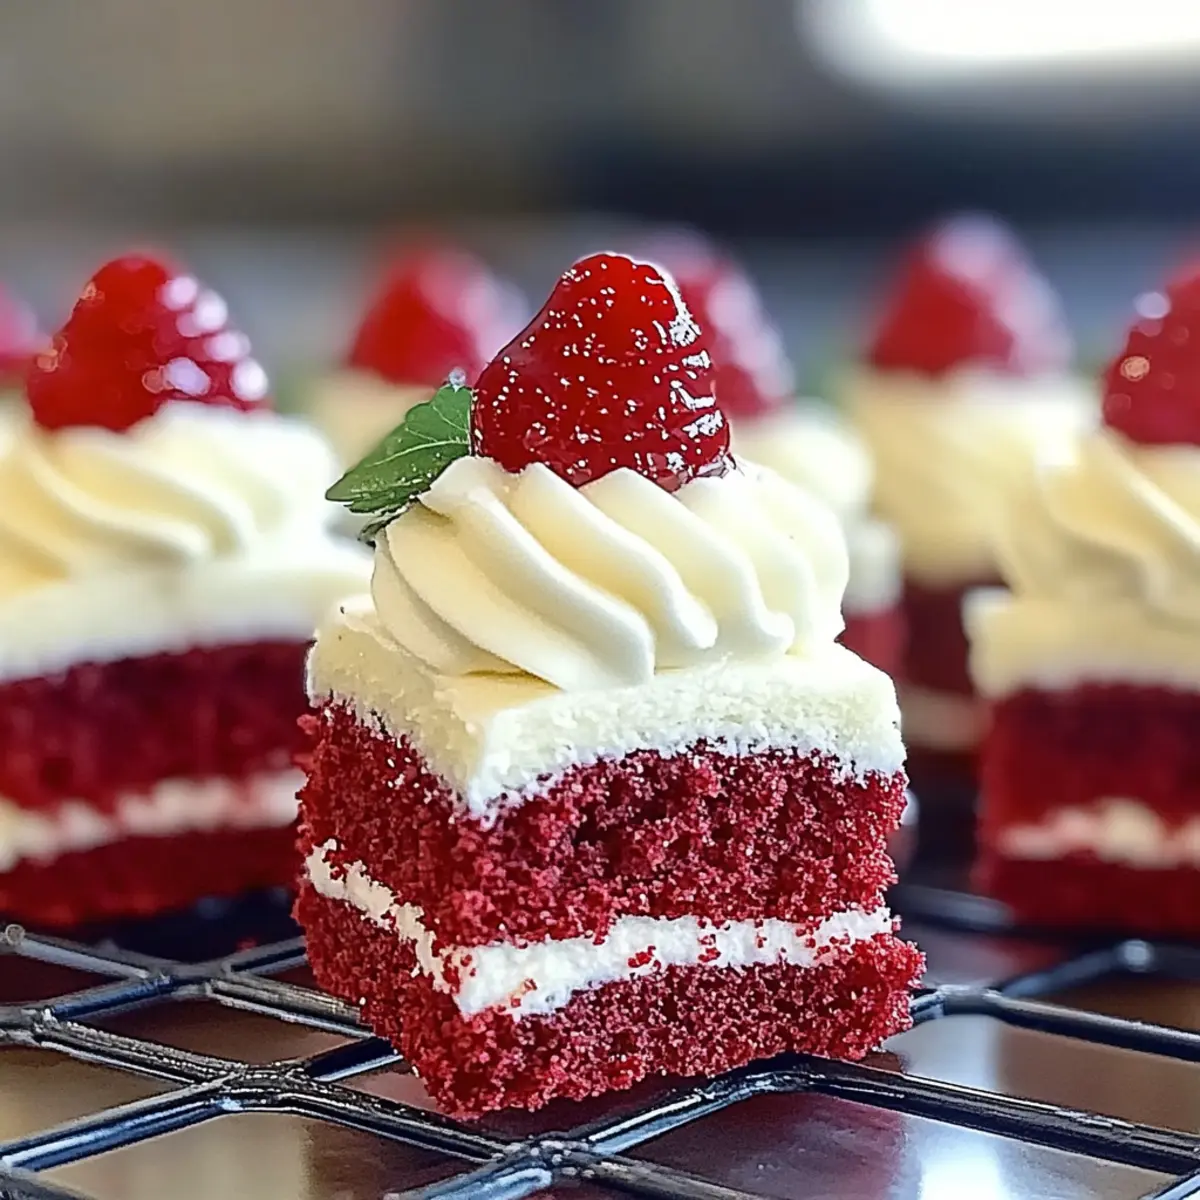
Red Velvet Cake Minis: Sweet Bites of Joy for Every Occasion
Ingredients
Equipment
Method
- Preheat your oven to 350°F (175°C) and prepare a mini muffin tin by lining with paper liners or greasing it.
- In a bowl, whisk together the flour, cocoa powder, baking soda, and salt until combined.
- In another bowl, blend sugar and oil until smooth, then add eggs one at a time. Stir in buttermilk, vanilla extract, and red food coloring until combined.
- Gradually add the dry ingredients to the wet mixture, folding gently without overmixing.
- Spoon the batter into muffin cups, filling about two-thirds full. Bake for 15-18 minutes until a toothpick comes out clean.
- Allow cooling in the tin for 5 minutes before transferring to a wire rack. Prepare frosting by mixing cream cheese and butter until creamy, then add powdered sugar.