

As I stood in the kitchen, the summer sun streaming through the window, I couldn’t shake the urge for a snack that felt as refreshing as a cool breeze on a hot day. That’s when I decided to whip up these delightful Watermelon Fruit Roll-Ups. These healthy snacks not only provide a sweet burst of hydration but are also incredibly easy to make—perfect for those busy days when you crave something light yet satisfying. Packed with natural flavors and free from guilt, they’re ideal for kids, gatherings, or just a delightful pick-me-up. Plus, you can get creative by mixing in fruits like strawberries or mangoes for a fun twist! Ready to add a taste of summer to your snack game? Let’s dive in!
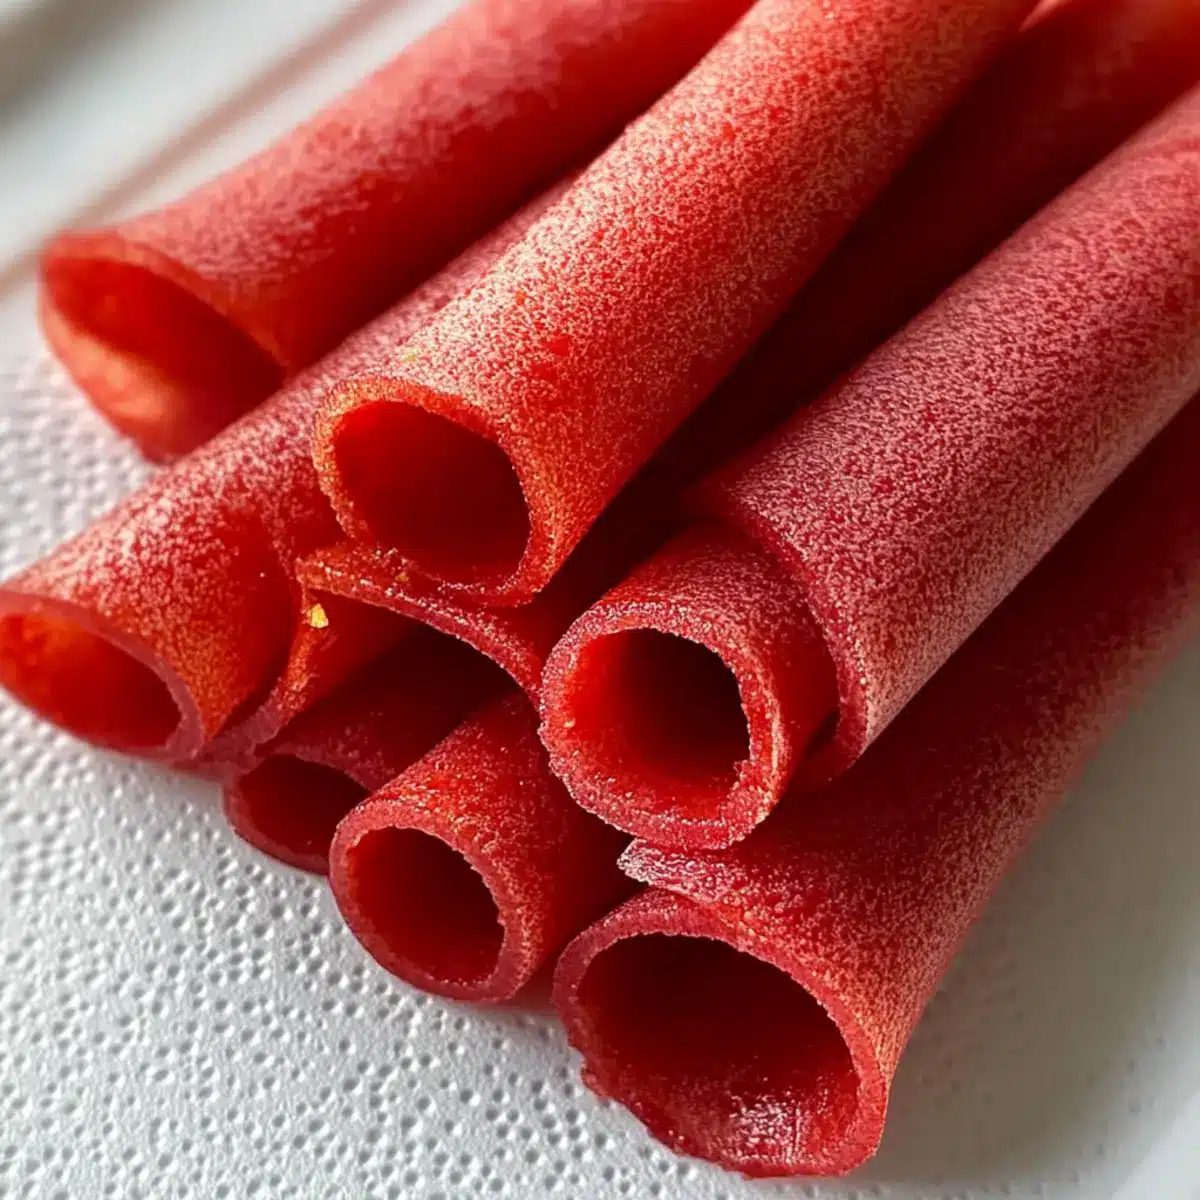
Why Are Watermelon Fruit Roll-Ups a Must-Try?
Refreshing taste: These roll-ups embody the essence of summer, delivering juicy watermelon in a fun, chewy form. Guilt-free enjoyment: At just 50 calories each, they satisfy your sweet tooth without any regrets. Customizable options: Feel free to experiment by adding strawberries or mangoes for a unique twist. Vegan and gluten-free: Suitable for various dietary preferences, making them a great addition to any party or lunchbox. No-bake goodness: Perfect for busy days, you can prepare these tasty treats without any fuss. Turn your snack into a summer adventure with these delightful Watermelon Fruit Roll-Ups!
Watermelon Fruit Roll-Ups Ingredients
Get ready to create some delicious Watermelon Fruit Roll-Ups!
For the Puree
- Watermelon – Use seedless watermelon for a smoother consistency and natural sweetness.
- Honey (optional) – Sweeten to taste; skip if the watermelon is sweet enough on its own.
- Lemon Juice – A splash adds a delightful zing and enhances the flavor beautifully.
Optional Mix-Ins
- Strawberries – Blend in for a berry twist that pairs perfectly with watermelon.
- Mangoes – Add chunks or puree for a tropical vibe and vibrant color.
Transform simple ingredients into an irresistible healthy snack your family will love!
Step‑by‑Step Instructions for Watermelon Fruit Roll-Ups
Step 1: Preheat the Oven
Begin by preheating your oven to 170°F (77°C). This low temperature ensures that the watermelon fruit roll-ups dry slowly, retaining their vibrant color and flavor. While the oven heats, gather your equipment: a blender, a baking sheet, and parchment paper.
Step 2: Prepare the Watermelon
Cut the seedless watermelon into chunks and place them in your blender. Blend the watermelon on high speed until it transforms into a smooth, creamy puree, resembling a thick pink smoothie. This step is crucial for achieving the perfect texture for your Watermelon Fruit Roll-Ups.
Step 3: Mix in Sweetness
Once the watermelon is smooth, add honey (if desired) and lemon juice to the blender. Blend again for about 30 seconds until everything is well incorporated. This combination will enhance the sweetness and add a delightful tang, making your fruit roll-ups even more flavorful.
Step 4: Spread the Mixture
Line your baking sheet with parchment paper. Pour the watermelon mixture onto the sheet, using a spatula to spread it evenly into a layer about 1/8 inch thick. Make sure to spread it evenly to ensure consistent drying of your Watermelon Fruit Roll-Ups.
Step 5: Bake and Dry
Place the baking sheet in the preheated oven and let the watermelon mixture bake for 6-8 hours. Keep an eye on it, checking periodically until the surface is no longer sticky and feels leathery to the touch. This slow drying is key for creating the chewy texture of the roll-ups.
Step 6: Cool and Cut
After your watermelon fruit leather has dried to perfection, remove the baking sheet from the oven and let it cool completely at room temperature. Once cooled, use kitchen scissors or a sharp knife to cut the fruit leather into strips.
Step 7: Roll and Store
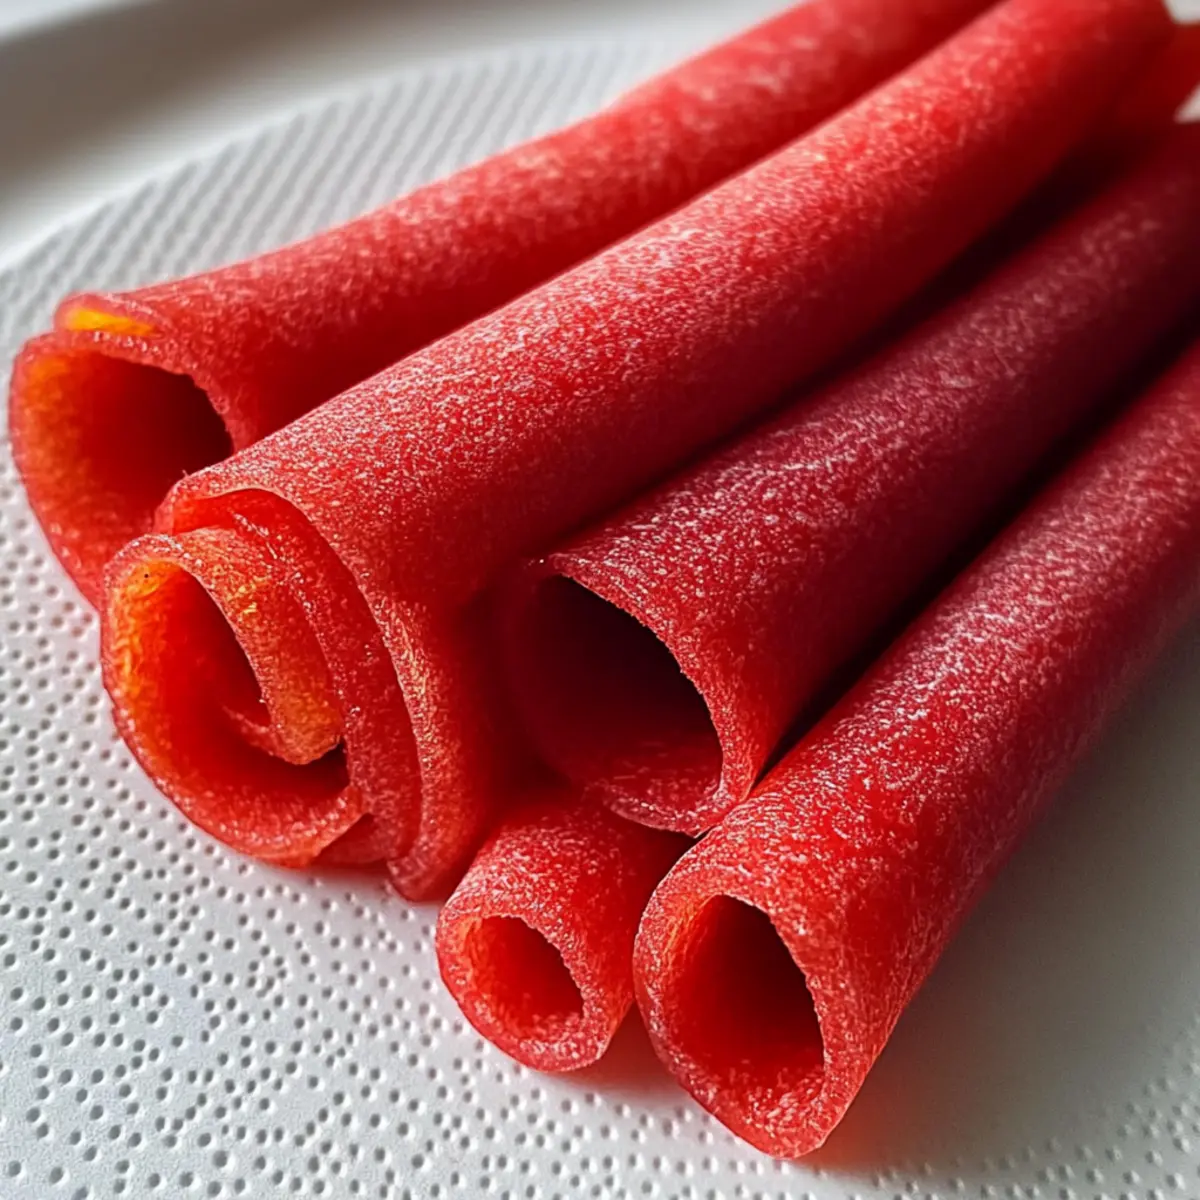
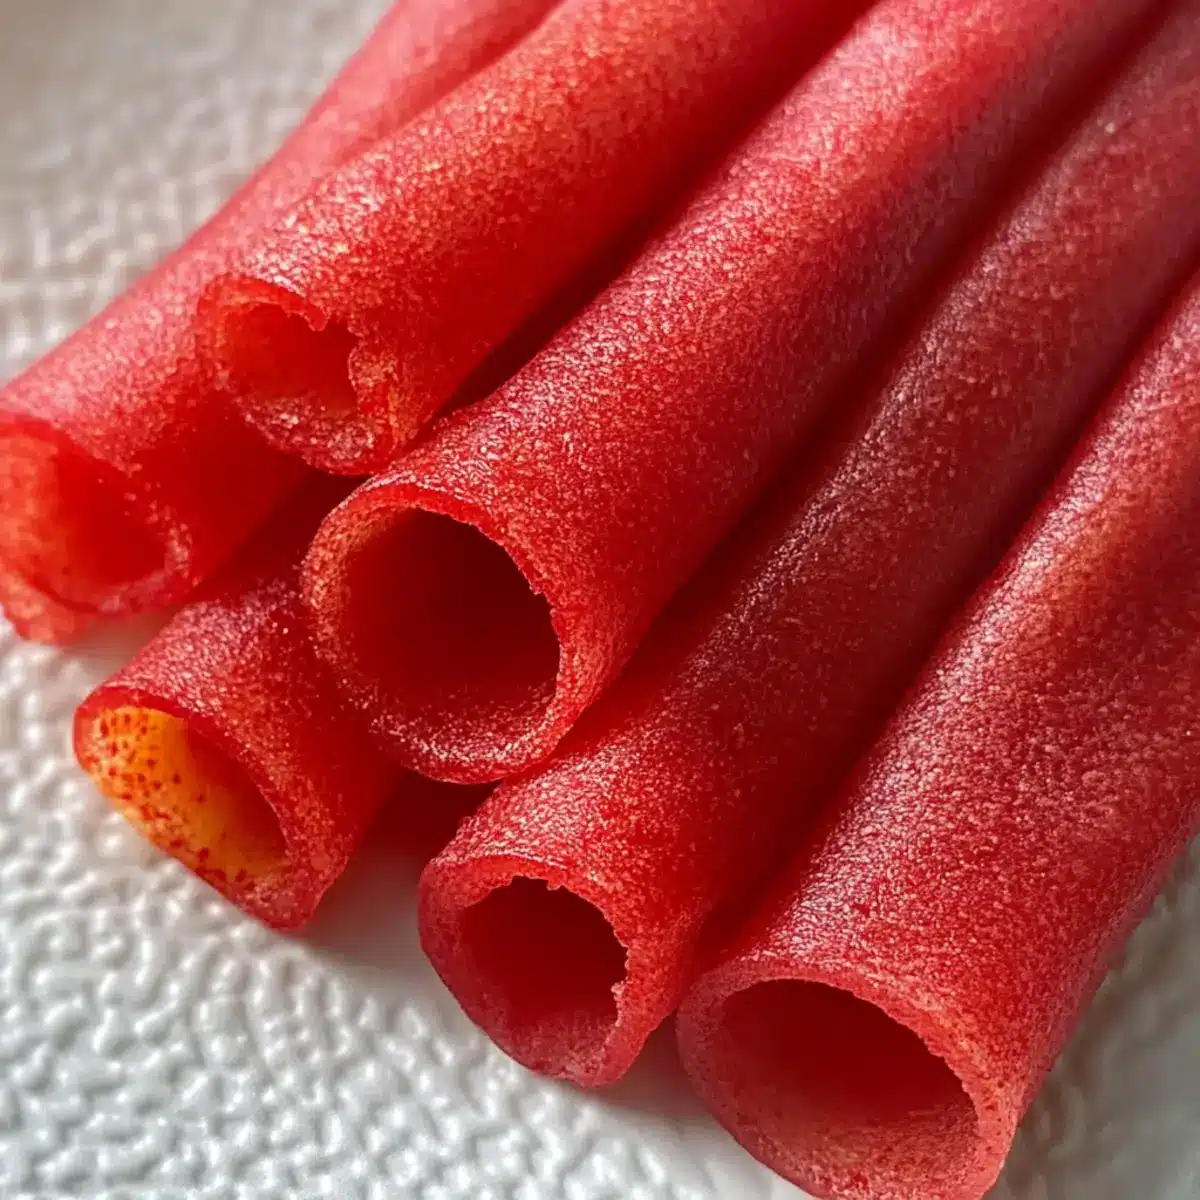
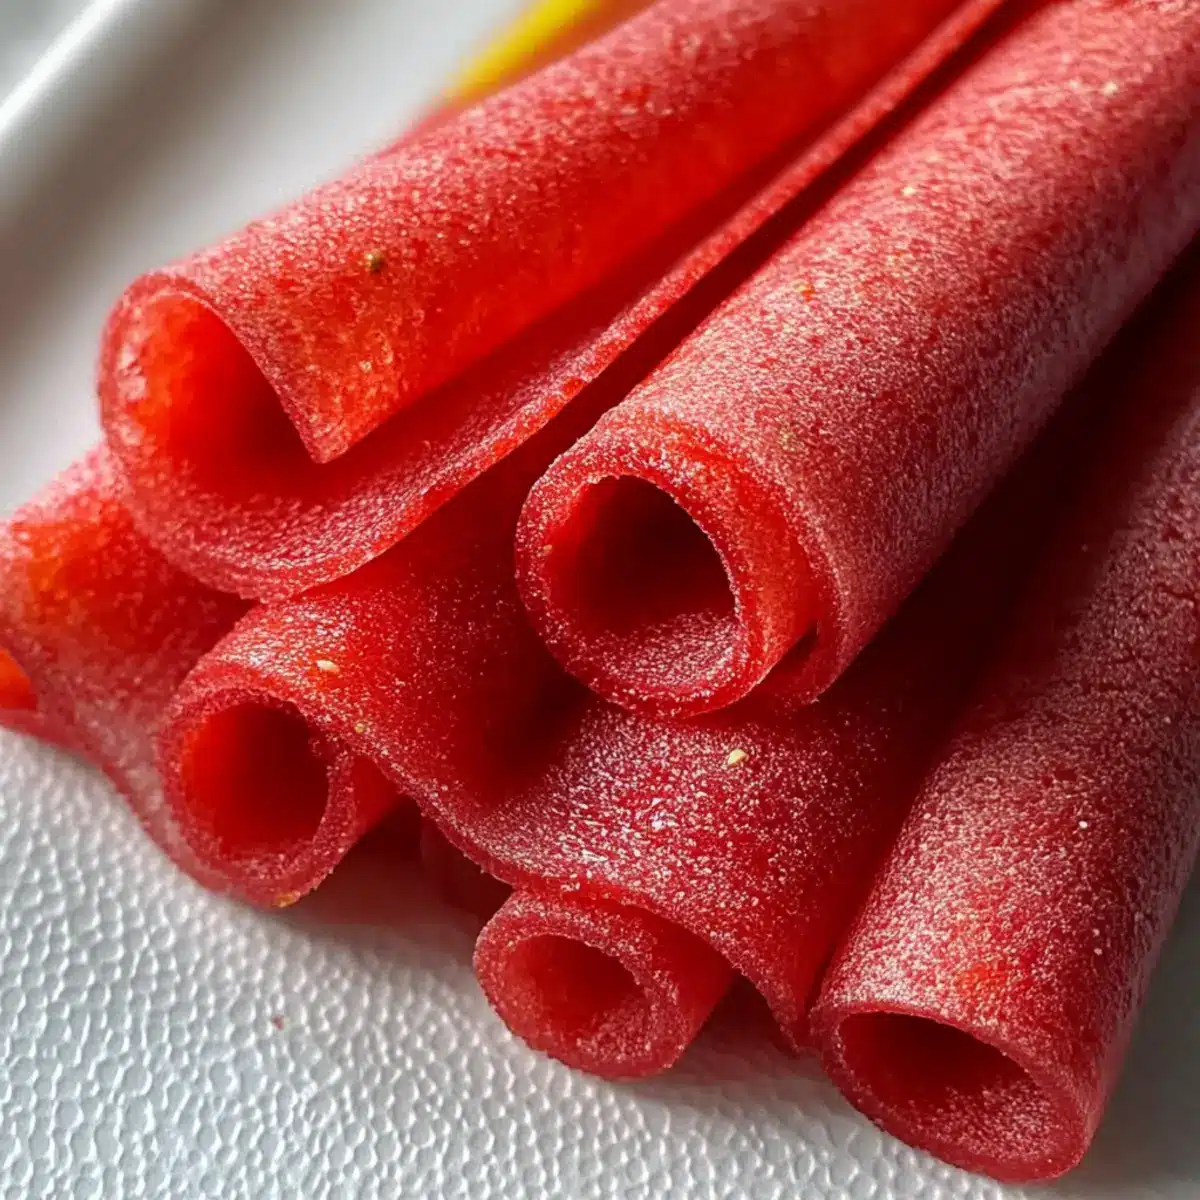
Finally, take each strip and roll them into fun shapes. Store your delicious Watermelon Fruit Roll-Ups in an airtight container at room temperature. They can be enjoyed within a week, ensuring a refreshing and healthy snack is always on hand!
Make Ahead Options
These Watermelon Fruit Roll-Ups are perfect for meal prep enthusiasts! You can prepare the watermelon puree up to 24 hours in advance, allowing you to maximize your time. Simply blend the watermelon chunks with honey and lemon juice, then store the mixture in an airtight container in the refrigerator. The rolled-up strips can also be made and stored for up to one week at room temperature once completely cooled. To ensure they remain deliciously chewy, make sure to keep them in an airtight container. When you’re ready to enjoy, simply roll them up and serve for a refreshing snack that feels effortlessly homemade!
Watermelon Fruit Roll-Ups Variations
Get ready to unleash your creativity in the kitchen and elevate your Watermelon Fruit Roll-Ups with these fun twists!
-
Berry Bliss: Blend in fresh strawberries with your watermelon for a delightful berry twist that’s charmingly sweet and summery. The vibrant colors together will make your snack look irresistibly inviting!
-
Tropical Mango: Add ripe mango to the blend for a splash of tropical flavor that’s both sweet and tangy. This combination transports you straight to a sunny beach with every bite.
-
Citrus Zest: Mix in some orange or lime zest for a refreshing citrus kick that brightens the flavor profile. This will add a refreshing zing to your fruit roll-ups!
-
Spicy Surprise: Feeling adventurous? Sprinkle a pinch of cayenne or chili powder to the mixture for an unexpected hint of heat that beautifully contrasts with the sweetness of the watermelon.
-
Nutty Crunch: Fold in chopped nuts or seeds like almonds or chia seeds for added texture and a wholesome crunch. This not only enhances flavor but also boosts nutritional value!
-
Chocolate Drizzle: For a decadent treat, after rolling up the fruit leather, you can drizzle melted dark chocolate over the top for a sweet, rich twist. Truly a match made in heaven!
-
Superfood Boost: Blend in a spoonful of spirulina or acai powder for an extra health kick that packs nutrients without altering the delicious flavor too much. It’s like a hidden treasure in your snack!
By experimenting with these variations, you can make your Watermelon Fruit Roll-Ups the star of any summer gathering or just an everyday afternoon treat. Your snack game is about to reach new heights!
What to Serve with Watermelon Fruit Roll-Ups
Imagine a vibrant summer picnic spread that pairs perfectly with these delightful, chewy treats, bursting with sweetness.
-
Crisp Veggie Sticks:
Carrot and cucumber sticks add a crunchy contrast, balancing the sweetness of the fruit roll-ups with their refreshing crunch. -
Greek Yogurt Dip:
A creamy dip made with Greek yogurt is both tangy and rich. It complements the fruity flavor while providing protein for a satisfying snack. -
Fruit Salad:
A medley of seasonal fruits brings out the freshness of your roll-ups. Toss berries, kiwi, and mint for a delightful contrast. -
Nut Butter:
Almond or peanut butter provides a protein-packed spread to dip your roll-ups in. The nutty flavor enhances the sweetness beautifully. -
Iced Tea:
A chilled glass of iced herbal tea is a perfect drink to balance the sweetness of the roll-ups, offering refreshing herbal notes. -
Coconut Chips:
These crunchy snacks provide a tropical flair. Their slightly sweet, toasty flavor complements the watermelon and adds fun texture. -
Cheese Platter:
Soft cheeses like Brie or goat cheese add a creamy element to the picnic spread. Their richness contrasts well with the fruity sweetness. -
Chocolate Drizzle:
A light drizzle of dark chocolate over the roll-ups creates a sweet surprise, enhancing their flavors while satisfying chocolate cravings.
How to Store and Freeze Watermelon Fruit Roll-Ups
Room Temperature: Store your Watermelon Fruit Roll-Ups in an airtight container in a cool, dry place for up to one week to maintain their chewy texture and sweet flavor.
Fridge: If you wish to extend their shelf life, keep them in the refrigerator in an airtight container for up to two weeks. Just let them come to room temperature before enjoying!
Freezer: For longer storage, wrap individual roll-ups in plastic wrap and place them in a freezer-safe bag. They will last for up to three months, ensuring a refreshing snack is always on hand.
Reheating: When ready to eat frozen roll-ups, simply let them thaw in the fridge overnight or at room temperature for a few hours. Enjoy as a guilt-free treat any time!
Expert Tips for Watermelon Fruit Roll-Ups
-
Choose Seedless Watermelon: Ensures a smoother texture for your Watermelon Fruit Roll-Ups, eliminating any unpleasant bites from seeds.
-
Mind the Thickness: When spreading the puree, aim for a consistent thickness of about 1/8 inch for even drying—thicker areas may remain sticky.
-
Check the Oven Frequently: Since ovens can vary, check on your roll-ups every hour to prevent over-drying and to achieve that perfect chewy texture.
-
Storage is Key: Keep the rolled-up treats in an airtight container to maintain moisture and flavor; they’re best when consumed within a week.
-
Experiment with Flavors: Mixing in fruits like strawberries or mangoes can elevate the taste and sweetness; just remember to adjust the honey accordingly!
Watermelon Fruit Roll-Ups Recipe FAQs
How do I choose the best watermelon for making roll-ups?
Absolutely! When selecting a watermelon, look for one that is seedless and has a uniform shape. The skin should be firm and smooth, with a creamy yellow spot where it rested on the ground. Avoid any watermelons with dark spots all over as this might indicate overripeness or internal issues.
How long can I store my Watermelon Fruit Roll-Ups?
Watermelon Fruit Roll-Ups are best stored in an airtight container in a cool, dry place for up to one week. If you want to extend their freshness, you can refrigerate them for up to two weeks. Just be sure to let them come back to room temperature before enjoying!
Can I freeze Watermelon Fruit Roll-Ups?
Very! Freezing is a great way to keep your Watermelon Fruit Roll-Ups for later. Wrap each roll-up in plastic wrap and place them in a freezer-safe bag or airtight container. They can last for up to three months in the freezer. To enjoy, simply let them thaw in the fridge overnight or at room temperature for a couple of hours.
What should I do if my roll-ups are too sticky?
If you find that your Watermelon Fruit Roll-Ups are too sticky even after baking, it might mean they weren’t dried long enough. Check the thickness as well; if it’s uneven, the thicker parts may stay sticky. To remedy this, simply return them to the oven for an additional hour until they become leathery yet pliable. Sometimes a little extra drying makes all the difference!
Are Watermelon Fruit Roll-Ups suitable for kids with allergies?
Definitely! These Watermelon Fruit Roll-Ups are naturally gluten-free and can be made vegan by omitting the honey. Always check for allergies with mix-ins if you decide to add other fruits, but the base recipe should be safe for most kids with common food allergies.
Can pets eat Watermelon Fruit Roll-Ups?
While watermelon in moderation is generally safe for pets, the roll-ups contain lemon juice and honey—both of which aren’t recommended for pets. It’s best to stick to plain, seedless watermelon if you’d like to share a refreshing treat with your furry friends!
Delicious Watermelon Fruit Roll-Ups for a Guilt-Free Snack
Ingredients
Equipment
Method
- Preheat your oven to 170°F (77°C). Gather your equipment: a blender, a baking sheet, and parchment paper.
- Cut the seedless watermelon into chunks and blend on high speed until smooth.
- Add honey (if desired) and lemon juice to the blended watermelon, then blend again for 30 seconds.
- Line your baking sheet with parchment paper and pour the watermelon mixture onto the sheet, spreading it evenly.
- Bake the watermelon mixture in the oven for 6-8 hours until the surface is no longer sticky.
- Remove from the oven and let cool completely. Cut the fruit leather into strips.
- Roll each strip into shapes and store in an airtight container at room temperature.